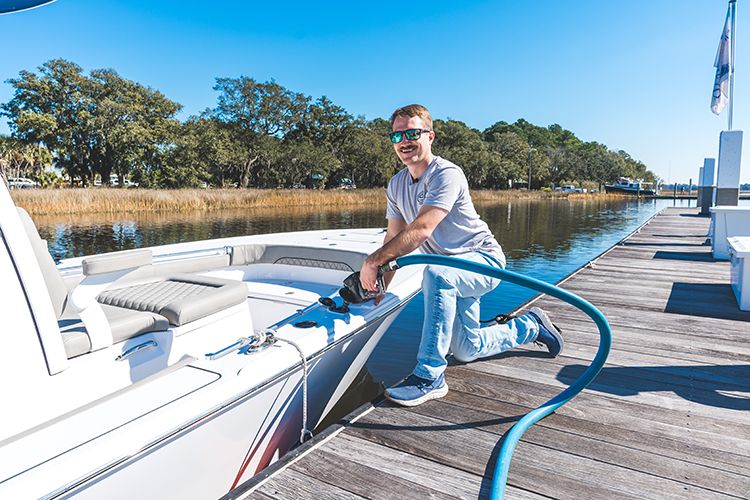
Fueling your boat is a fairly easy task but there are a few tips to help protect your tank from damage and make sure your boat is reading the correct amount of fuel.
-
•Open both vents during fueling for optimal fuel flow on vessels with two fills.
-
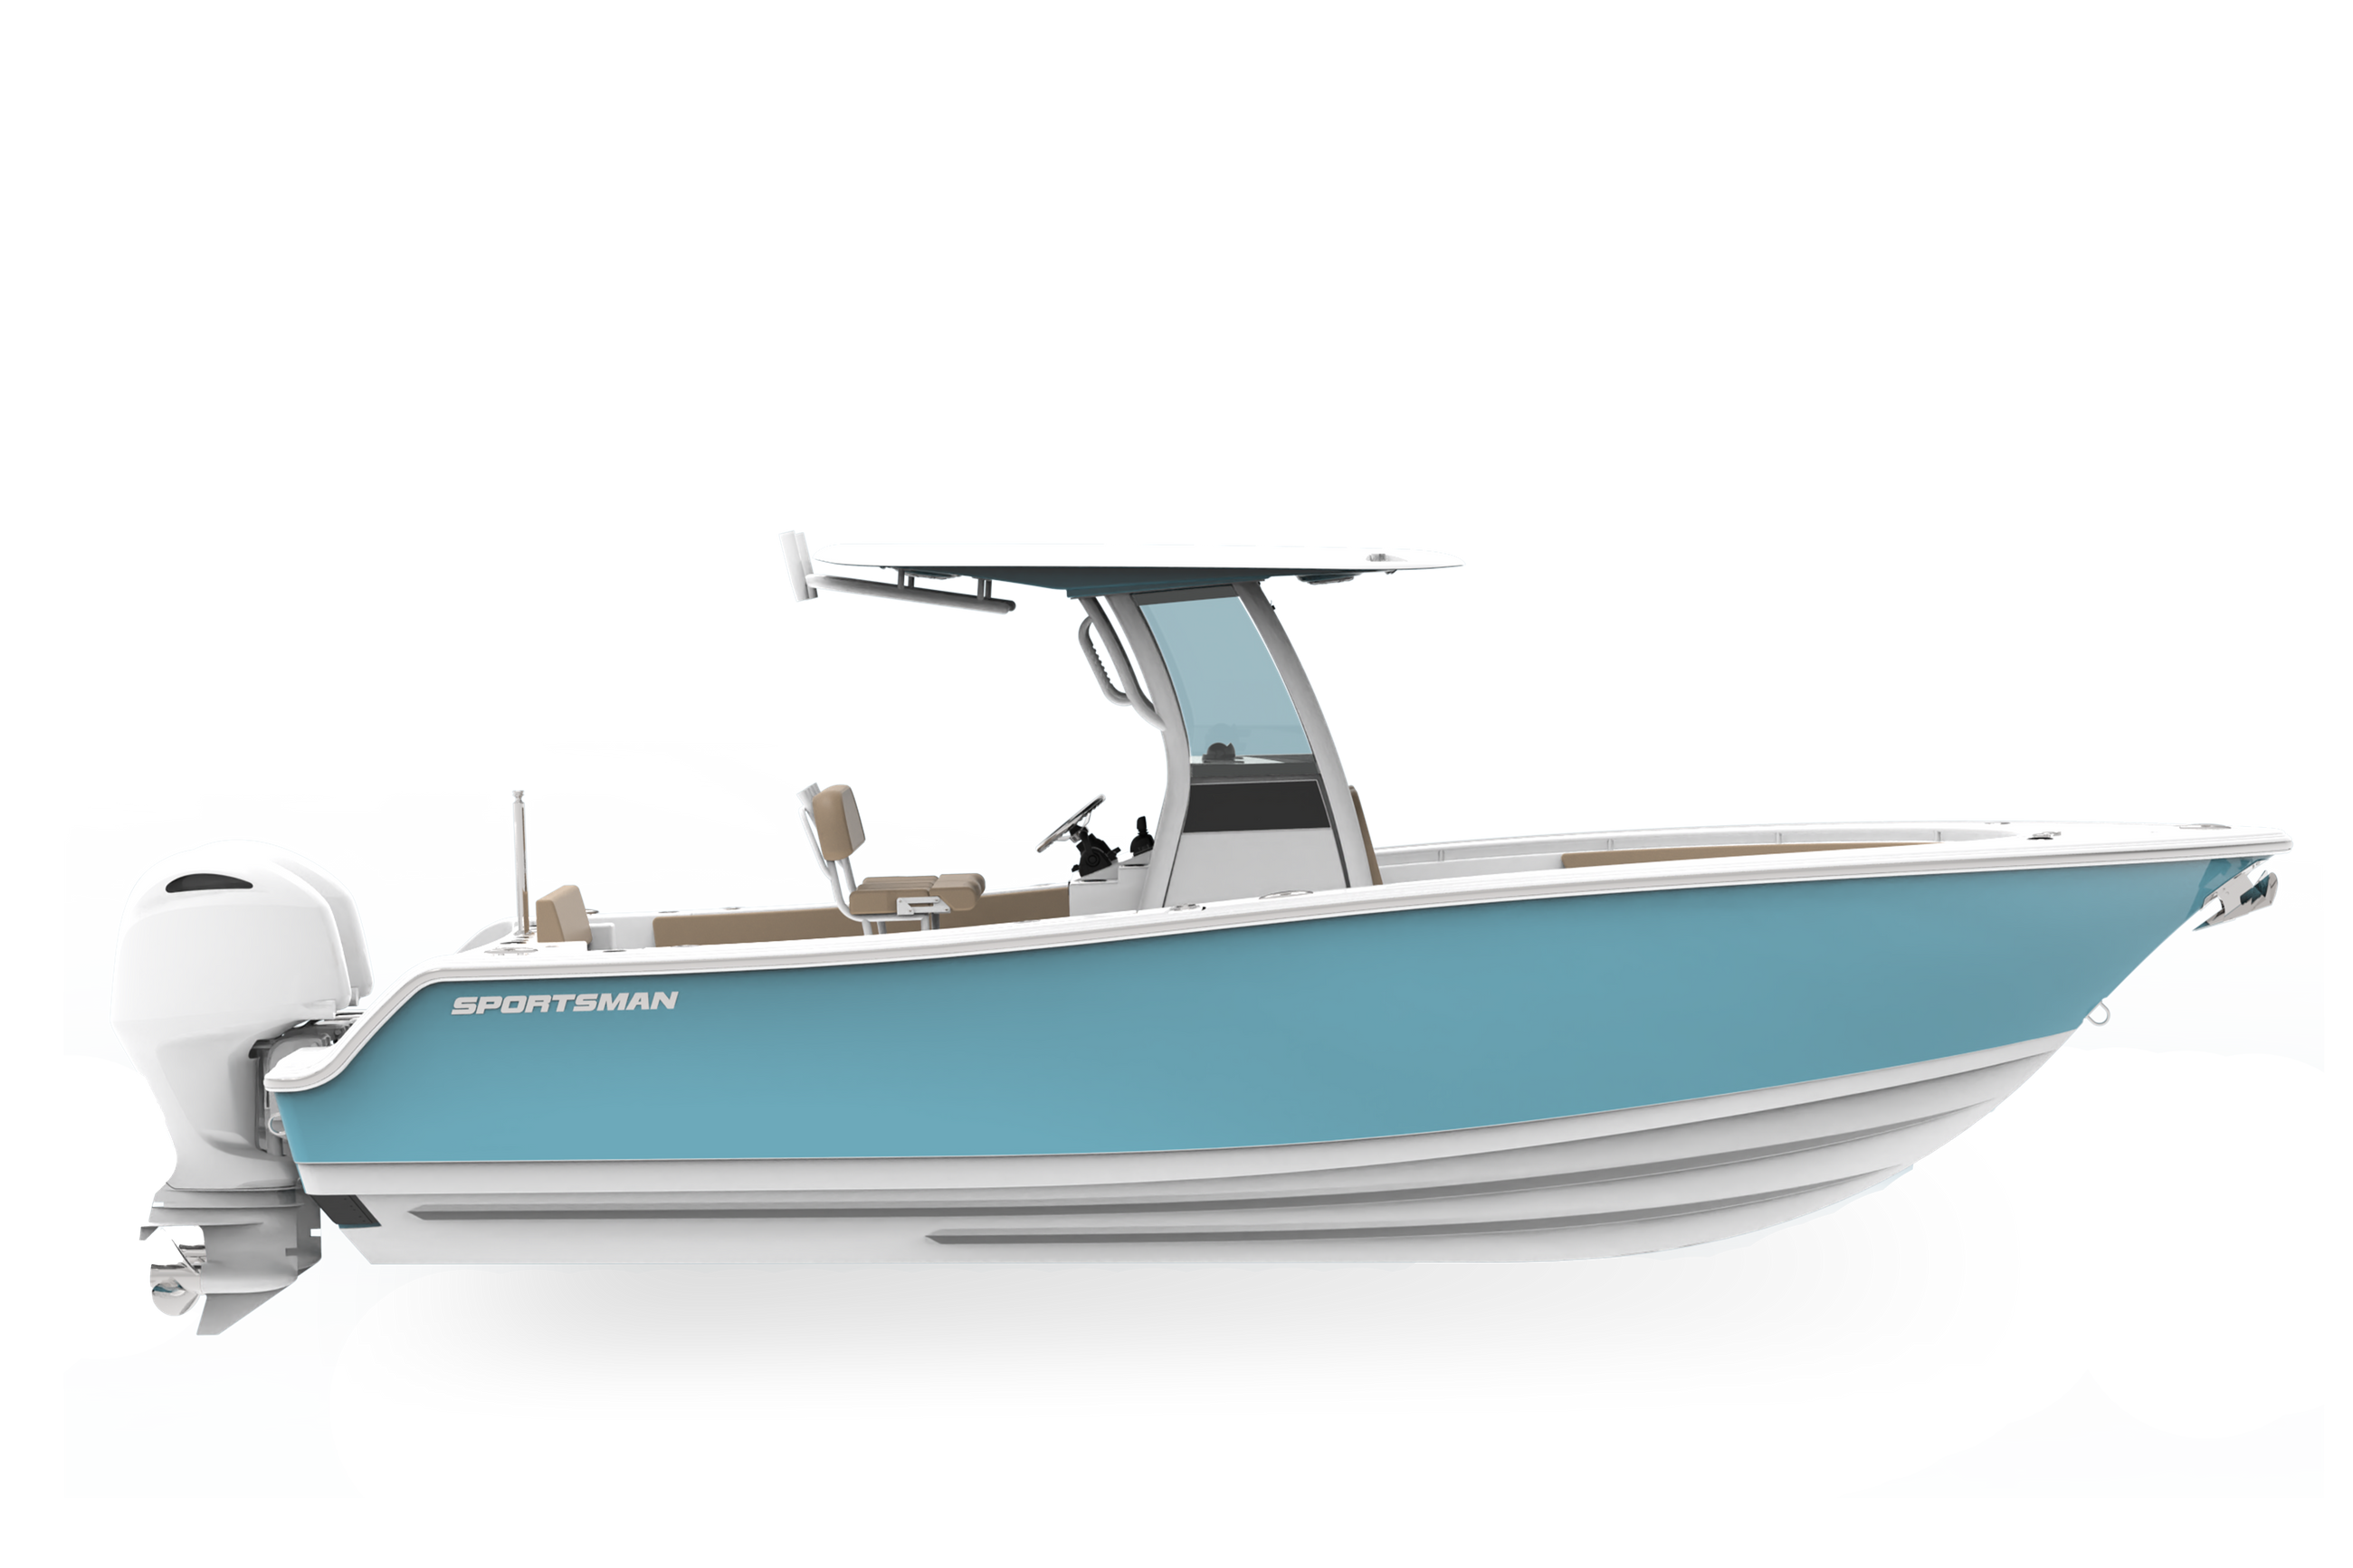
•Know ullage on the Masters 267; a 116 gallon tank has 8 to 10 gallons ullage so usable fuel is 106 to 108 gallons; avoid overfilling to protect seals and prevent fumes.
-
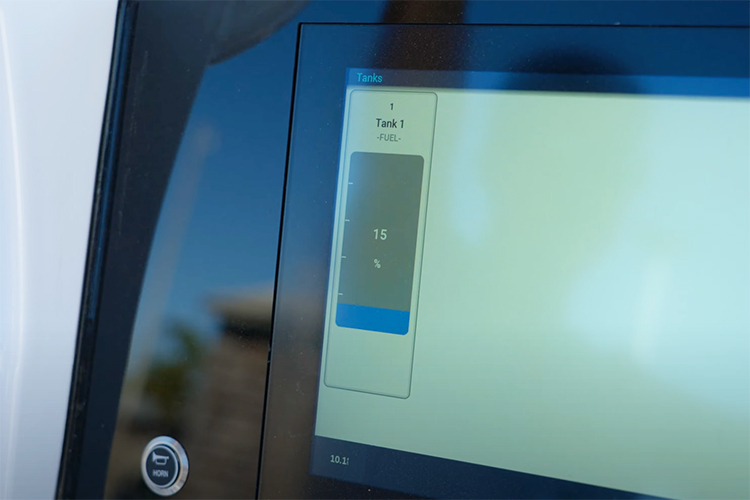
•Use the fuel sender data for accurate readings; on boats with multiple tanks select tank one; if Garmin readings go awry revert to Yamaha or Mercury interface or replace the data fuel reading.
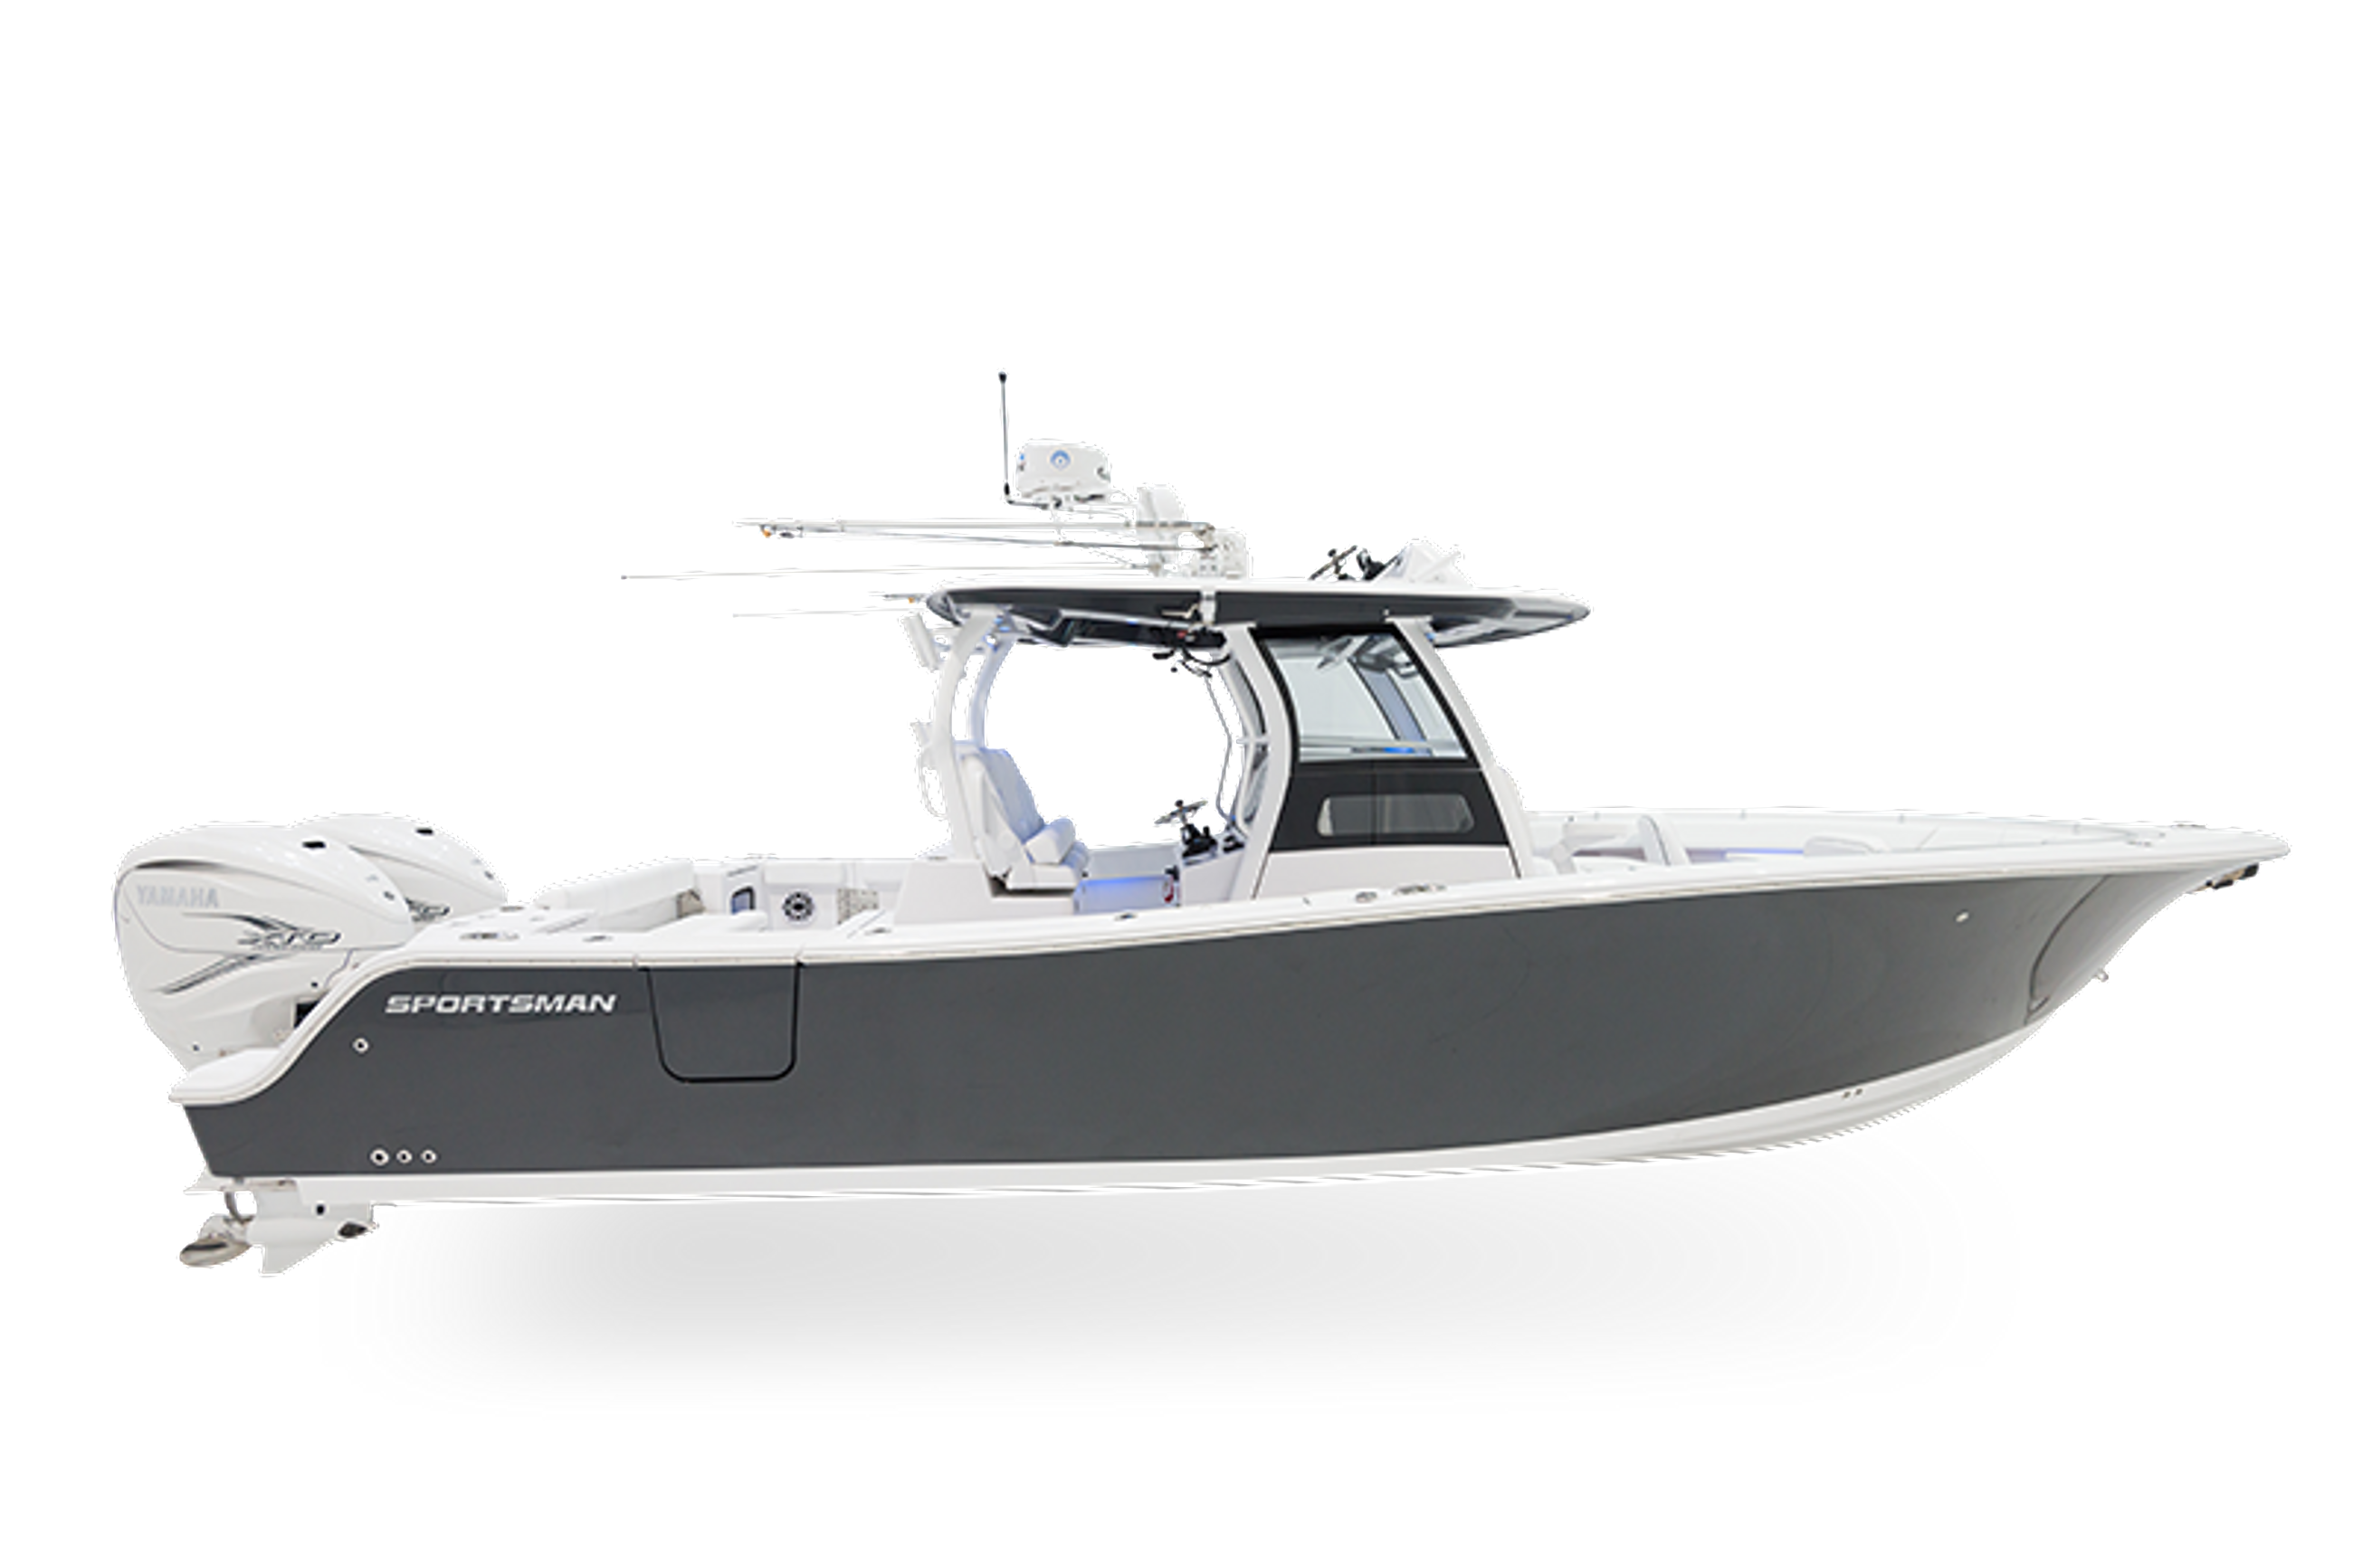
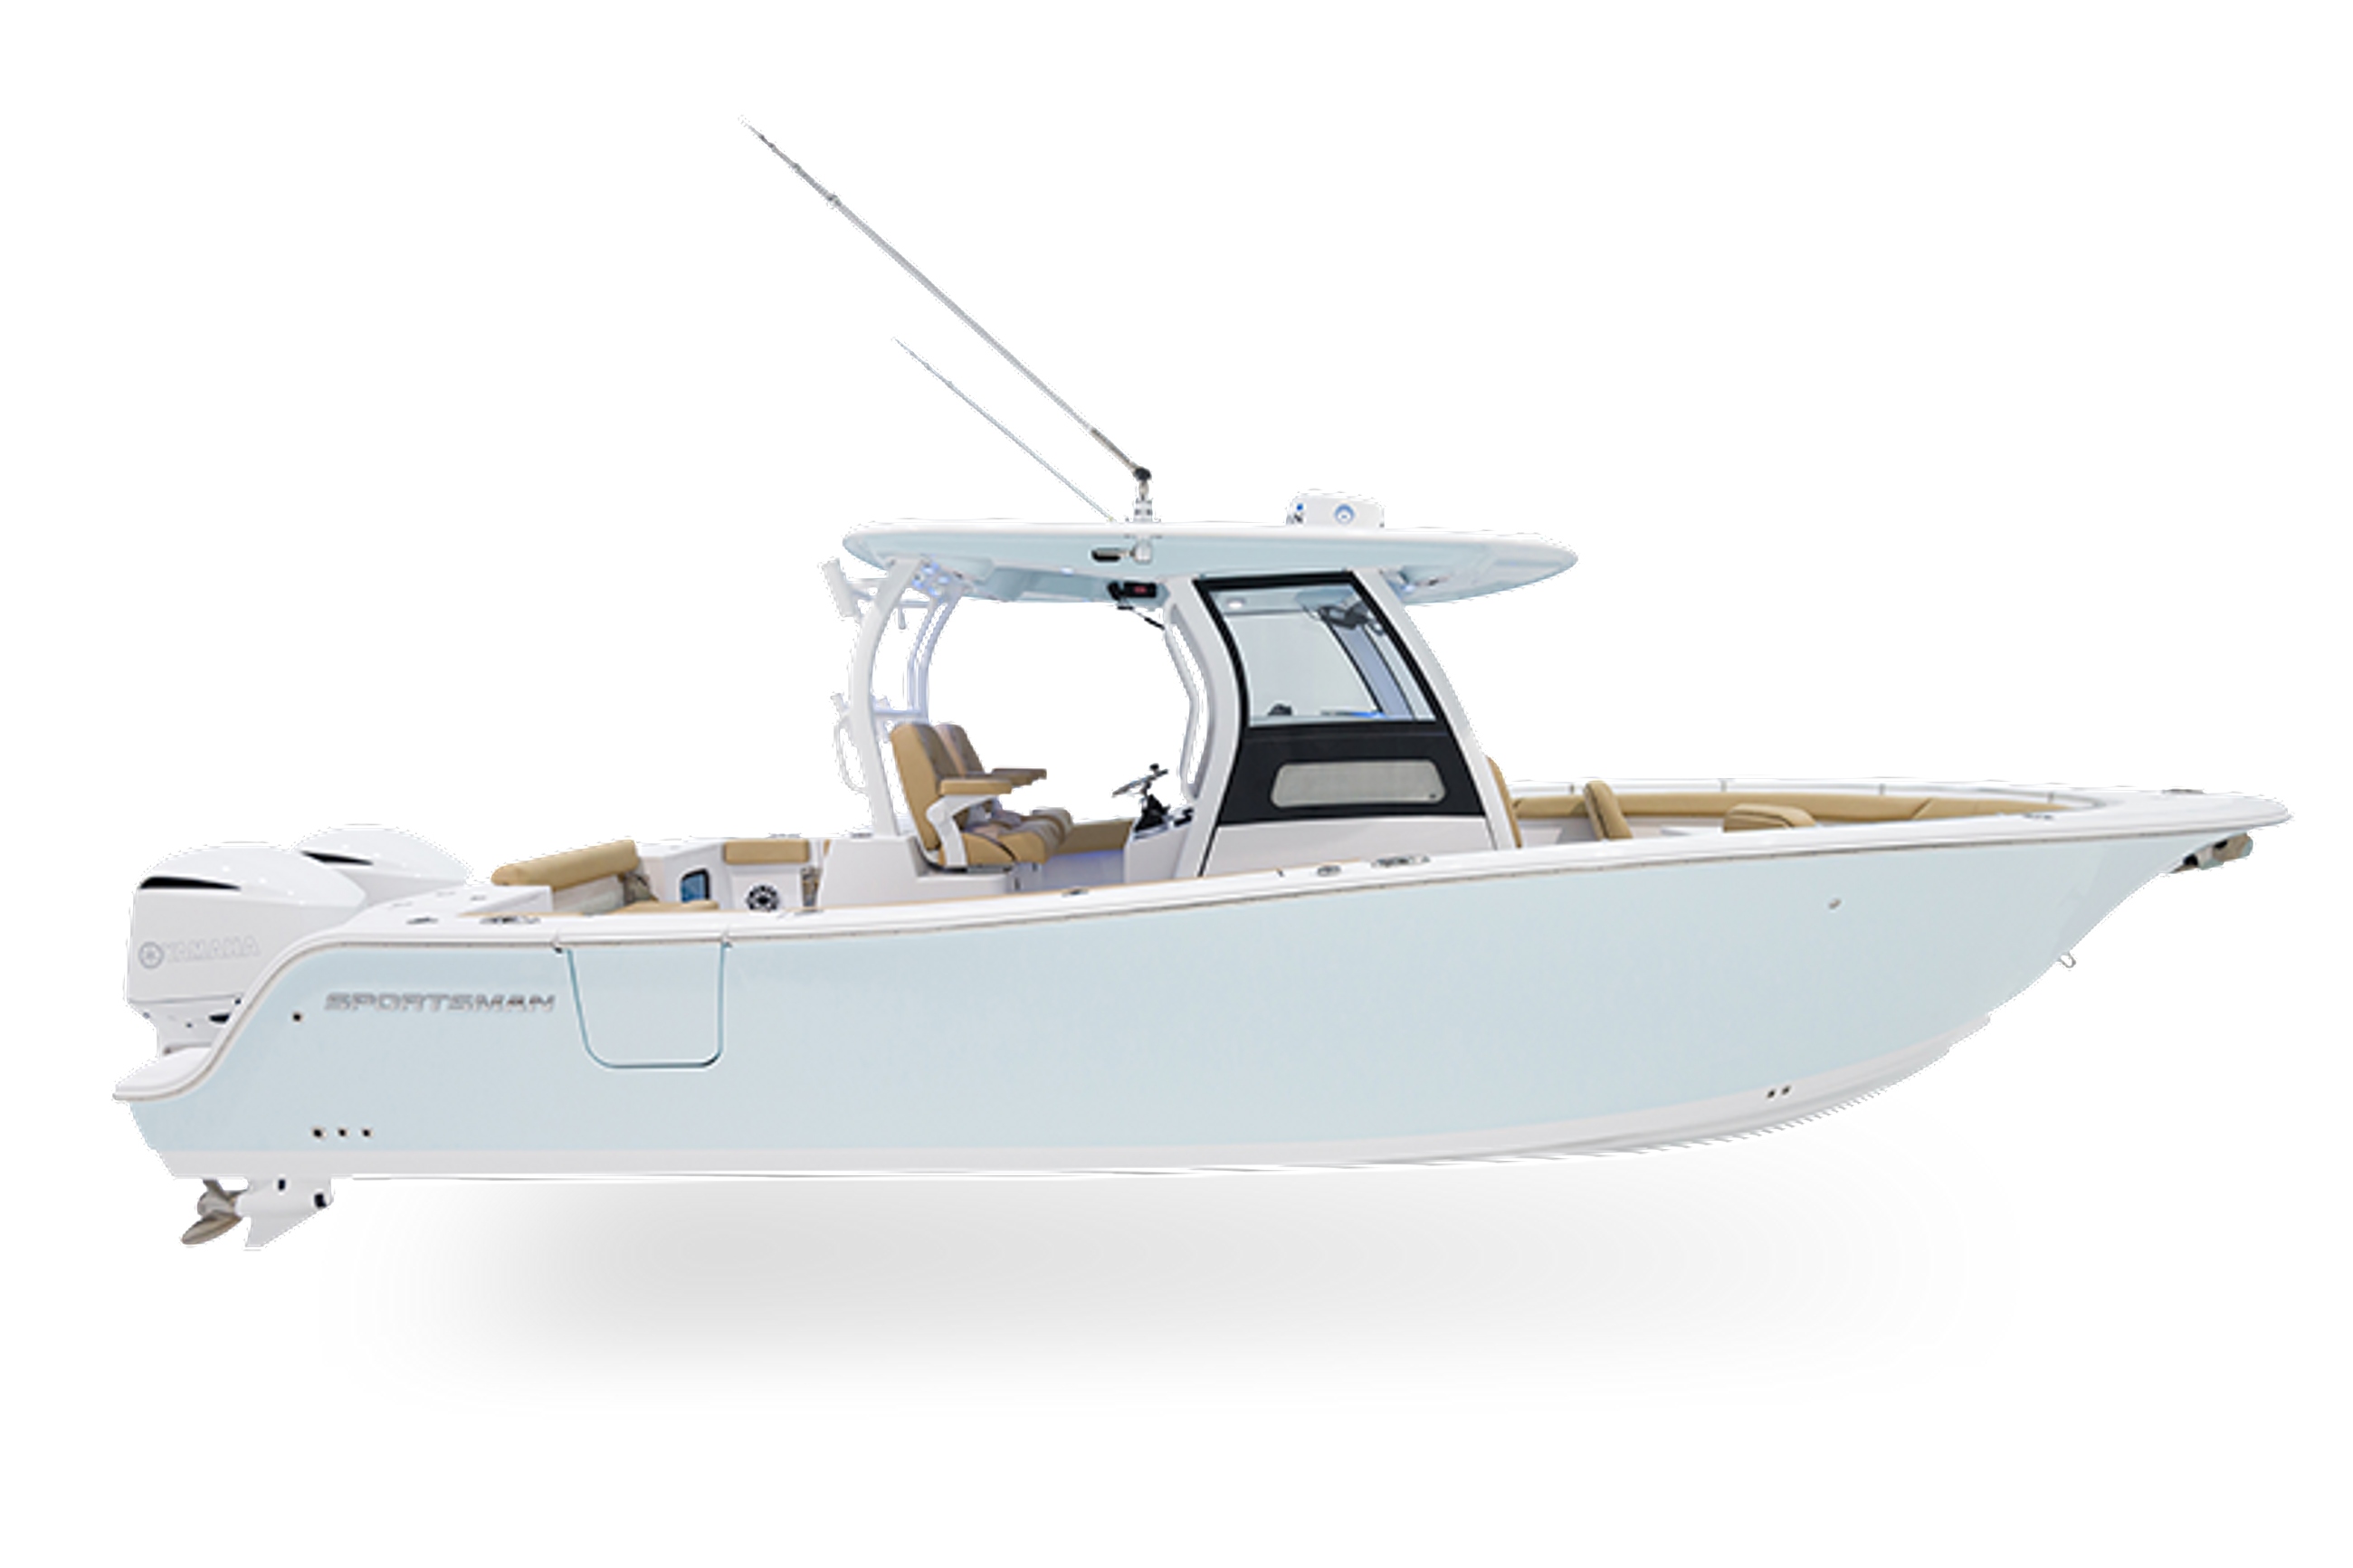
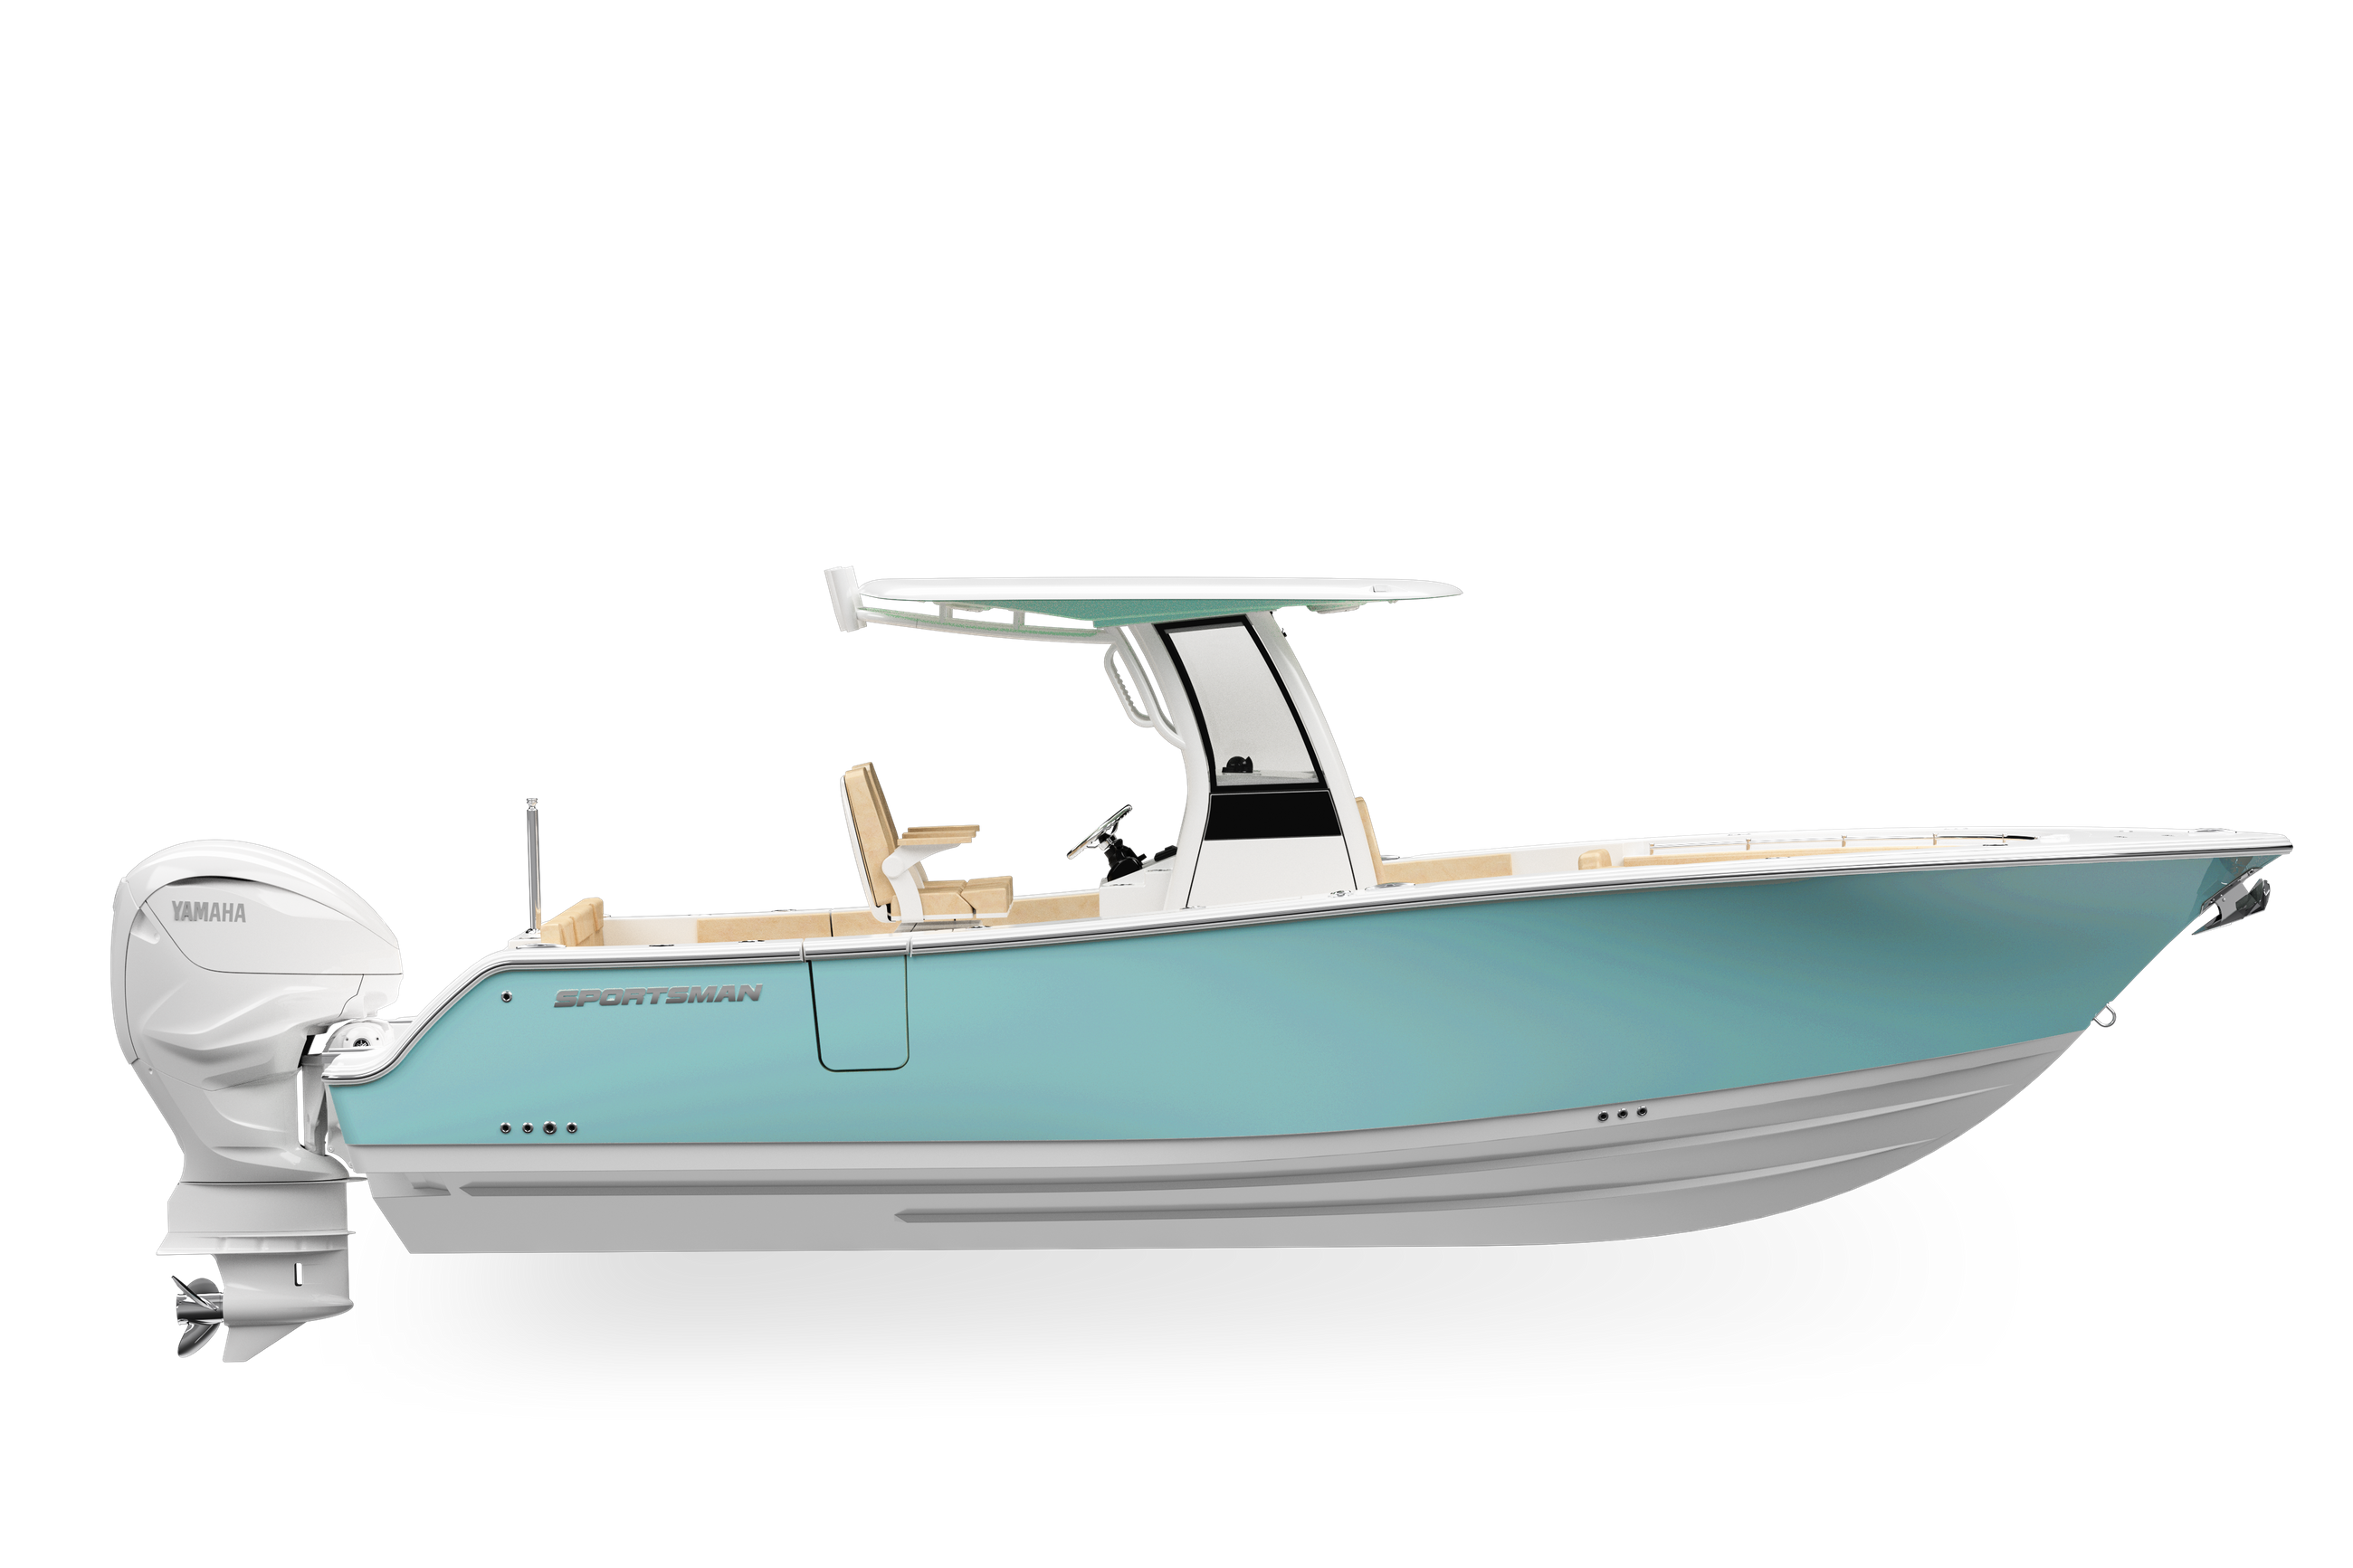
Today we're delving into crucial insights on proper fueling procedures and mastering your fuel gauges, specifically on the Masters 267.
Making sure your boat is properly fueled before heading out for a day on the water is one of the most important things you can do to start your day off right. So, before you head out for a run on your Sportsman we'd like to share a few tips on fueling your boat including some things you may not have known.
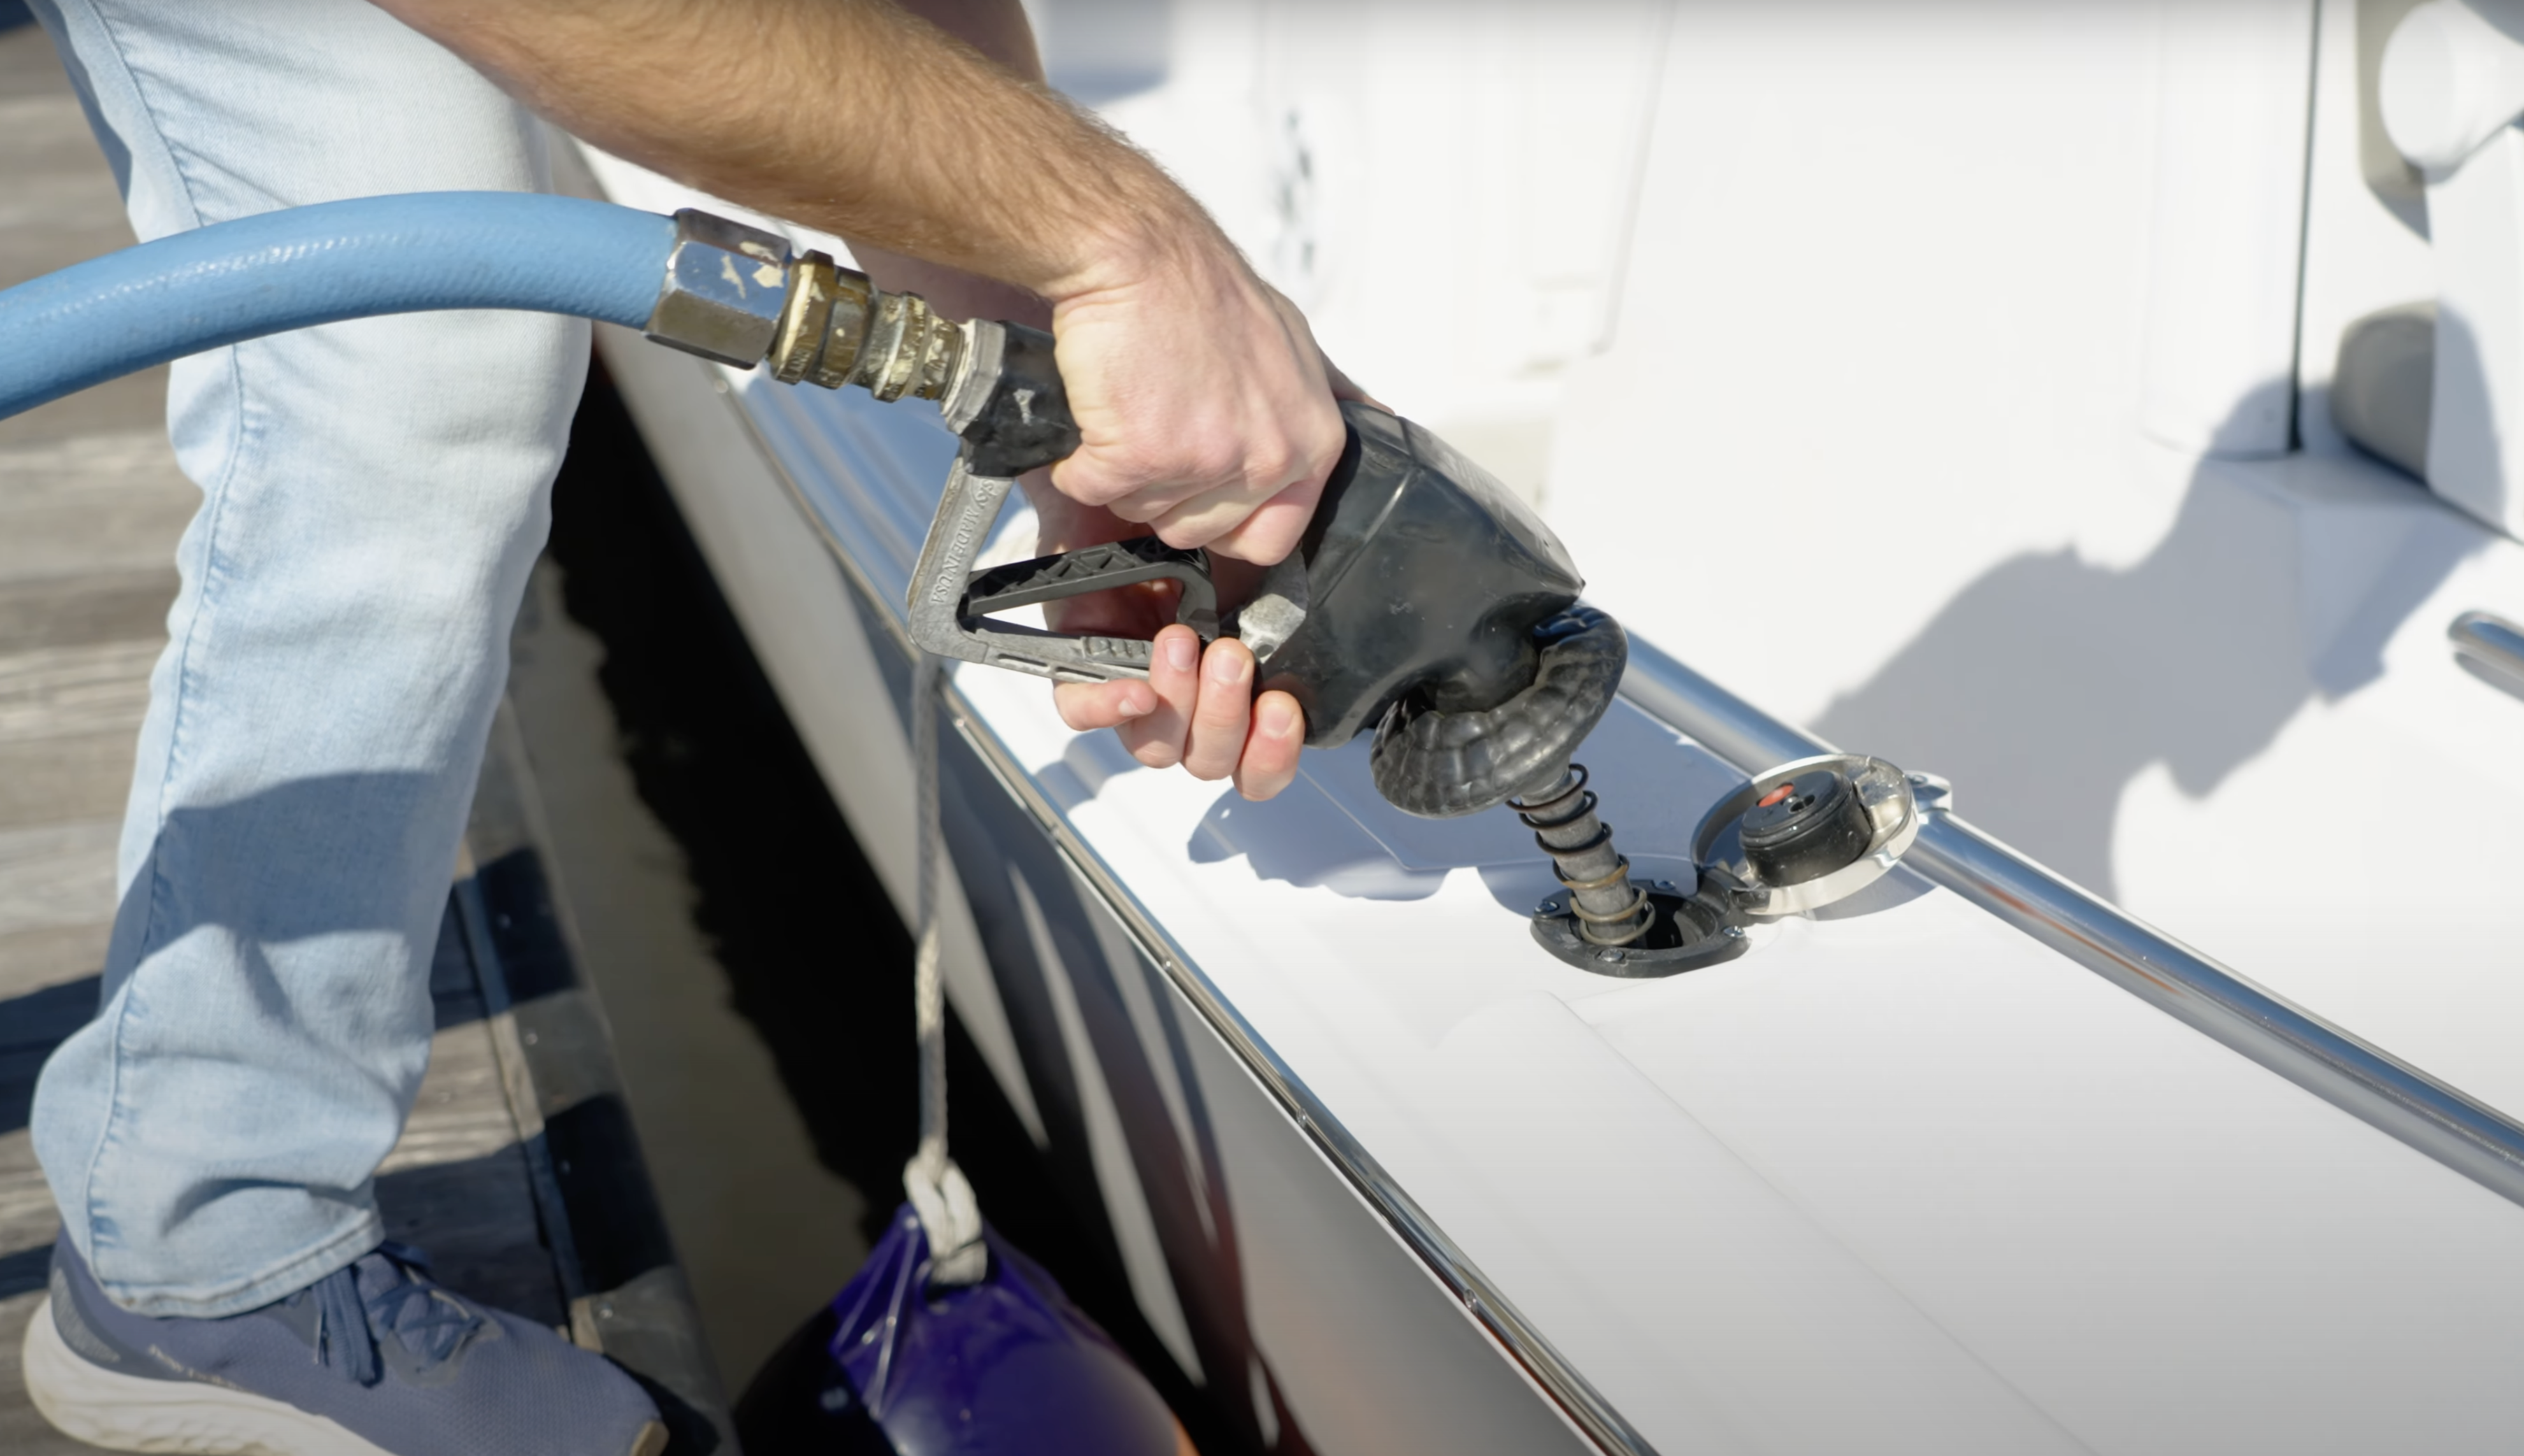
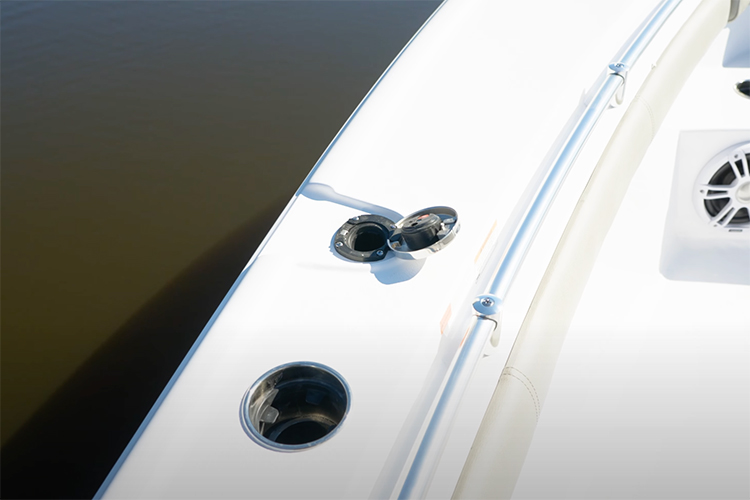
First off, note that most of our models have two fuel fills with a venting feature. When fueling your boat it's best to have both vents open during fueling for optimal fuel flow.
Now, let's talk fuel tank ullage. Ullage means the amount by which a container falls short of being full. The Masters 267 holds a 116-gallon tank, but the ullage sits between 8 to 10 gallons. Which means, you'll realistically get approximately 106 to 108 gallons in the tank. It's best to try and avoid overfilling to prevent undue pressure on seals and valves. In doing so, you might balloon the tank out and put a lot of pressure on the seals and valves throughout the whole tank and fuel system. This could potentially cause problems such as blowing a hole in the tank and causing the release of fumes, which is an extreme safety issue.
To prevent overfilling, once the fuel stop clicks, let the tank breathe for 1 to 2 minutes with both fills open, then resume filling. After the second click, you're done - quit fueling and hang up the pump, you're ready to go.
If you're seeing 0% after filling - no worries. Click on it, select 'replace data fuel,' and opt for tank level readings. This comes from your fuel sender, offering accurate measurements over other options like total fuel on board.
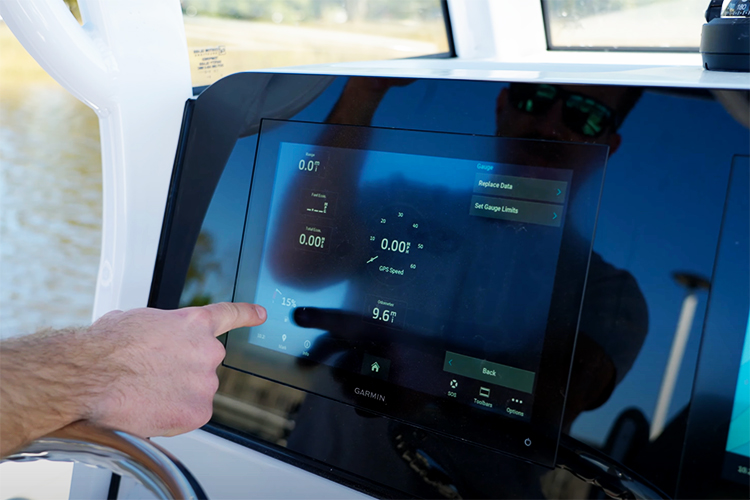
Some models have multiple tanks, but make sure to always choose tank one for the fuel sender. If you're rocking a Yamaha or Mercury, their gauges are hardwired to the sender. If Garmin readings go awry, revert to Yamaha or Mercury interfaces for accurate fuel readings.
Fueling your tank isn't rocket science but it's one of the most important things to make sure you've done properly before heading out for a big day on the water. No one wants to get stranded and end up befriending a volleyball named Wilson. So make sure to review our Tech Talk video before a day at sea!
Related Posts
In this episode of Tech Talk, Sportsman Technical Sales Rep, Chase is going over how to use your Seakeeper Ride system at the same time as y...
Read More