Learn how to set up toolbars on your Garmin MFDs and discover how they can make your boating experience safer, easier, and more efficient.

-
•Custom toolbars give quick access to essential data, boosting efficiency and safety on the water.
-
•Tailor toolbars to show the data you use most such as engine data, tides and currents.
-
•Experiment with multiple toolbars across screens to keep critical information where you need it.
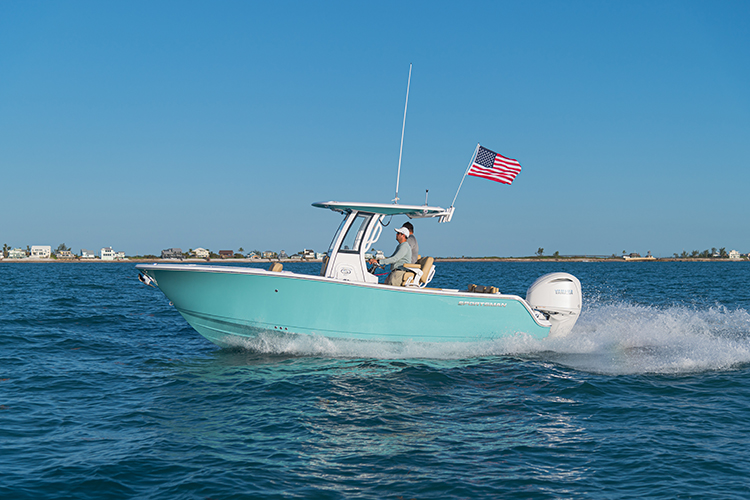
When you’re out on the water, efficiency is everything. Whether you’re navigating through busy inlets, scanning for fish, or simply keeping an eye on engine performance, having quick access to the information you need makes boating safer and more enjoyable. Garmin MFDs (multi-function displays) are designed with this in mind, and one of the most useful features available to every captain is the customizable toolbar.
What is a Toolbar?
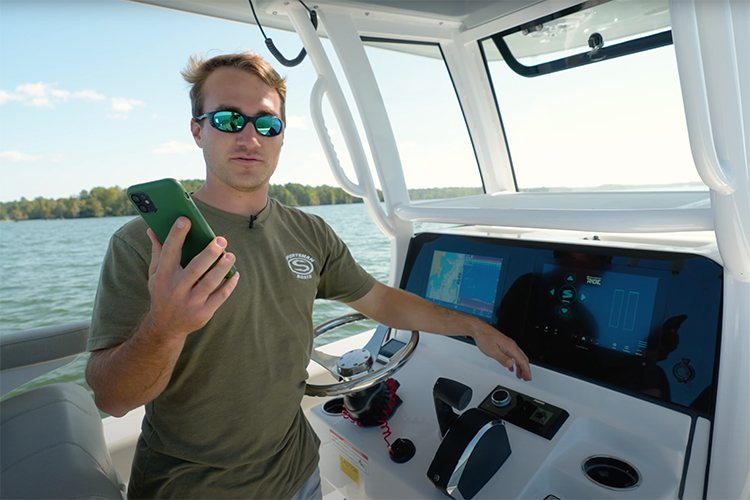
A toolbar is a row of shortcuts that can be placed at the top or bottom of your Garmin screen. It gives you immediate access to key data and functions without having to leave your current view. Think of it as your personal dashboard—always there, showing you the details that matter most.

Why Toolbars Matter
On the water, conditions can change quickly. Toolbars keep your most important information just one tap away so you can react fast without digging through menus. Some of the top benefits include:
• Efficiency: Get critical data without leaving your sonar, chart, or radar page.
• Customization: Add exactly what you need, from Seakeeper Ride to engine data.
• Situational Awareness: Monitor tides, currents, and system performance all at once.
• Safety: Spend less time navigating menus and more time focused on what’s ahead.
How to Set Up Toolbars
Setting up toolbars on your Garmin MFD is quick and straightforward. Here’s a step-by-step guide:
1. Open the Toolbars Menu
On the bottom right of your screen, tap the toolbar button. A menu will appear with available options.
2. Choose Your Data
From Seakeeper Ride and Yamaha engine info to tide charts and currents, you can select exactly what you want.
3. Pick the Location
Use the up arrow to pin a toolbar to the top of the screen or the down arrow to place it along the bottom. Many captains like to separate functions—engine data at the top, navigation tools at the bottom.
4. Repeat as Needed
Add multiple toolbars across different screens. For example, you might want Seakeeper Ride at the bottom of your chart screen, engine data at the top of your home view, and tides along your sonar screen.
Example Toolbar Setups
• Fishing Focus: Sonar with tides at the bottom and engine data at the top.
• Cruising Focus: Navigation chart with Seakeeper Ride at the bottom and currents at the top.
• Everyday Use: Split-screen view with both chart and sonar, engine data pinned at the top and tides at the bottom.
The Takeaway
Custom toolbars on Garmin MFDs are one of the simplest ways to improve your time on the water. By tailoring your display to your needs, you’ll save time, improve safety, and keep essential data at your fingertips.
If you haven’t set up your toolbars yet, now’s the perfect time to experiment. Try different layouts until you find the one that fits your style of boating best.
Related Posts
Choosing the right size center console isn’t about going bigger, it’s about finding what fits your lifestyle. This guide breaks down how siz...
Read More