Open
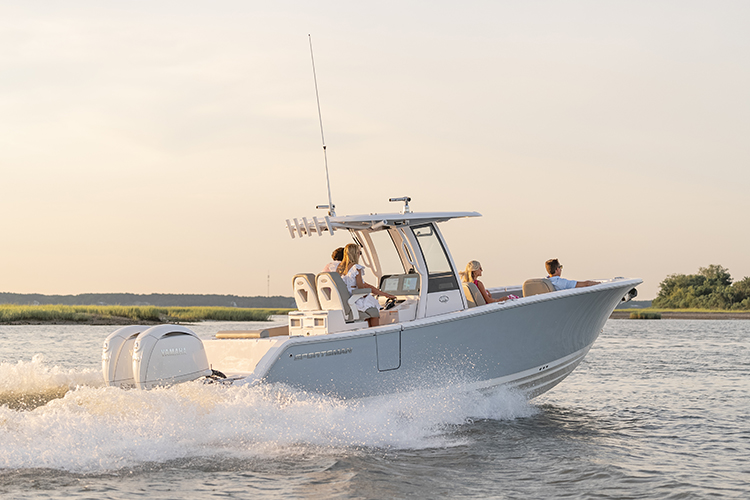
Built for families who want serious offshore capability,
premium comfort and the freedom to fish, cruise or entertain.
Open 402
NEW Open 352
NEW Open 322
NEW Open 302
Open 282
Open 262
Open 252
Open 232
Open 212
Heritage
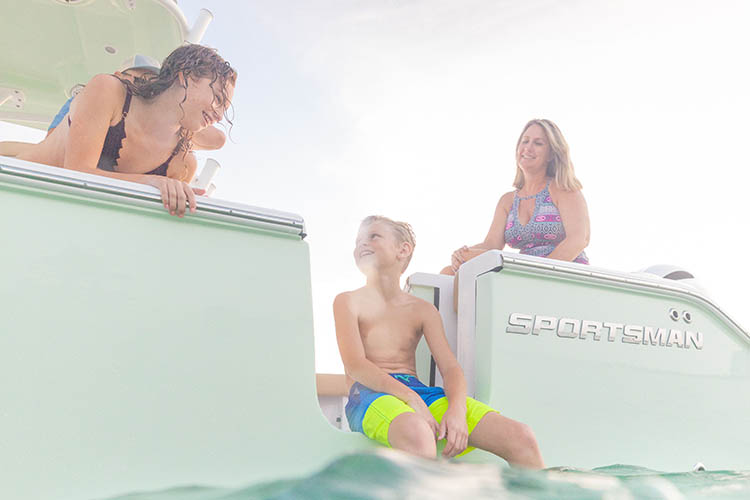
A refined crossover lineup designed for coastal cruising, ample seating,
family days and some fishing when the moment calls for it.
NEW Heritage 321
Heritage 261
NEW Heritage 251
Heritage 231
Masters
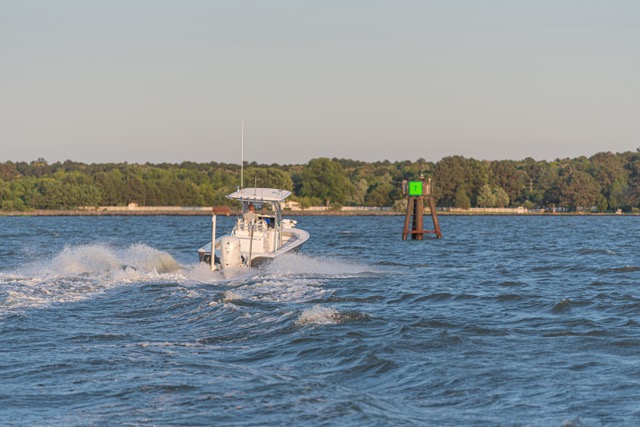
Shallow-water performance, fishing-focused layouts and
everyday comfort built for family life and fishing.
NEW Masters 287
Masters 267
Masters 267OE
Masters 247
Masters 247OE
Masters 227
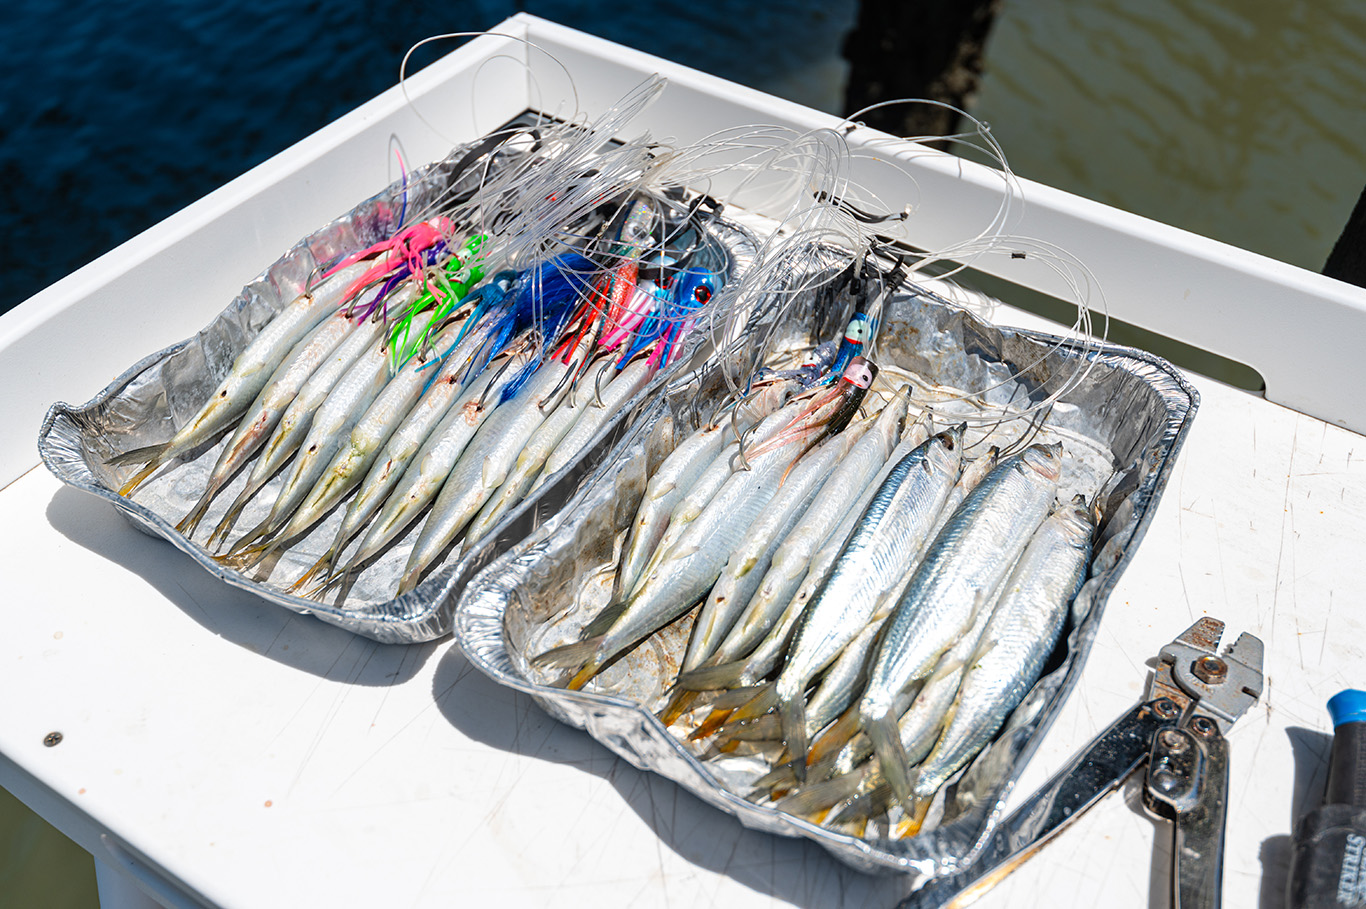
The offshore bite is booming and it's important to know exactly how to have baits rigged to take the most advantage of those good days offshore. One of the most used baits for trolling offshore of the Carolinas and throughout the east coast is the ballyhoo rig. Jim's giving us a step by step on how to rig these baits and make sure you've got the best baits for catching all sorts of pelagic species.
-
•Keep the rig simple so you can re bait quickly and stay in the bite
-
•Use proper tackle: an 80–100 lb mono leader and a 7/0 to 8/0 Mustad O'Shaughnessy hook; double crimps sized to the mono; and a stiff chin pin
-
•Prep Ballyhoo thoroughly and keep them cold in a drainable cooler tray to maintain freshness for the day
Summer is here and the offshore bite is really starting to heat up. Having the proper trolling rigs is key to a successful day offshore. There are tons of varying opinions out there about which rig is the best. I prefer a rig that is easy to make and also easy to re-bait and get back in the water when the bite is hot. In this article we are going to cover a step-by-step guide to a simple ballyhoo rig that is easy to make and sure to fill the box.
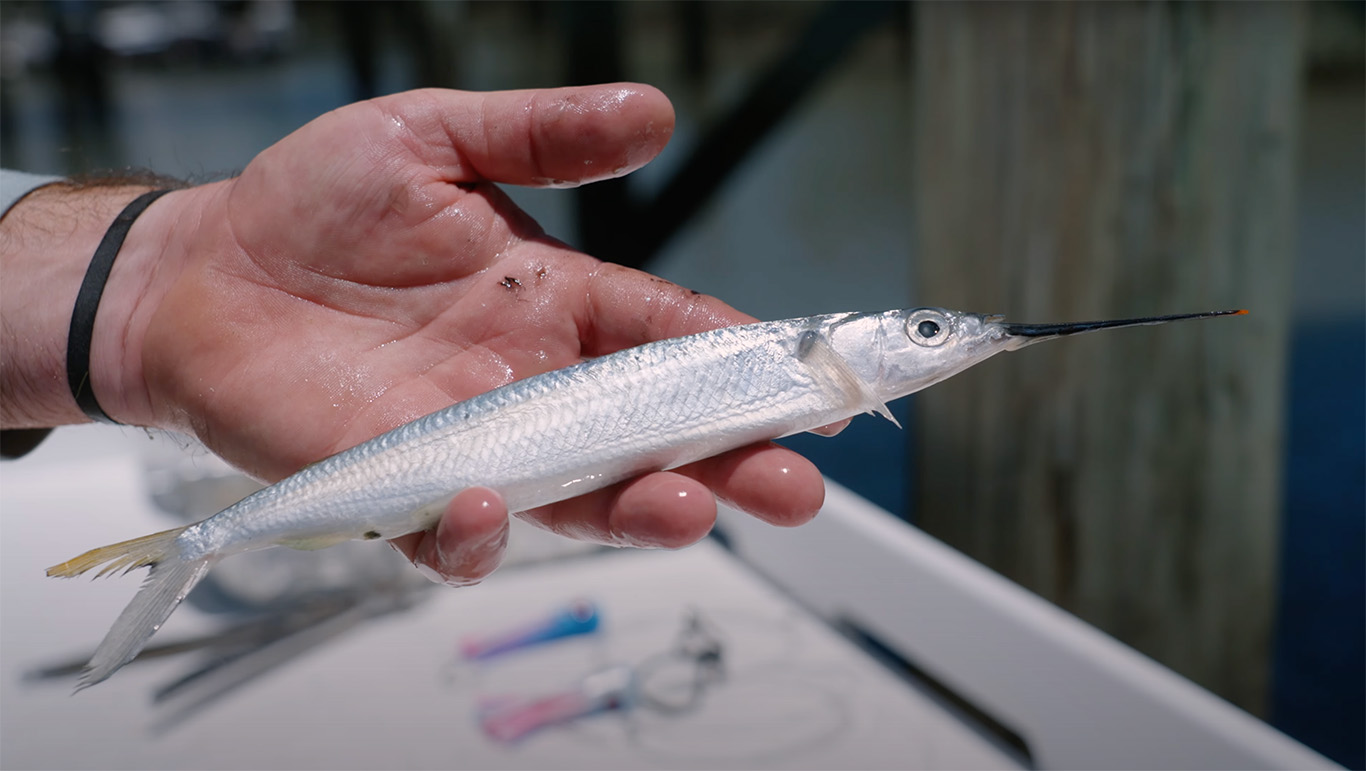
Step 1 – Ballyhoo Selection
Purchasing good, fresh, and properly packaged ballyhoo is a must. Always make sure to look at the package and make sure the bag is still vacuum sealed and there isn’t any frost bite on the baits. Check and make sure the ballyhoo have clear eyes and clean silver sides. I also like to see good orange tips on the bill and tail. Generally, I prefer to use a medium size ballyhoo because it is a good all-around size for most pelagic species. Small ballyhoos are great on naked rigged baits and horse make great pitch and teaser baits. A great place to order tournament quality baits is www.Baitmasters.com
Step 2 – Terminal Tackle
Going to the local tackle shop can be a bit overwhelming with all the tackle choices available but it doesn’t have to be. Here is a simple list of items needed to get started on our ballyhoo rig.
1. Mono – I prefer to use a good quality mono in the 80-100 lbs. range. Try to use mono coils and stay away from mono on spools to avoid memory in the line. Jinkai make a great product that is affordable as well.
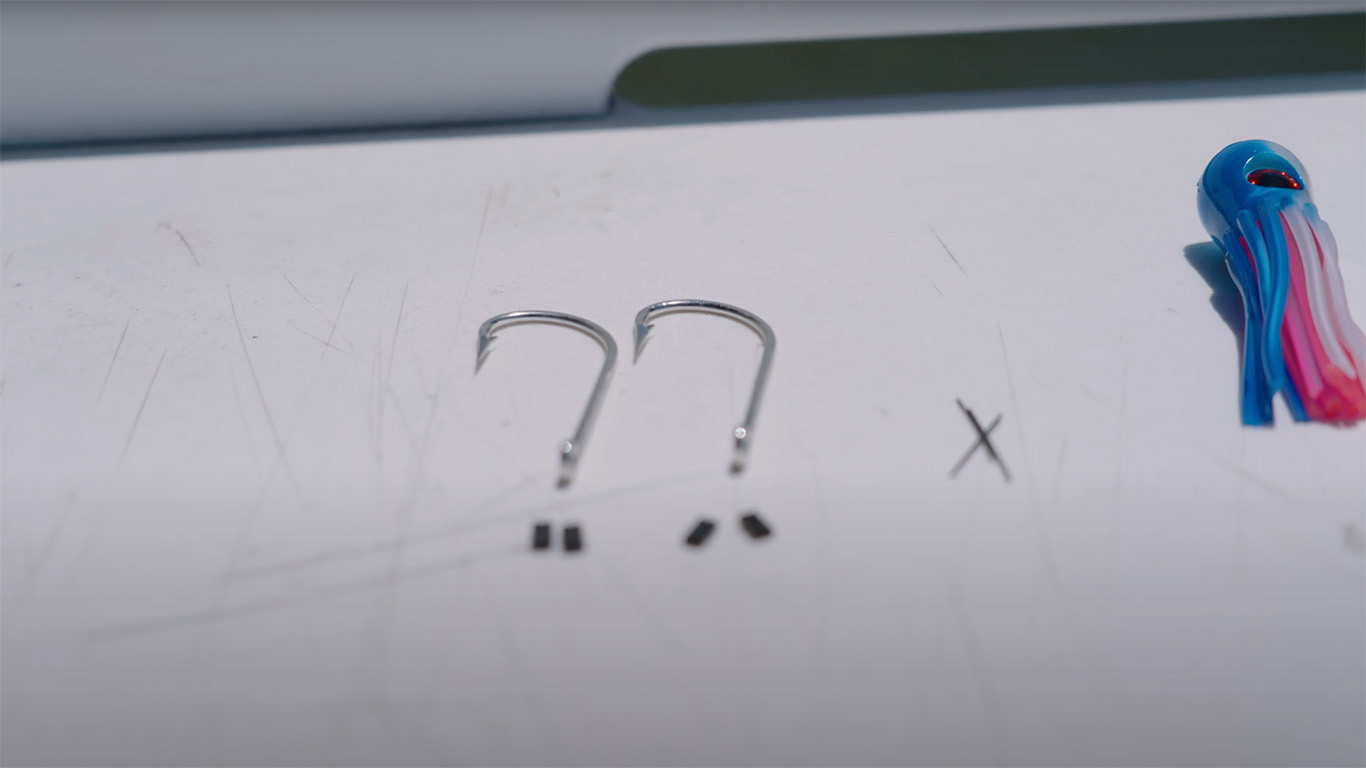
2. Hooks – A good all-around hook is the Mustad O’Shaughnessy style hook in the 7/O – 8/O size.
3. Crimps – The biggest thing with crimps is just make sure to use a double crimp that corresponds to the mono size you are using. If the crimp is not the correct size it can damage the mono or not create a strong connection which can lead to tackle failure.
4. Chin pin – On the chin pin you want to use a stiff piece of wire that can bend but is stiff enough to handle the tension from your rubber band. I like to use a 1-inch piece of Malin Hard Wire in the #12 - #14 size.
5. Rubber Bands – Most tackle shops carry small black rigging rubber bands. I like to use rubber bands with about a ¾” diameter and make sure to get a large enough package to last throughout the day.
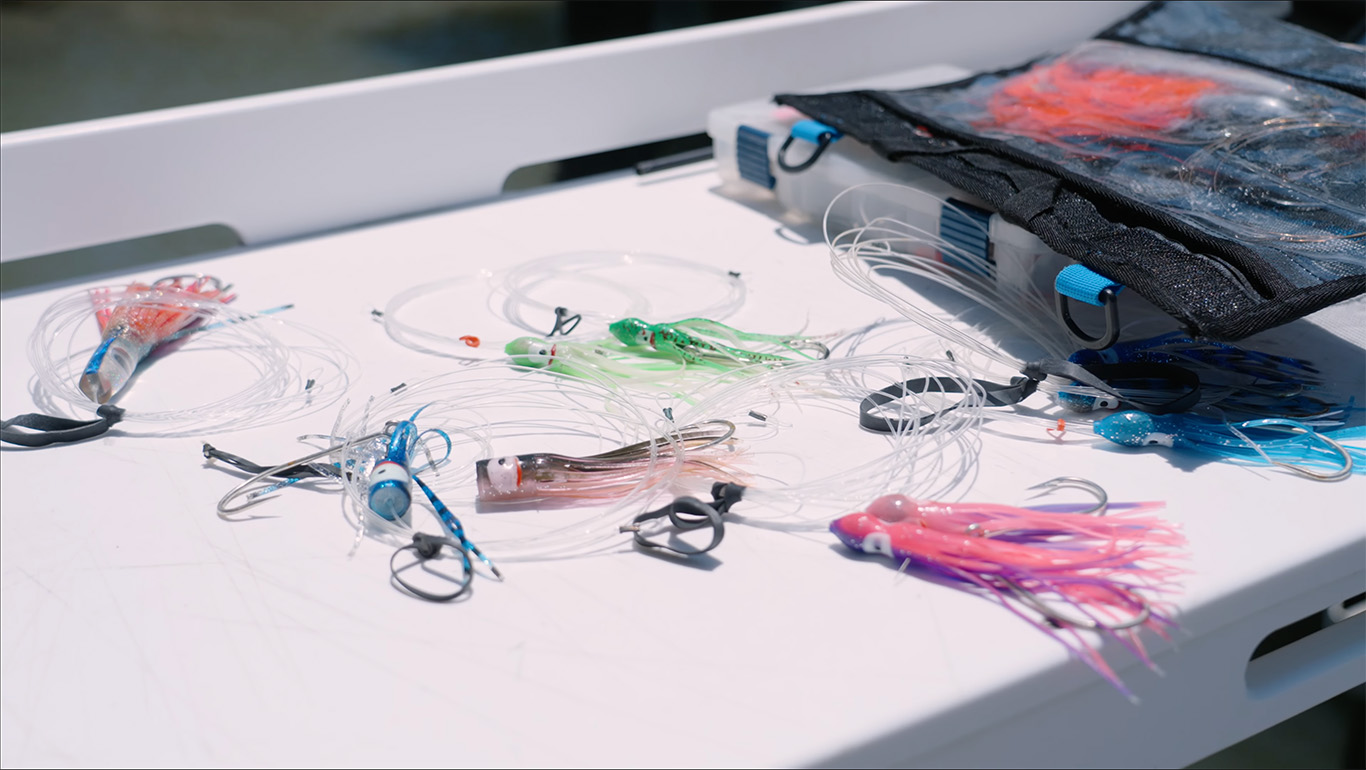
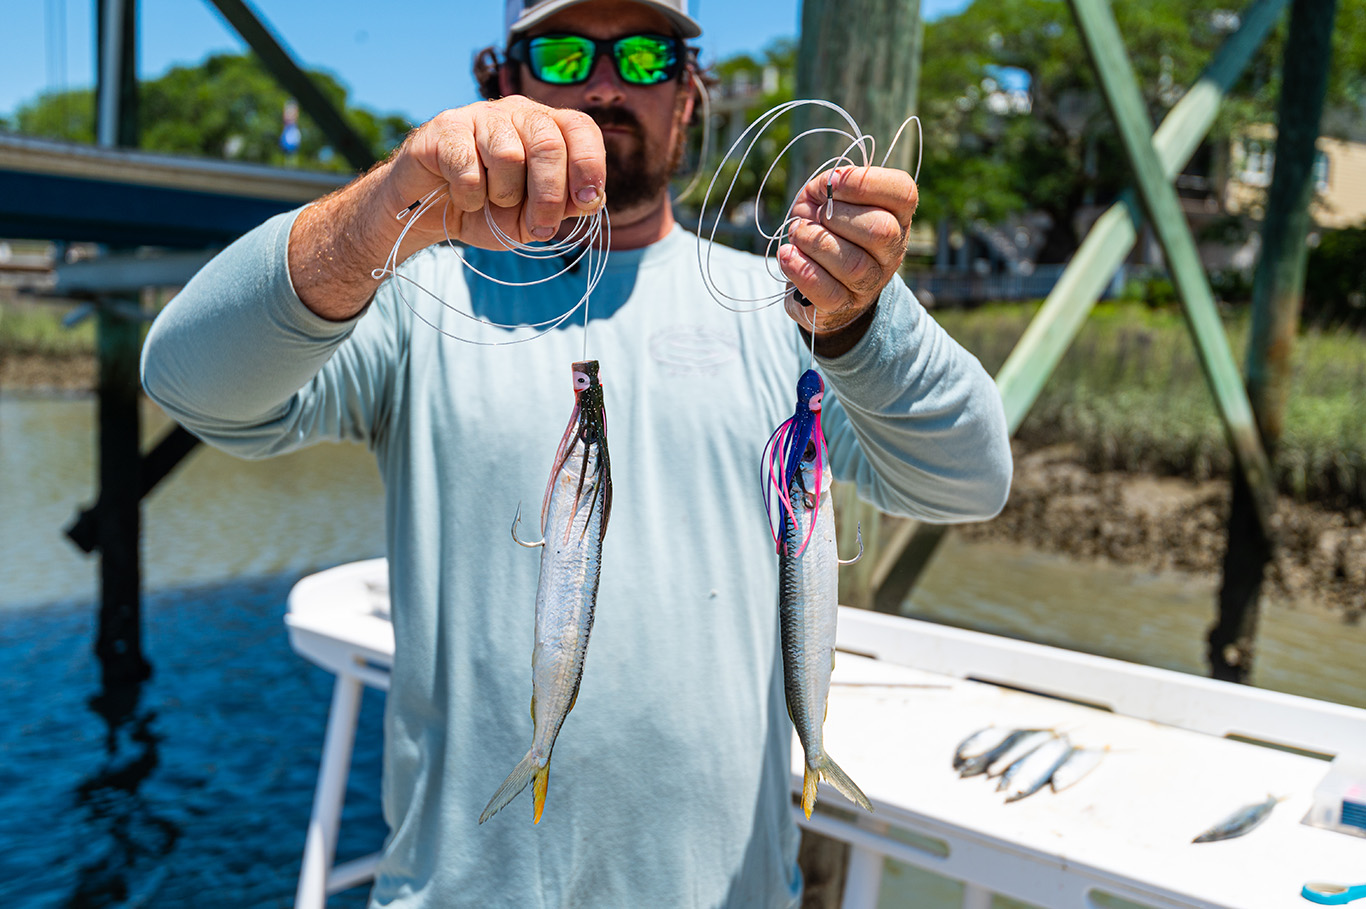
6. Skirt or Lure Head – This rig works best with a lure or skirt in the 4”- 6” range. You can use bullet style heads or chuggers, just make sure to get a variety of colors because you never know what the fish will prefer that day. It is hard to go wrong with colors like blues, greens, and pinks or darker colors like purples, reds and black.
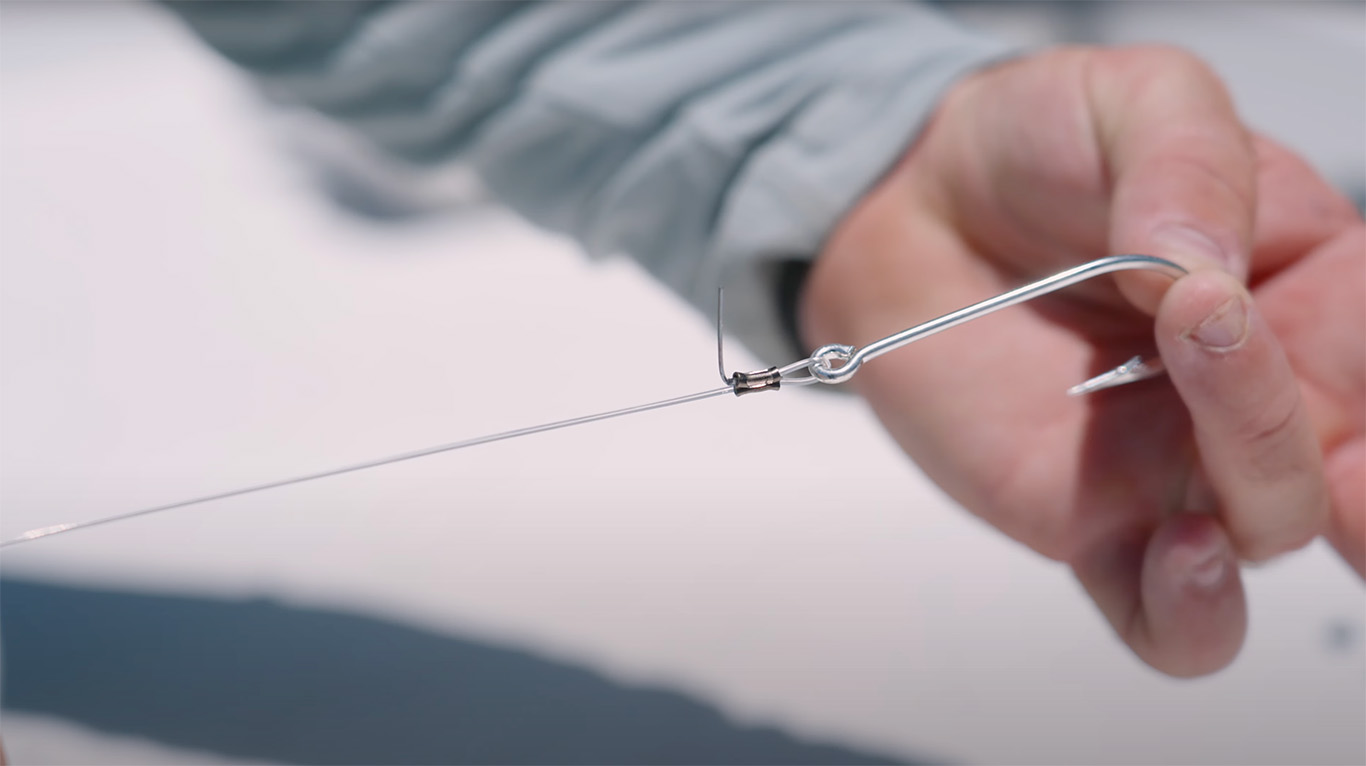
Step 3 – Making the Rig
1. Start by cutting a piece of your mono leader 6 – 8 ft long. Slide a crimp on to one side and then run the line up through the hook eye from the bottom side. Now run the line back through the open side of the crimp so that tag end is on top and pull it flush with end of the crimp. Before you finish the crimp, slide your 1” piece of hard wire in the middle of the crimp between the mono without poking out the other side. Use a crimping tool, on the appropriate setting, and finish your crimp. Make sure not to squeeze the crimp at the very end so the crimp doesn’t cut the mono. Once crimped, bend the wire at a 90-degree angle straight up towards the topside of the hook. Take the other end of the mono and slide your lure/skirt down over the hook. Finish the rig by running the open mono end through a new crimp, create a small loop and go back through the open end of the crimp. Pull the tag end flush with the crimp and use a crimping tool to finish by squeezing the crimp in the middle, leaving the ends open.
2. You can also add and small 3/8” to ½” egg weight between the hook and crimp to add weight to your rig for lighter lures.
Step 4 – Prepping the Ballyhoo
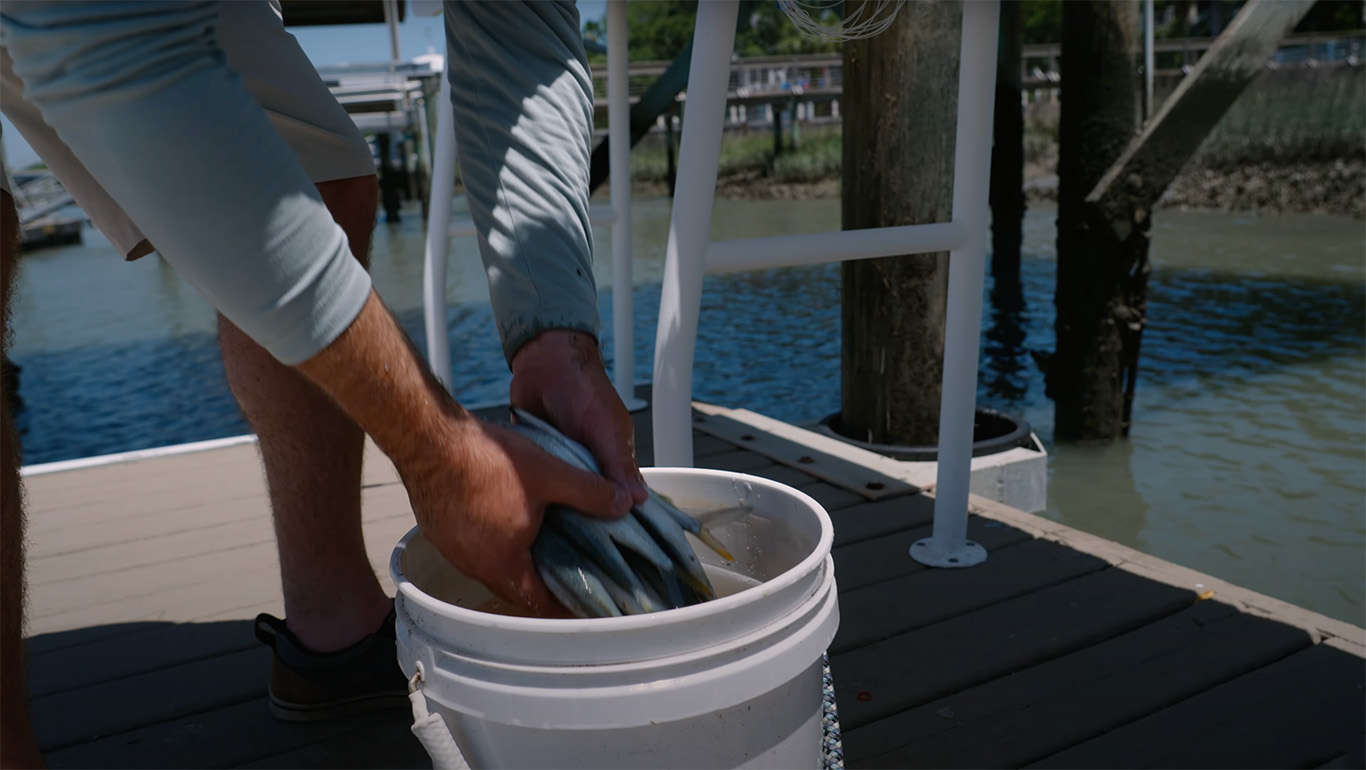
1. Place your ballyhoo in a bucket of saltwater and allow them to thaw until they are not frozen but not totally soft. If you have to force the ballyhoo apart, they still need to be thawed more.
2. Remove from the bucket and poke the eyes out. A hunting arrow shaft works perfectly for this job.
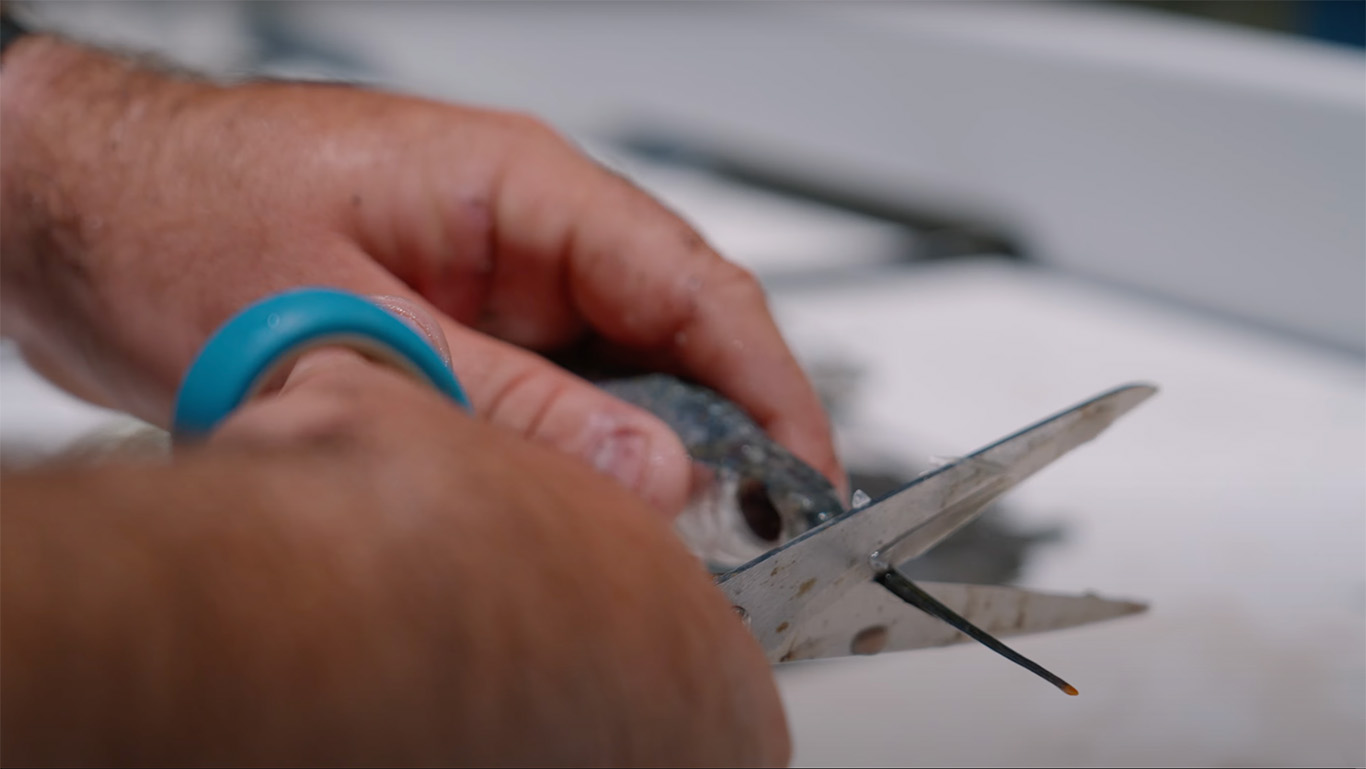
3. I like to use scissors and remove the pectoral fins to make the bait more streamlined, but you don’t have to do this step.
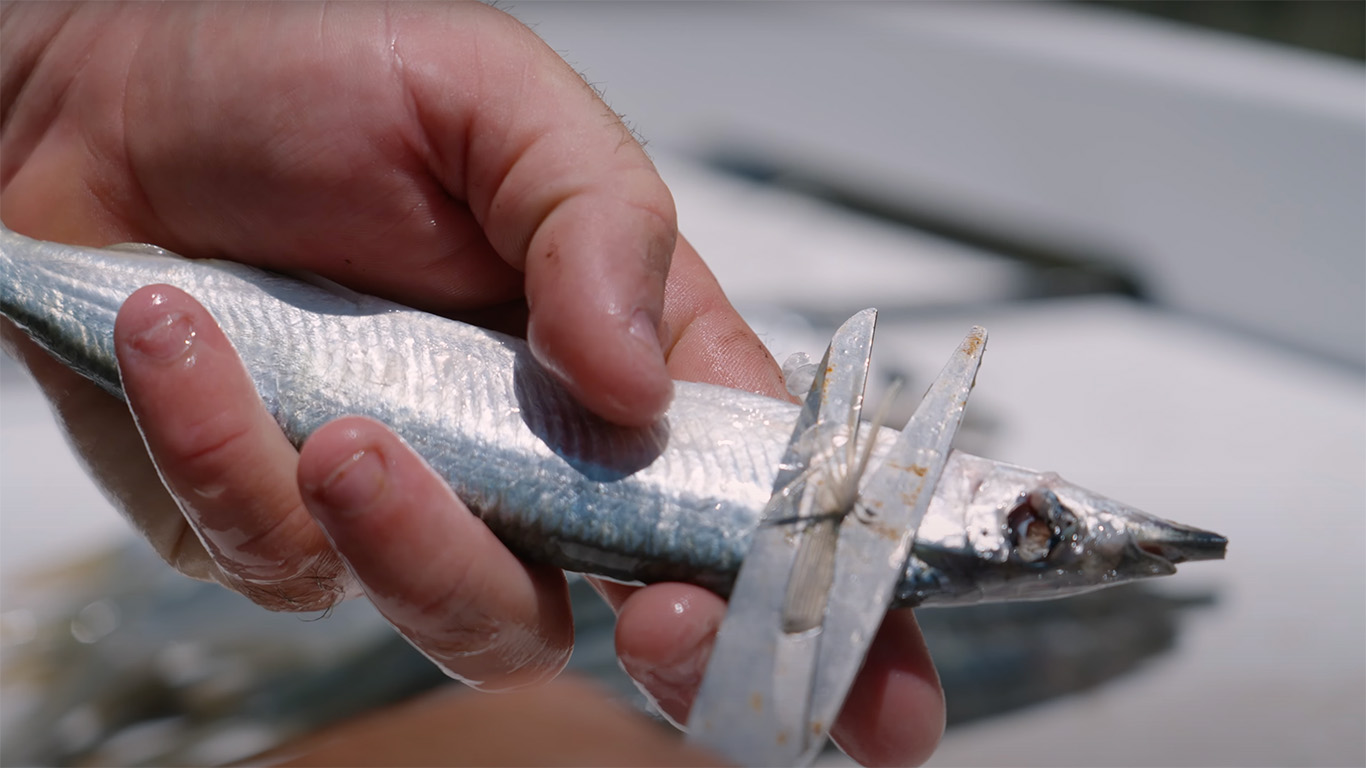
4. Lightly squeeze the ballyhoo along the stomach starting at the gills and back removing the grass and stomach contents. Make sure not to apply too much pressure and cause damage to the ballyhoo.
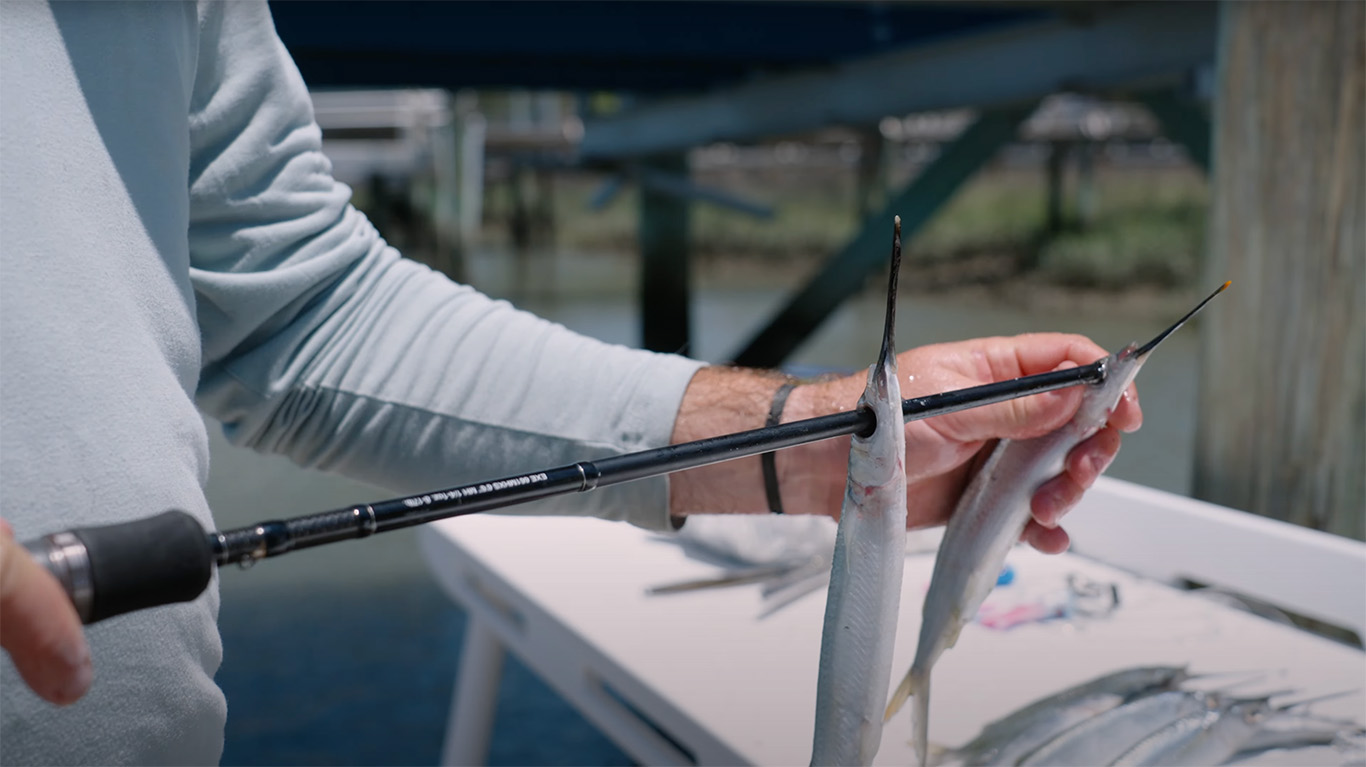
5. Cut the bottom bill, leaving about ¼” in front of the top beak.
6. If it is hot outside fill the saltwater bucket with ice and place the prepped ballyhoo back in it while waiting to rig. Leaving them in the heat too long can cause the baits to get soft.
Step 5 – Rigging the Ballyhoo
Hook placement in you ballyhoo is key to allowing the bait to swim straight and not helicopter in the water.
1. Lay out the unrigged ballyhoo on a table and place your rig beside it. Line the rig up below the ballyhoo so that the chin pin sticks up through the bottom lip and out the middle of the top lip. There is a crease in the top lip that is a perfect place to aim for the pin to stick through. Make a mark on the ballyhoo so you know where the hook needs to come through the stomach.
2. Take your hook and run it between the gills of the ballyhoo and come out of the mark on the stomach. The eye of the hook should sit in the middle just below the gills.
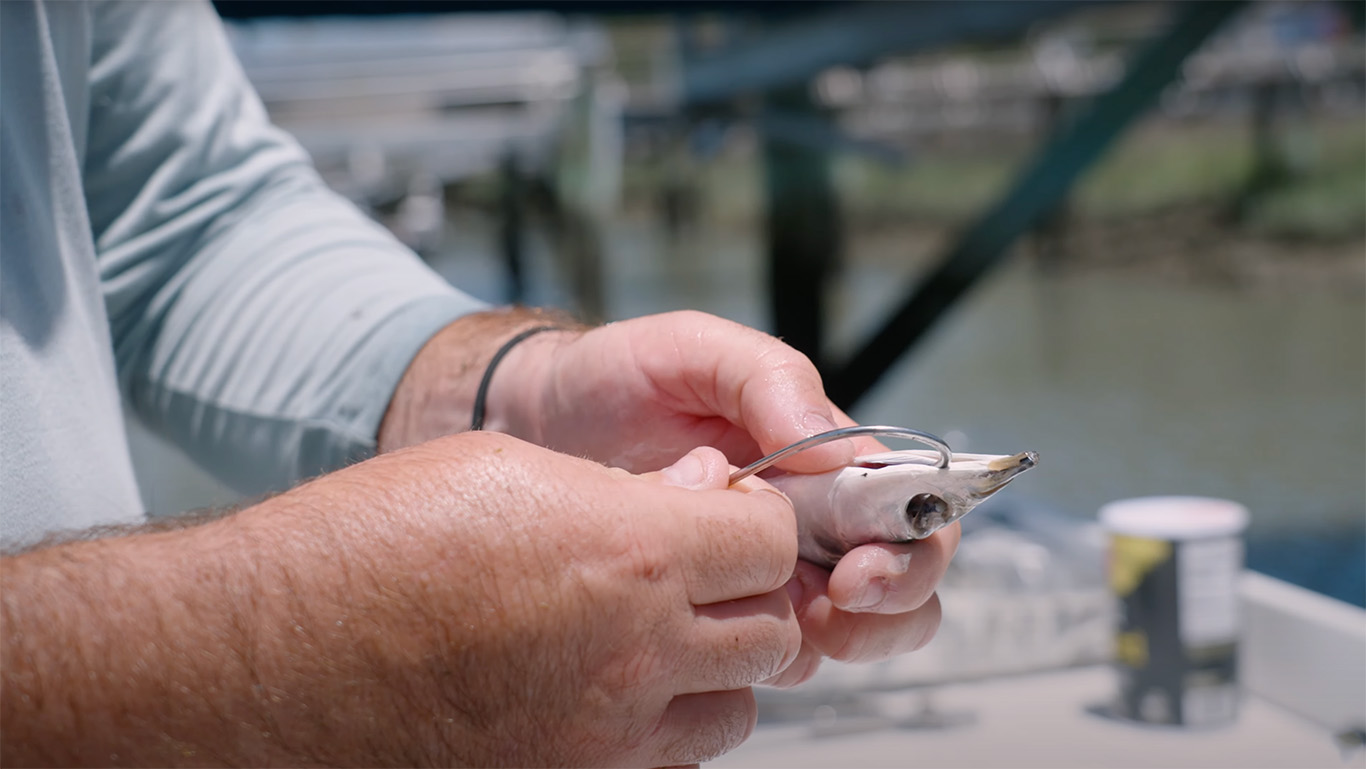
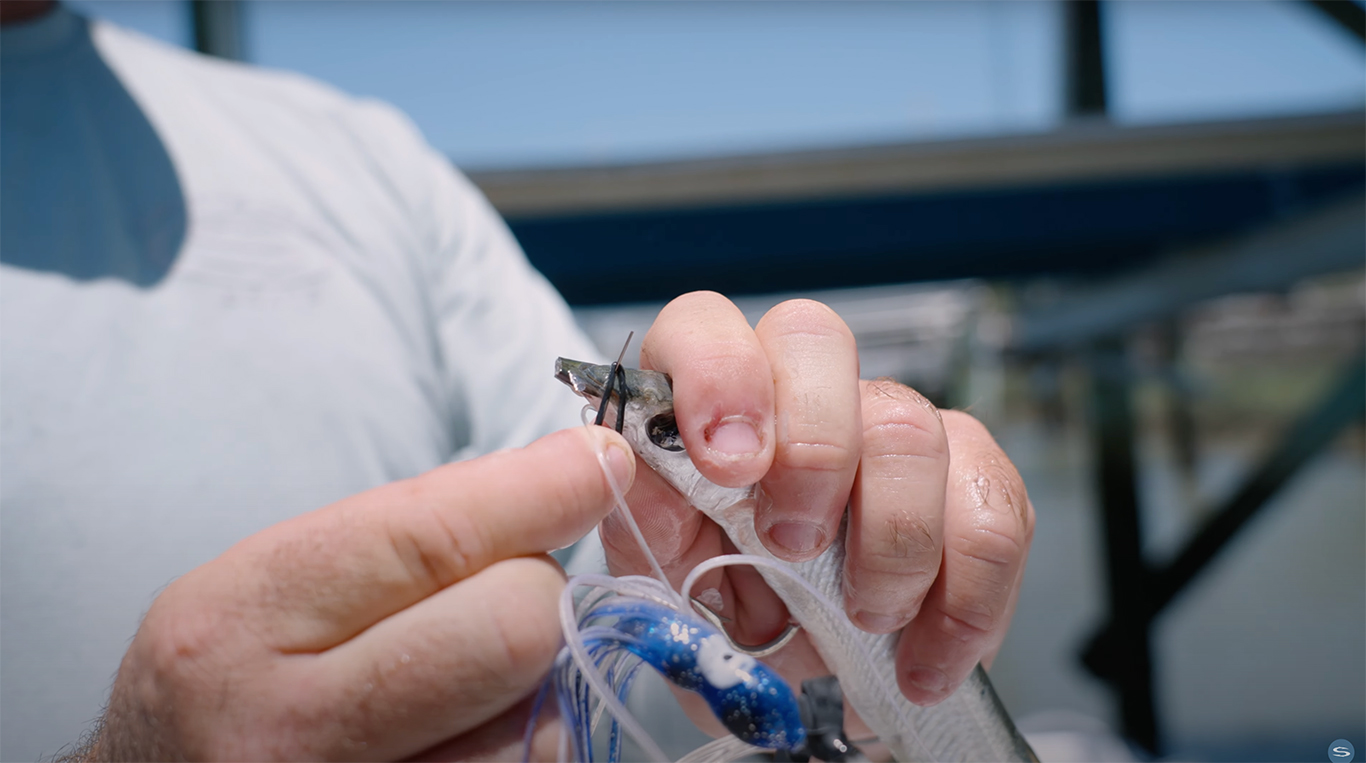
3. Stick your chin pin up through the bottom lip and out the top.
4. Grab your small rubber band and hook one side on the chin pin. Now wrap the rubber band around the ballyhoos nose two times and hook the open end back over the chin pin.
5. Hold your rig up by the leader and make sure your ballyhoo is laying straight, you do not want it to have a bend. If it does have a bend your hook may be too far back in the stomach and needs to be repositioned.
6. The lure/skirt should slide down over the head of the ballyhoo allowing the rig to hang nice and straight.
Step 6 – Placing in the cooler
1. Properly storing your rigged baits is key to keeping them fresh and durable for the days trip. You want to store your bait in a tray with drains in the bottom to remove any standing water. Make sure the bait tray stays above any standing or sloshing freshwater in the cooler to avoid the baits getting soft. Slightly cracking the cooler drain is You can keep your baits tough using a salt brine sprinkled on top of them as well. I do not like to salt brine naked rigged swimming ballyhoo but cant really tell the difference on lure/skirt rigged ballyhoo.
Hopefully this step-by-step guide helps eliminate some of the questions regarding these simple to make ballyhoo rigs. These rigs are proven and will catch a wide variety of pelagic species from peanut dolphin to blue marlin. One of the great things about these rigs also, is the ease to re-bait on the fly if your ballyhoo gets hit and messed up. Offshore trips always take a lot of effort and preparation so these simple rigs should save some time and headaches along the way.