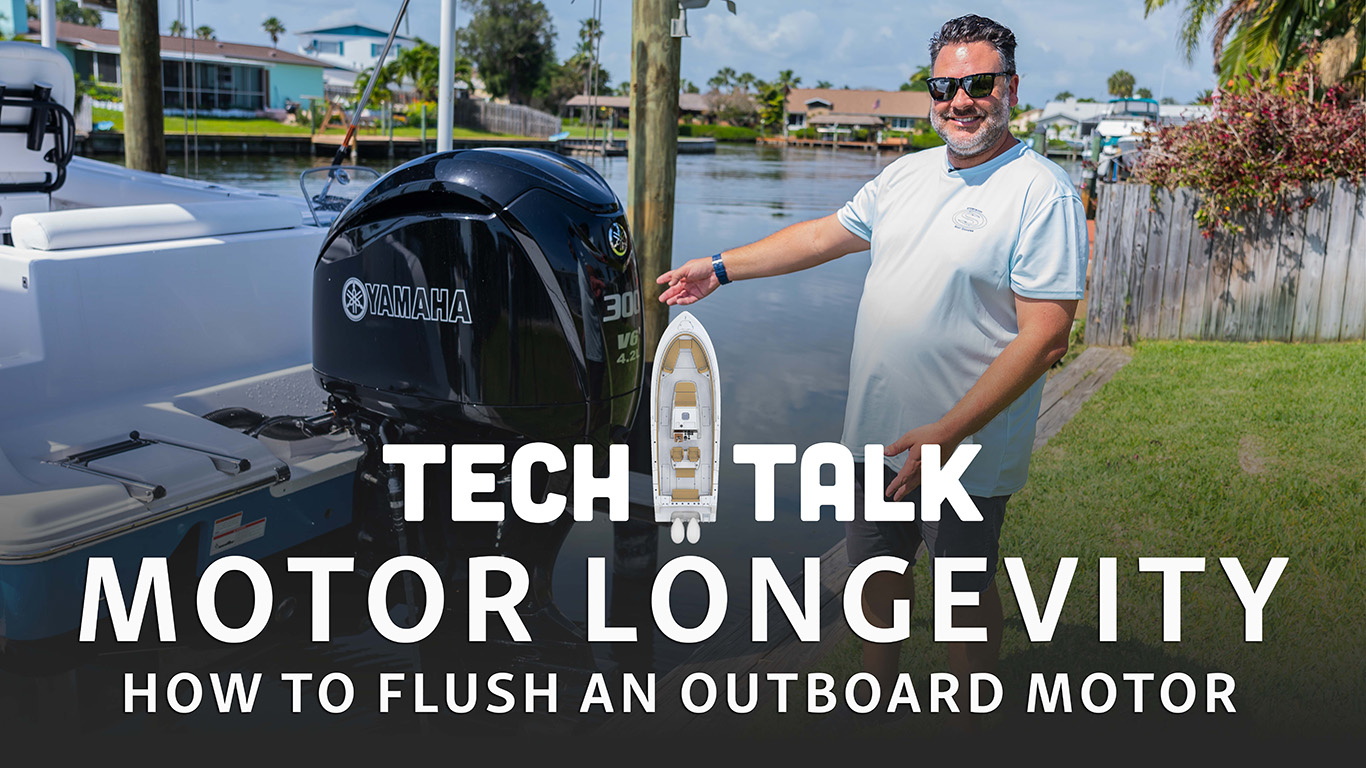
In this episode of Tech Talk, Aaron takes a few minutes to go over the steps of flushing an outboard motor. These simple steps can improve the longevity and performance of your Yamaha outboard engine, all you need is a garden hose and 10 minutes of time.

-
•Regularly flushing after saltwater use helps prevent salt buildup and corrosion by removing salt from the cooling system and extending engine life.
-
•Flush while the engine is warm after returning to the dock to improve salt particle removal and thermostat performance.
-
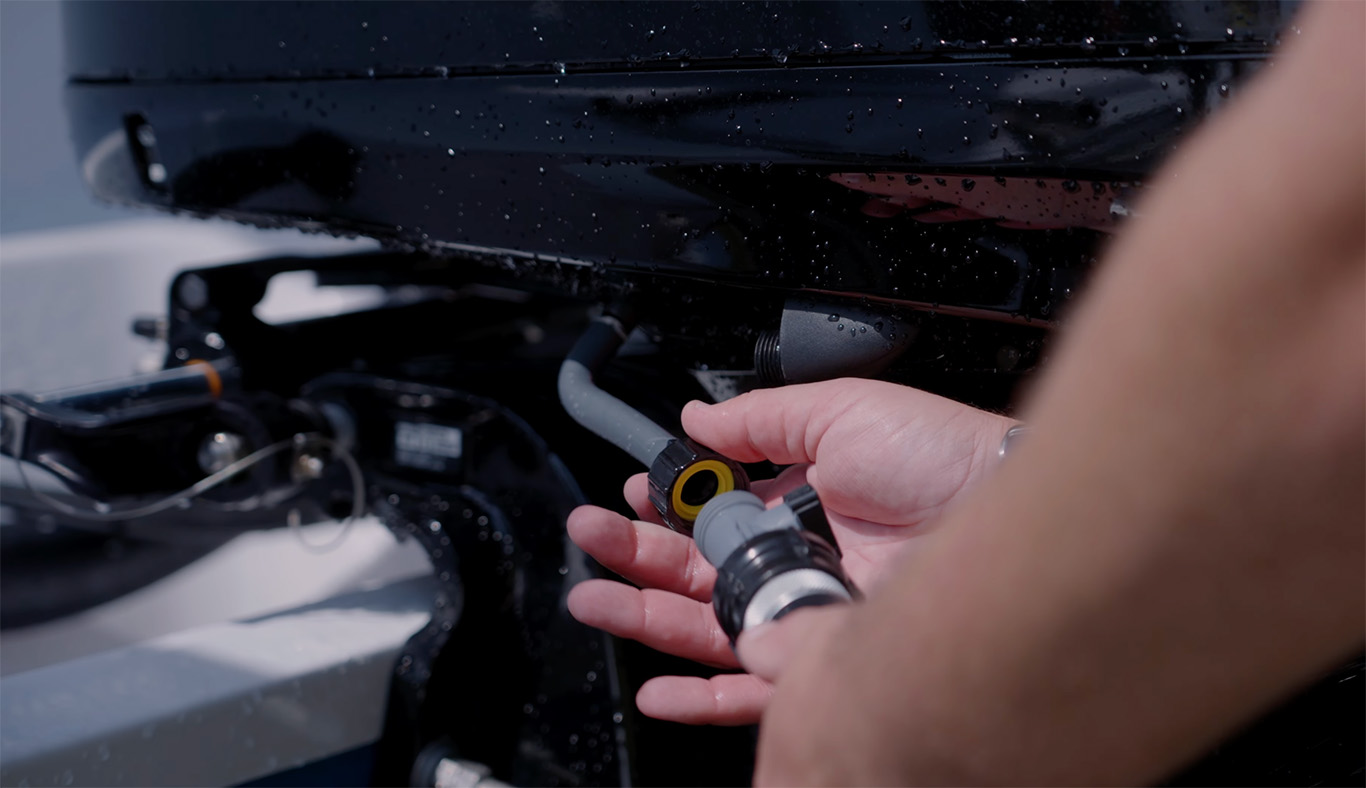
•Use a garden hose with an on/off quick connector and securely reattach the flush port after flushing to prevent leaks and simplify future maintenance.
In this episode of Tech Talk we will explore one of the simplest yet vital steps you can take to ensure the longevity and performance of your boat engine. If you frequently use your boat in a saltwater environment, flushing your motor is an essential maintenance practice. Join us as we delve into the details of this crucial process.
Step 1: Accessing the Flush Port Begin by locating the quick access flush port, usually situated on the port side of your motor. Unscrew the flush port, and if there is any saltwater present, allow it to drain out. By doing so, you prevent flushing the saltwater back into the system, ensuring a clean and effective flush.
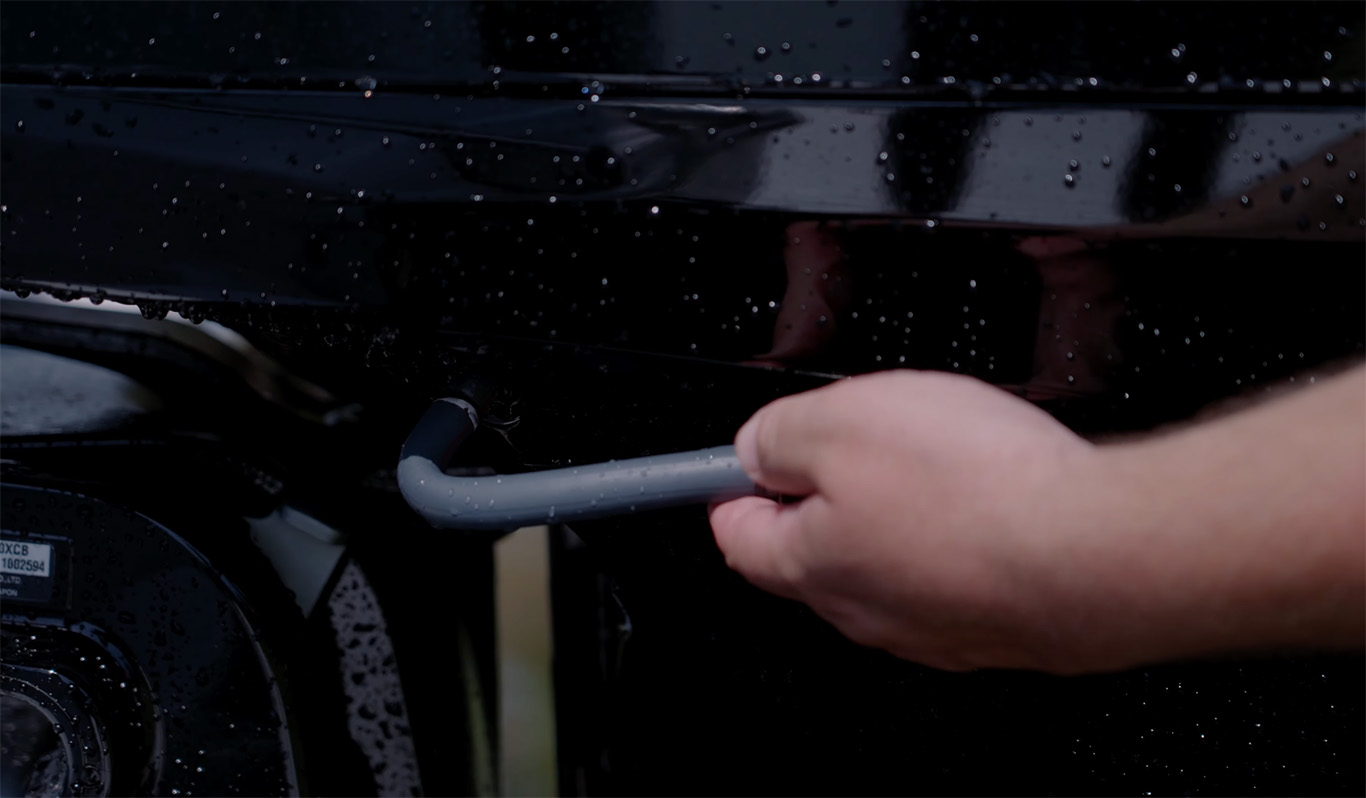
Step 2: Connecting the Garden Hose Next, attach a garden hose to the flush port. It is recommended to use a hose with an on/off quick connector at the bottom, enabling you to control the water flow conveniently. This feature proves beneficial during the flushing process.
Step 3: Initiating the Flush Turn on the water supply by cranking open the hose's on/off valve. Allow the motor to flush for a duration of five to ten minutes. Ideally, perform this flush immediately upon returning to the dock when the engine is still warm. In doing so, the possibility of the thermostats remaining open increases, facilitating the removal of salt particles accumulated in the cooling sleeves of the motor.
Step 4: Wrapping Up After the recommended flushing time has elapsed, it is time to conclude the process. Turn off the water supply by closing the on/off valve of the garden hose. Disconnect the hose from the flush port, ensuring a secure closure. Finally, reattach the port to the engine, ensuring a tight fit. By following these simple steps, you have successfully executed the most effective technique for prolonging the life of your boat's motor.
Maintaining your boat engine is of utmost importance when it comes to maximizing its lifespan and ensuring its reliable performance. Flushing the motor, especially in saltwater environments, plays a vital role in preventing salt build-up and corrosion. By following the steps outlined in this guide, including accessing the flush port, connecting the garden hose, initiating the flush, and wrapping up the process, you are taking significant strides toward protecting and prolonging the life of your boat's engine. Remember, regular maintenance practices are essential for optimal performance and the prevention of costly repairs.
Related Posts

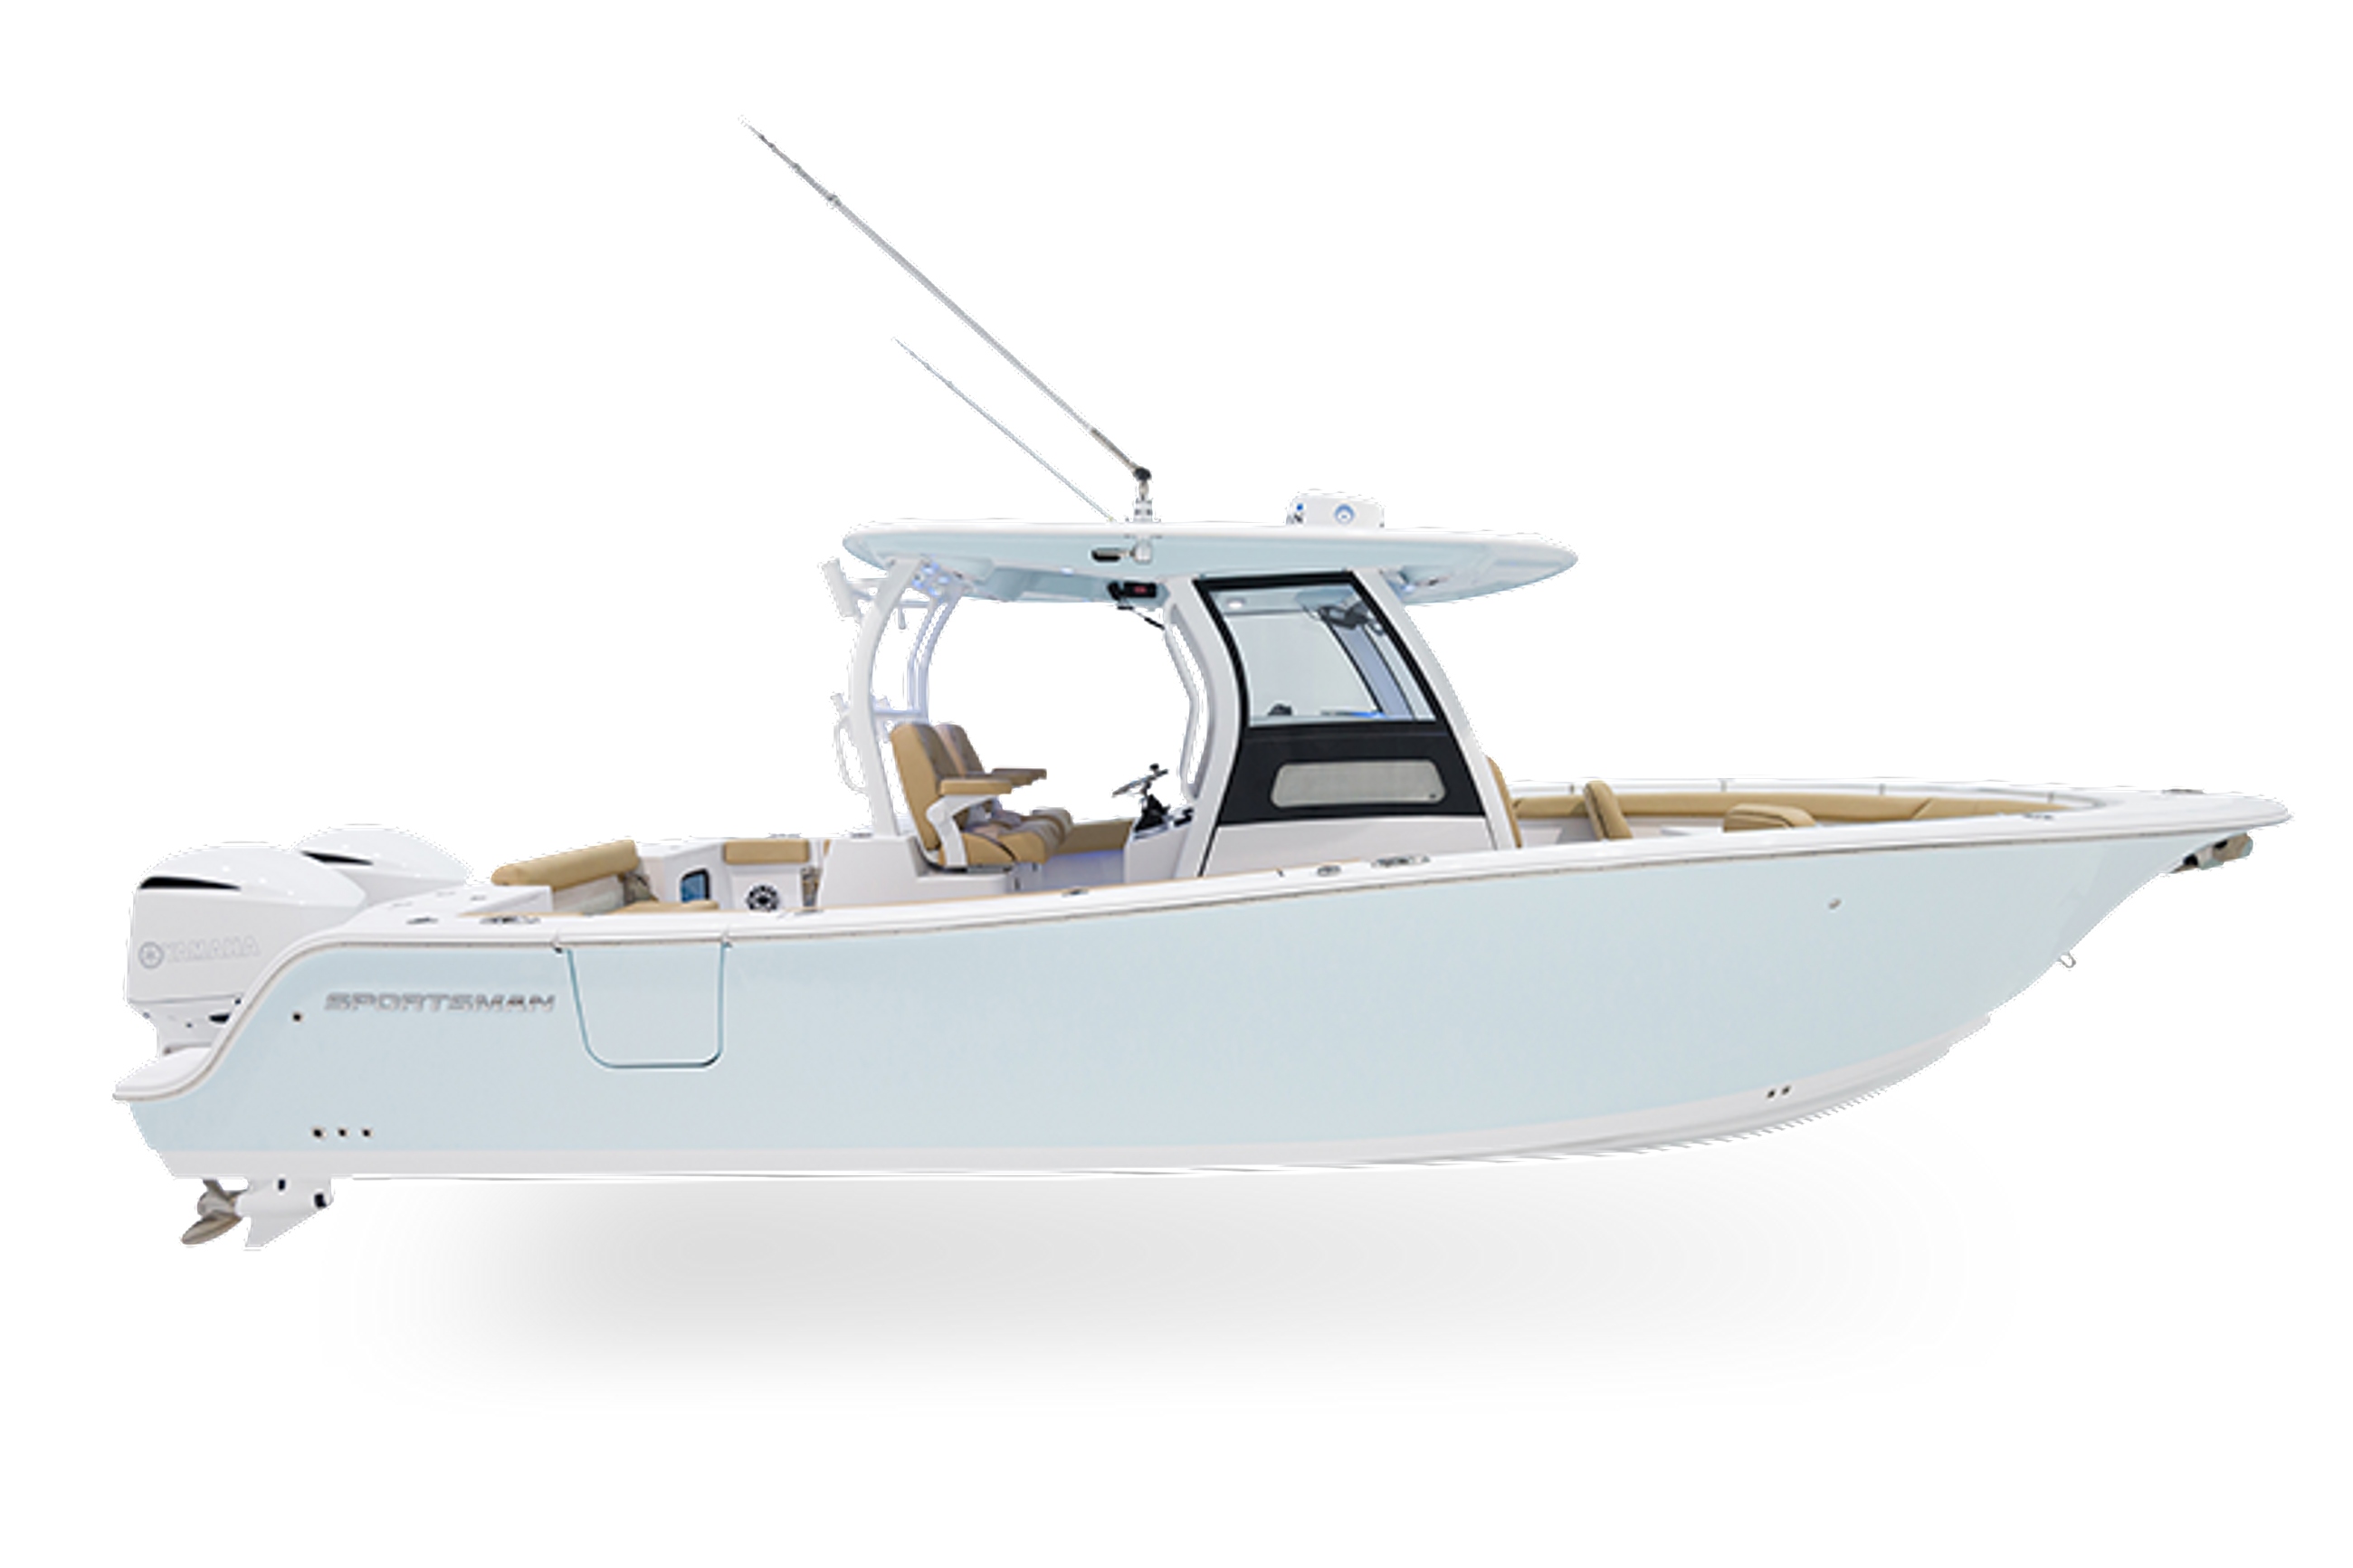
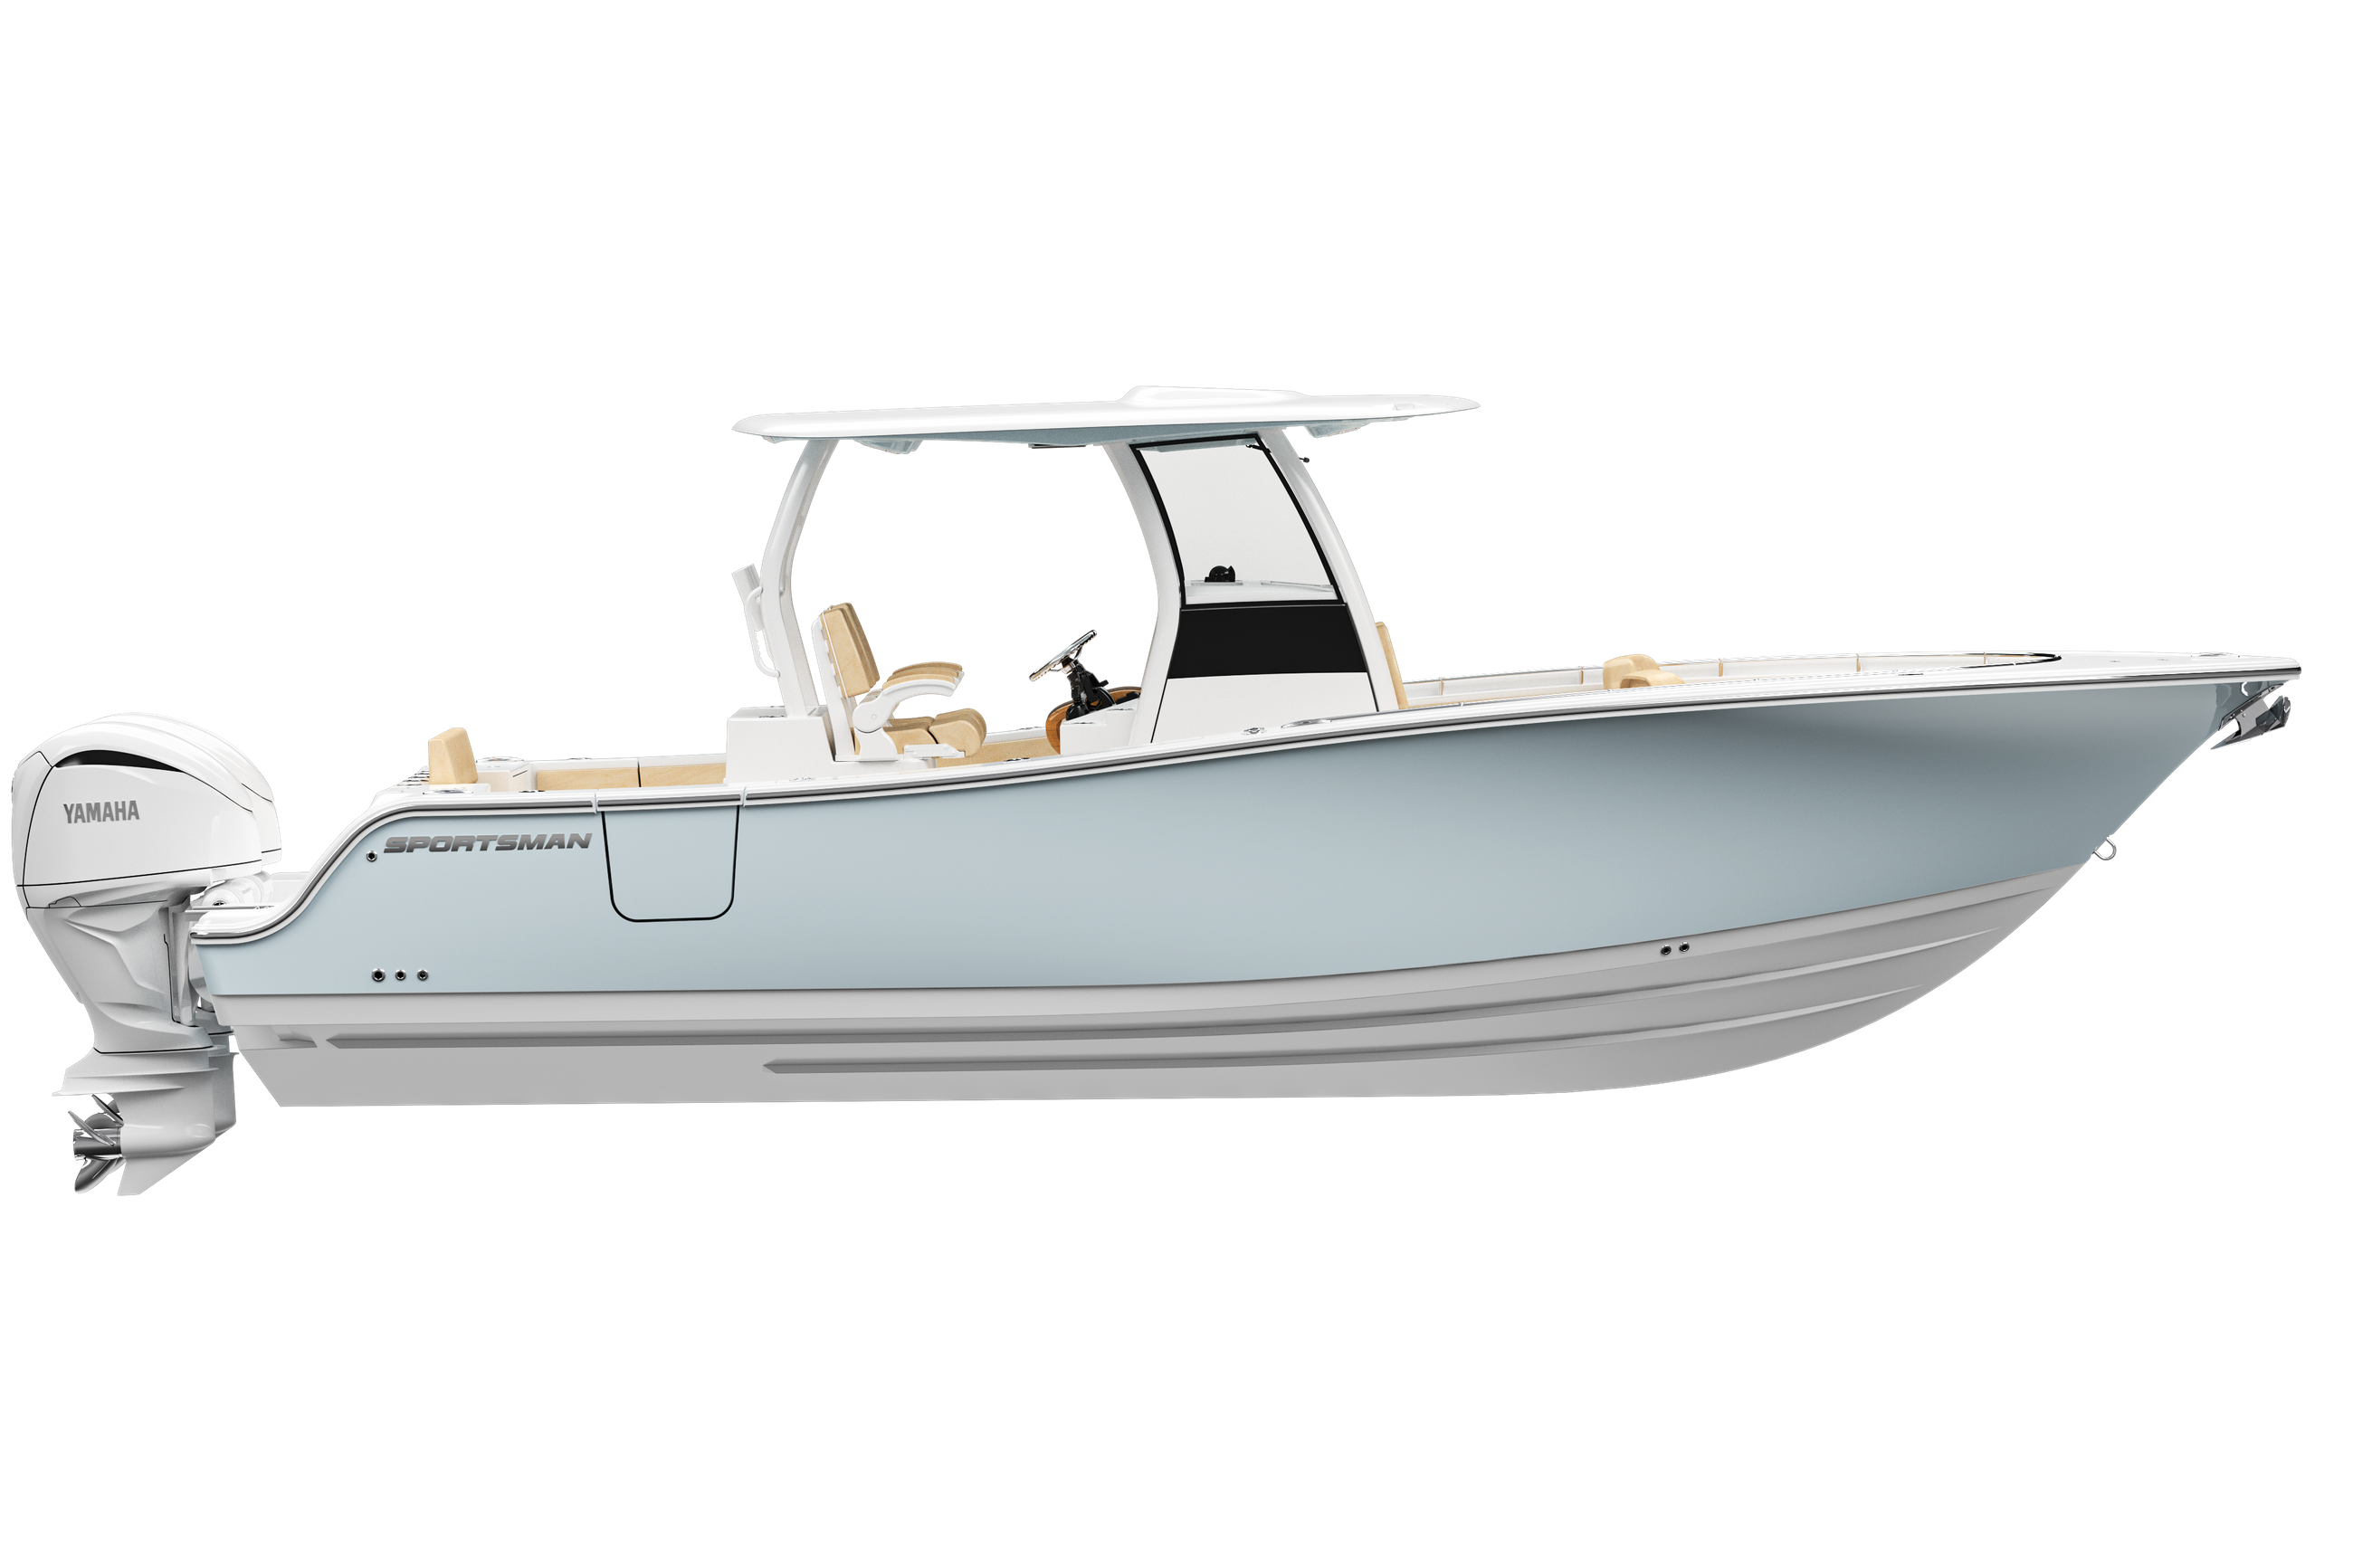
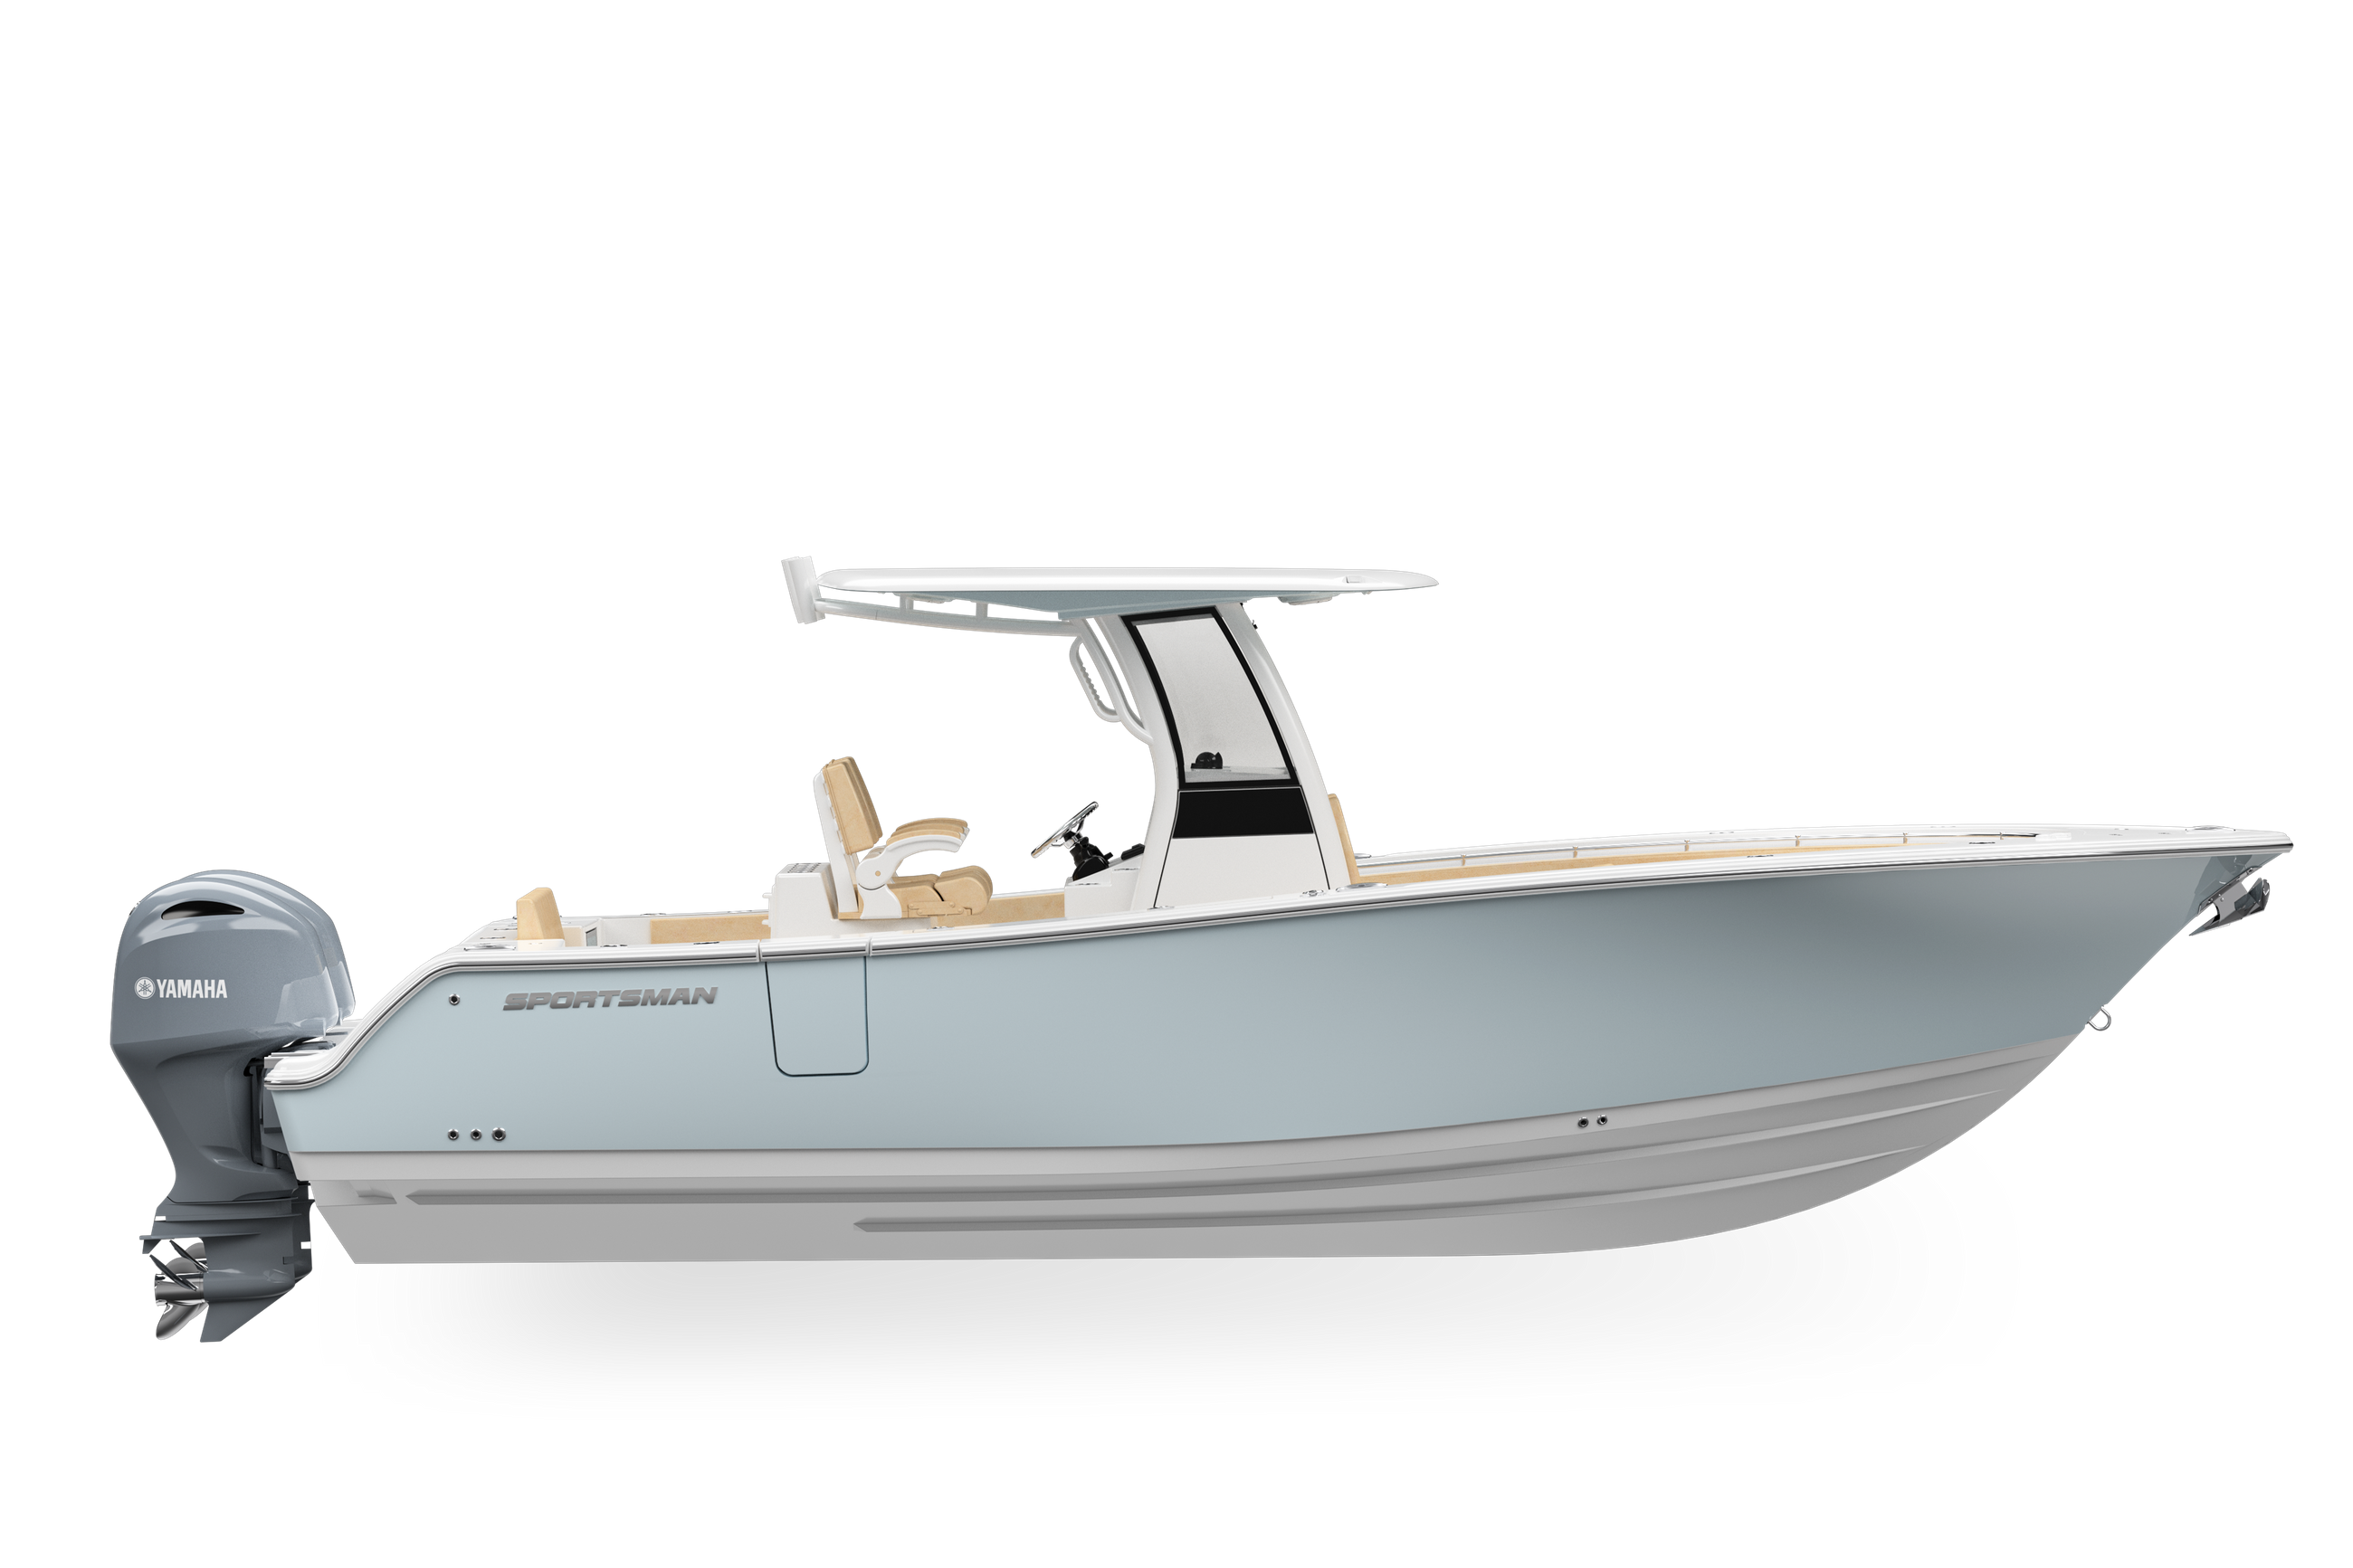
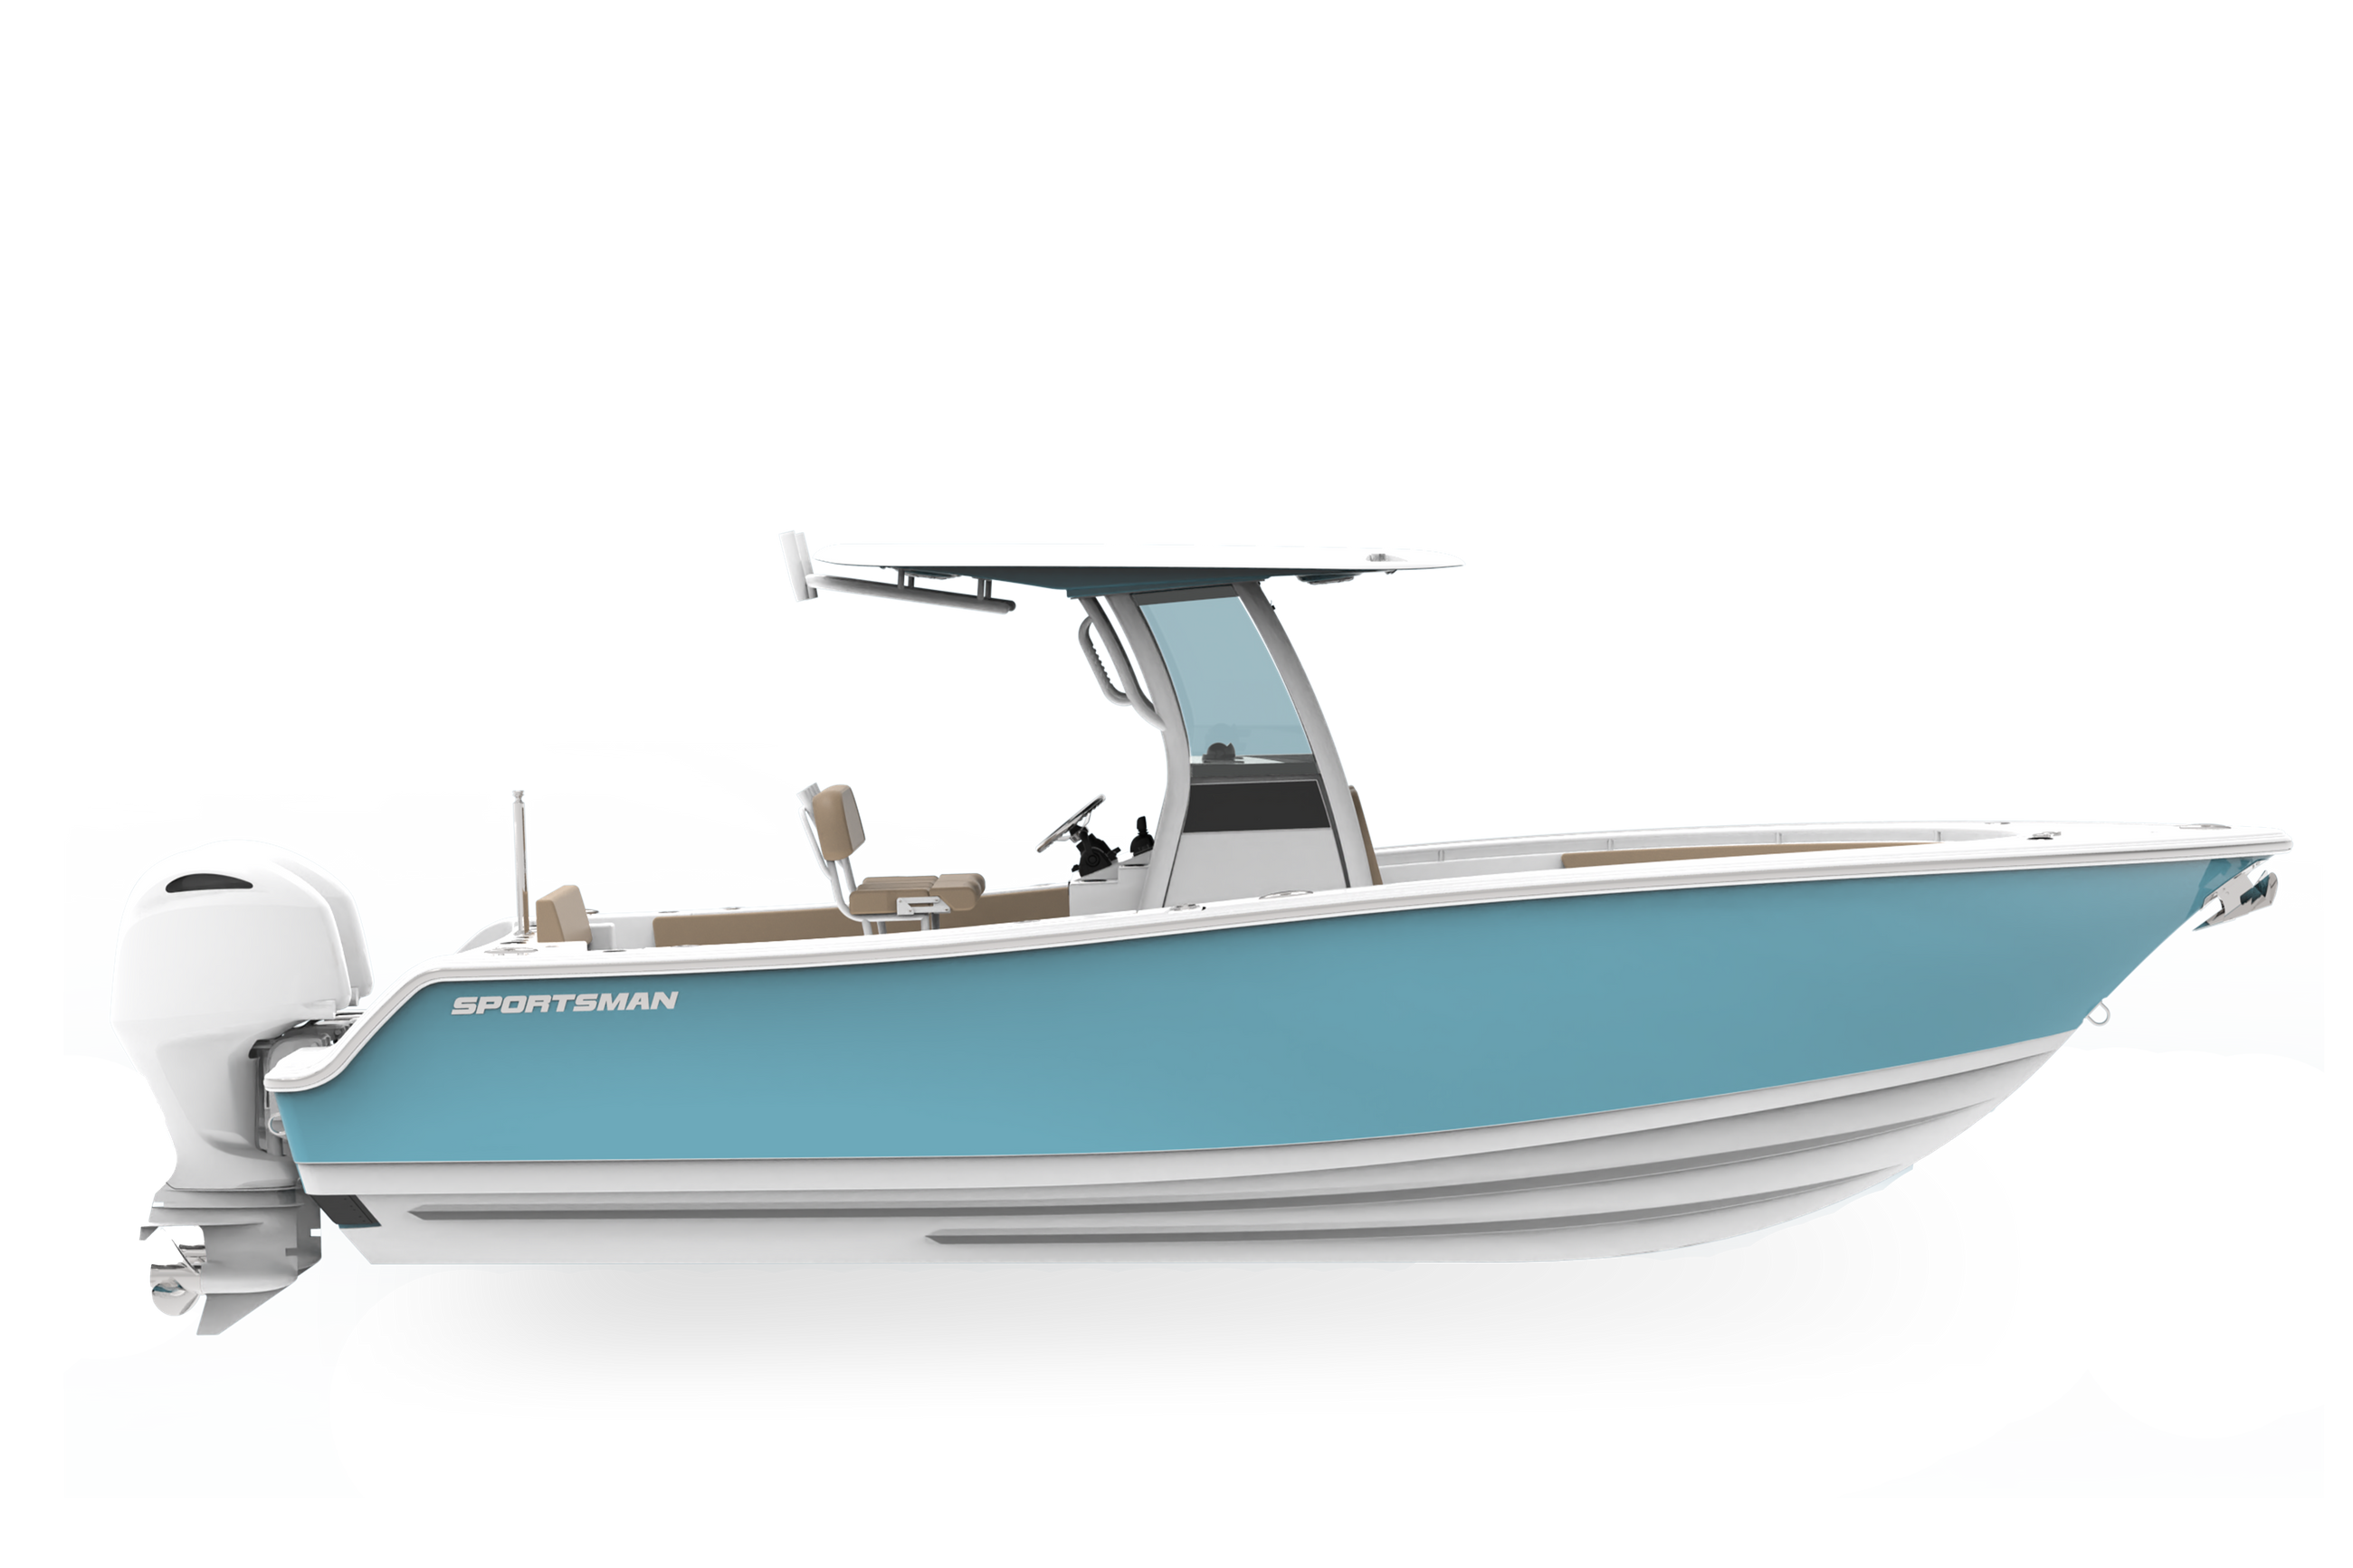
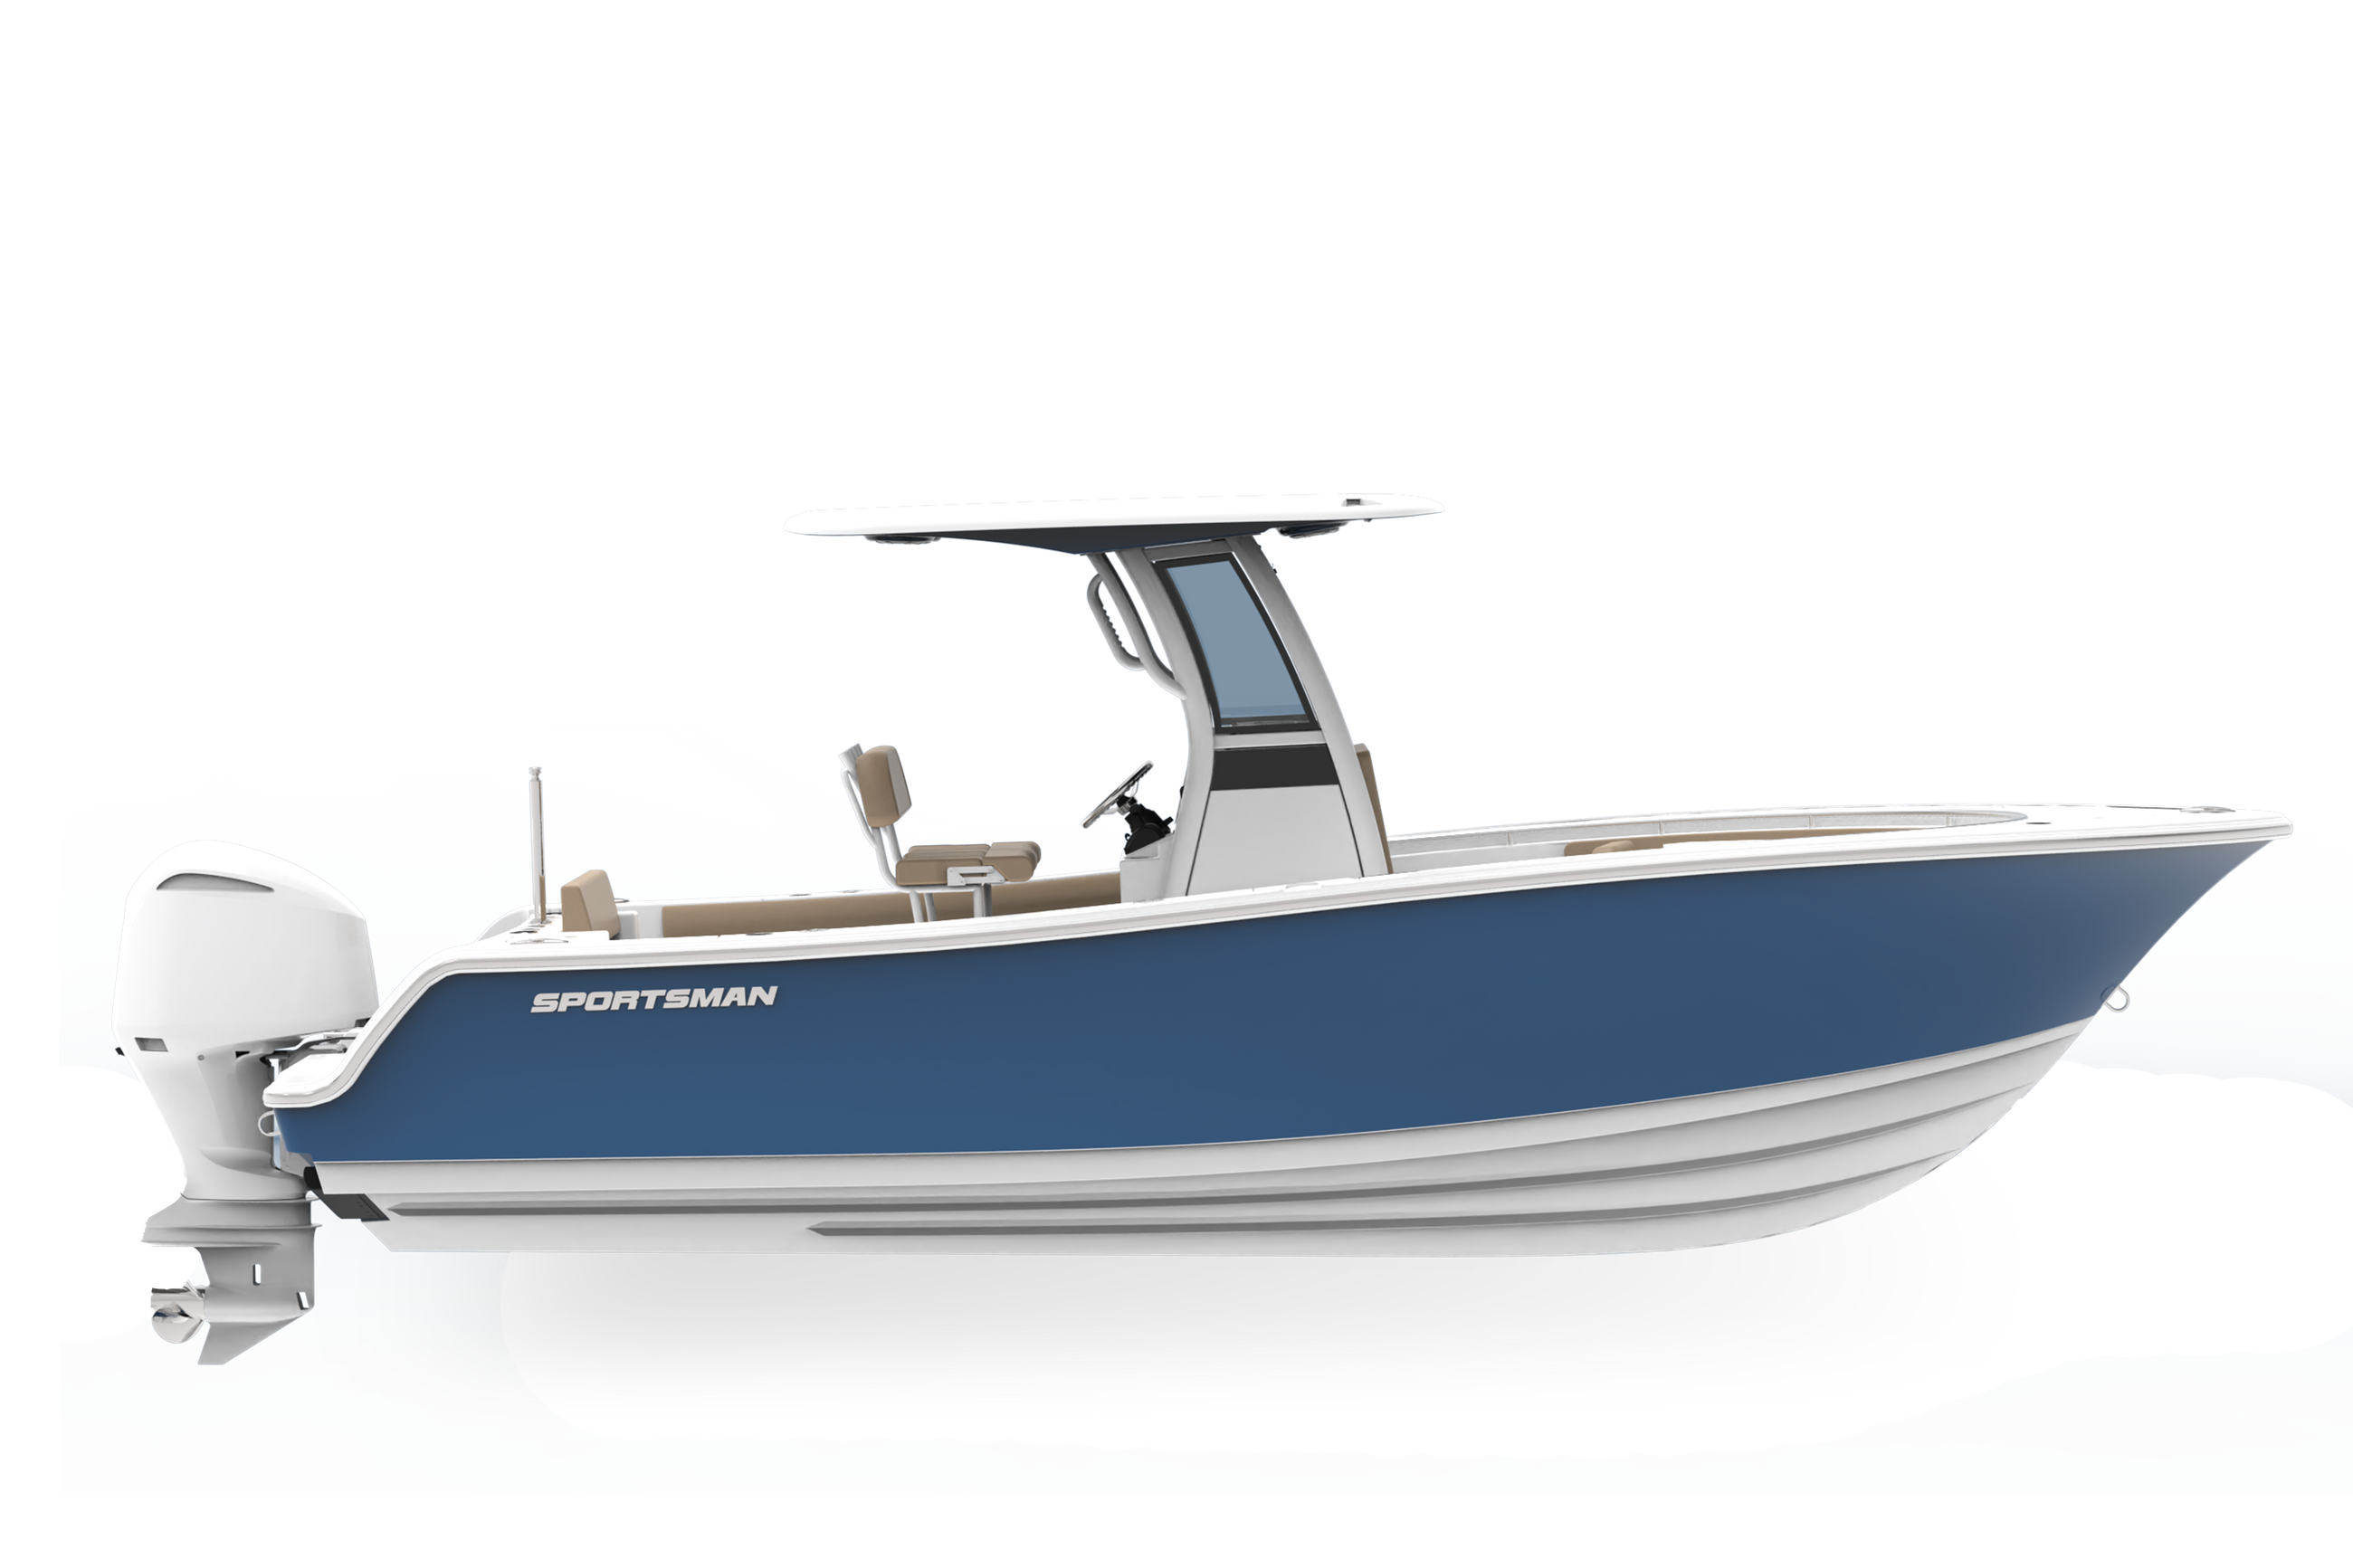
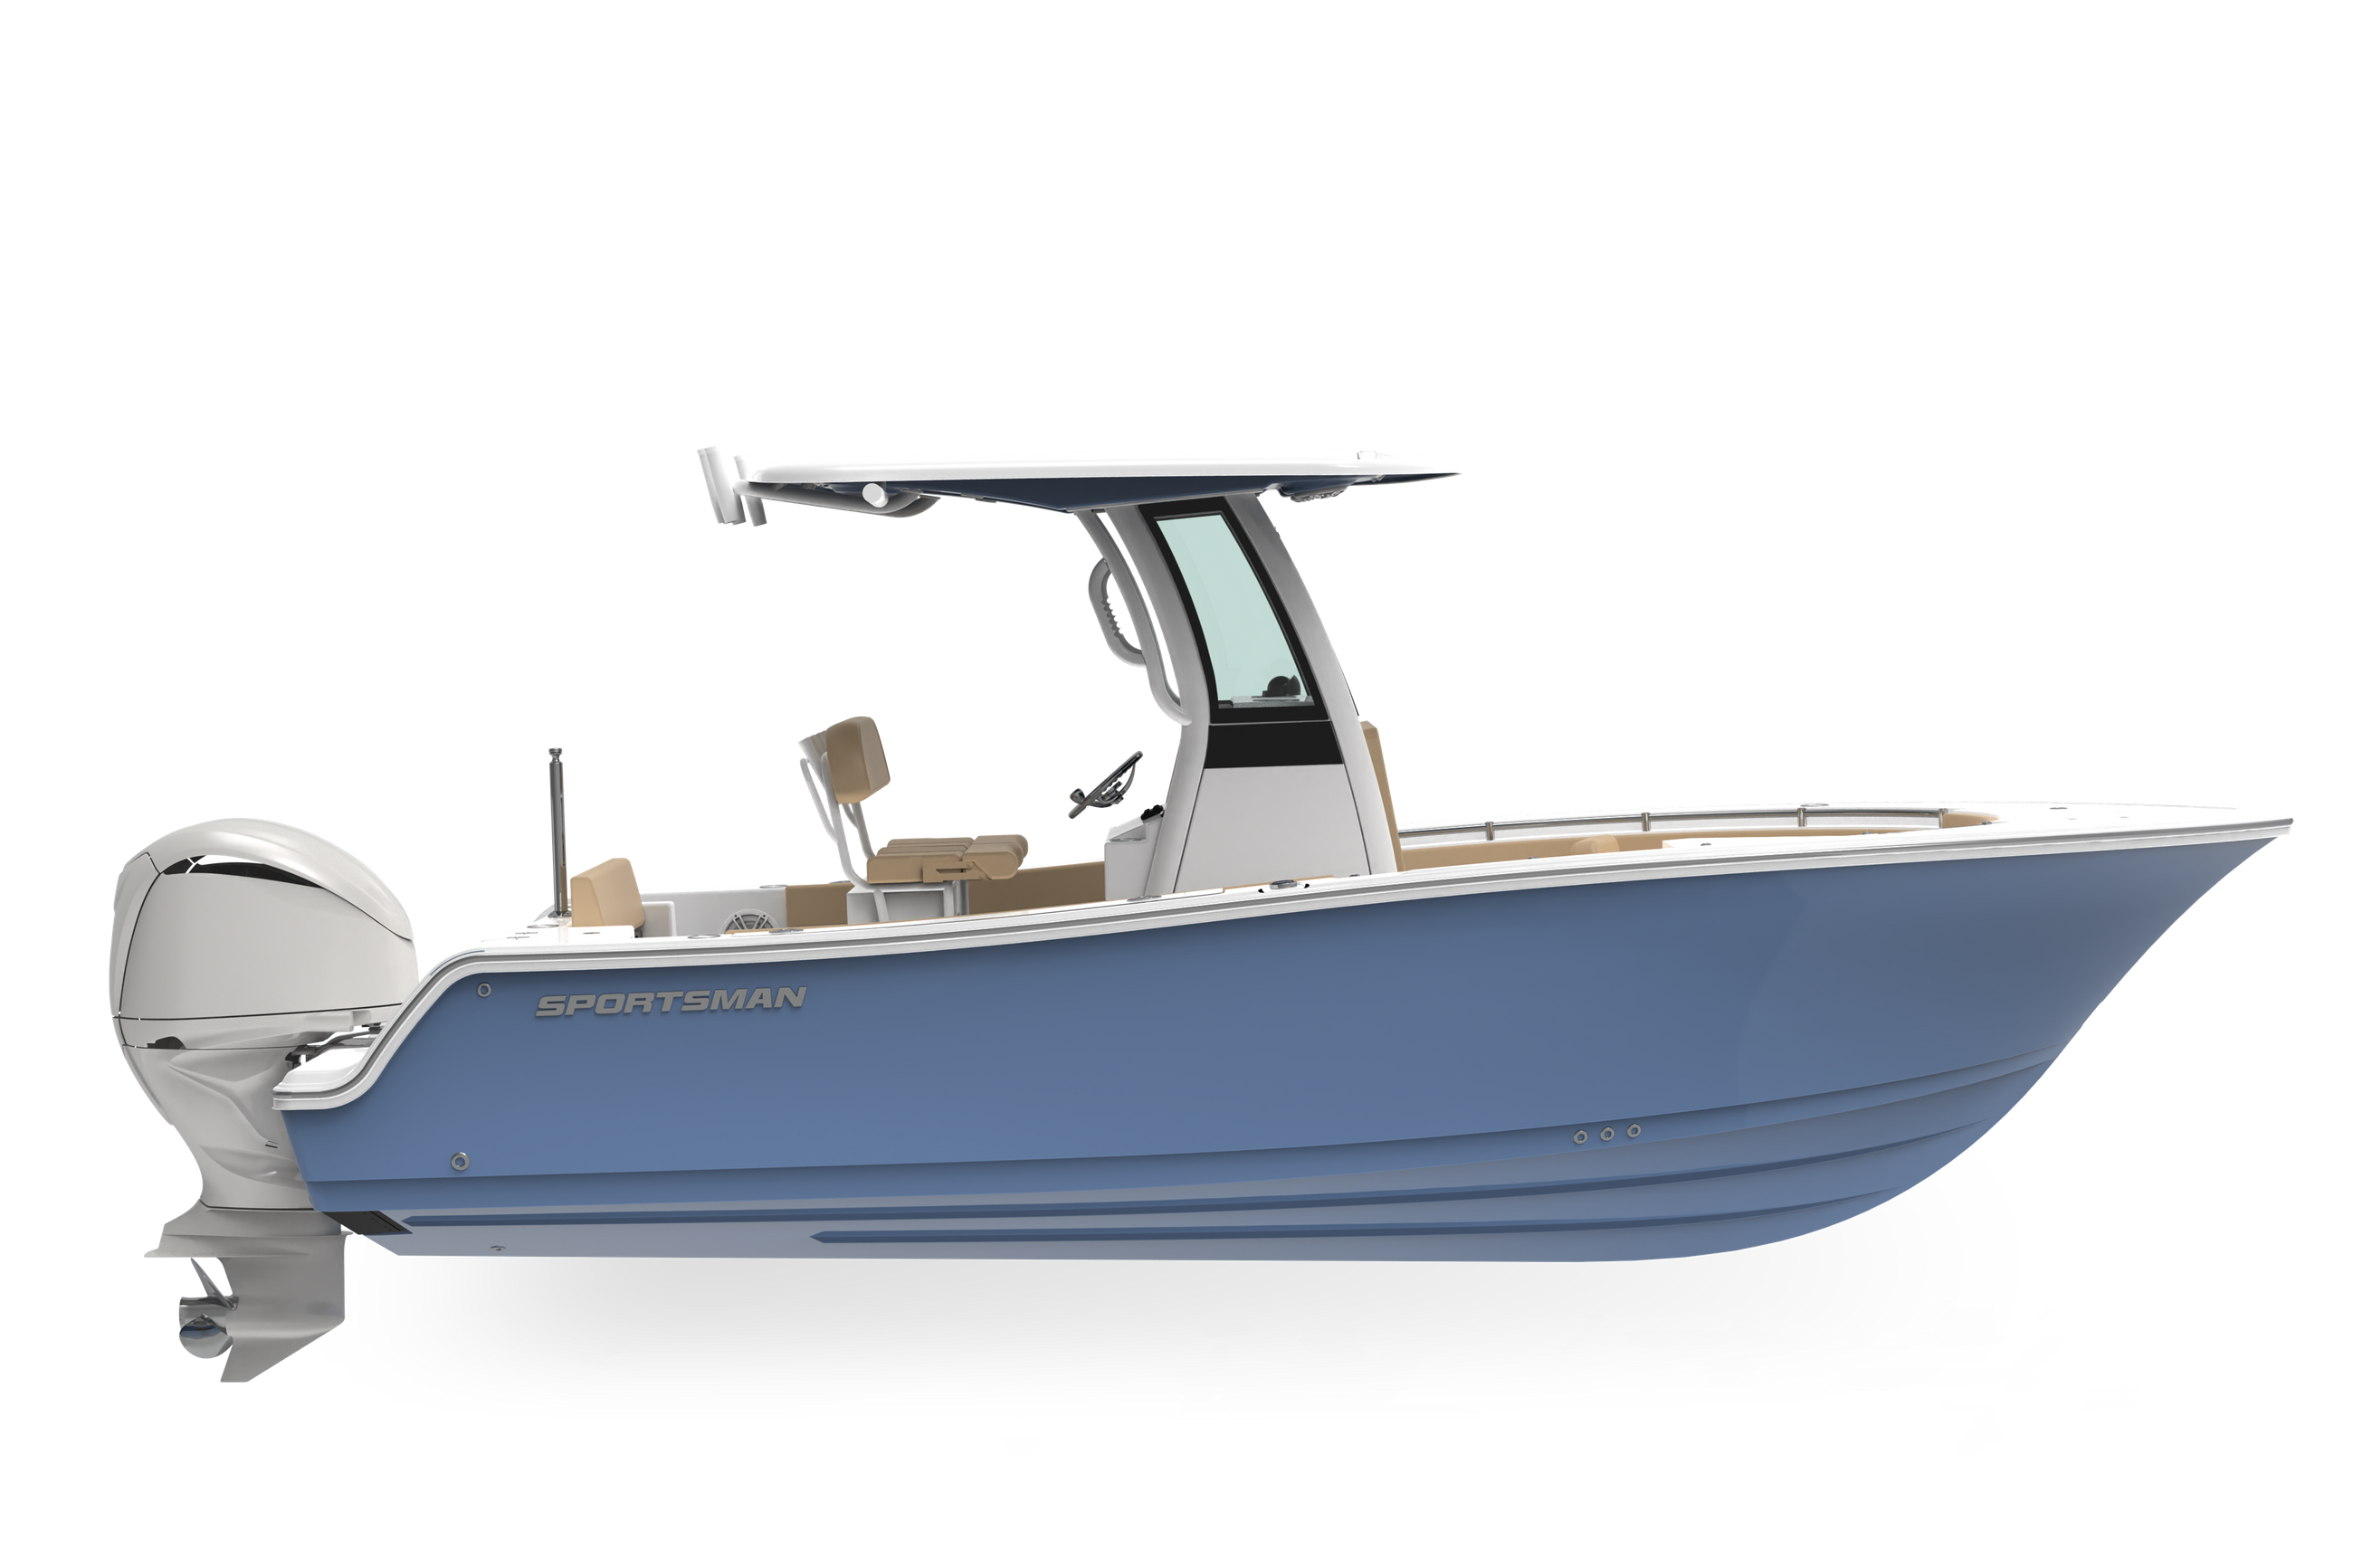
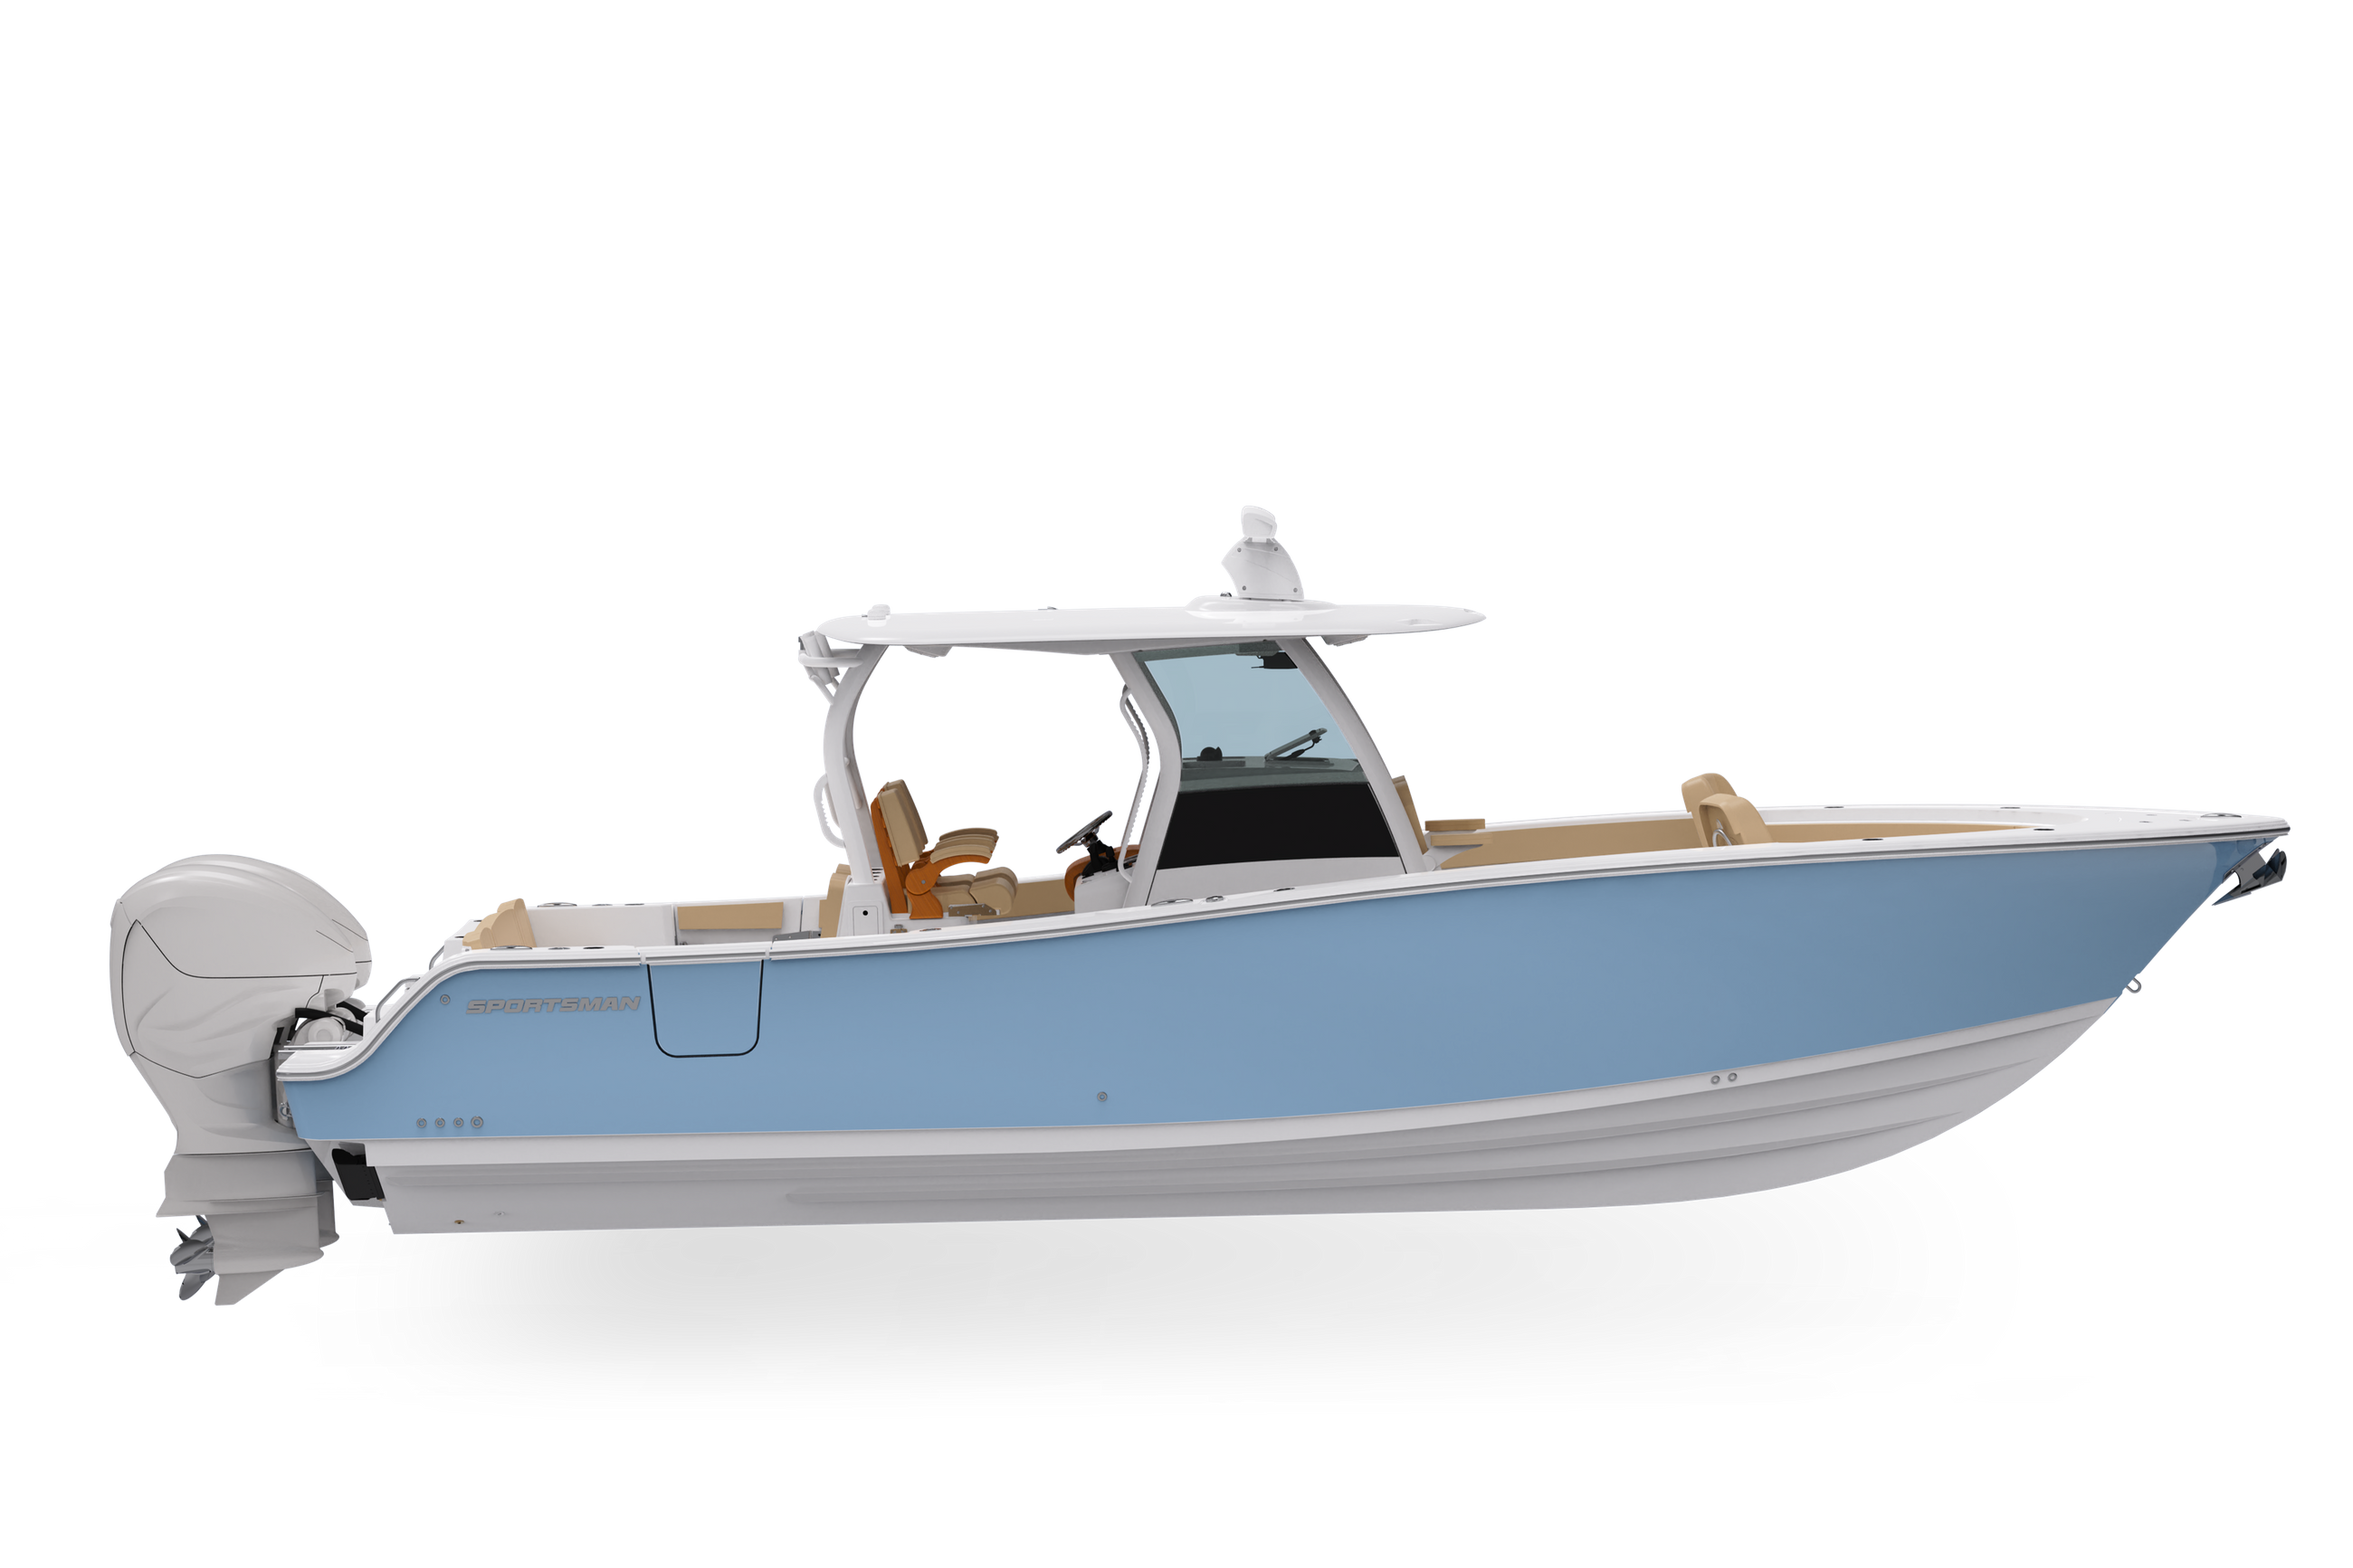
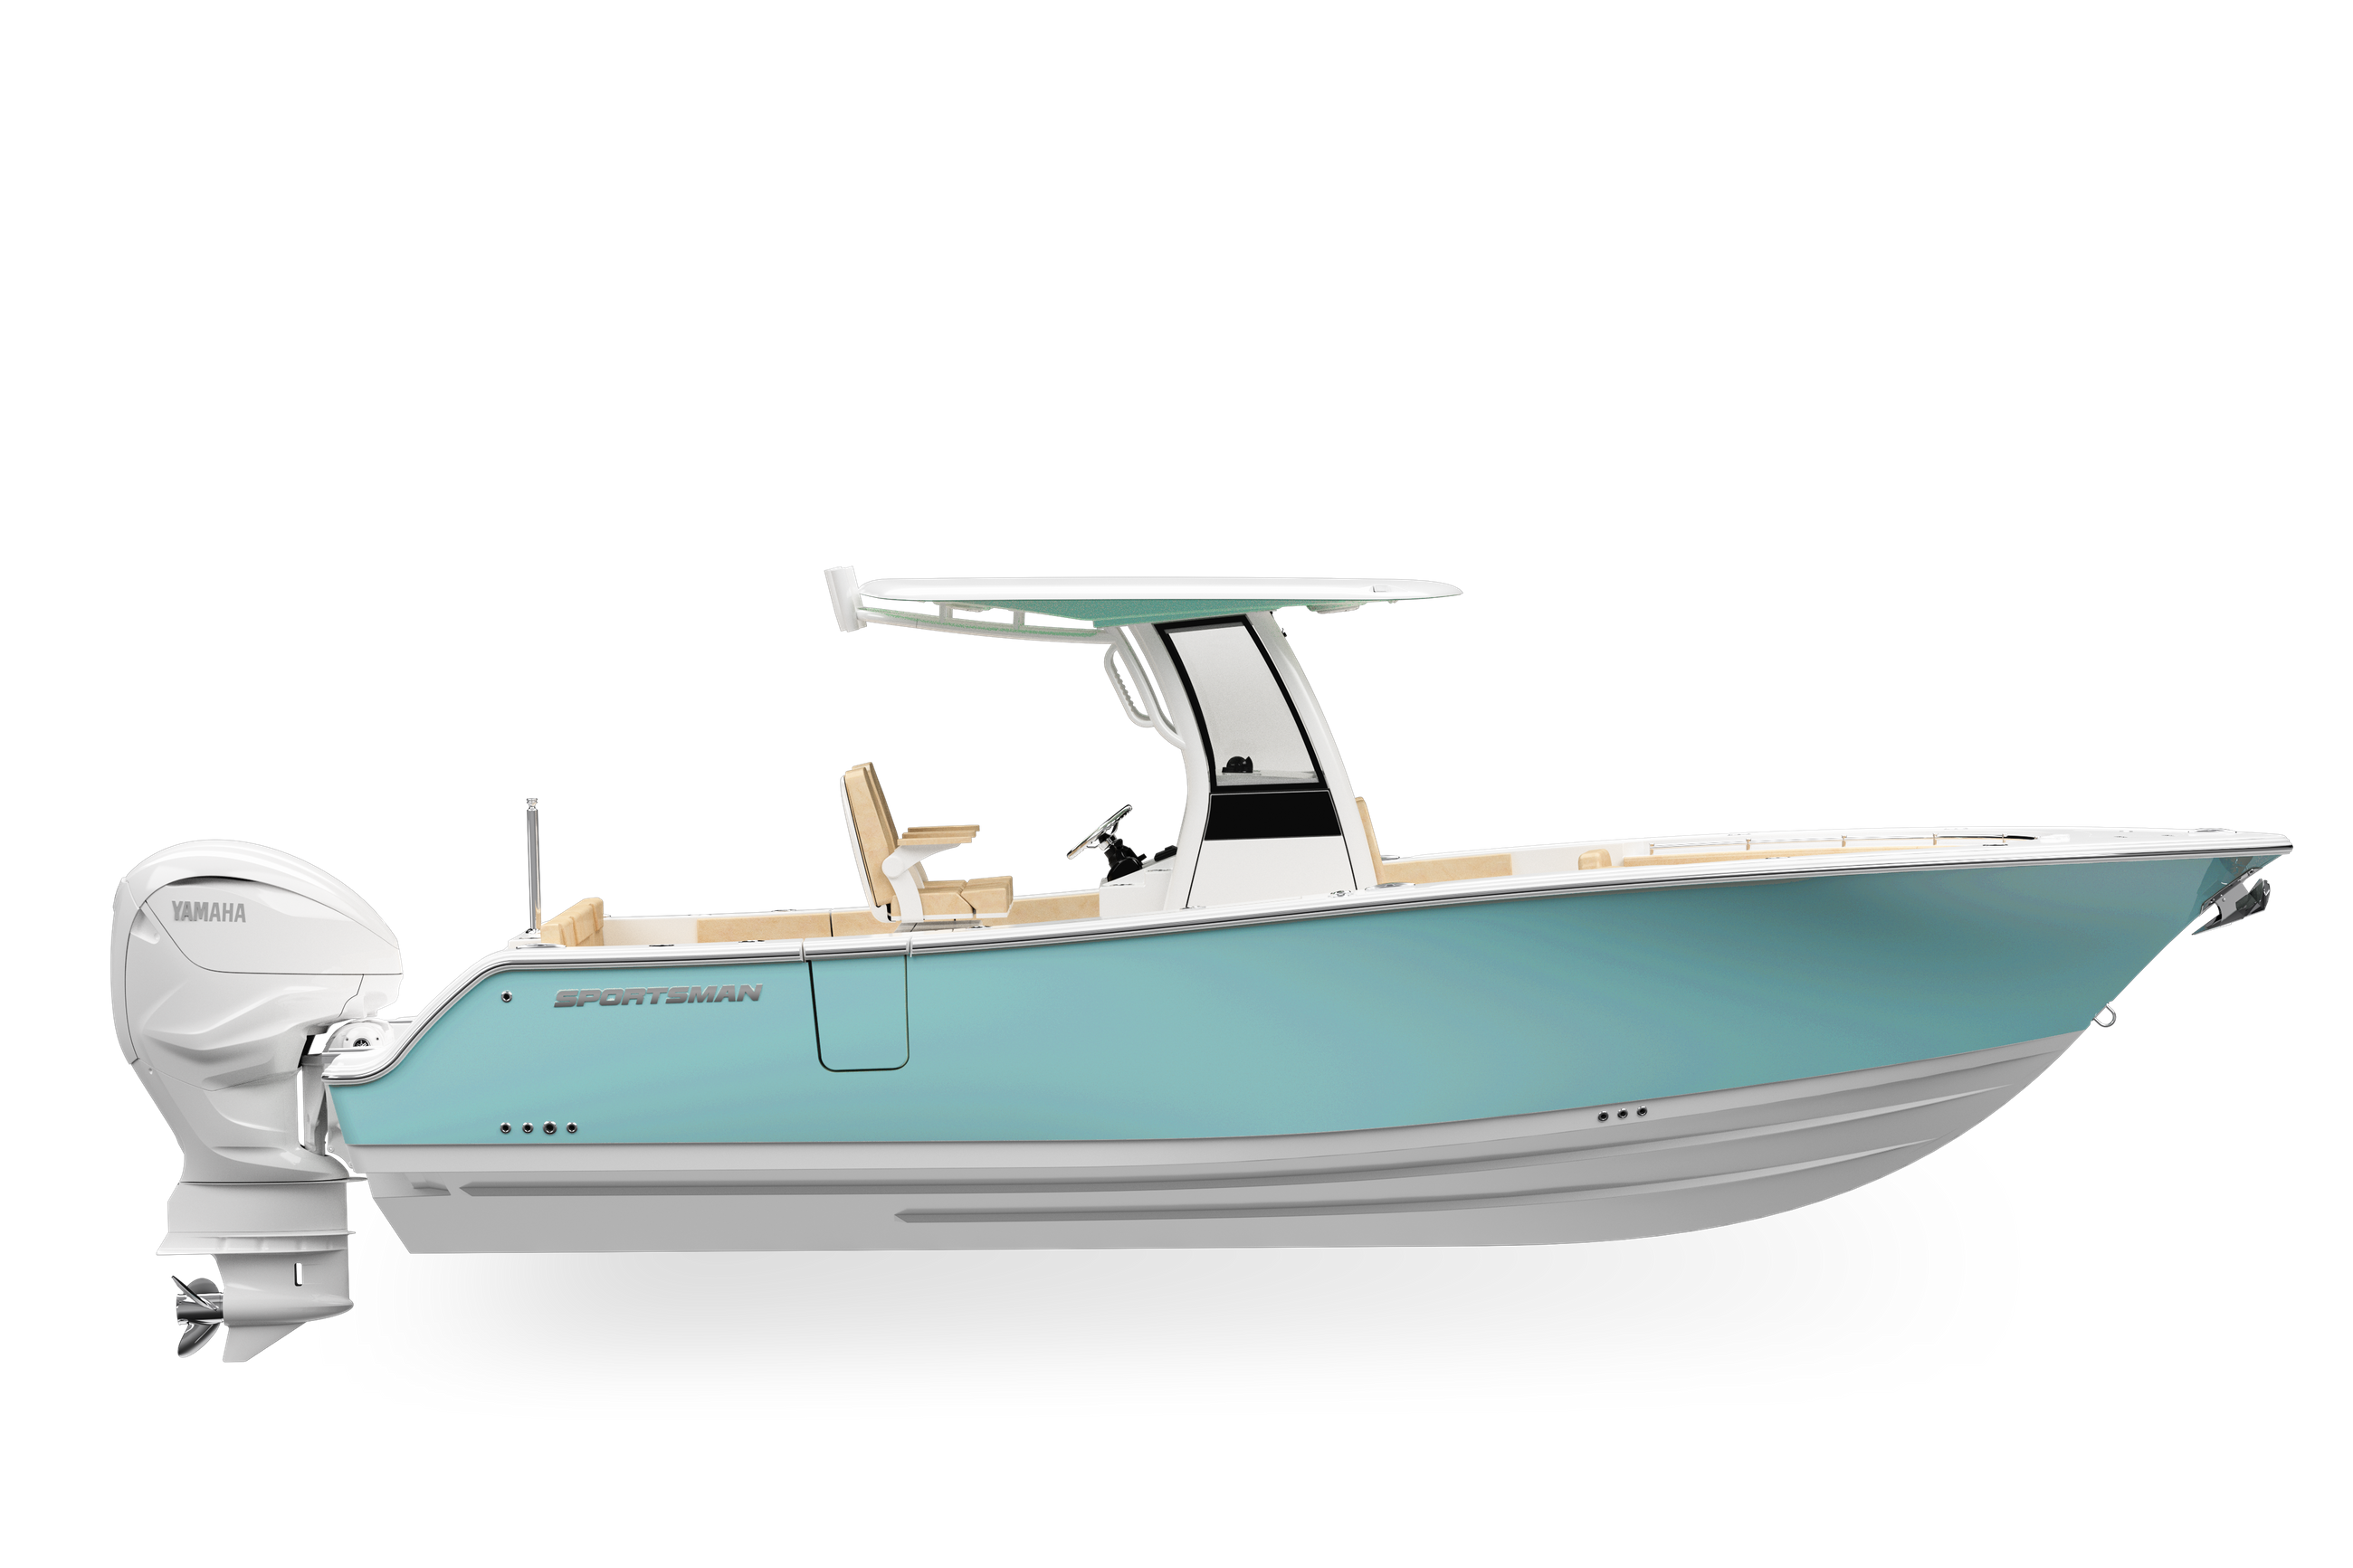
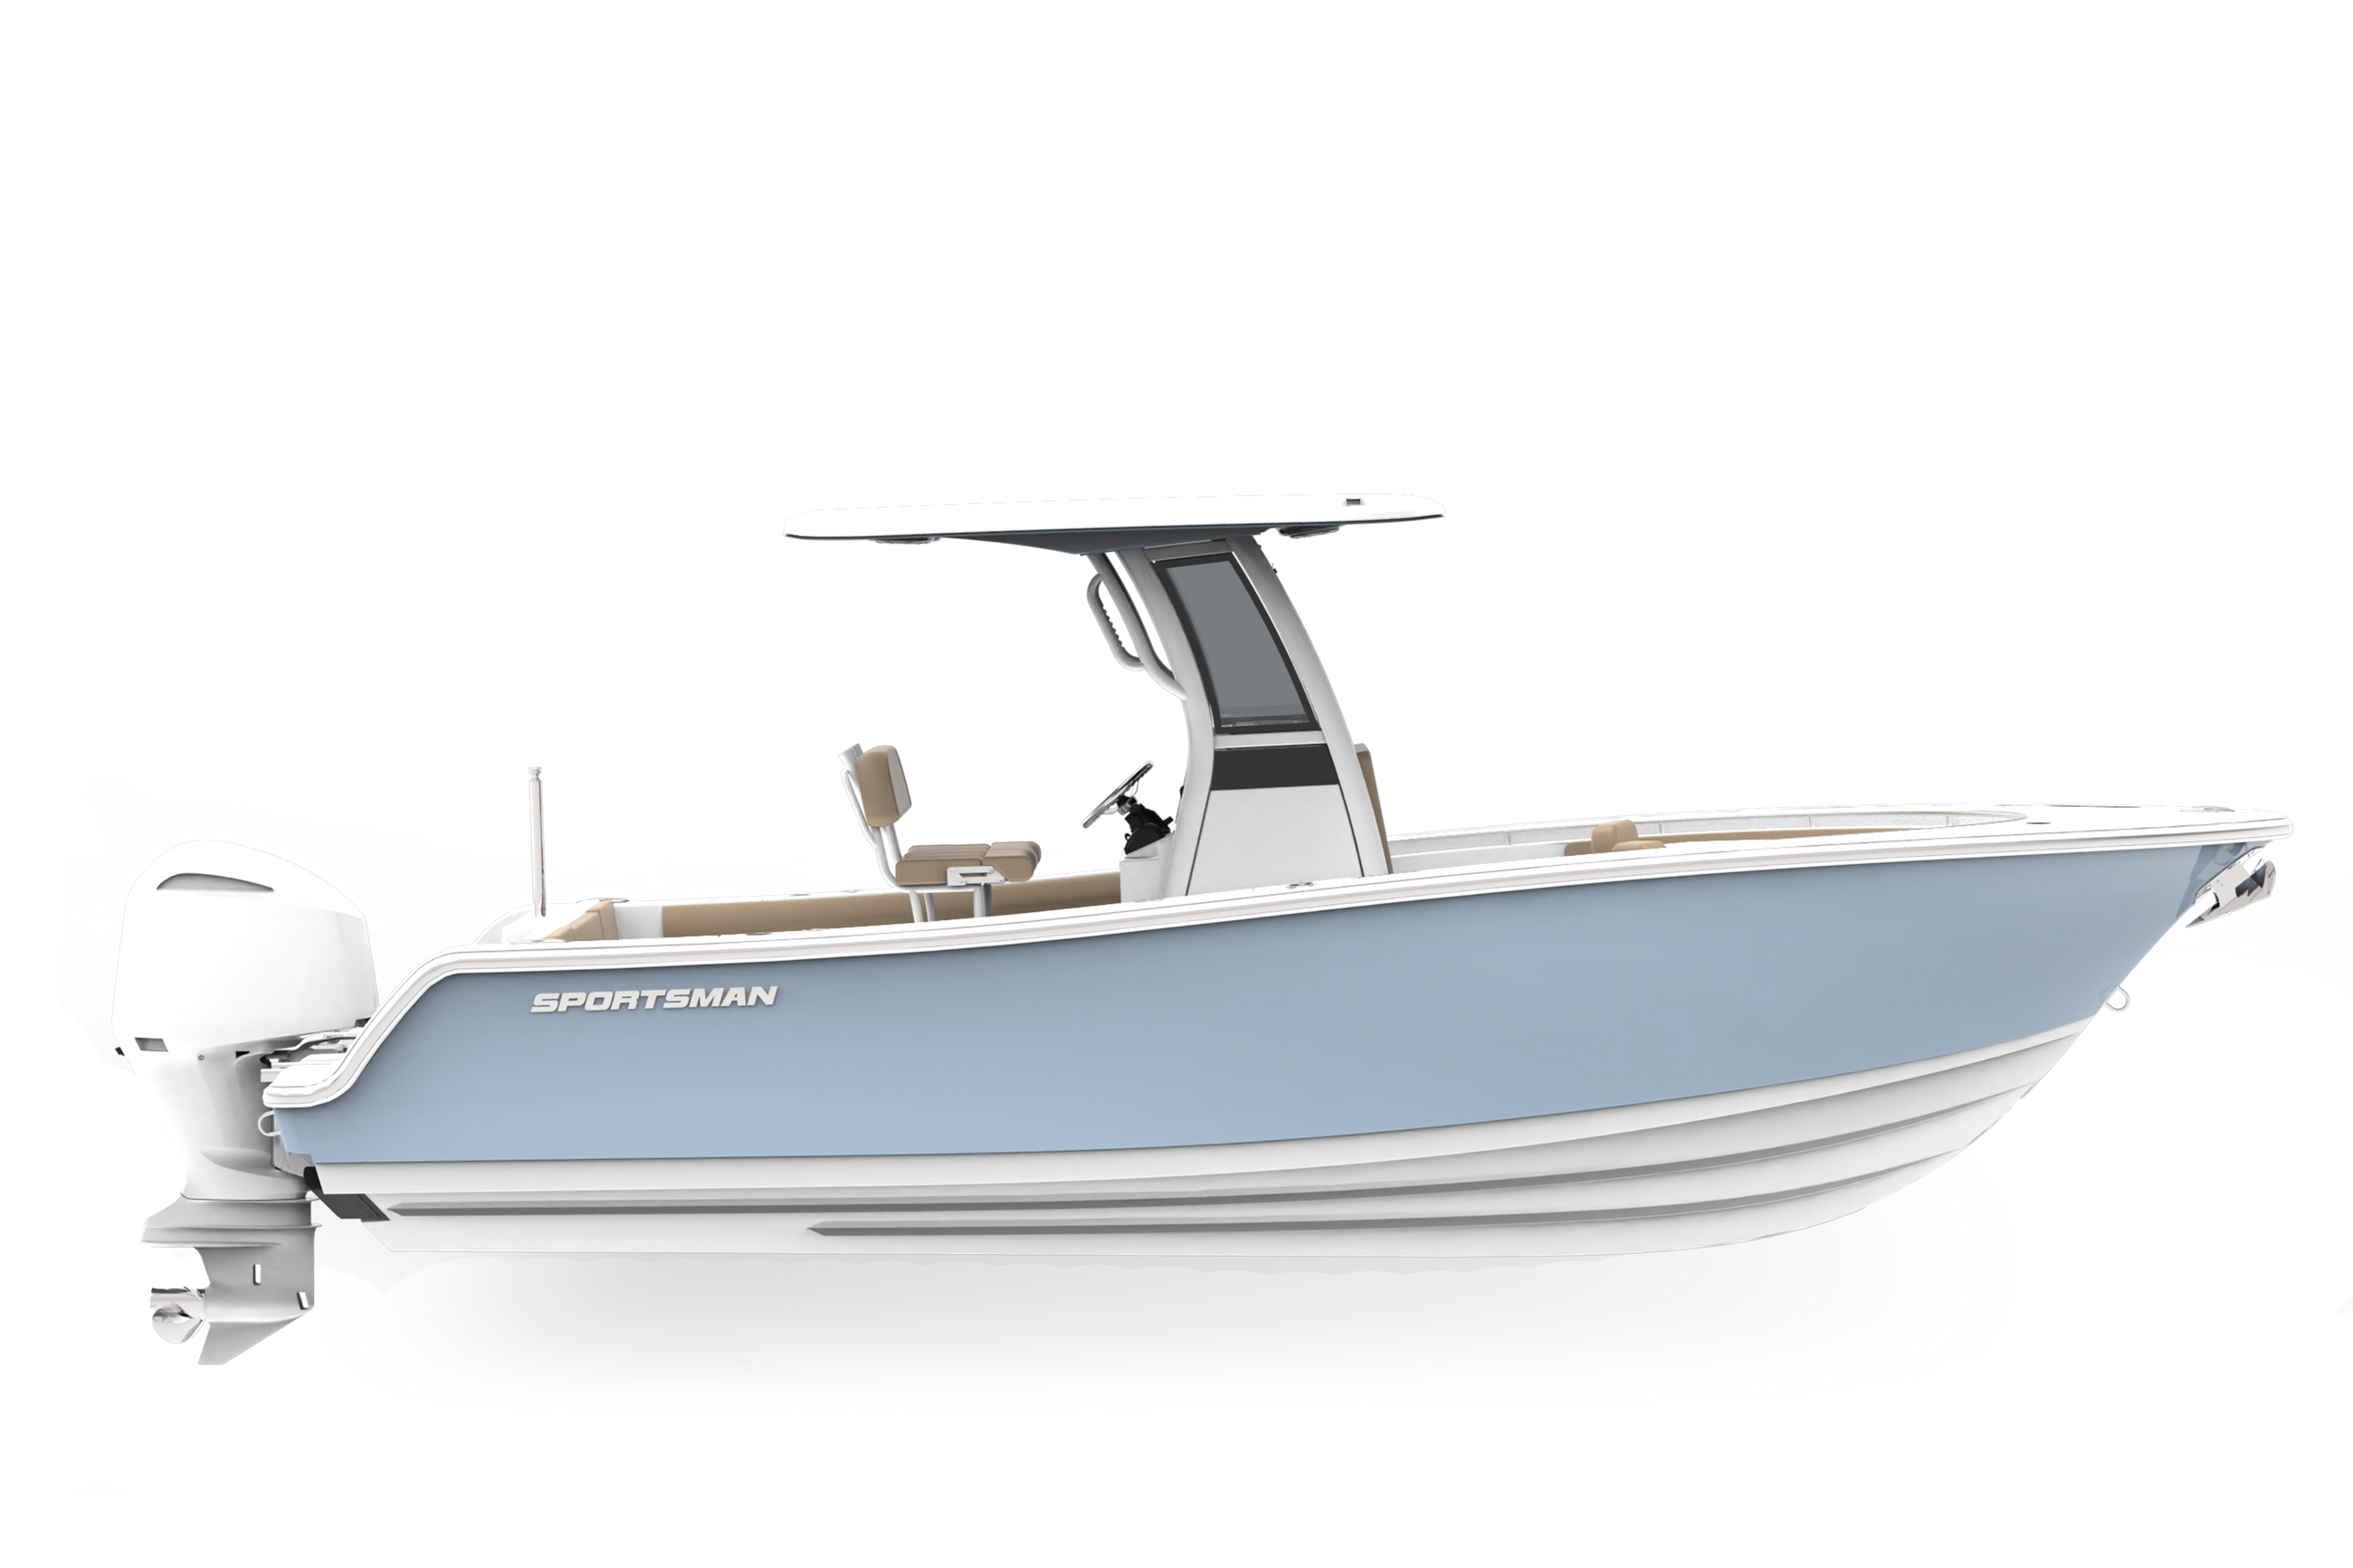
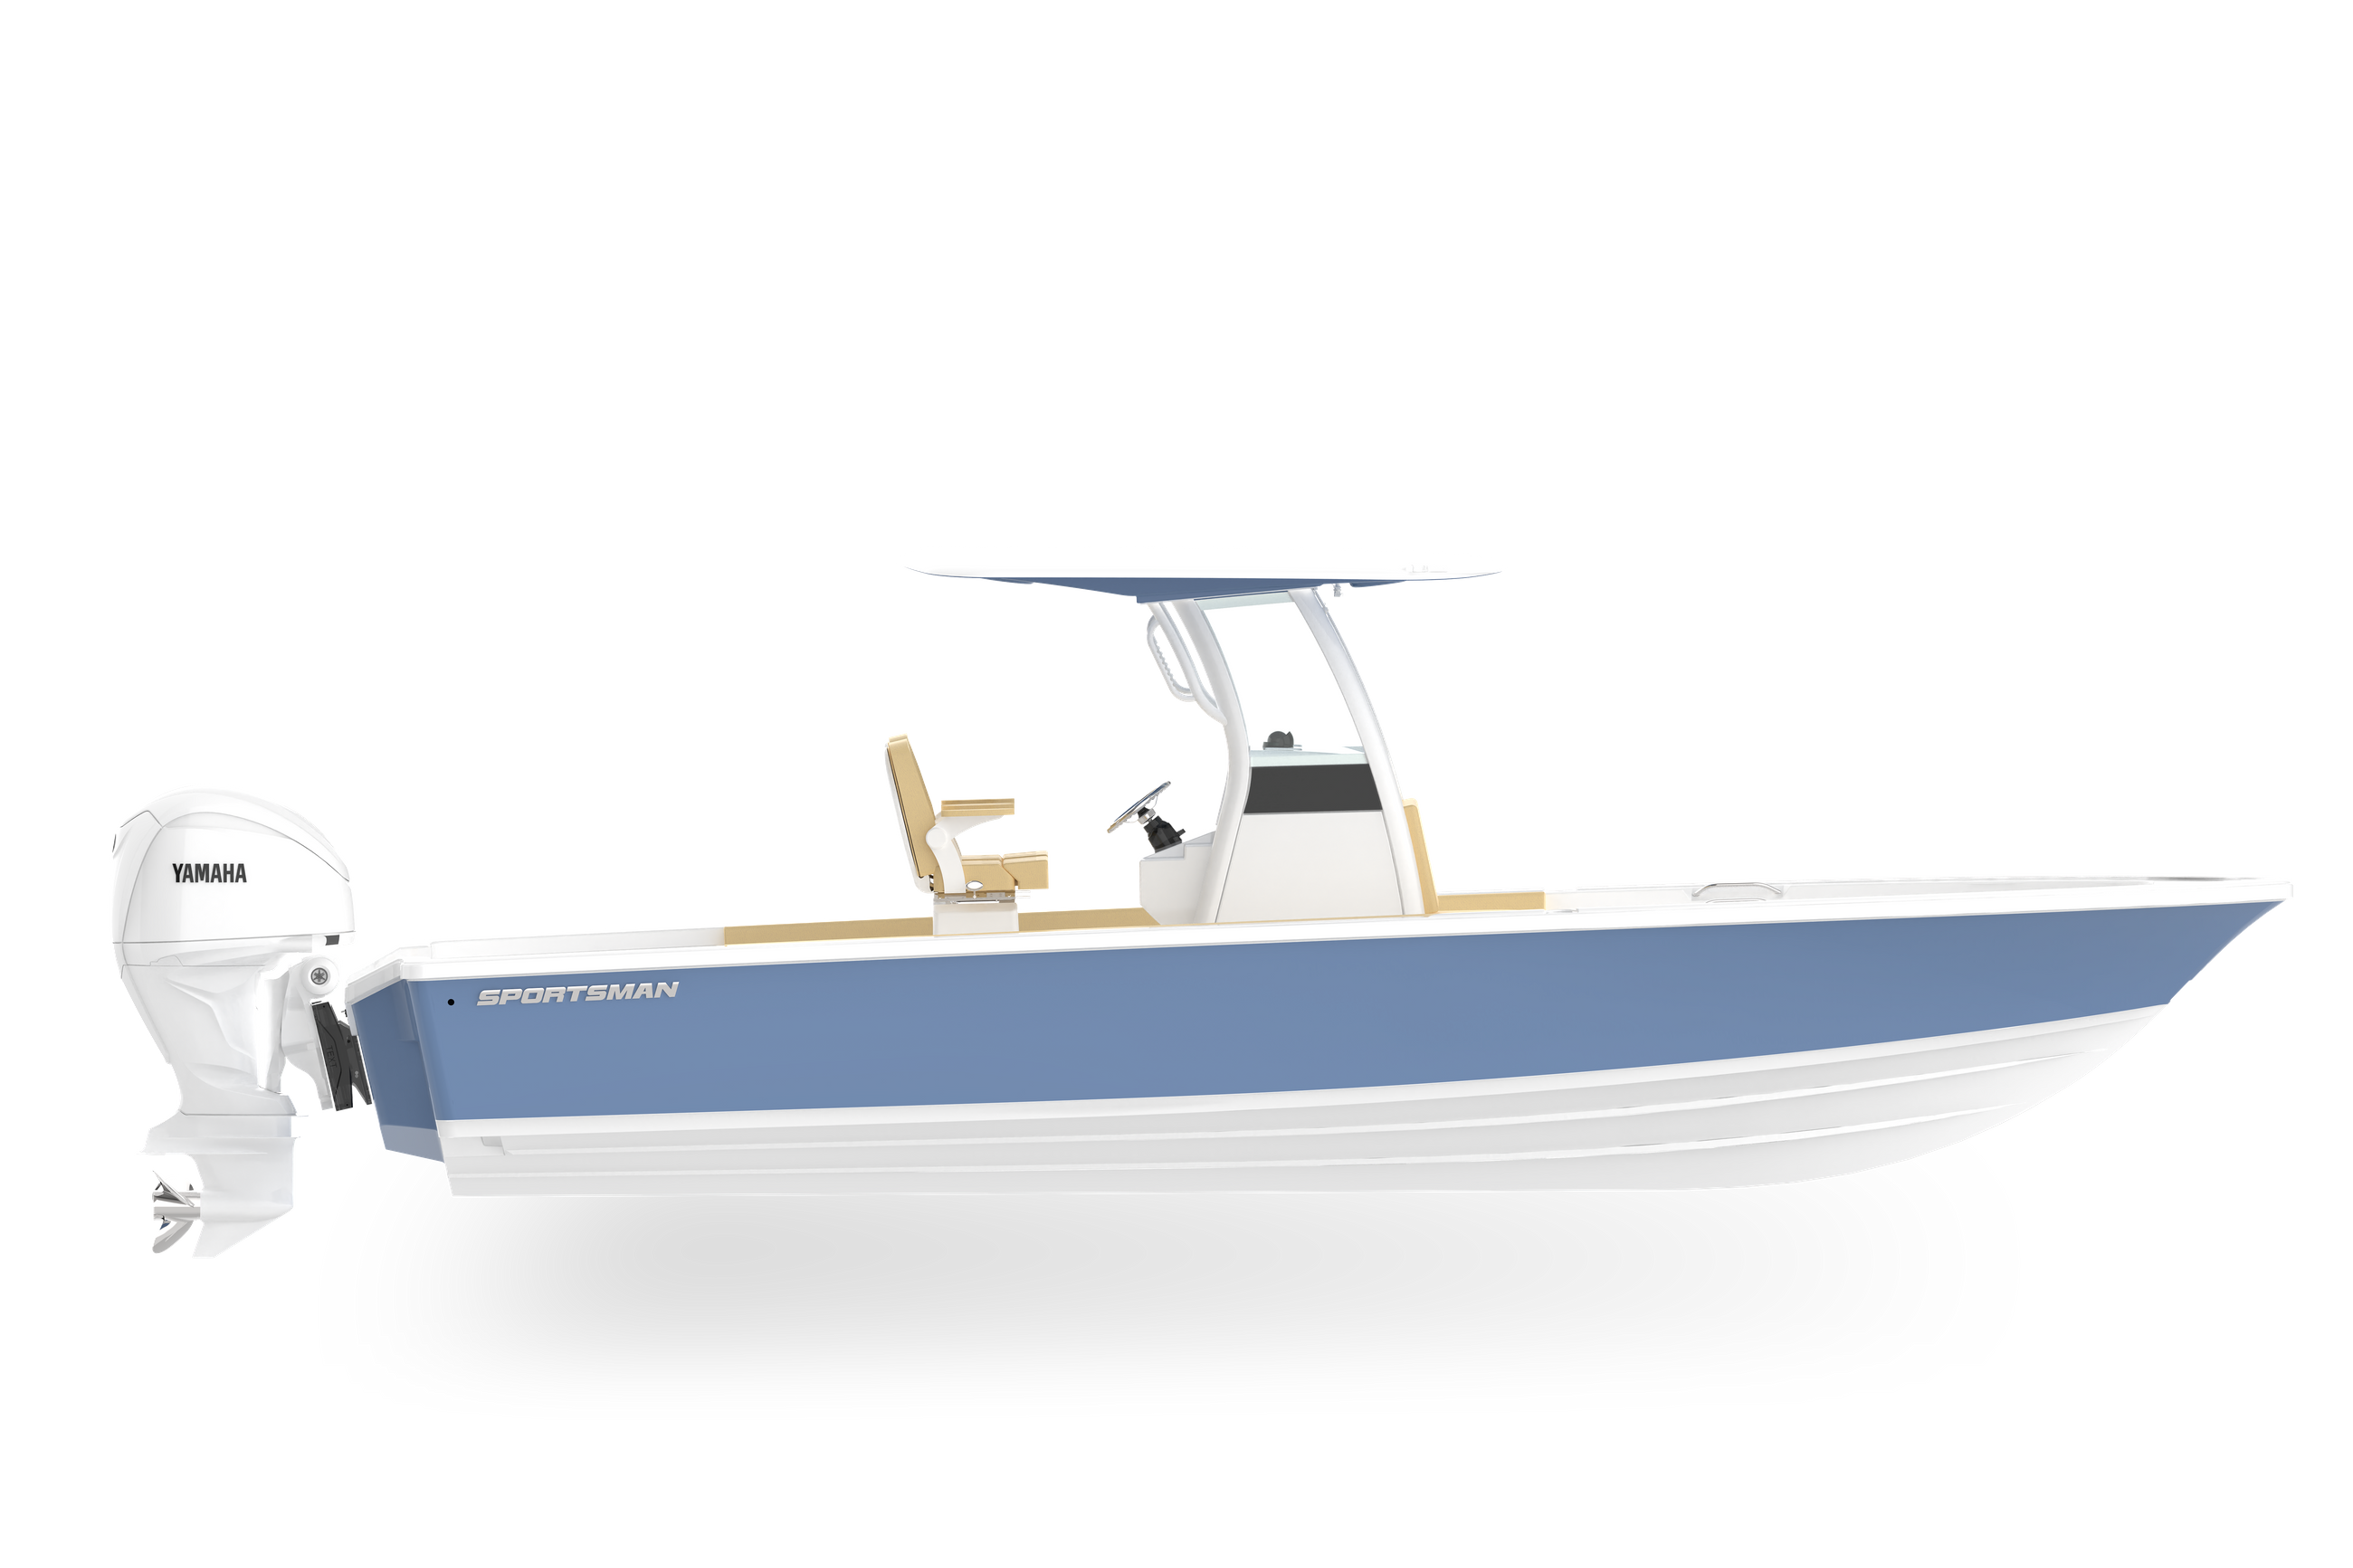
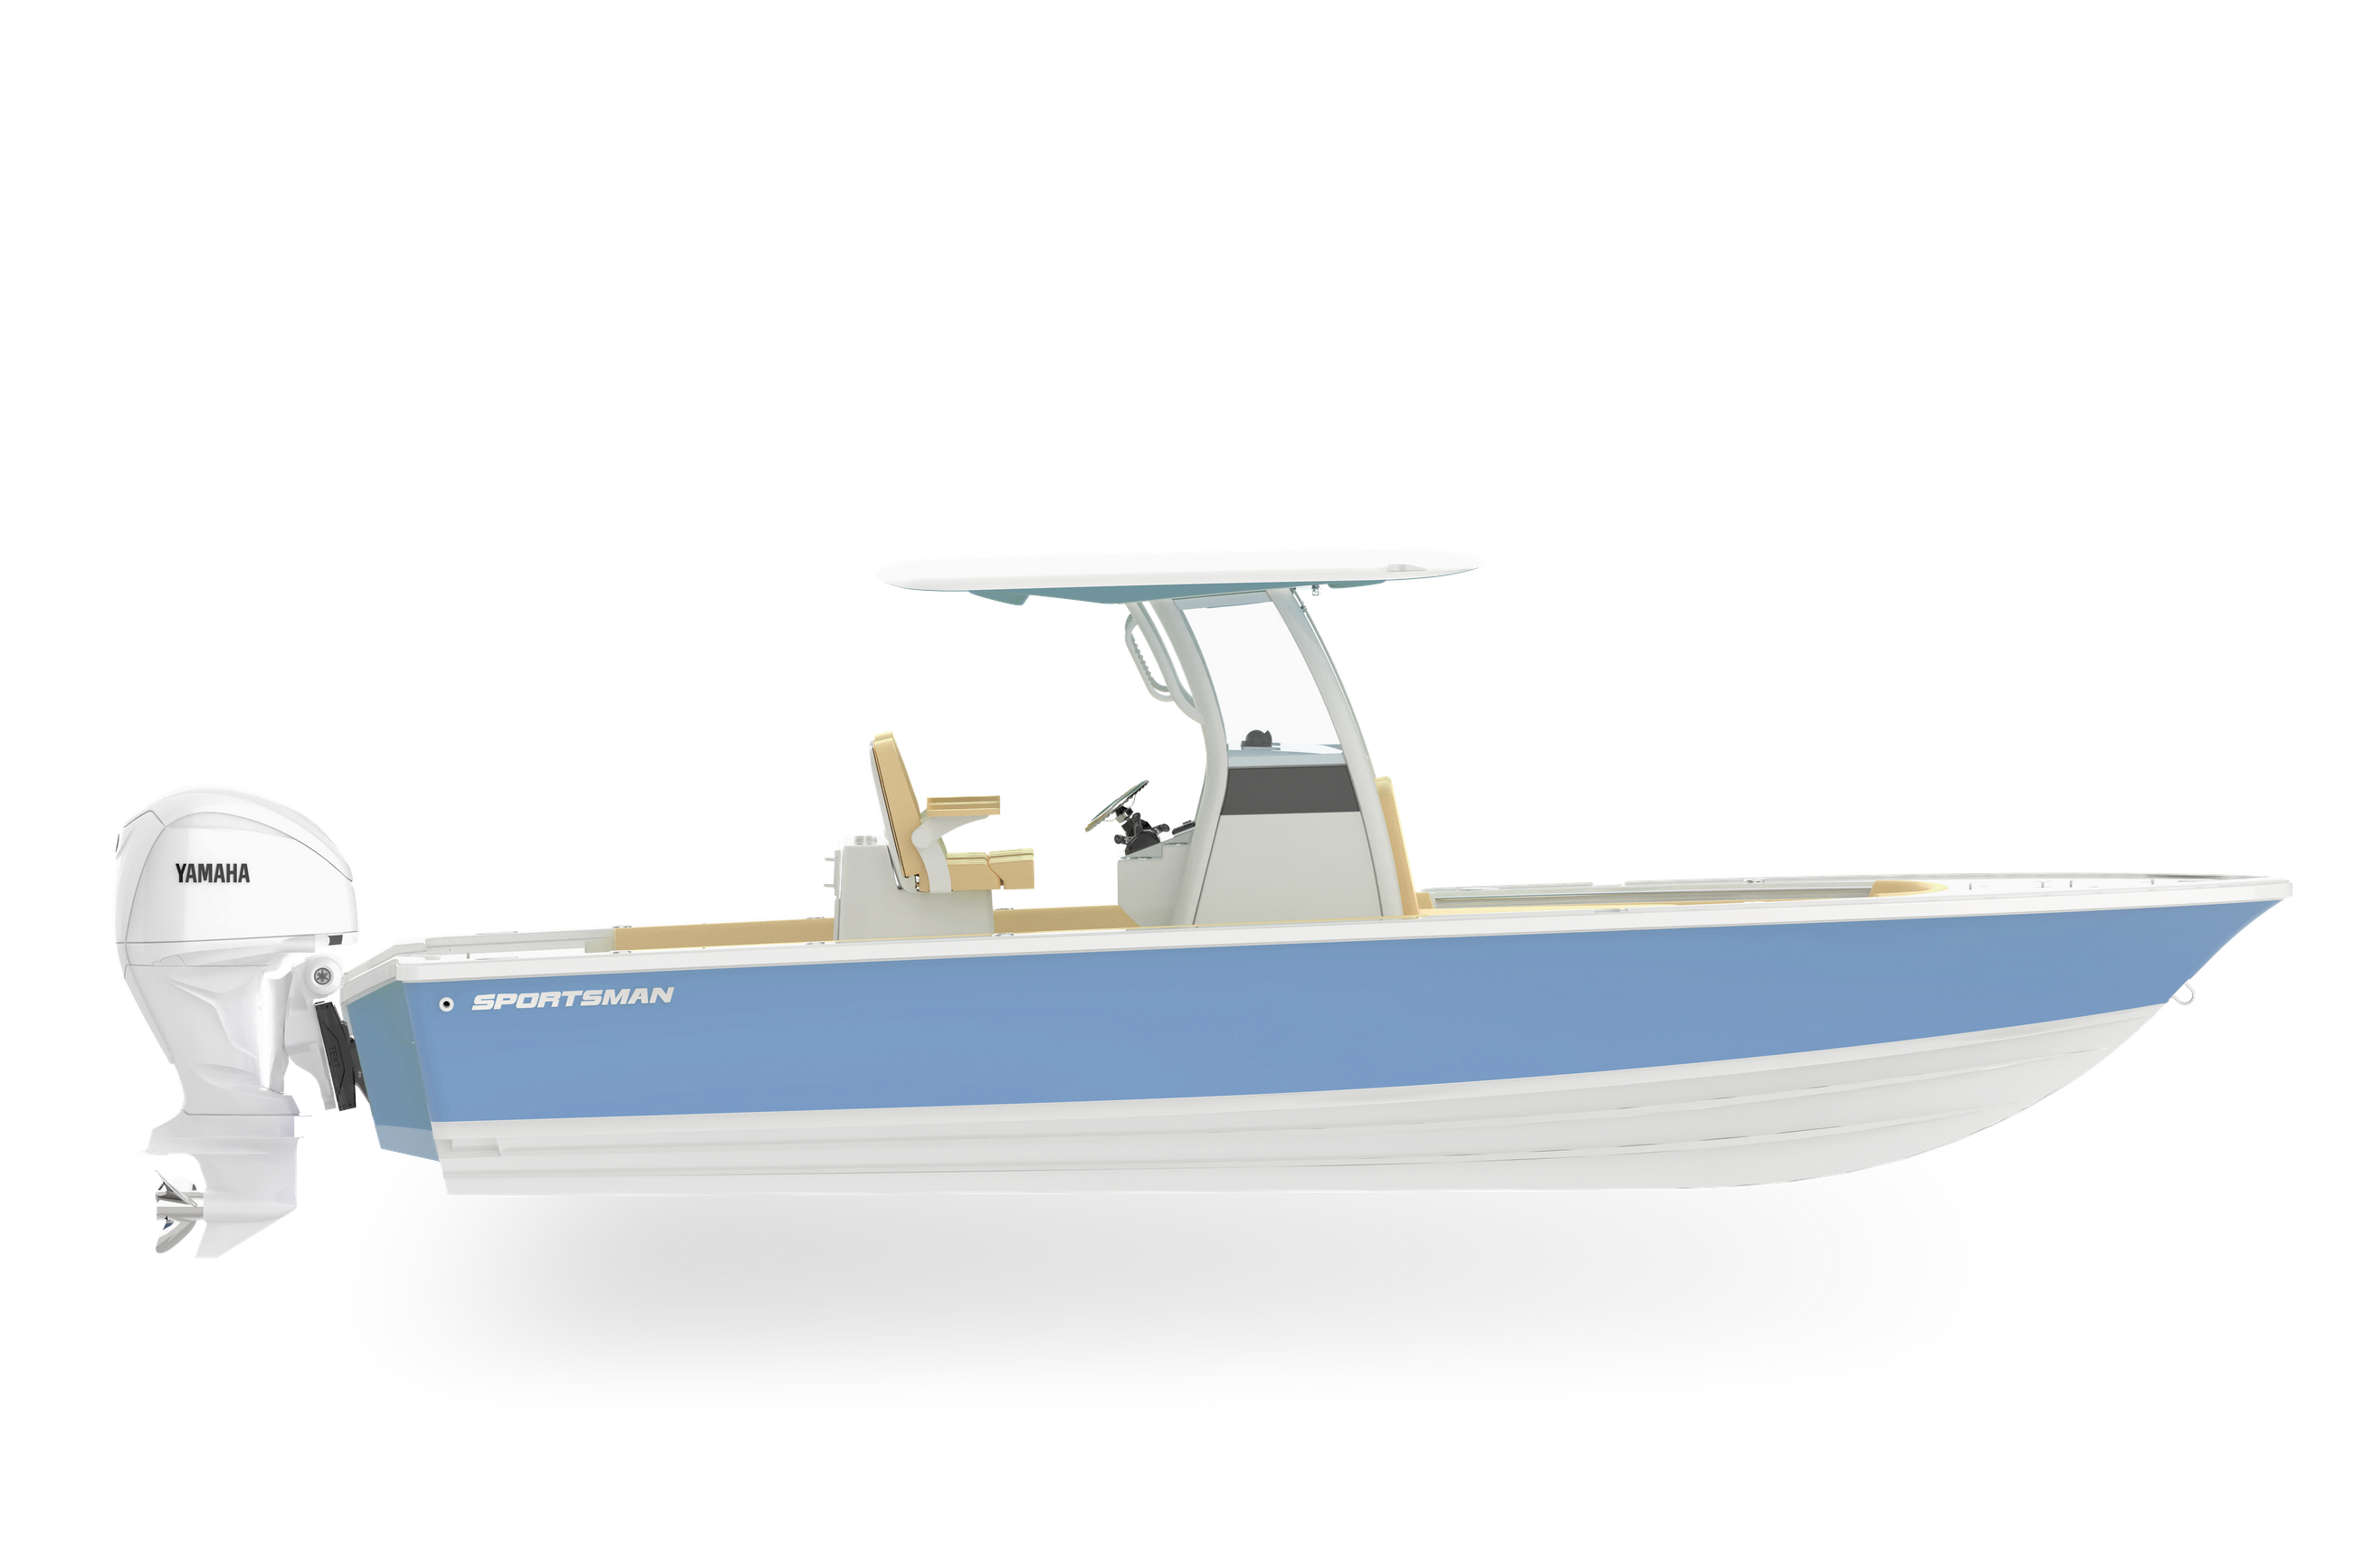
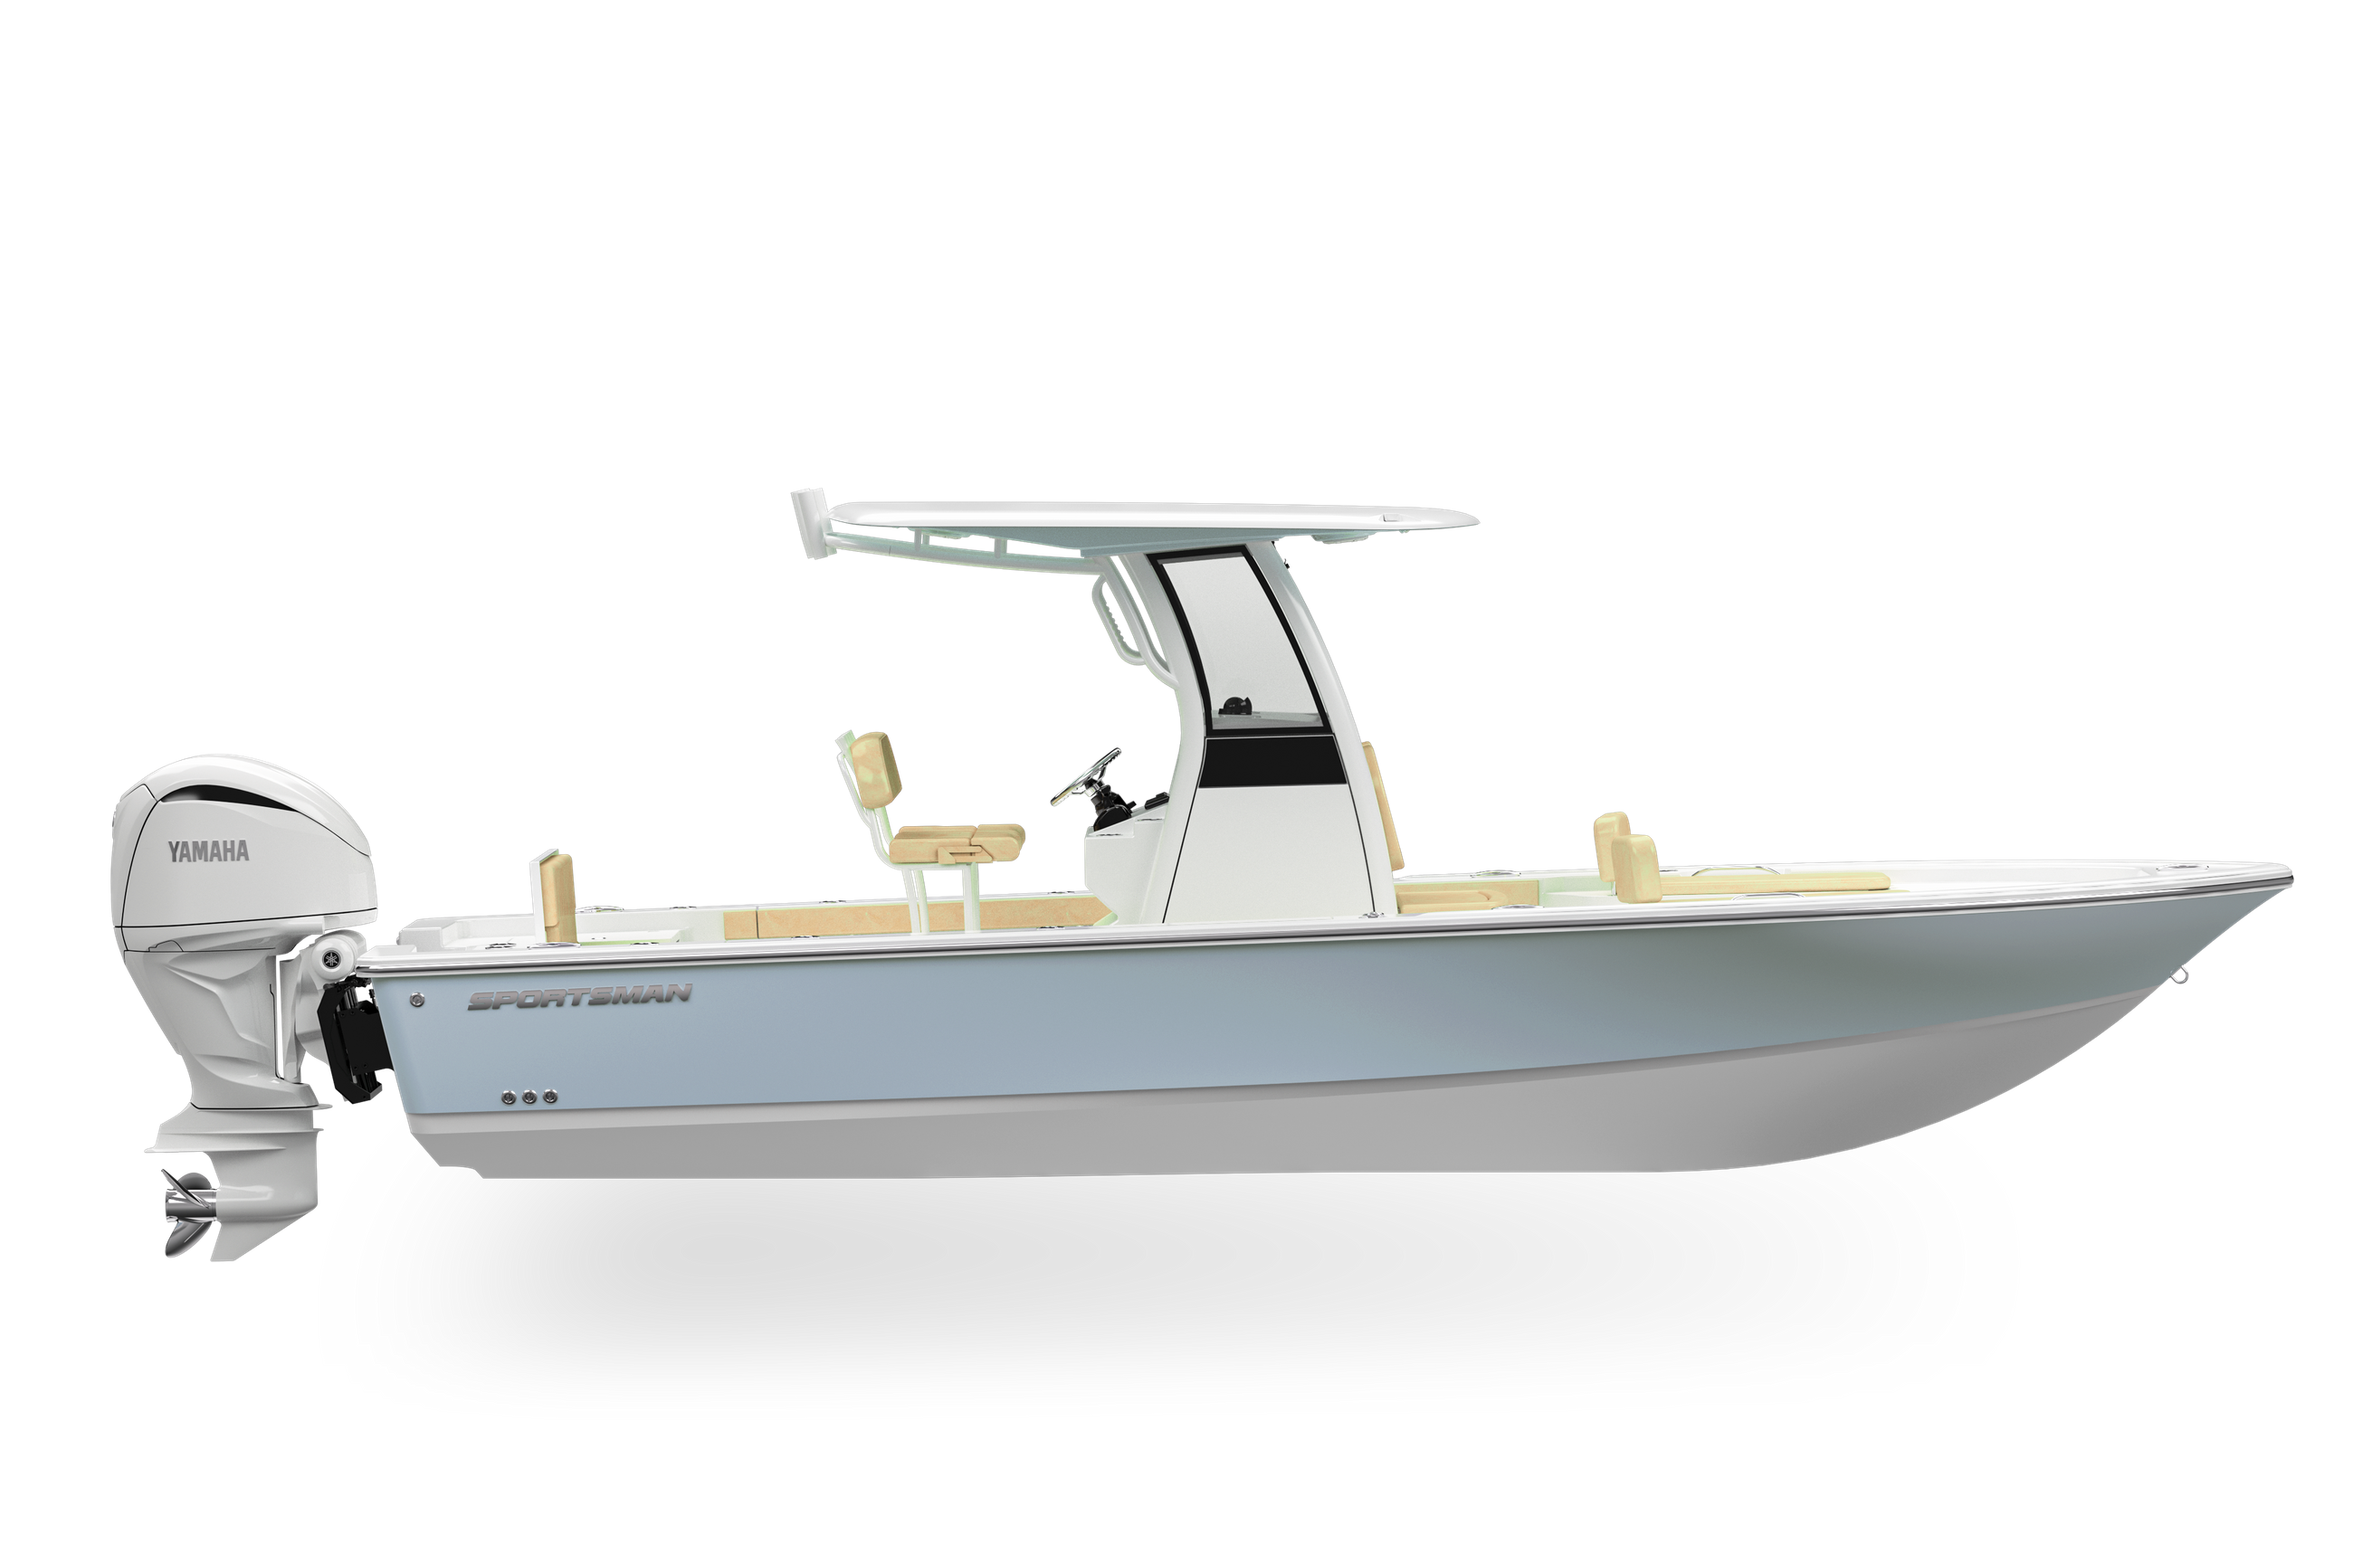
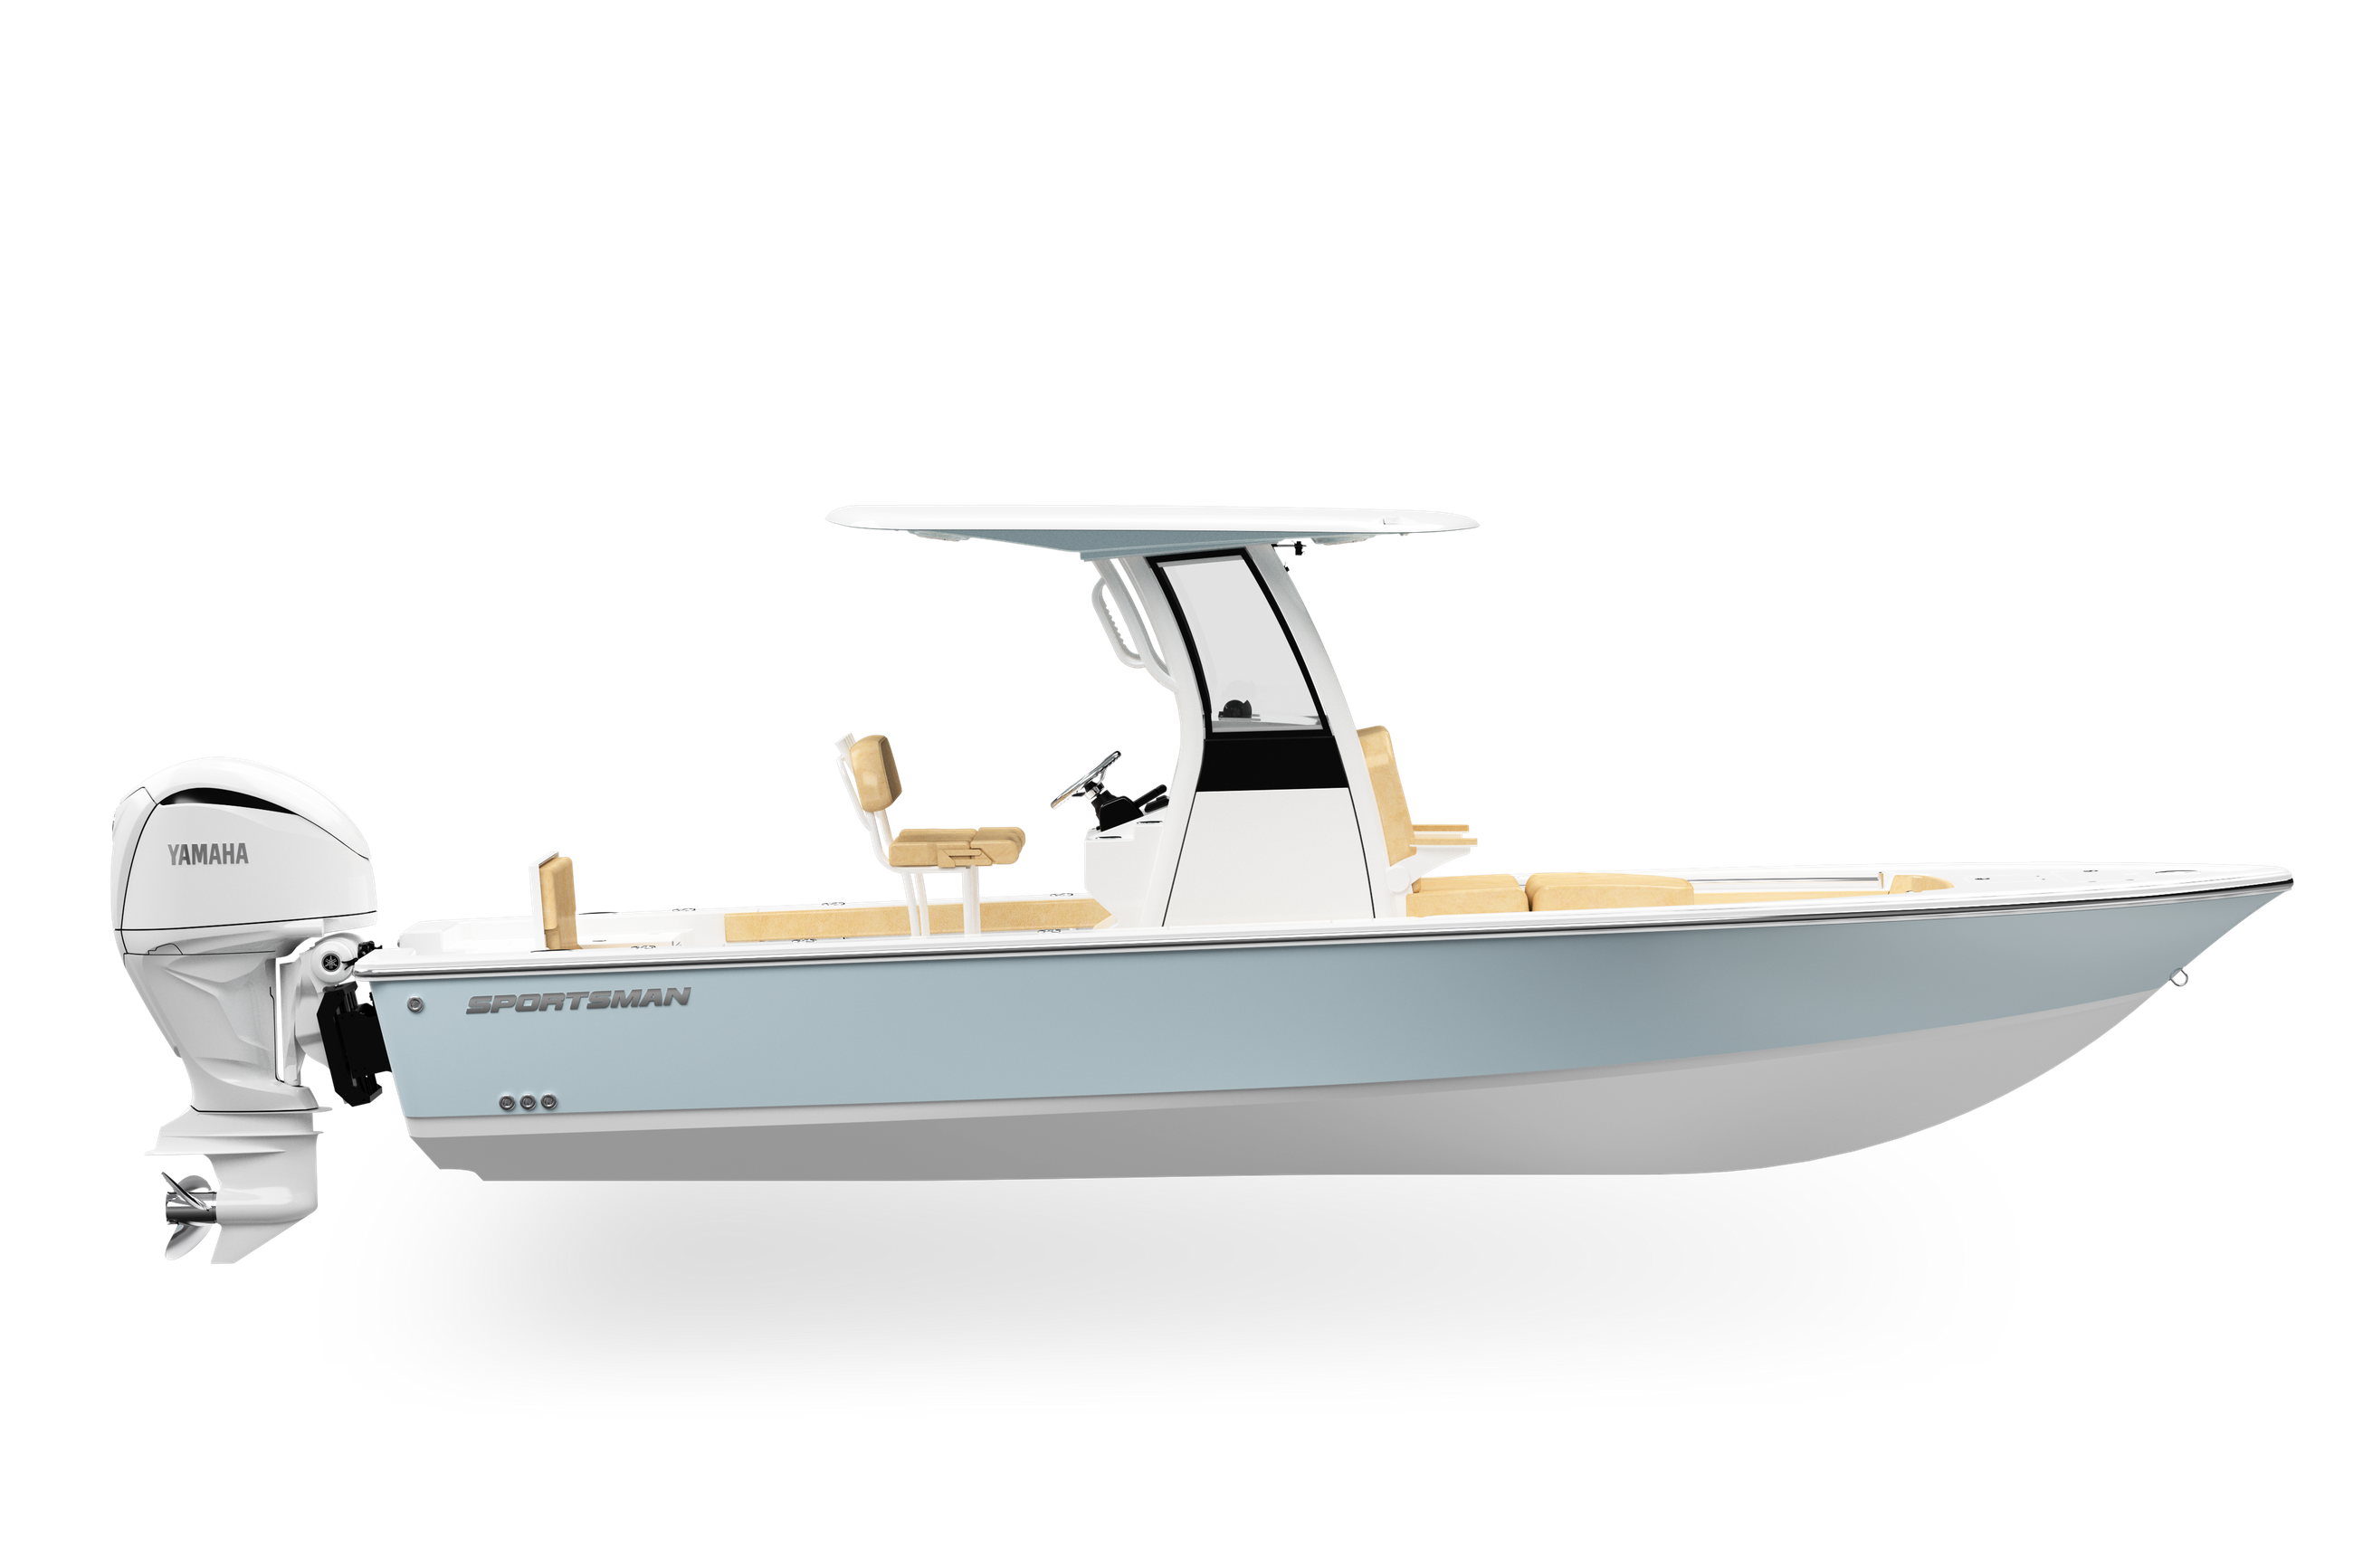
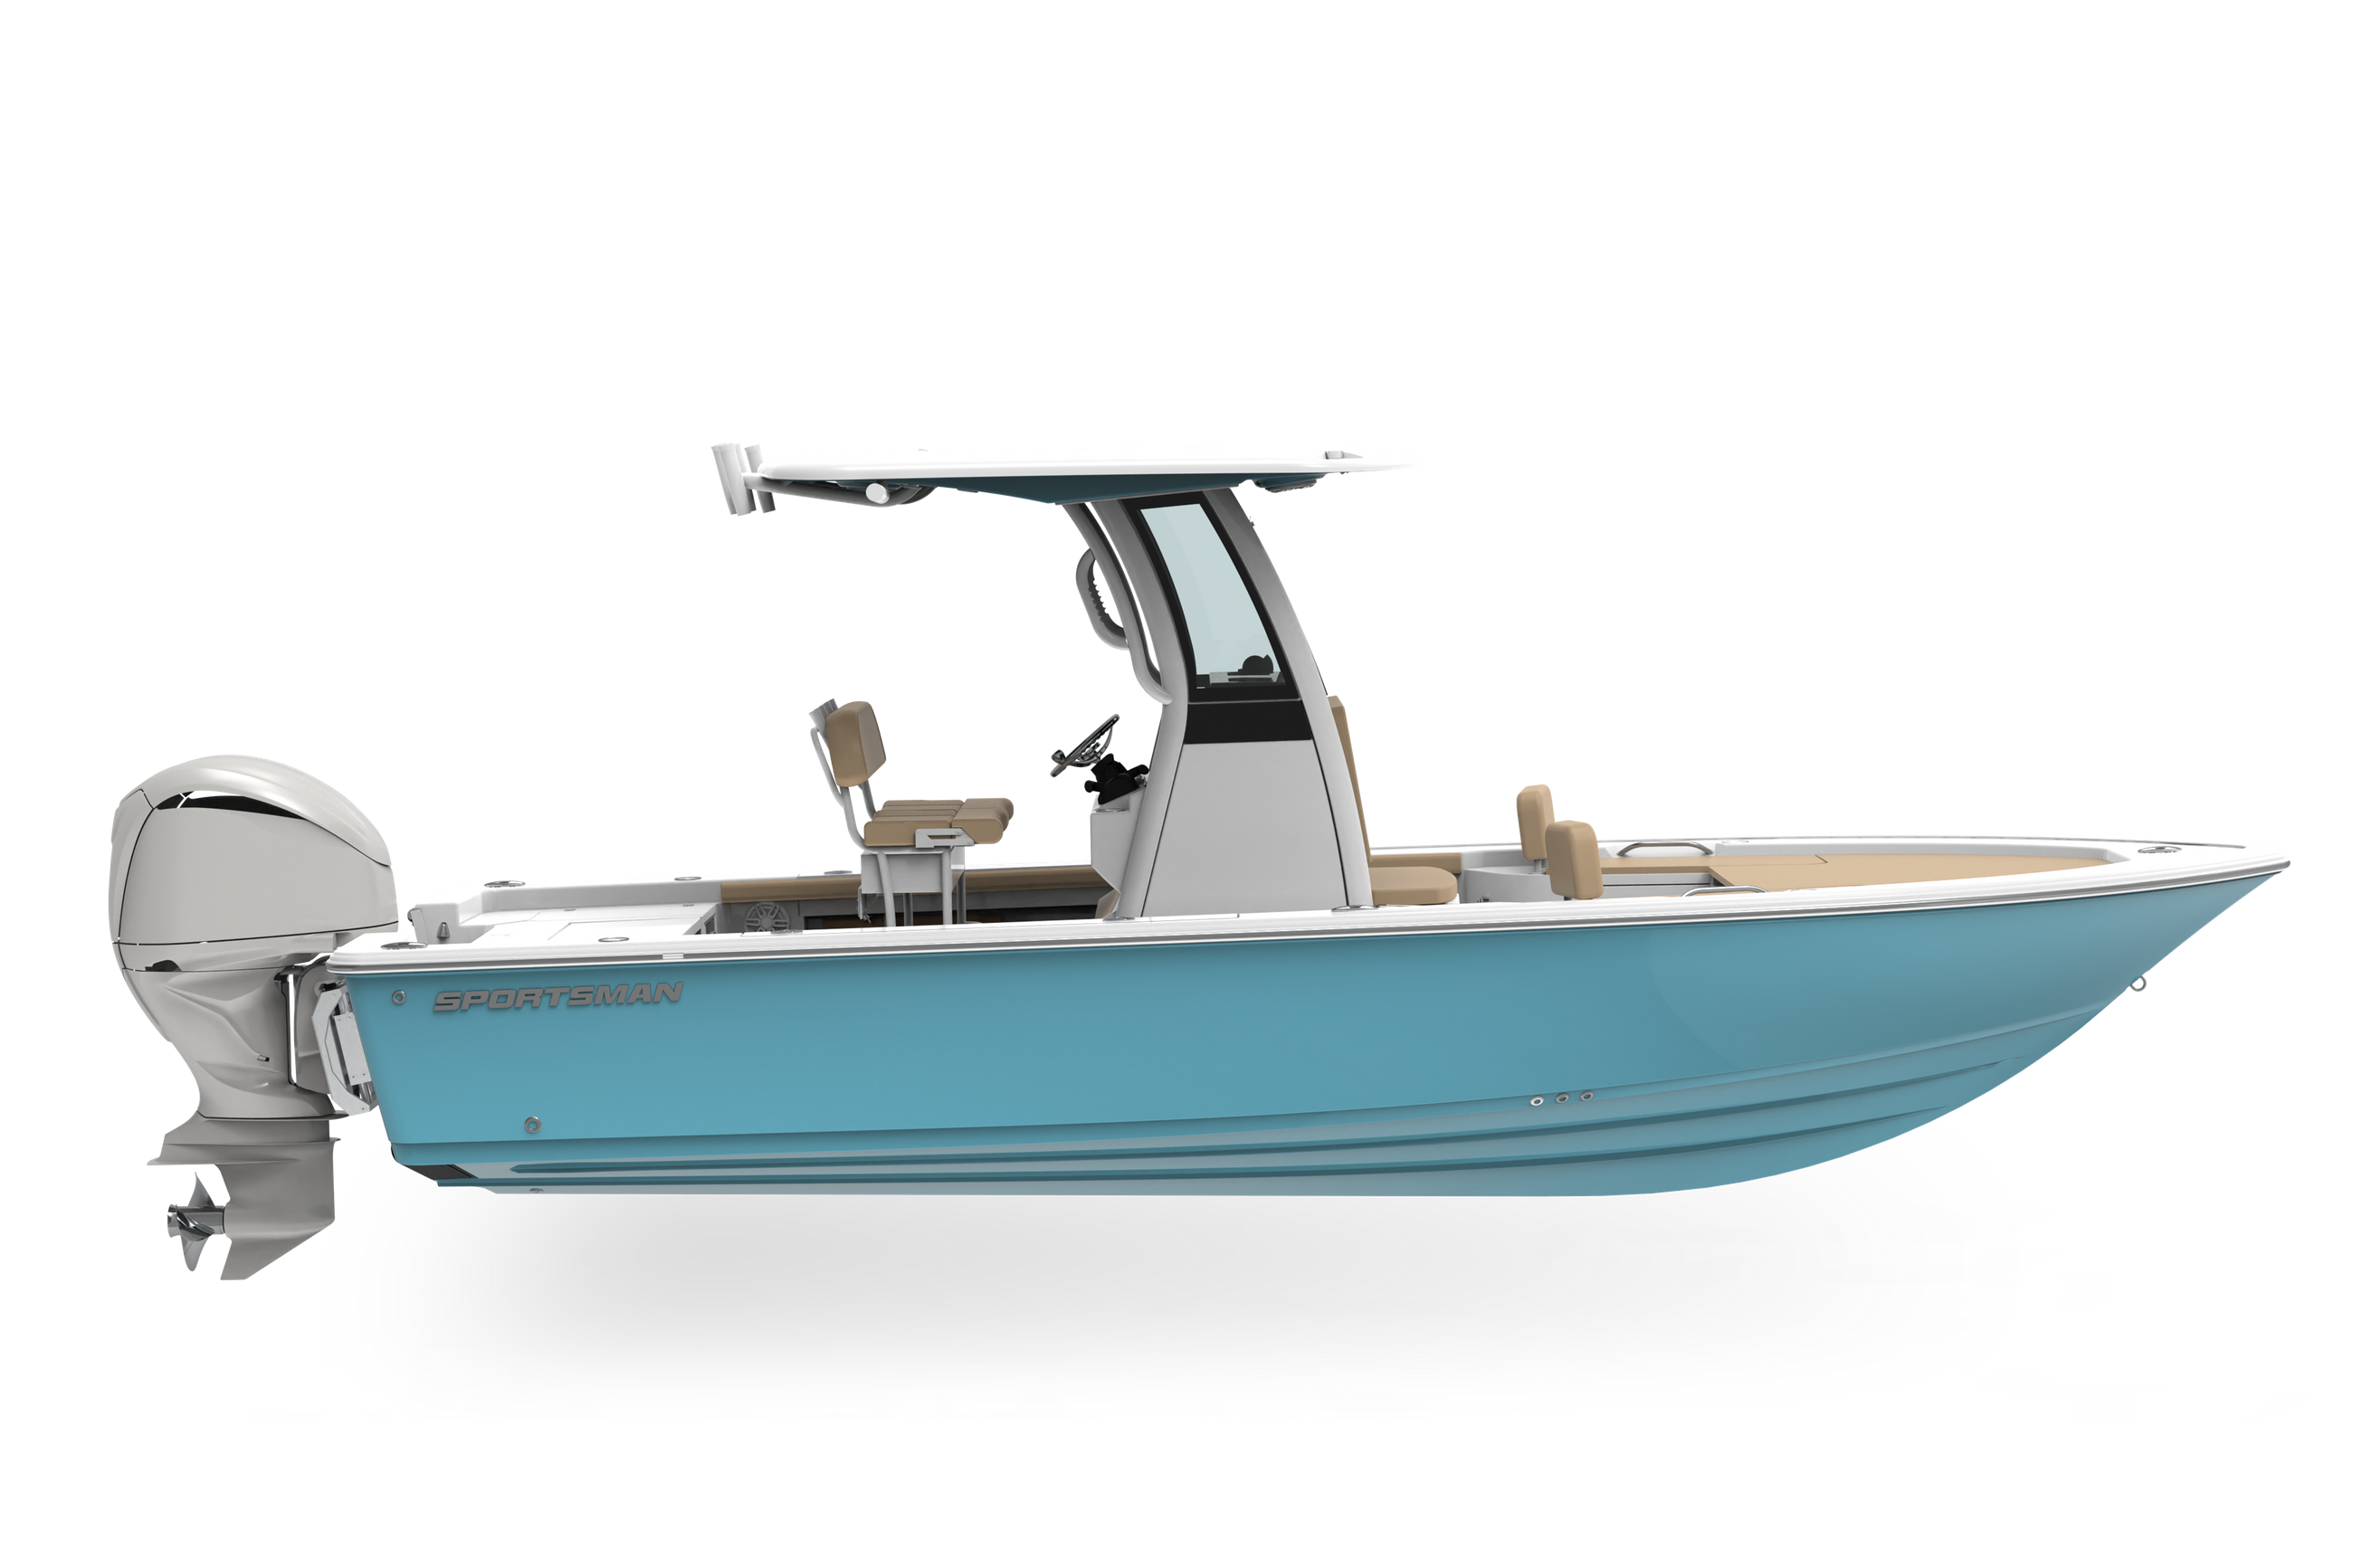
A new model is coming to the Sportsman Boats lineup this summer. Built on familiar foundations but reimagined for today’s boaters, this upco...
Read More