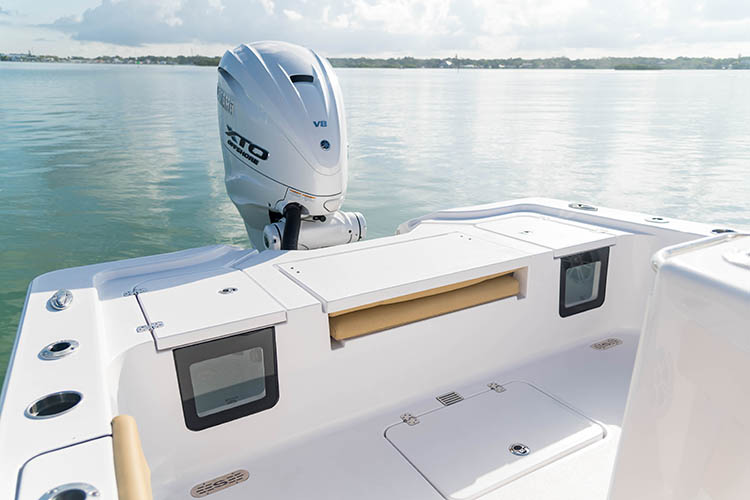
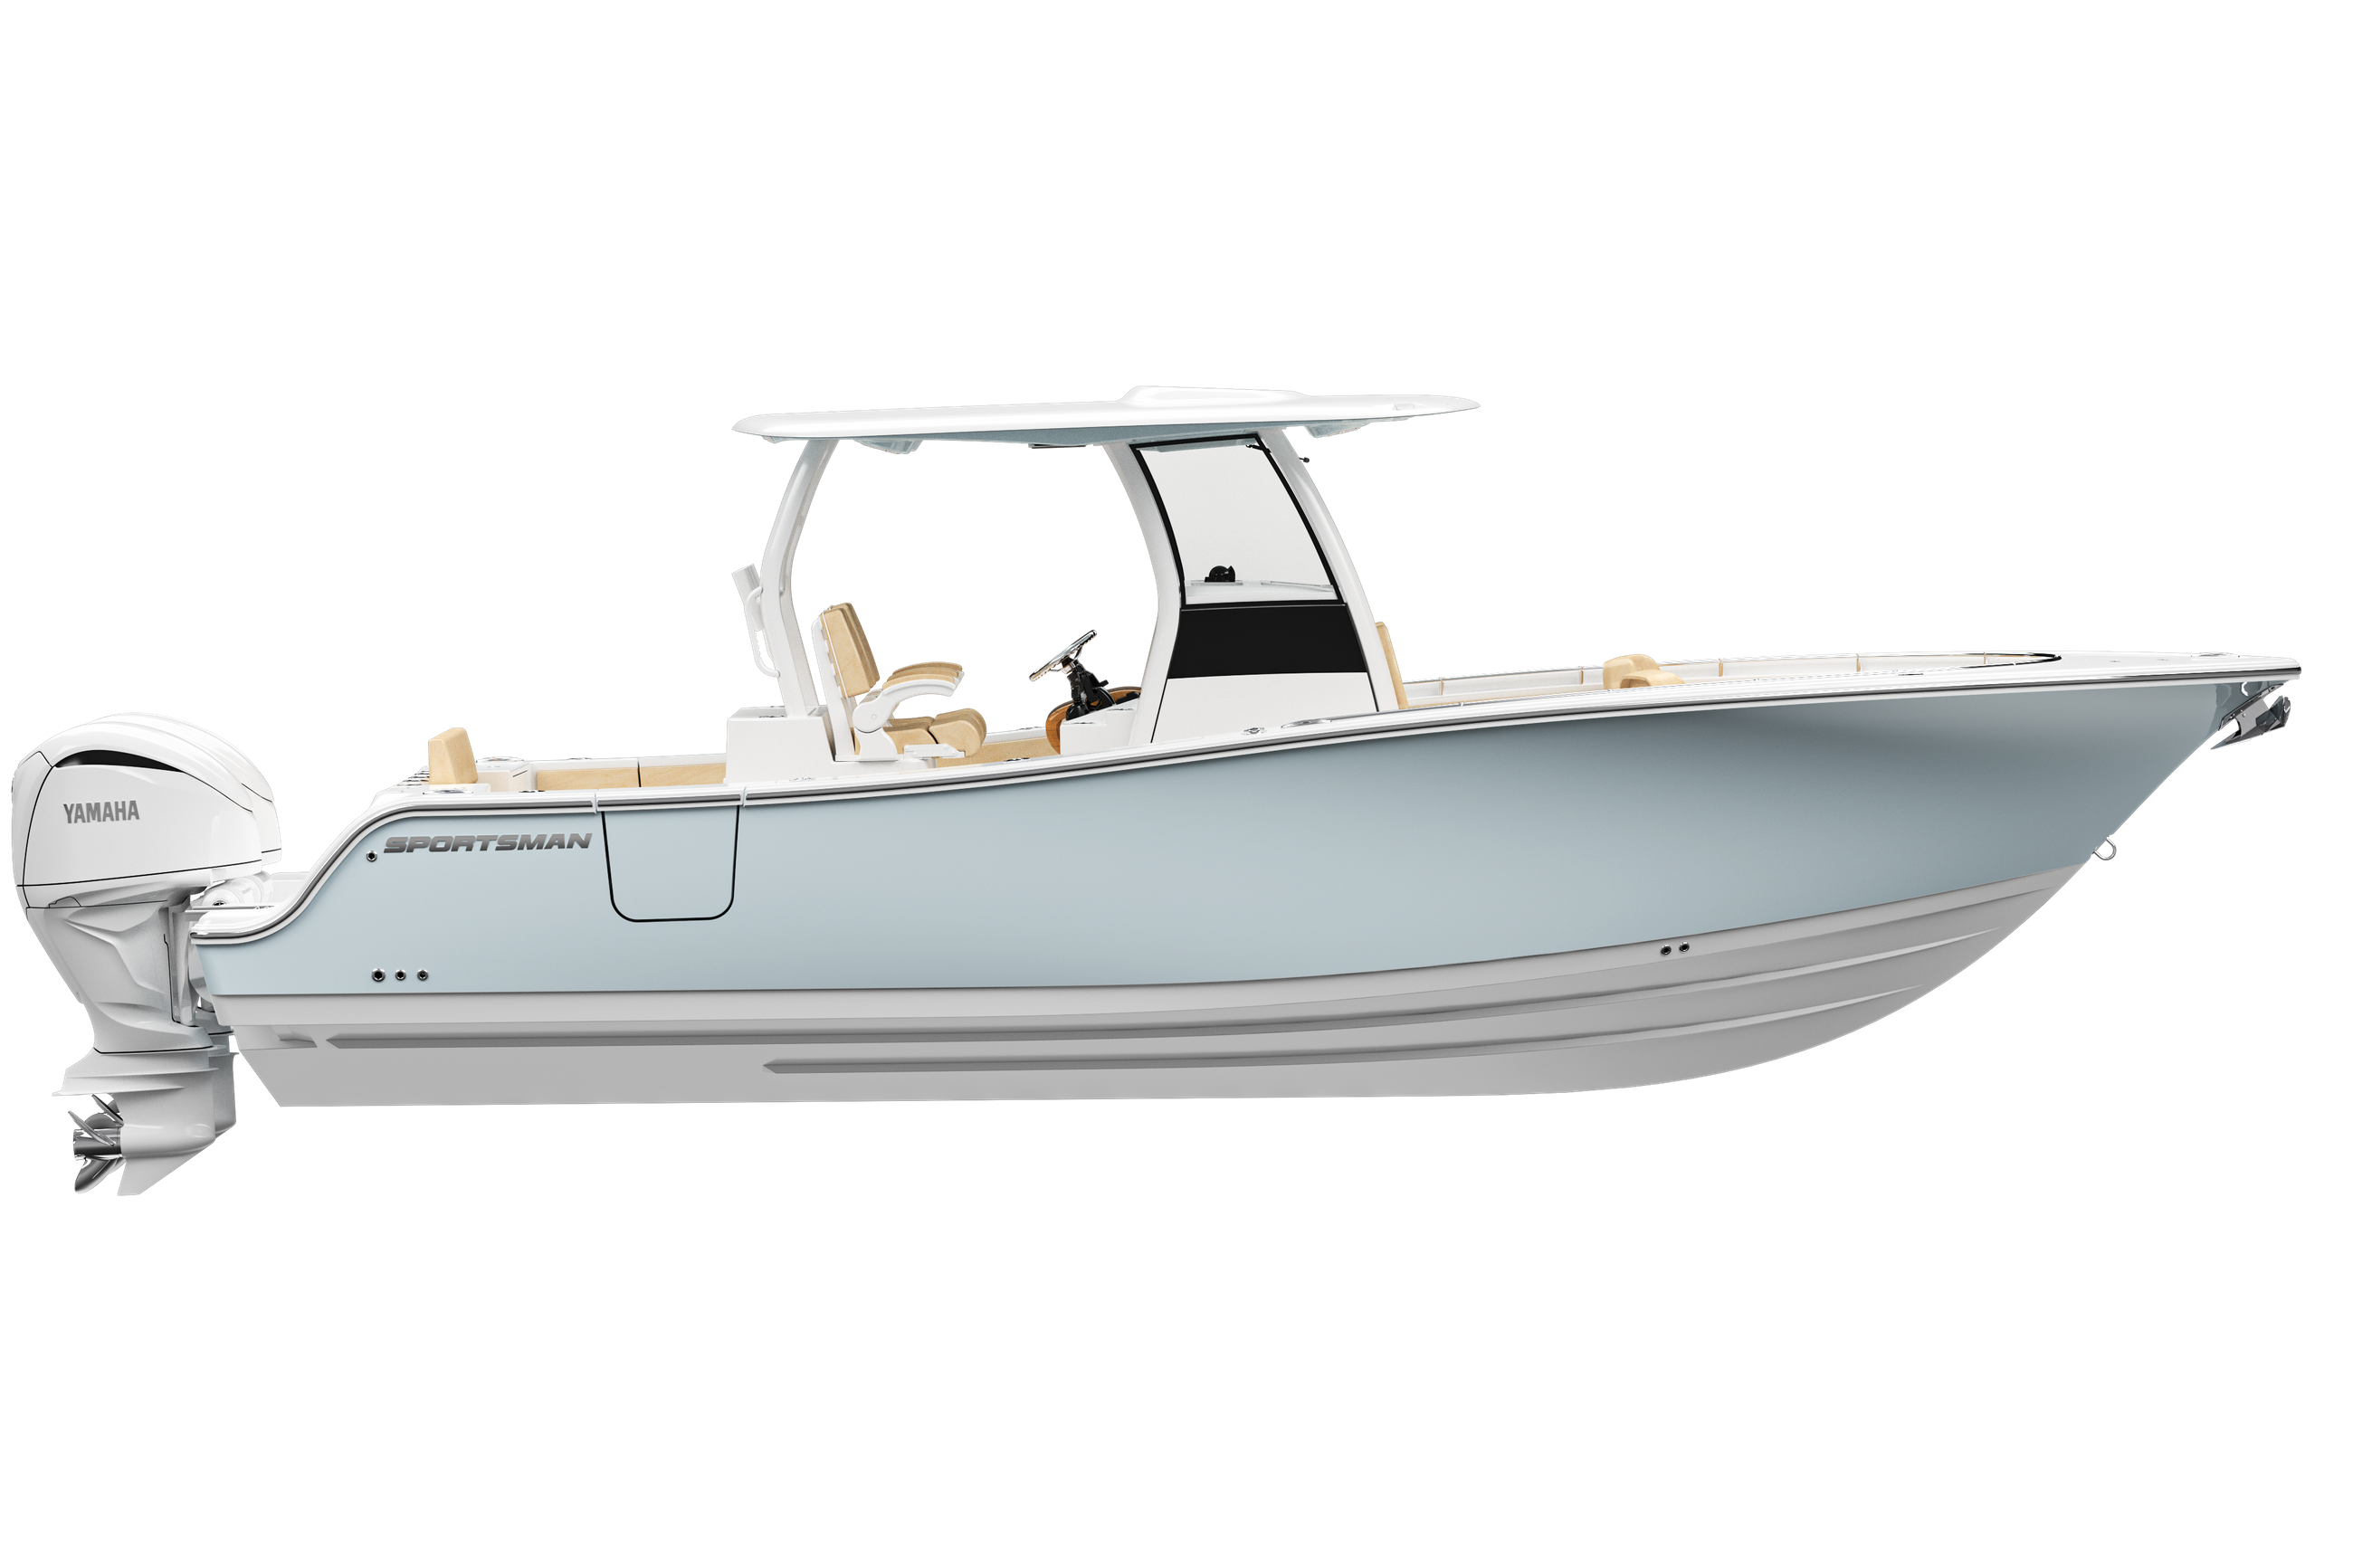
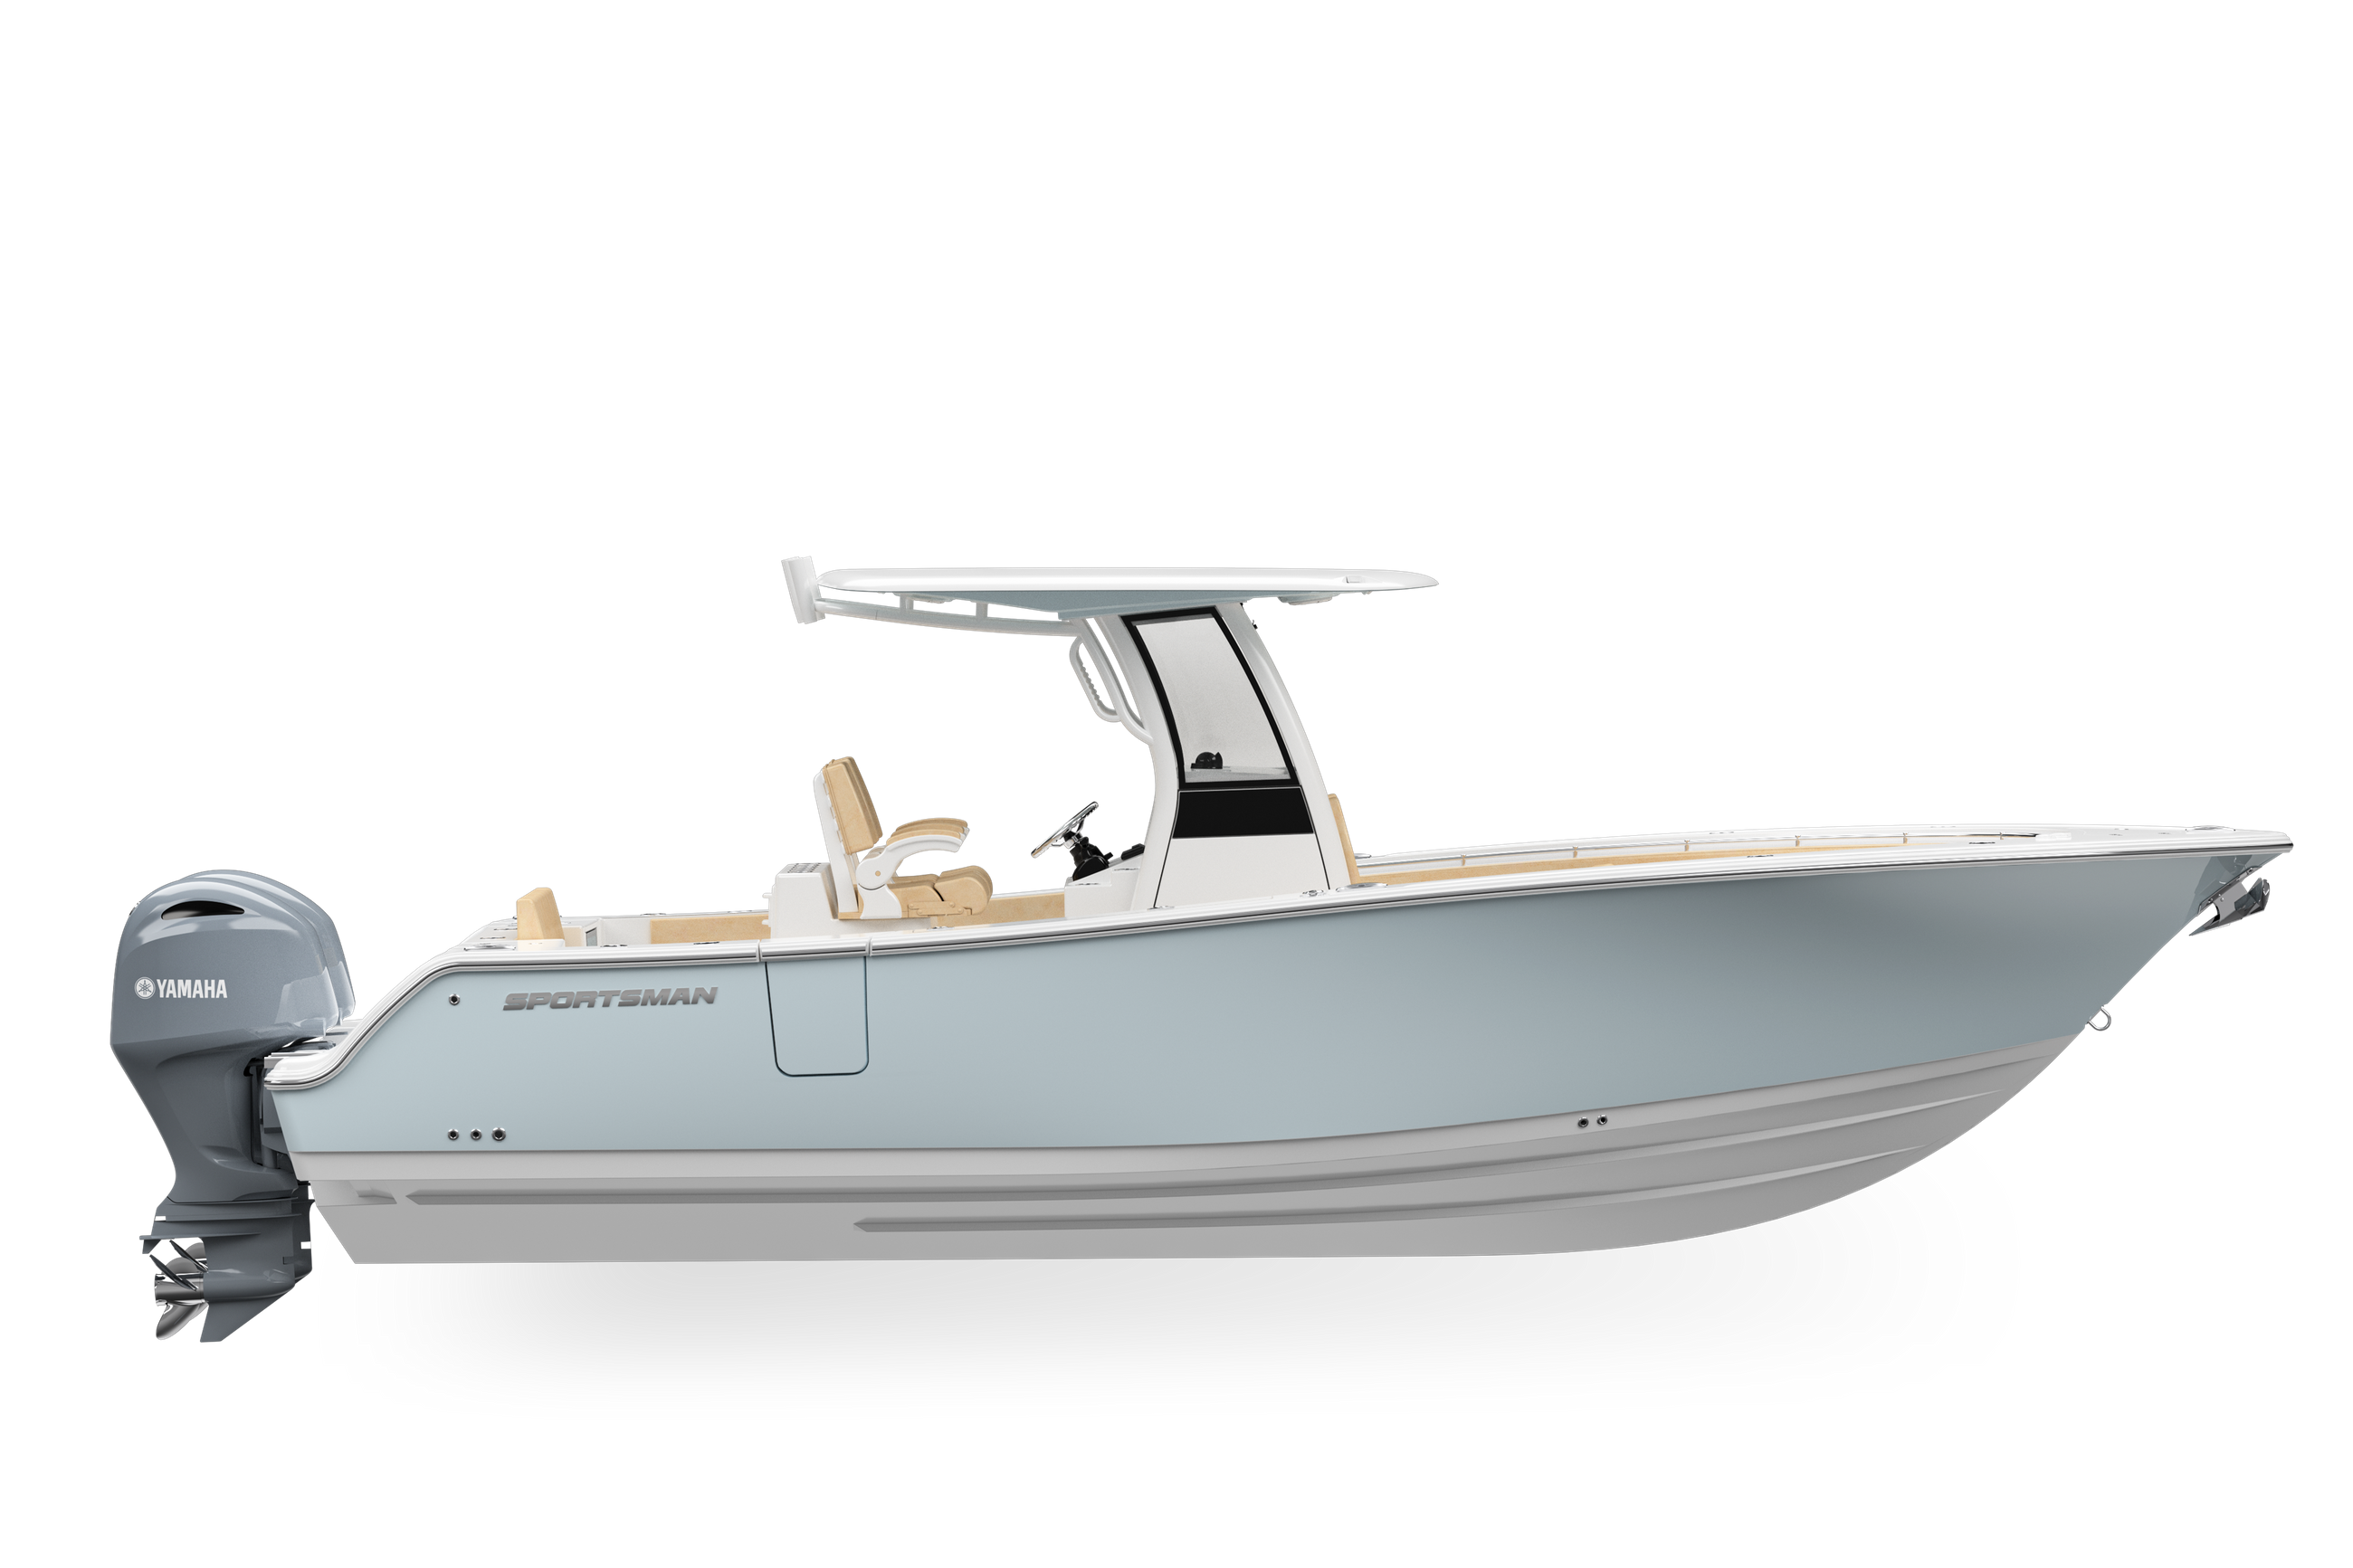
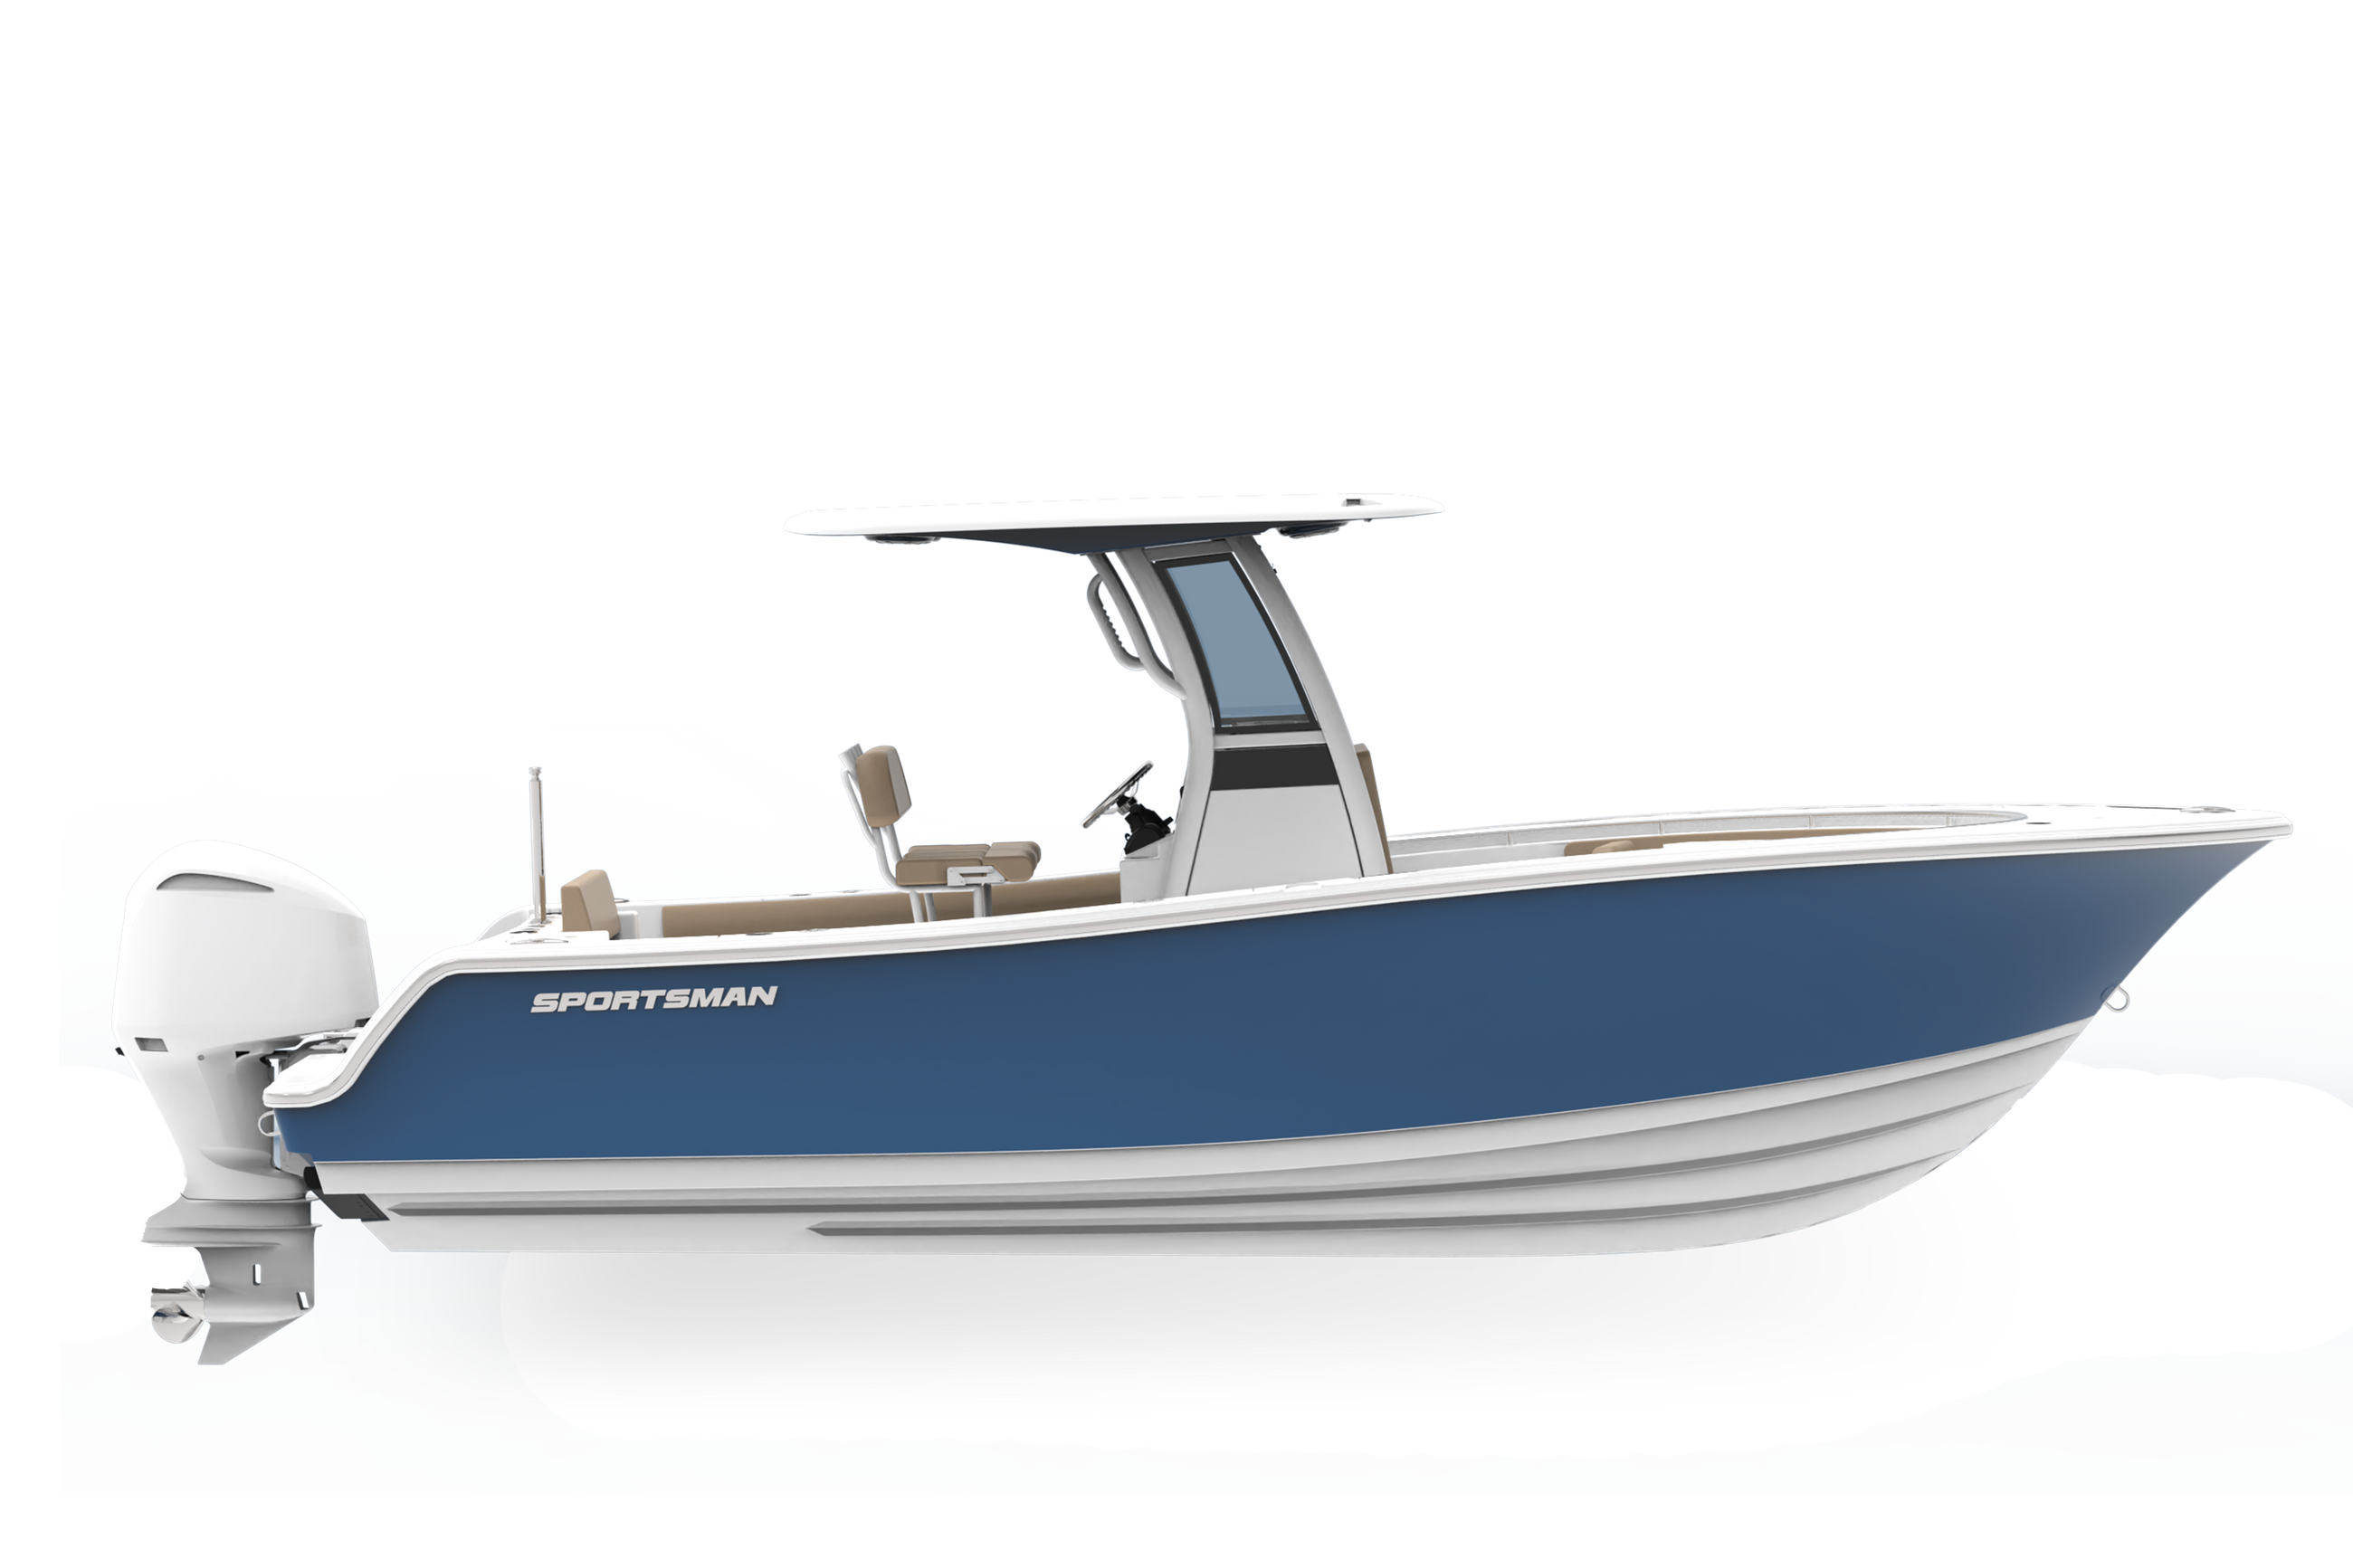
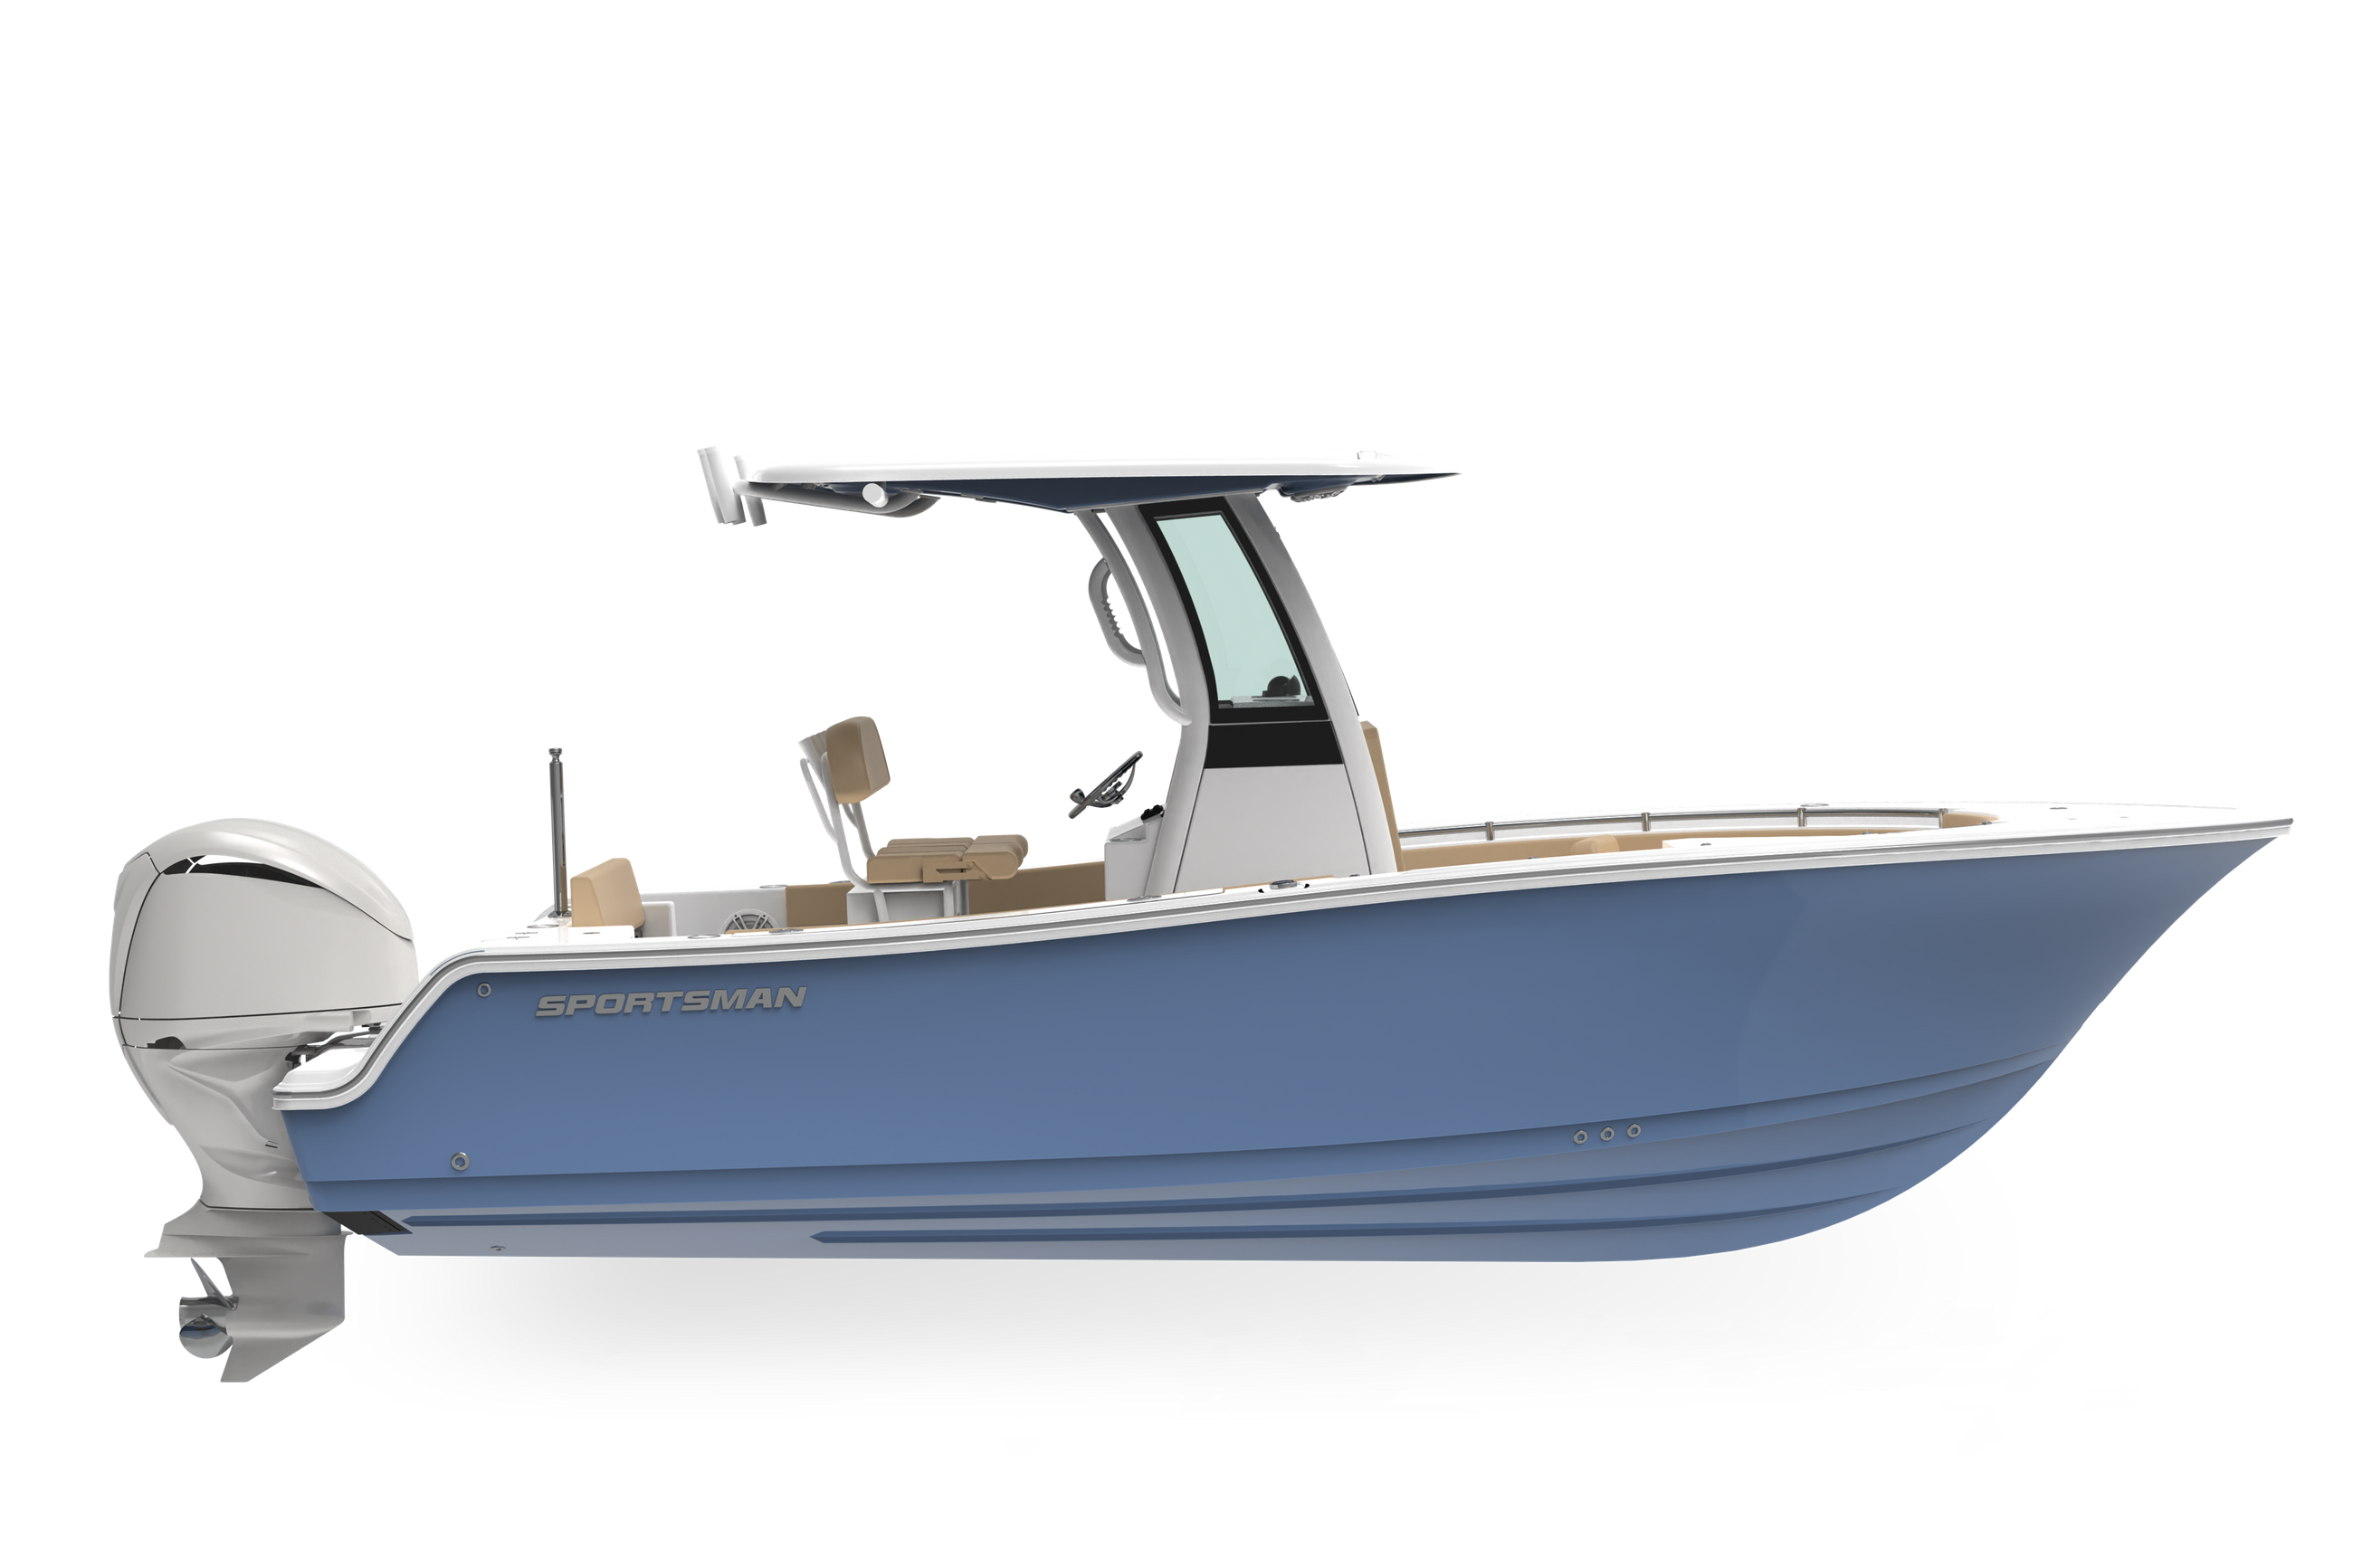
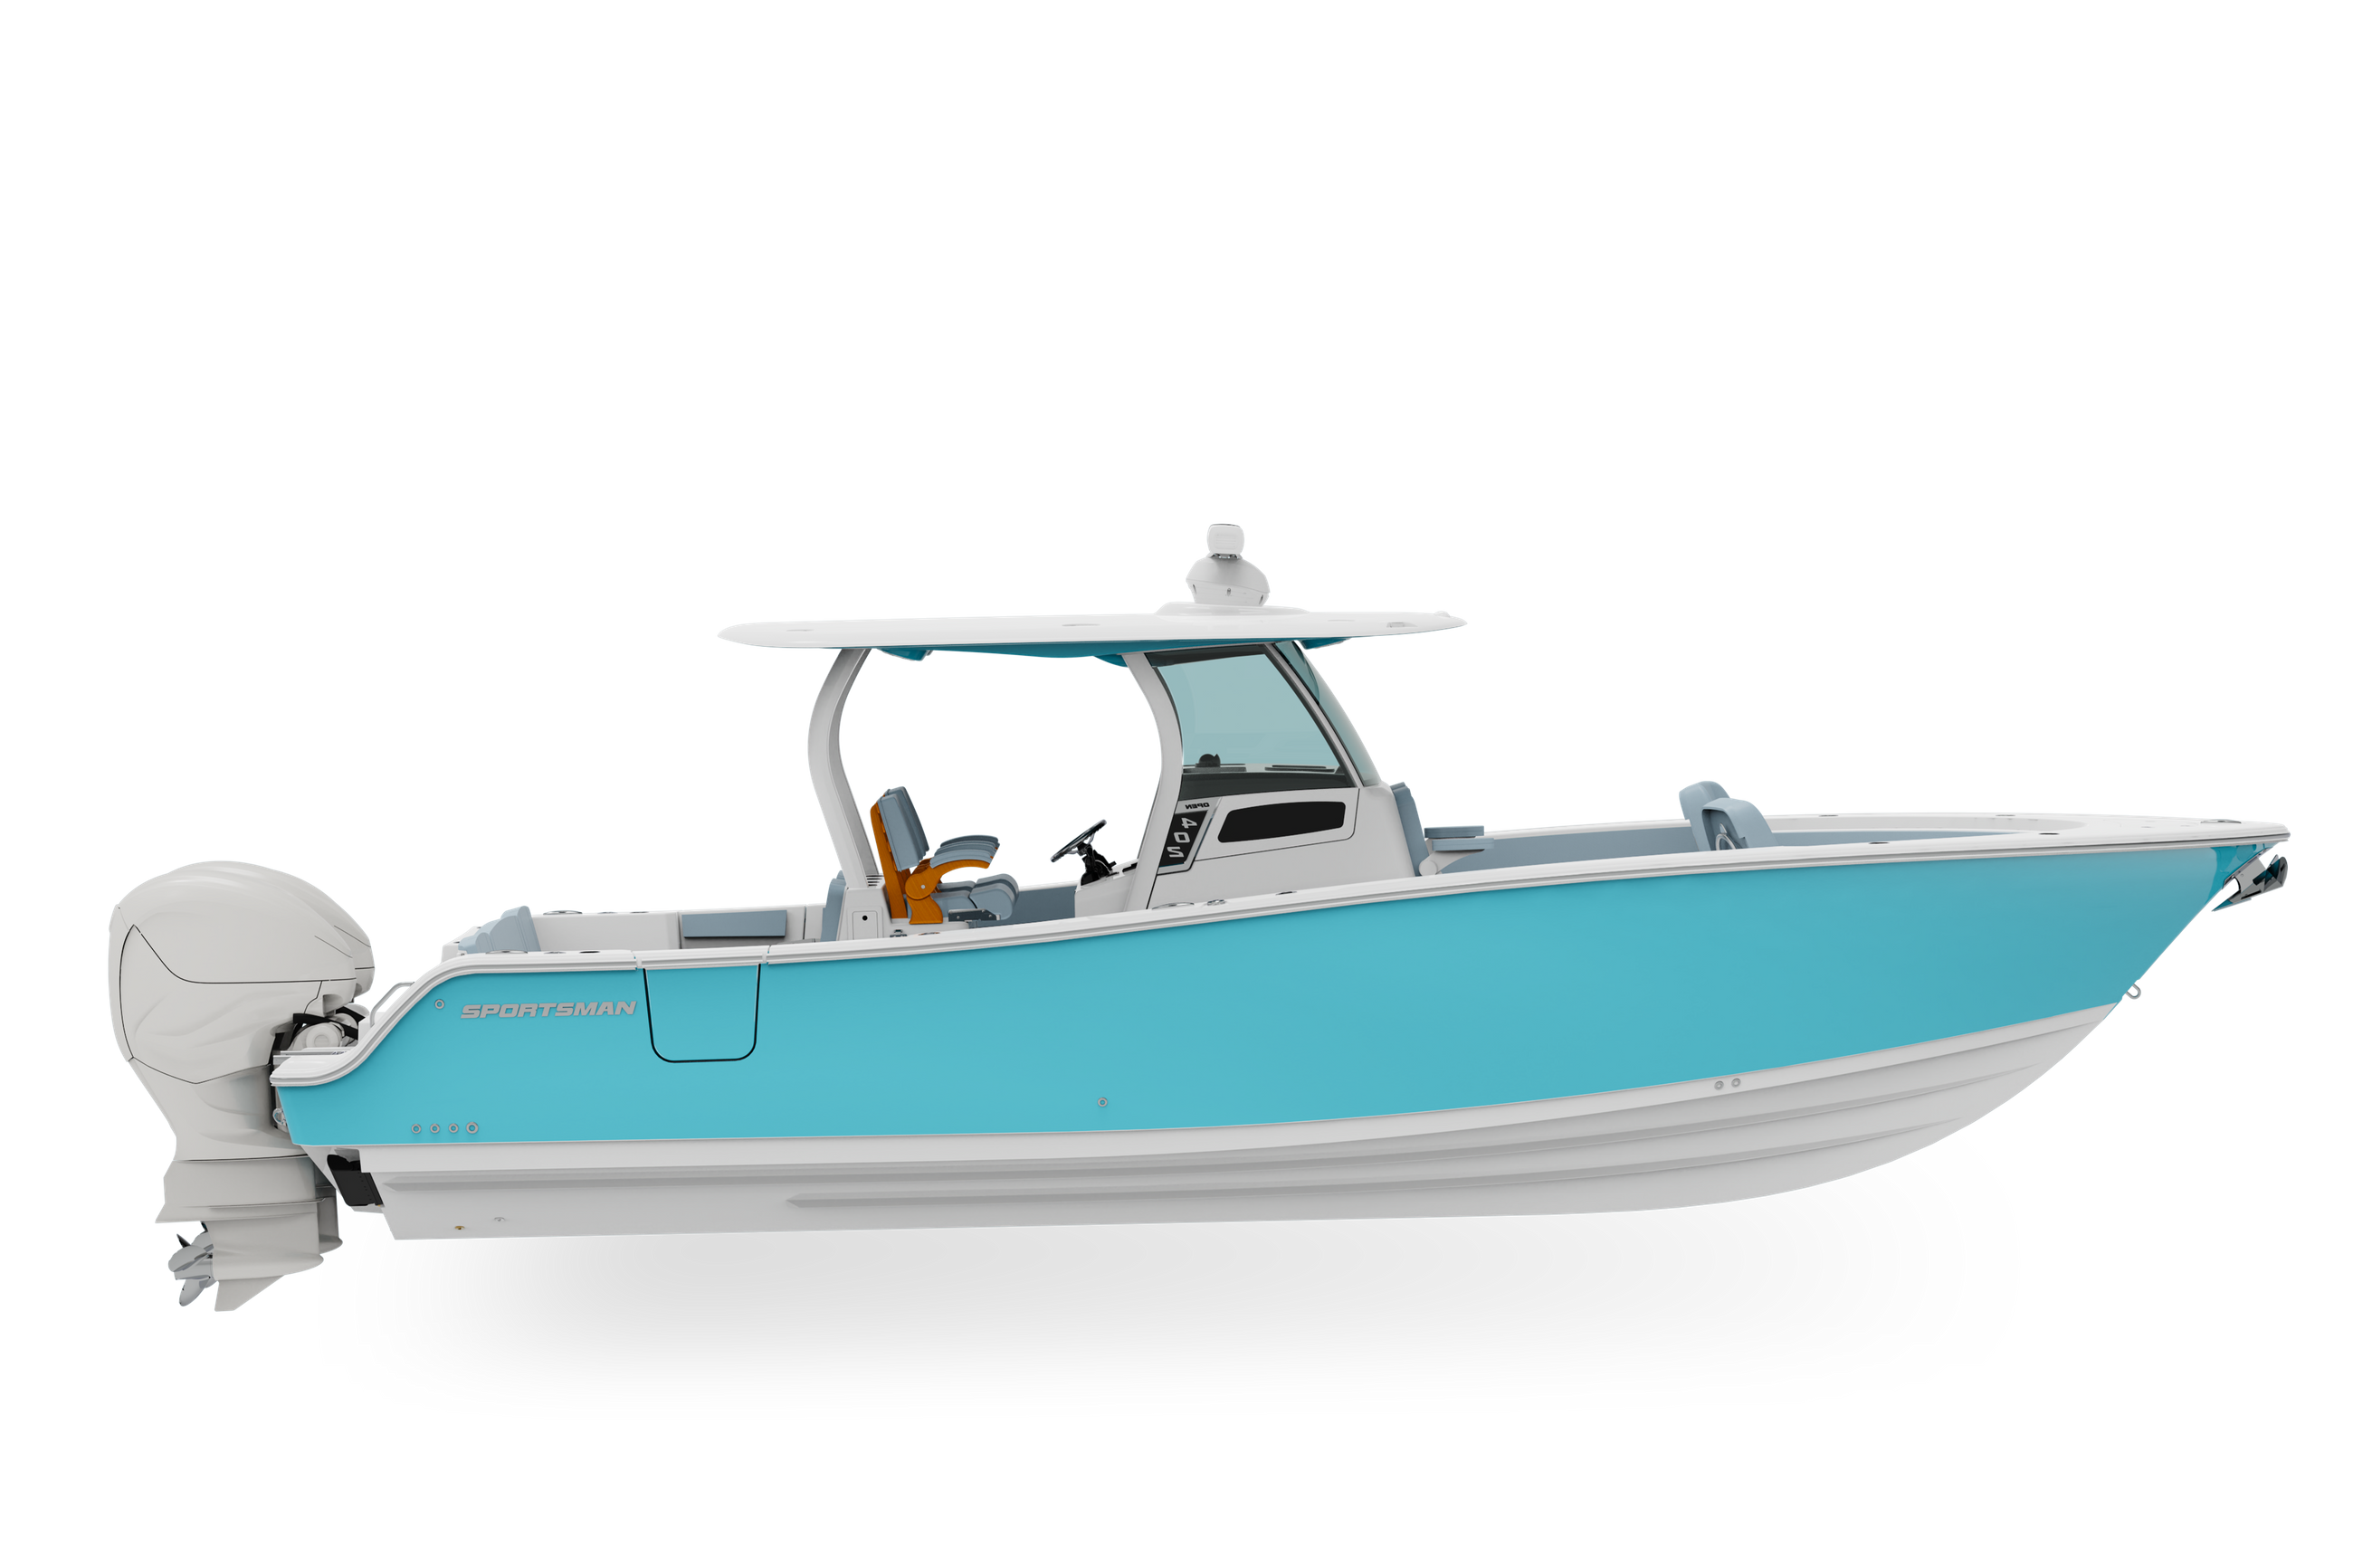
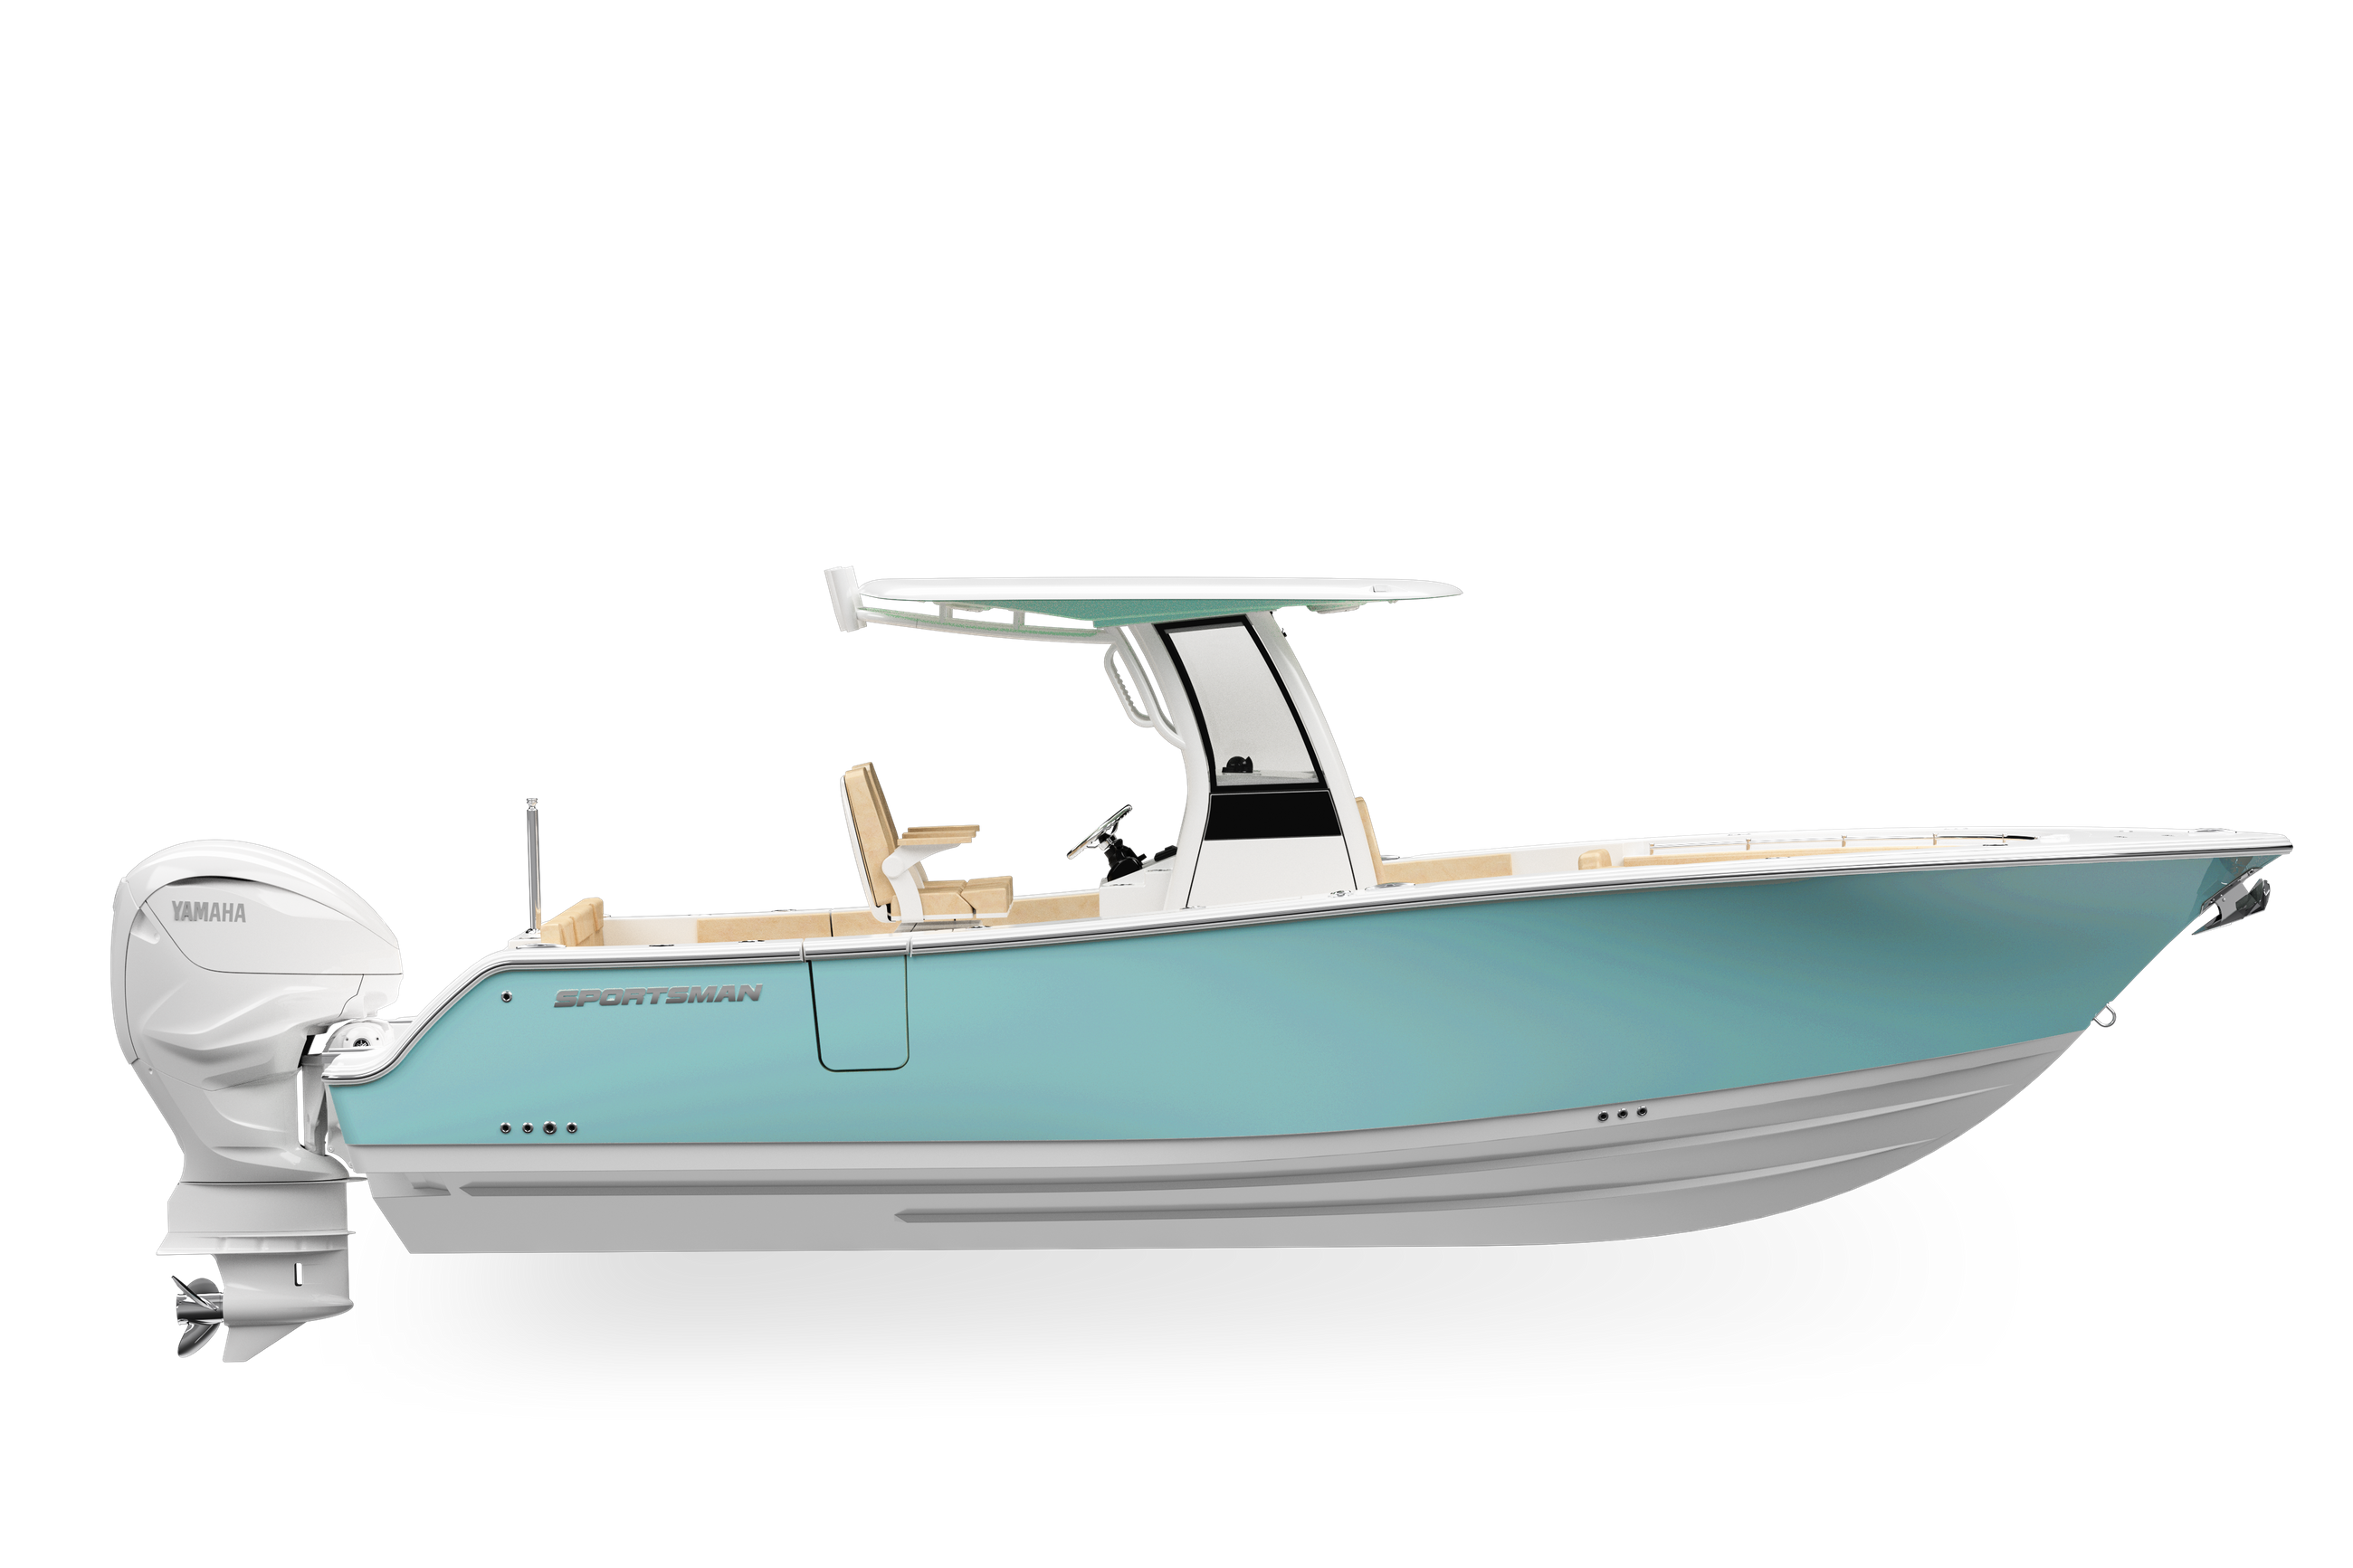
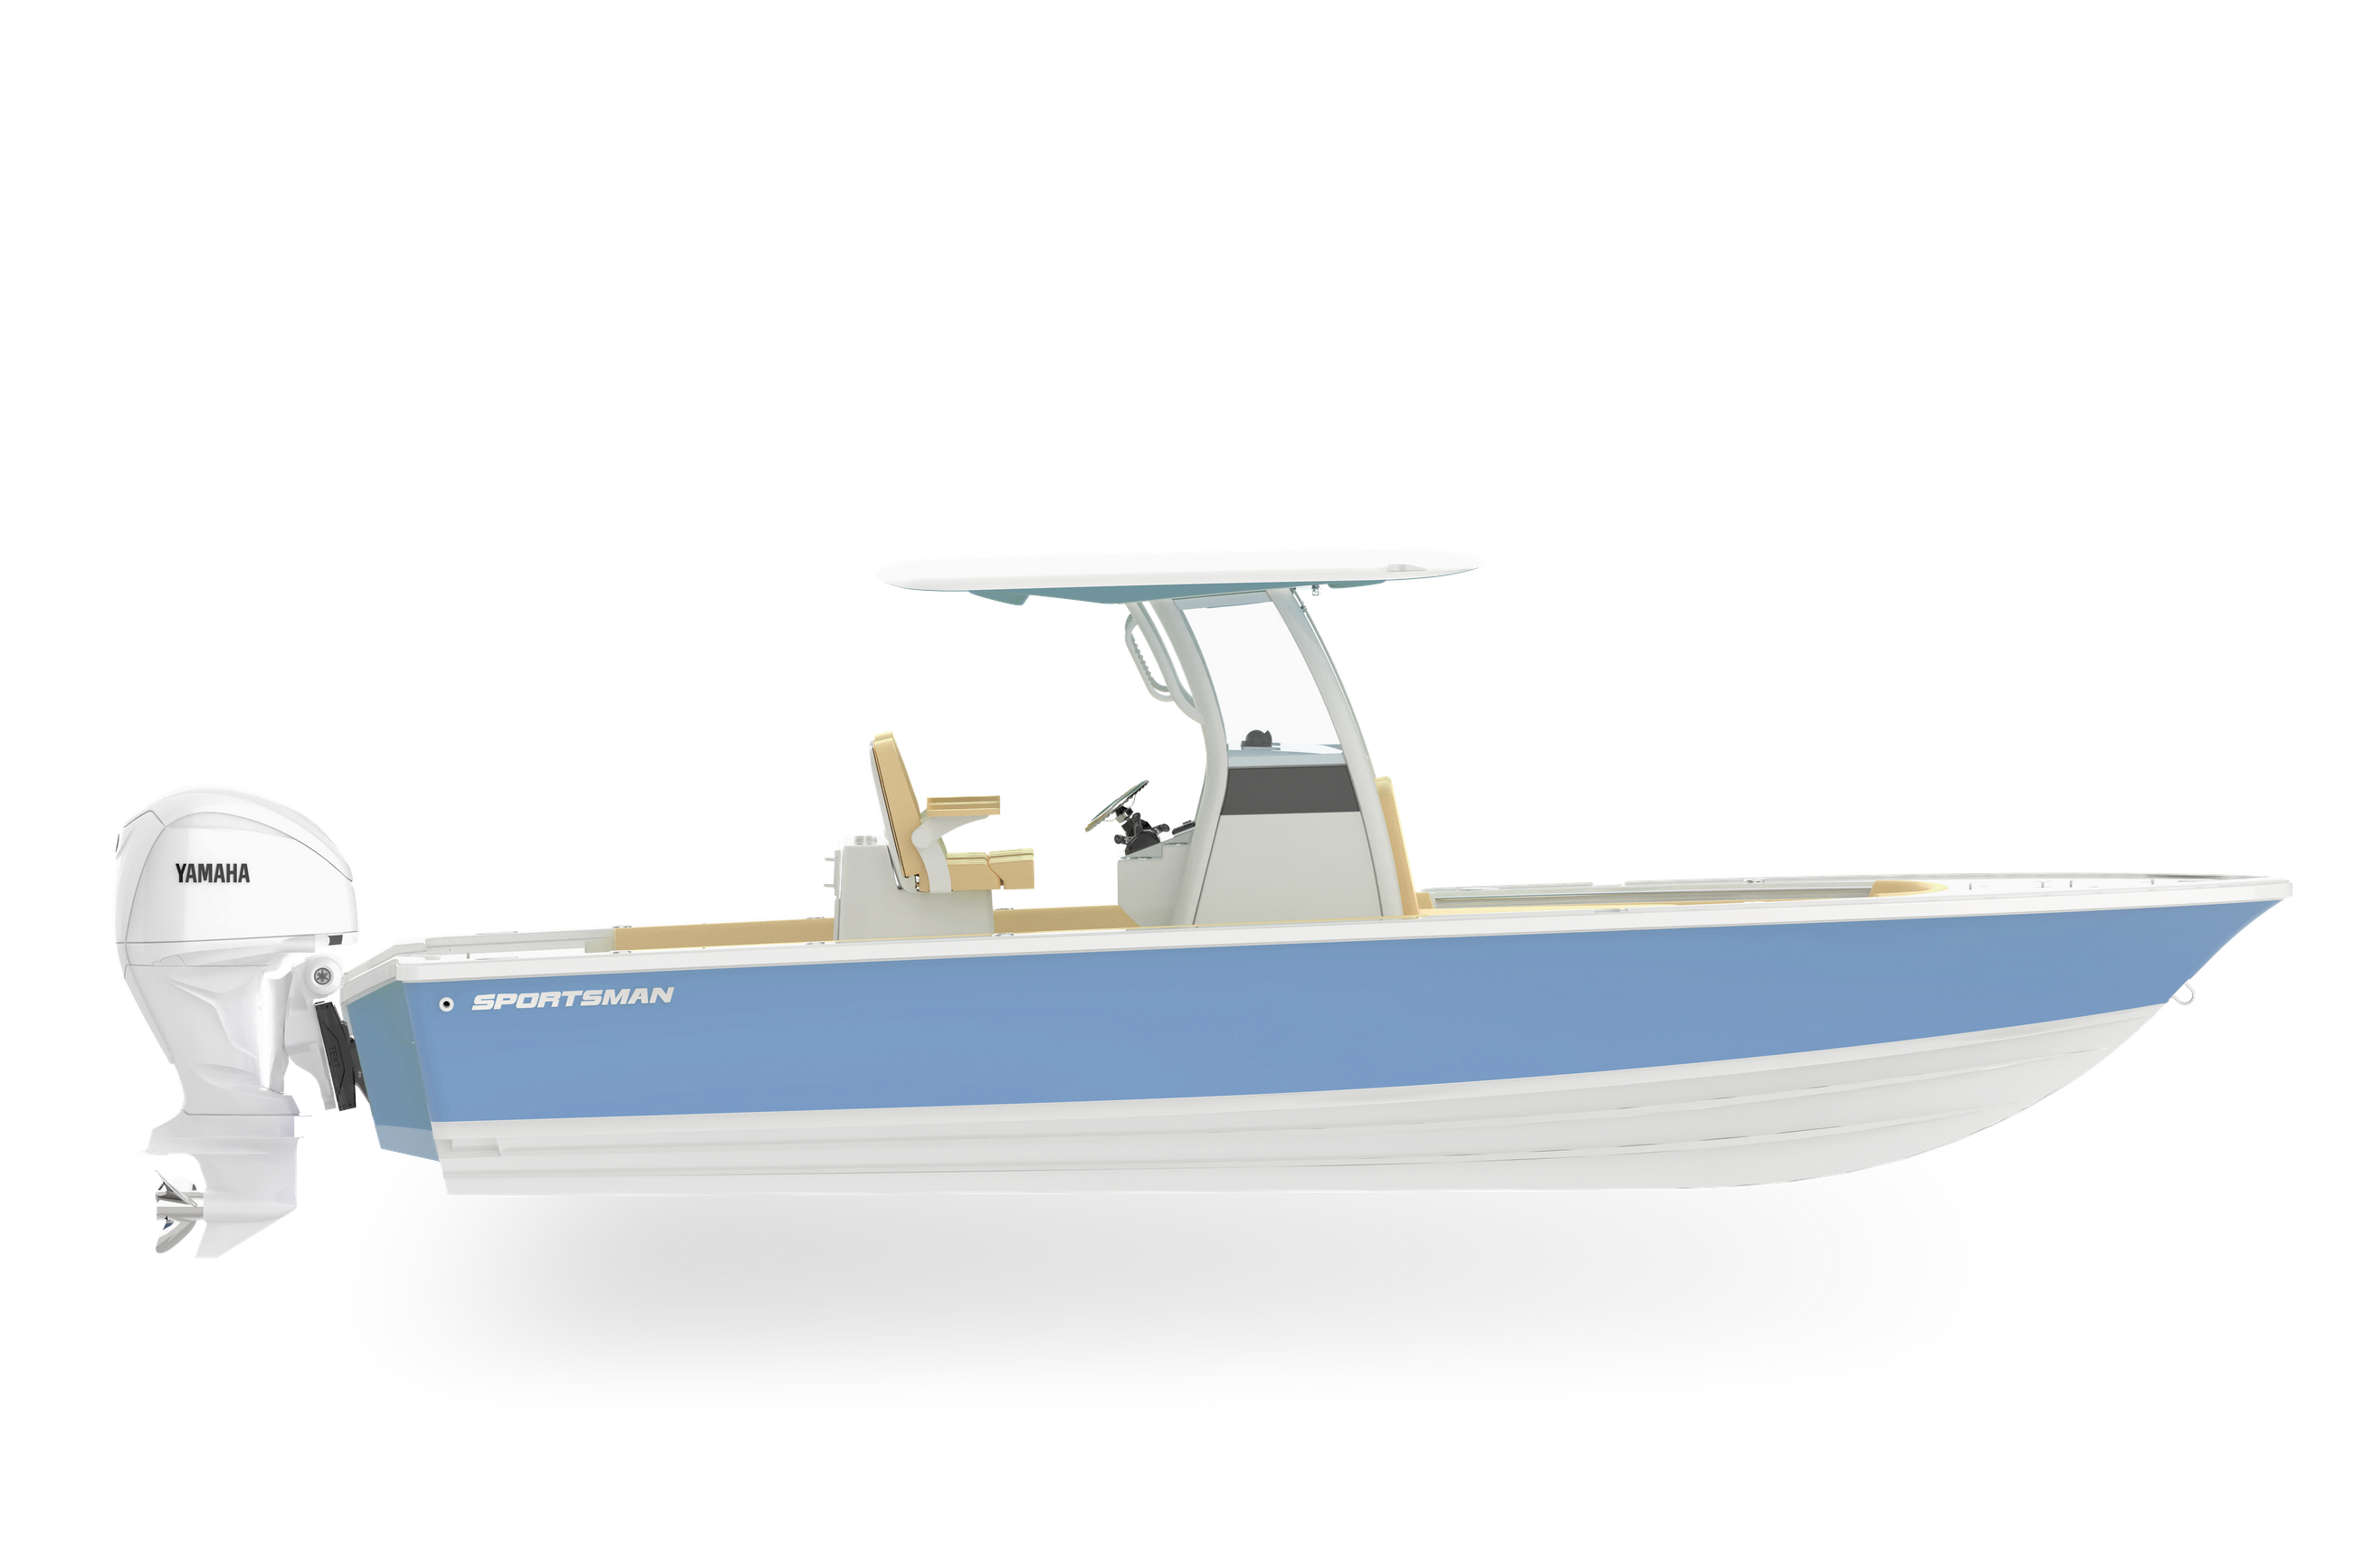
Open
Built for families who want serious offshore capability,
premium comfort and the freedom to fish, cruise or entertain.
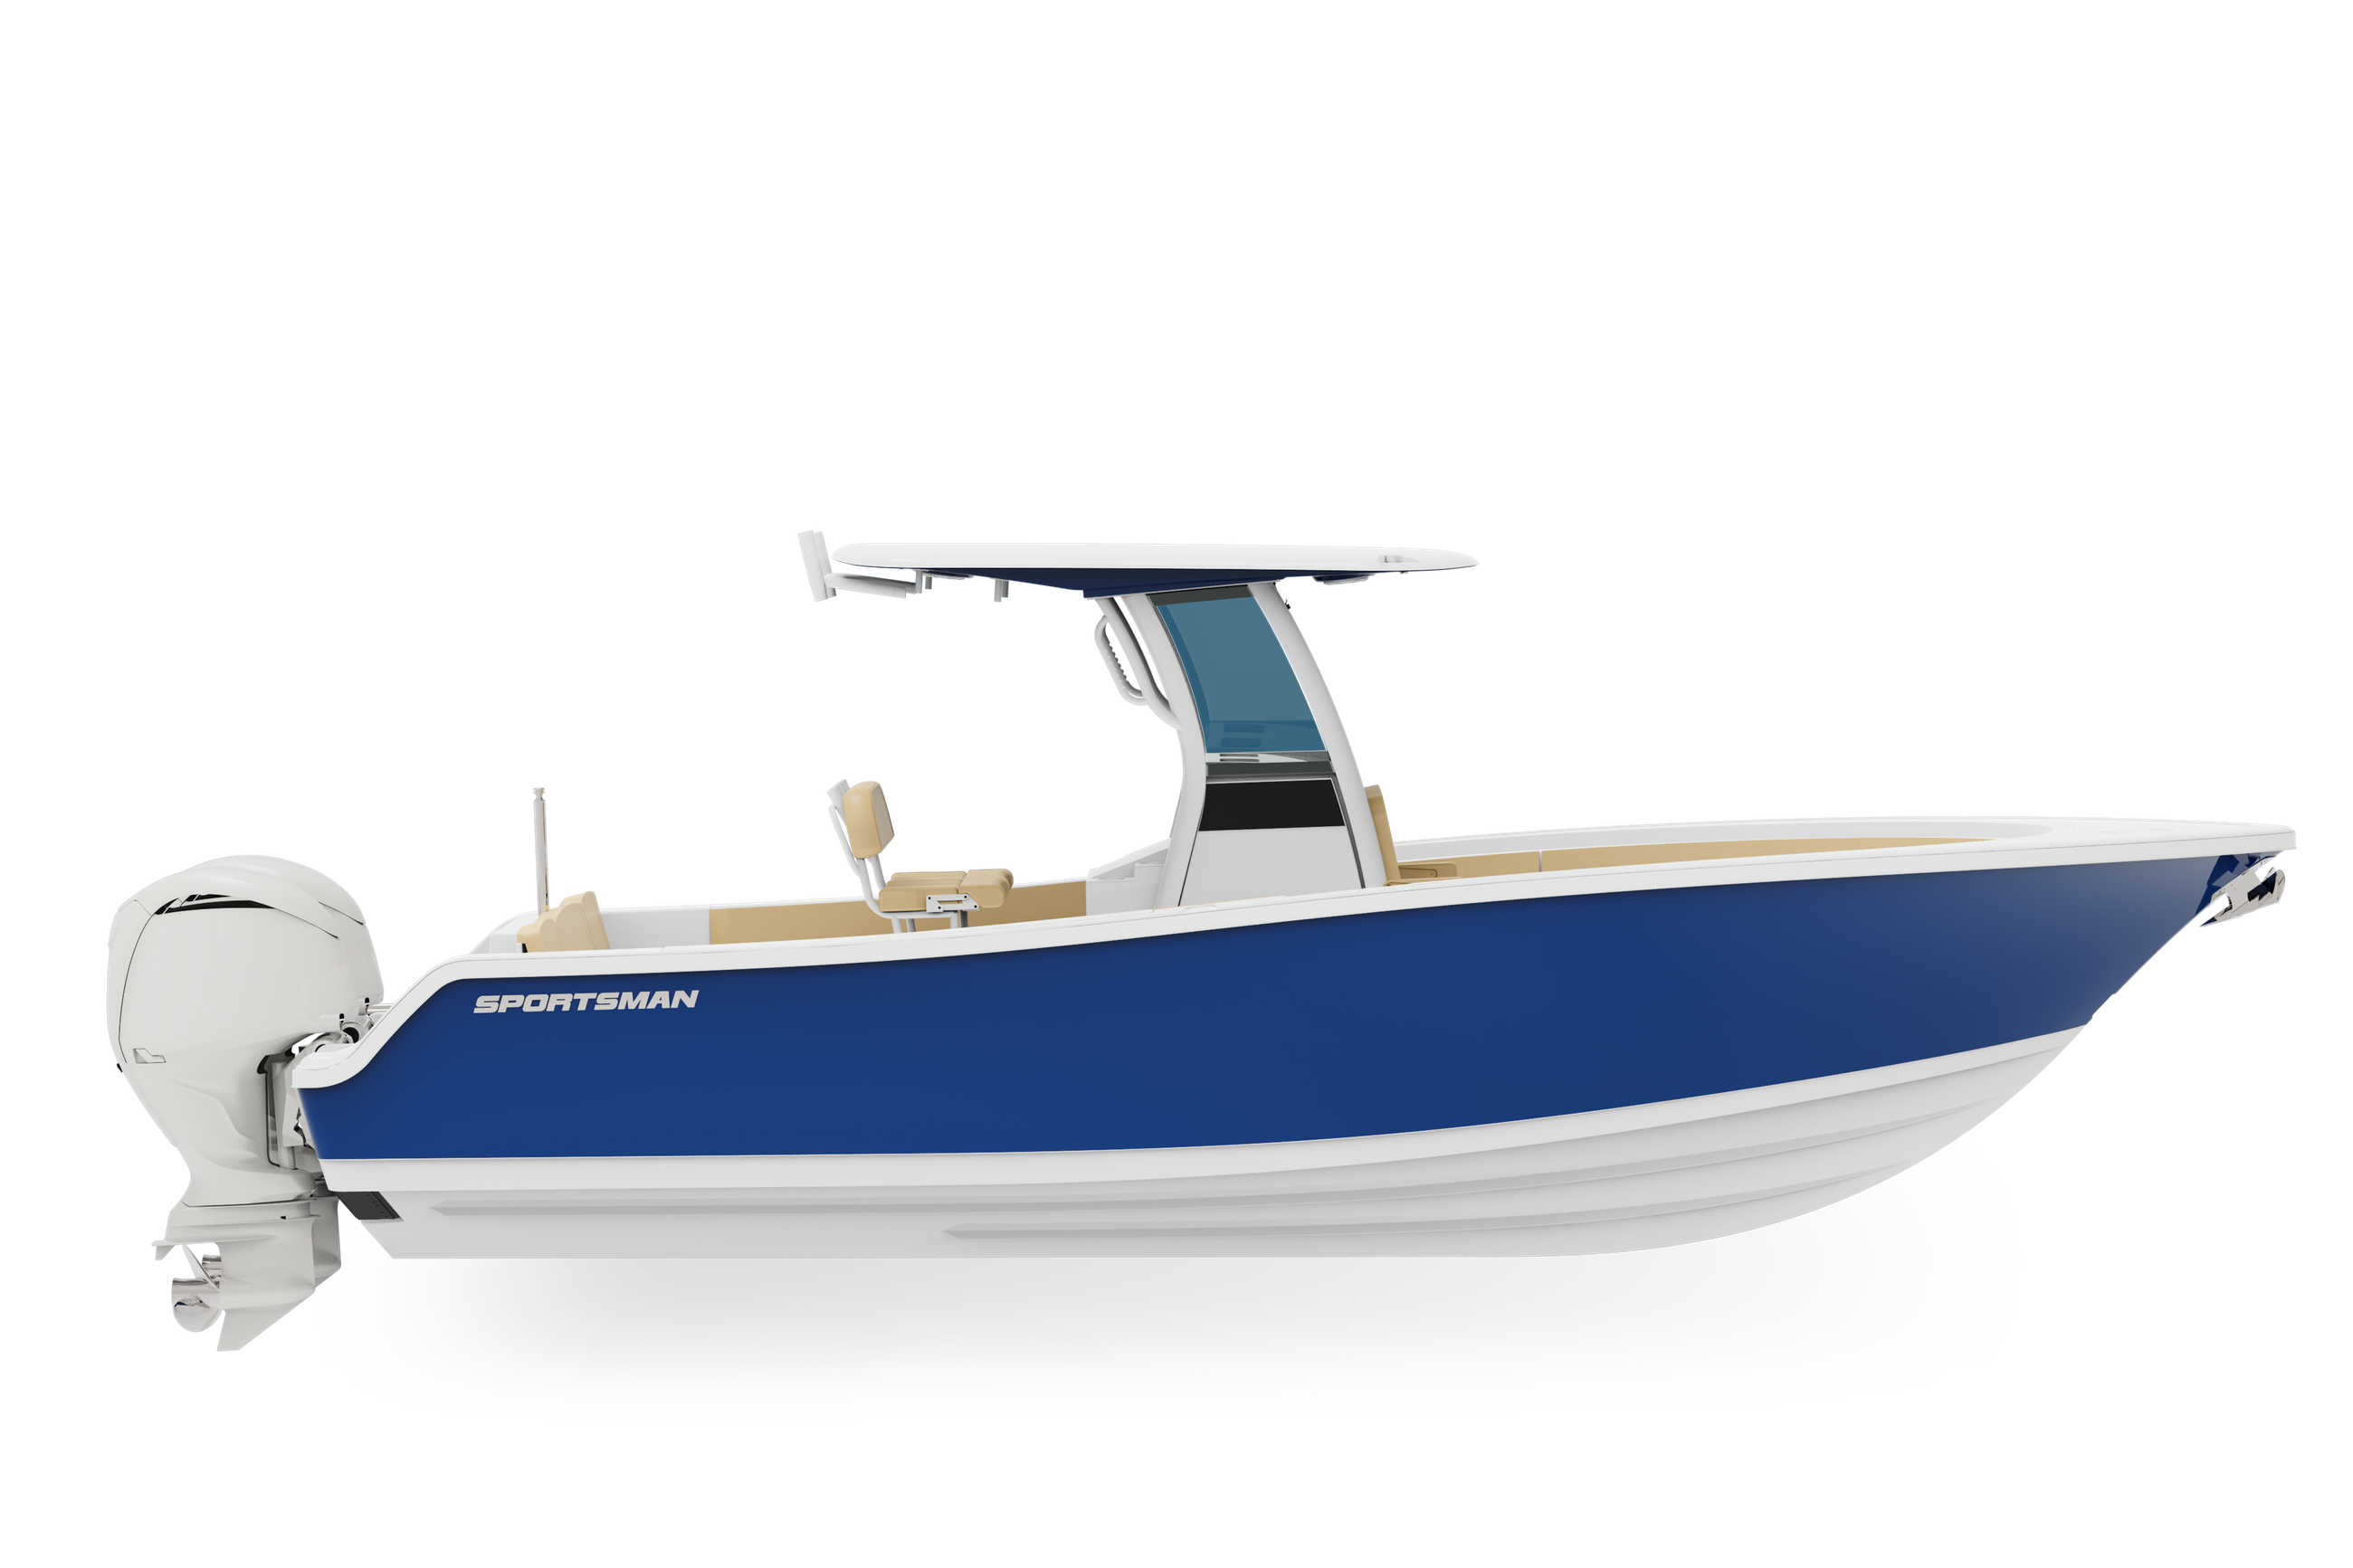
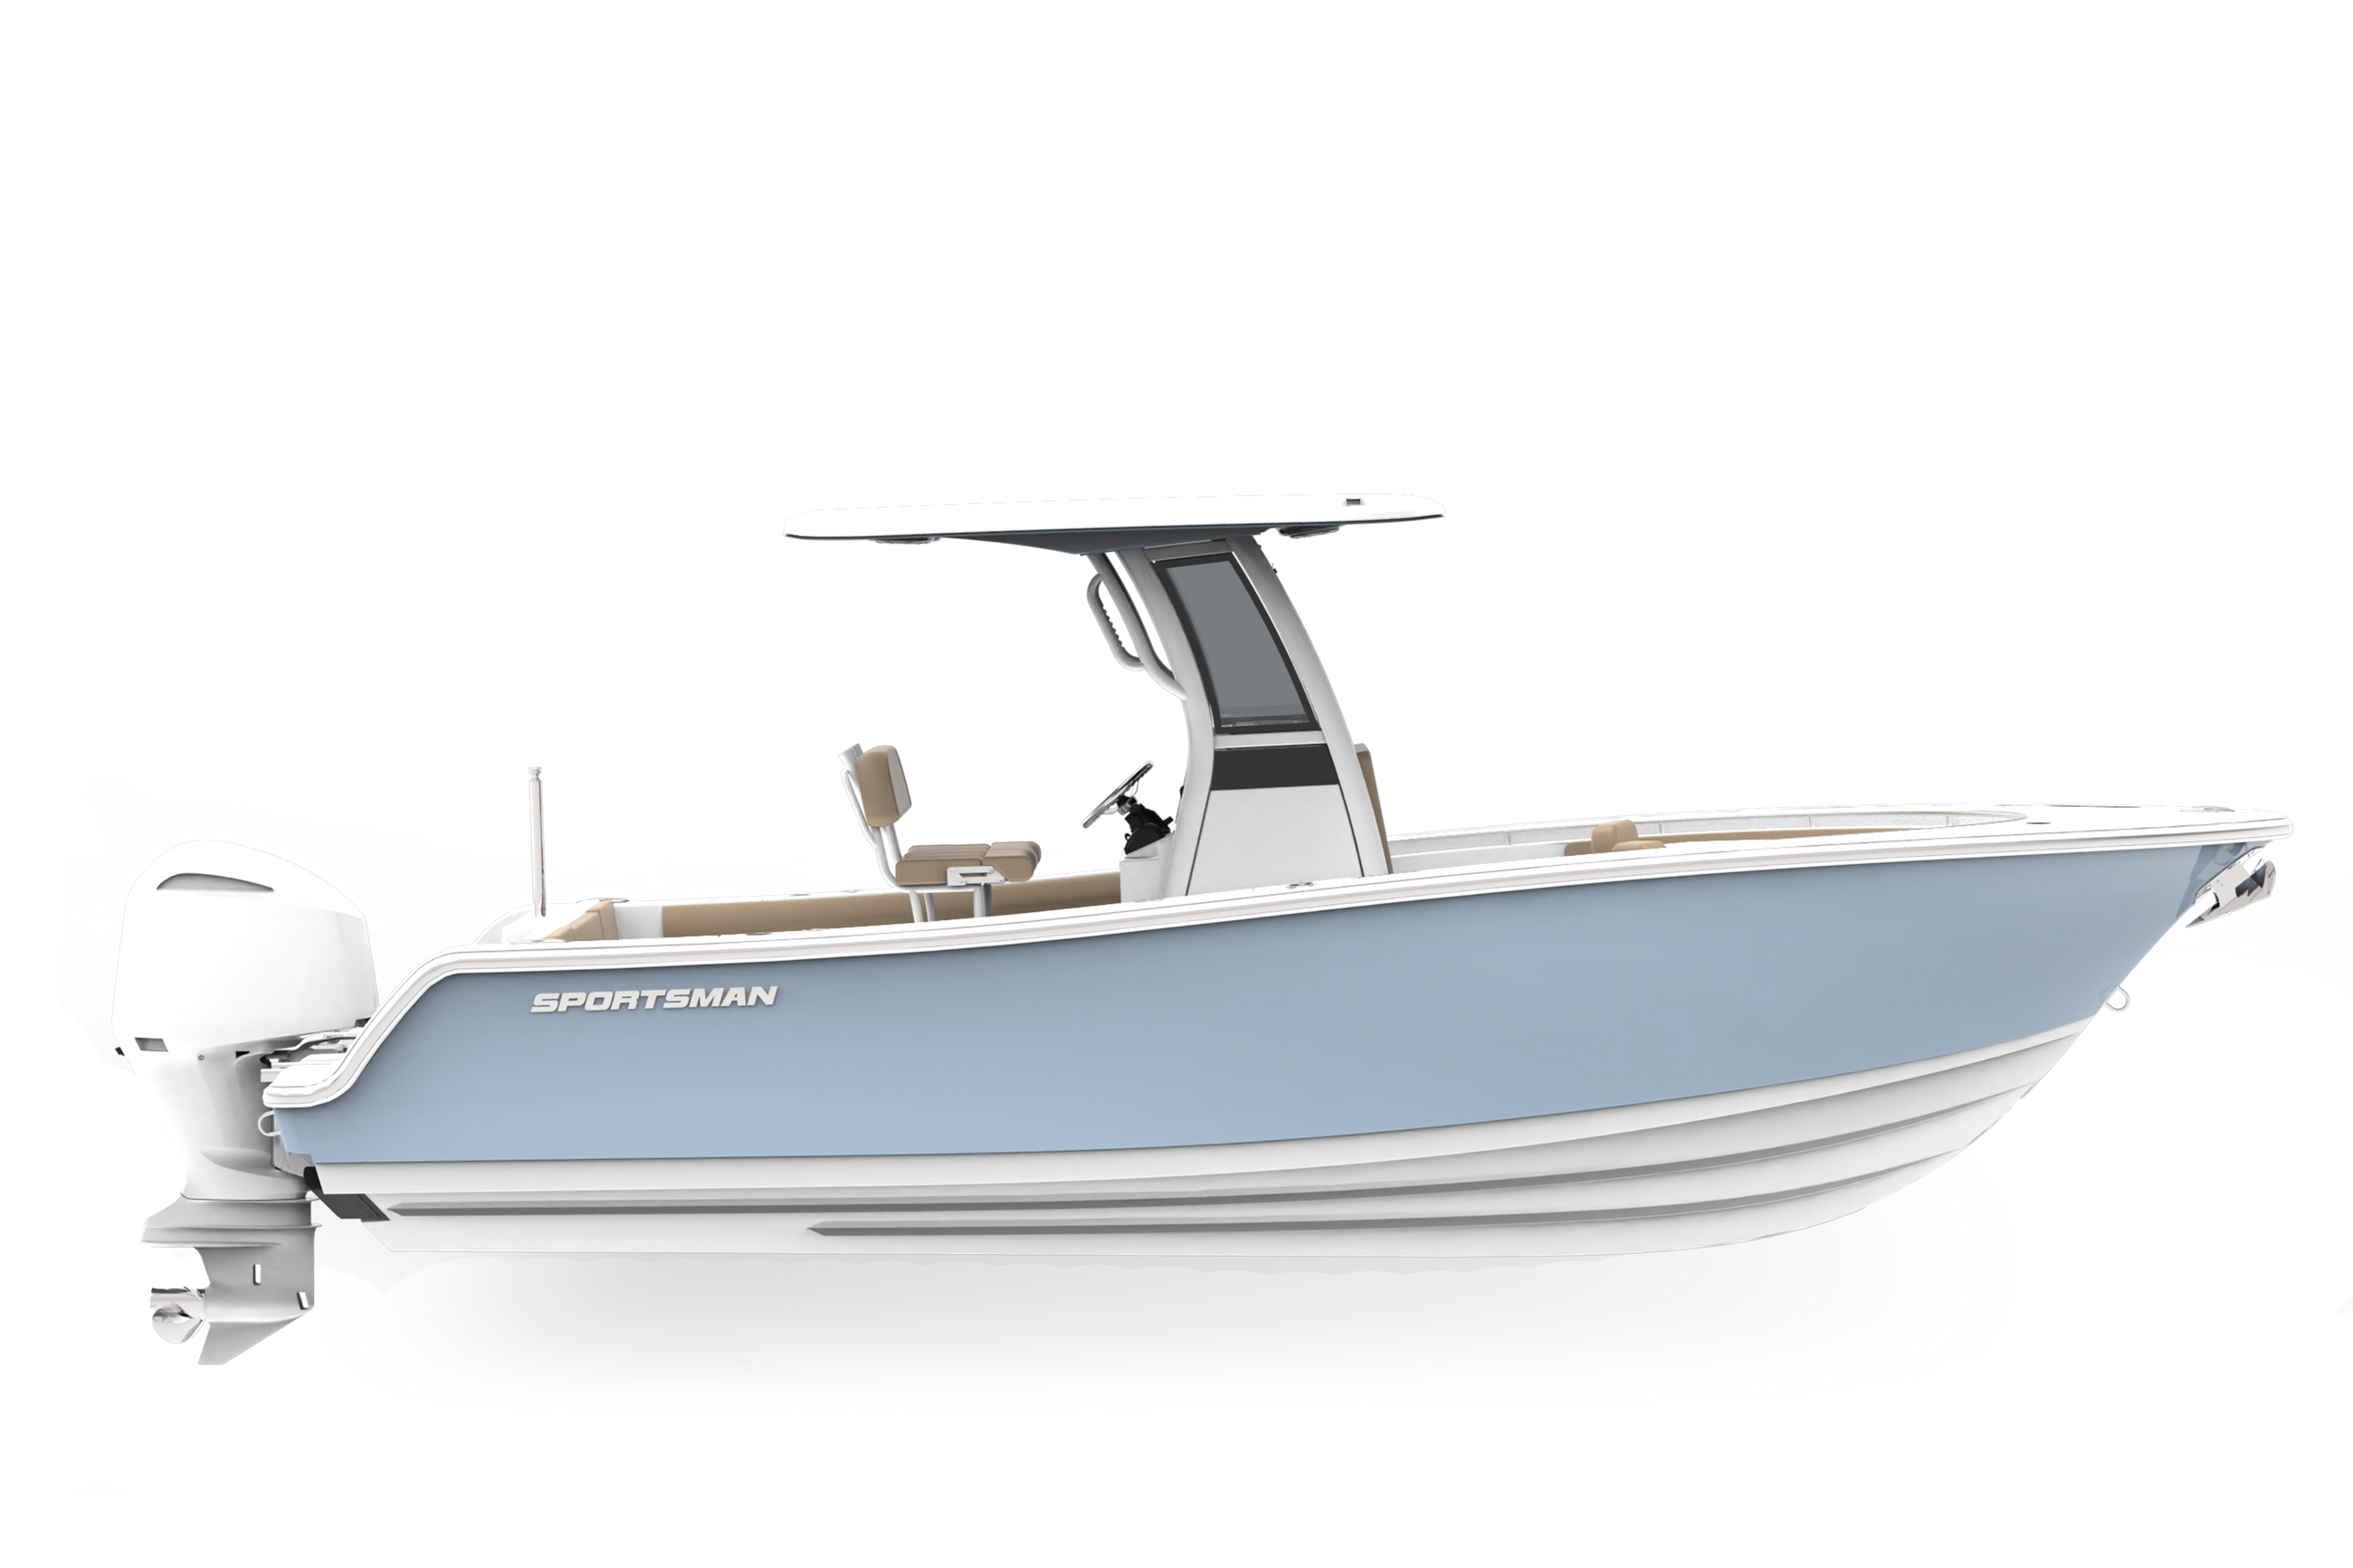
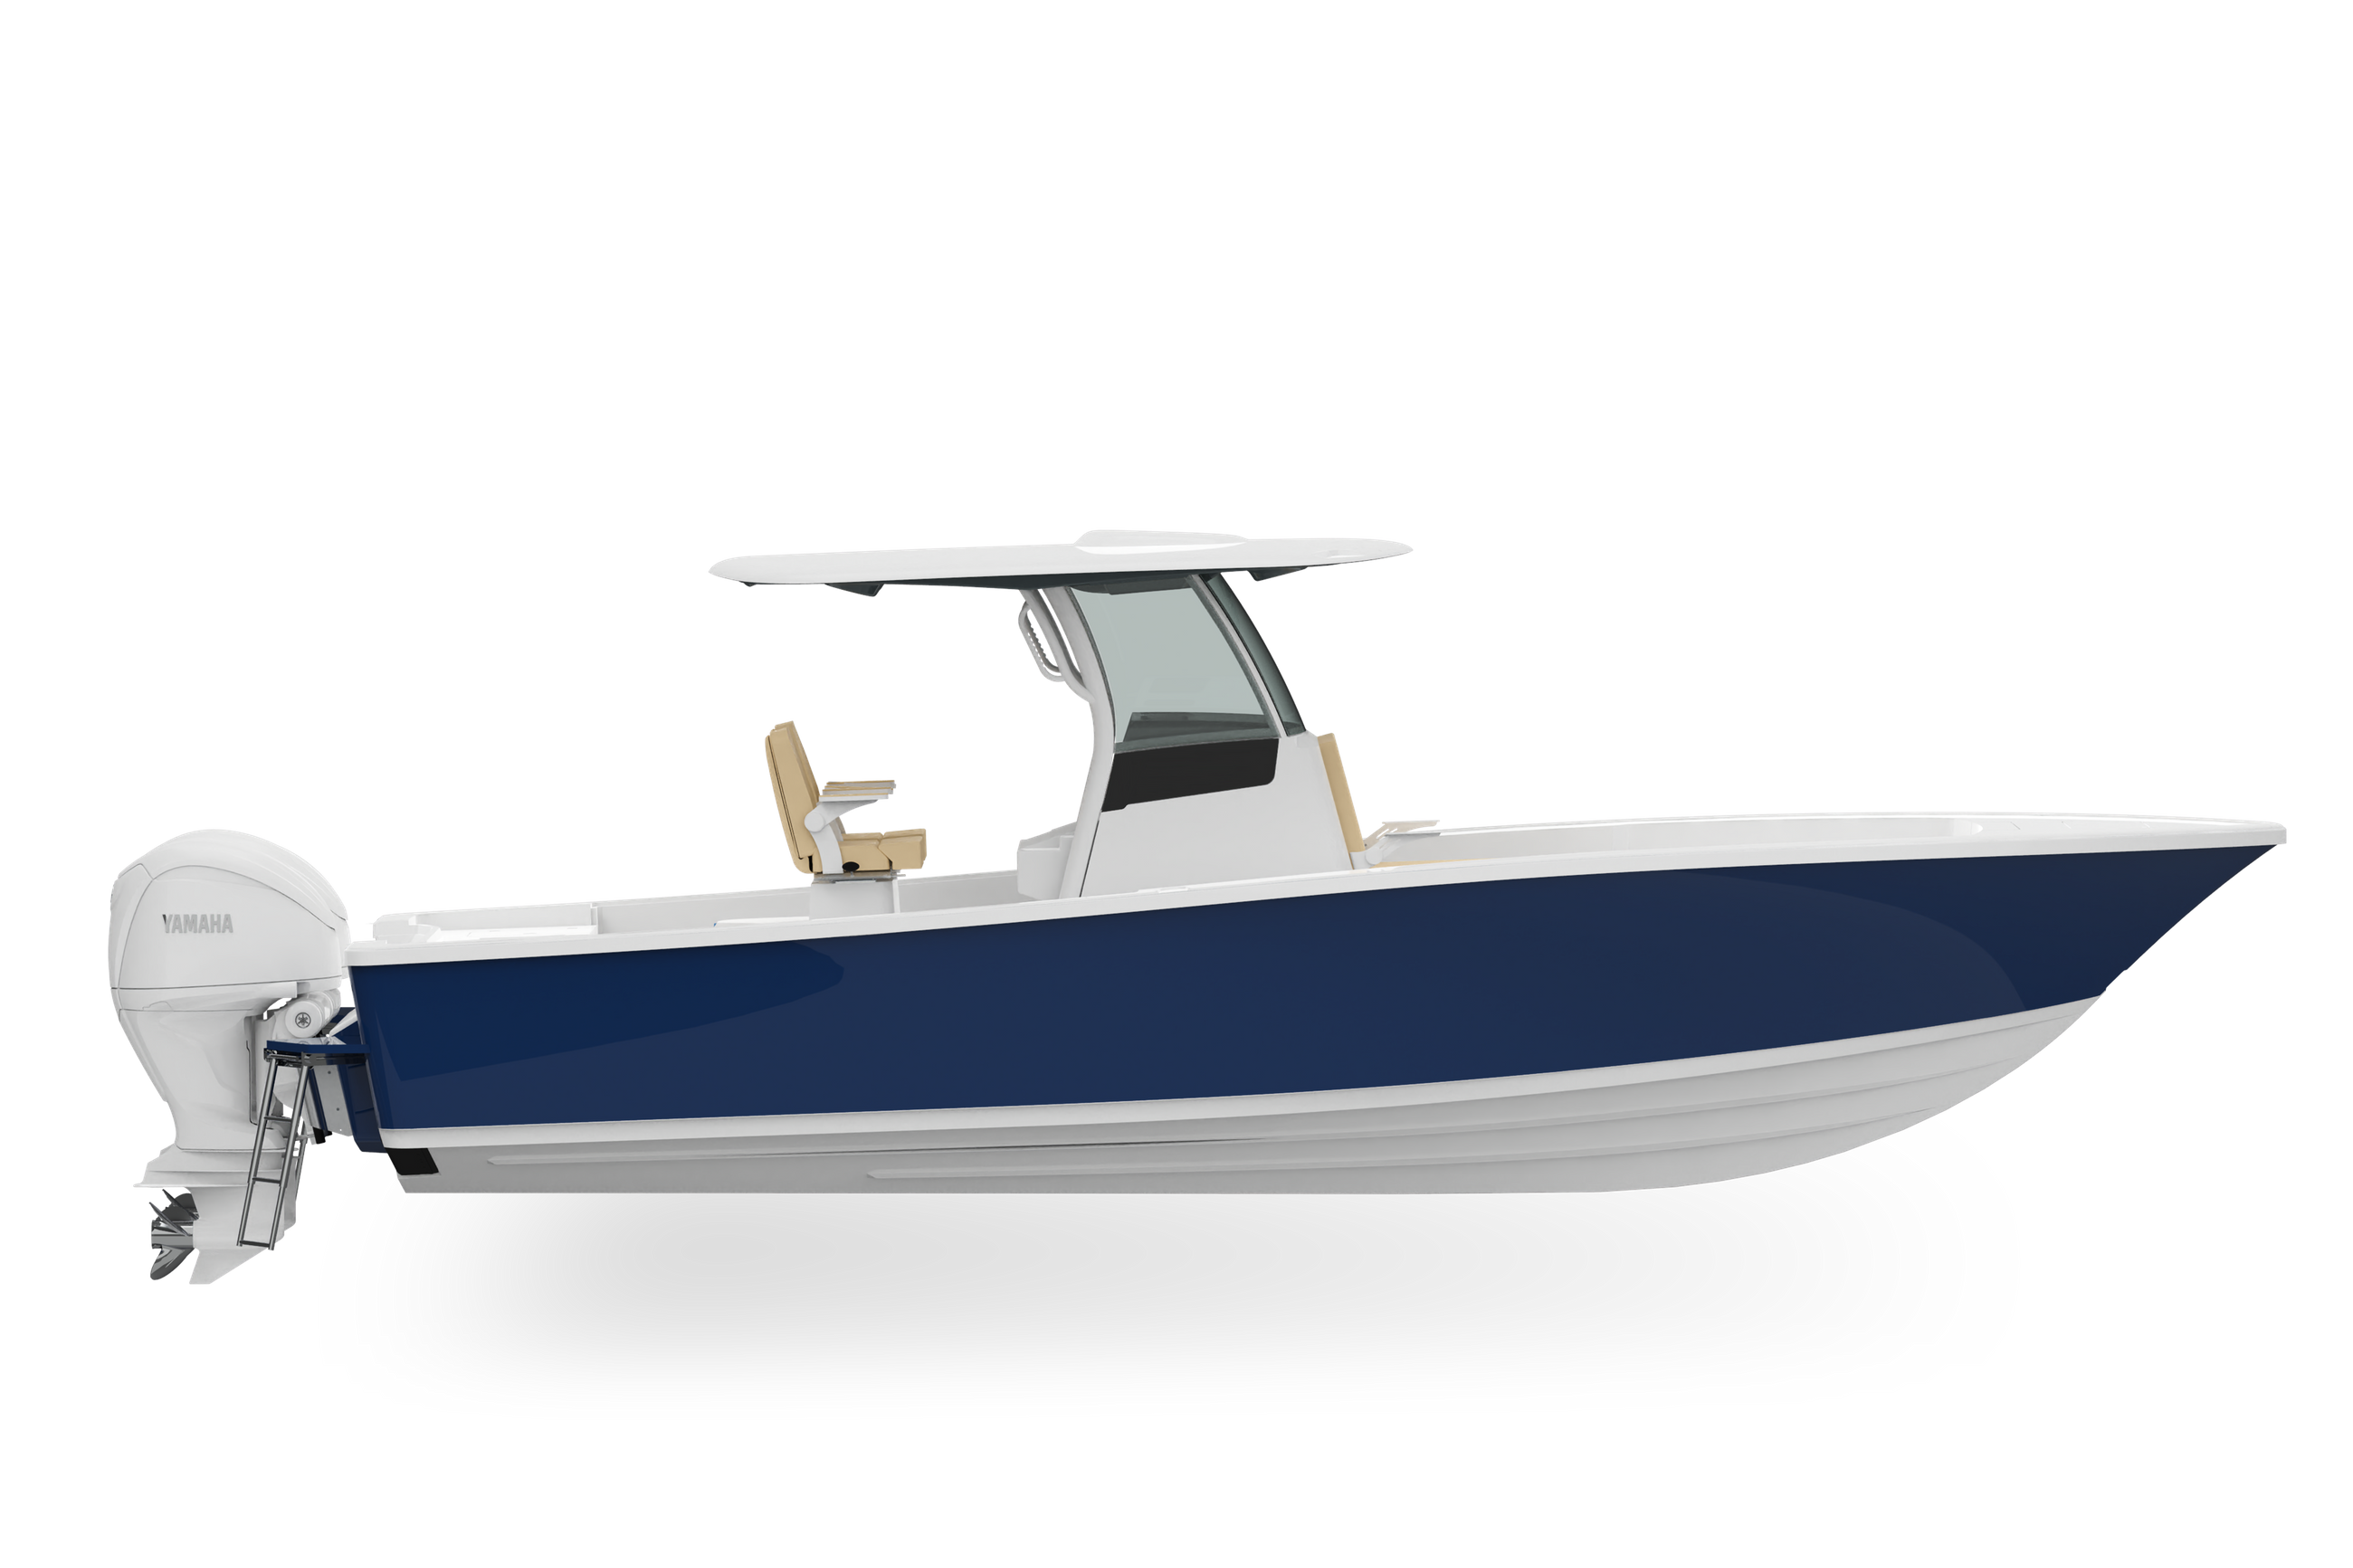
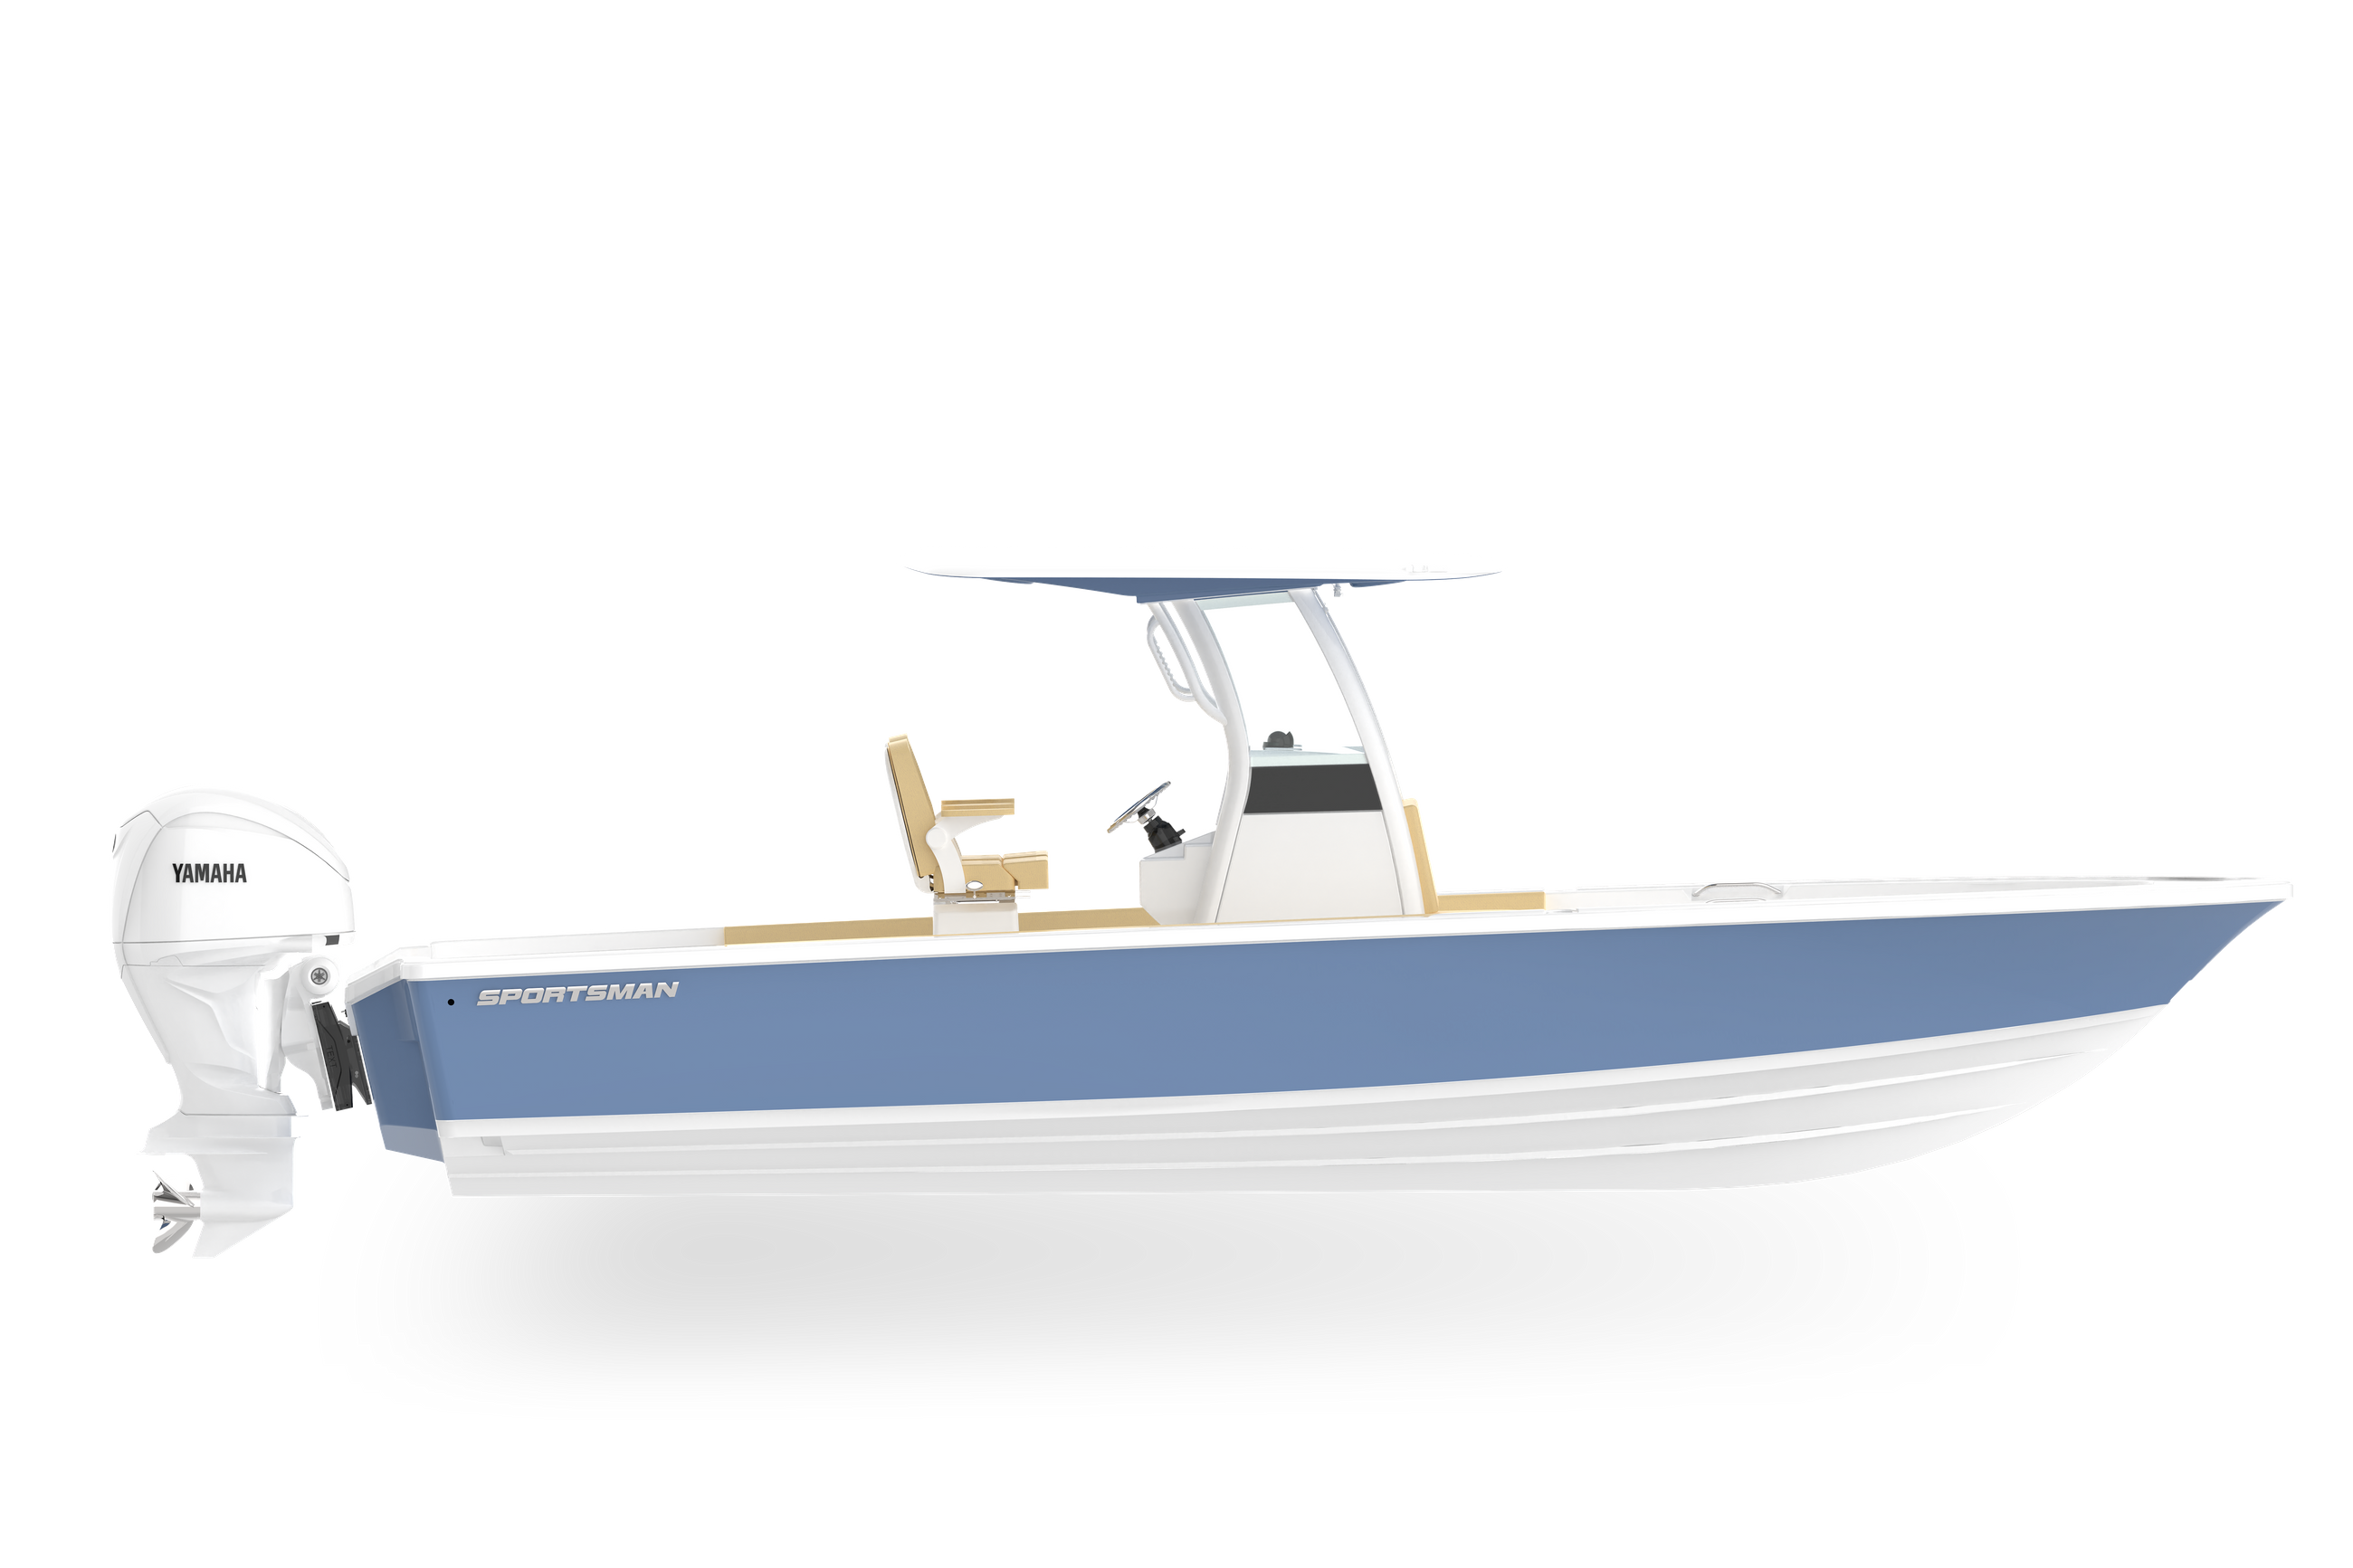
Open 402
NEW Open 352

NEW Open 322
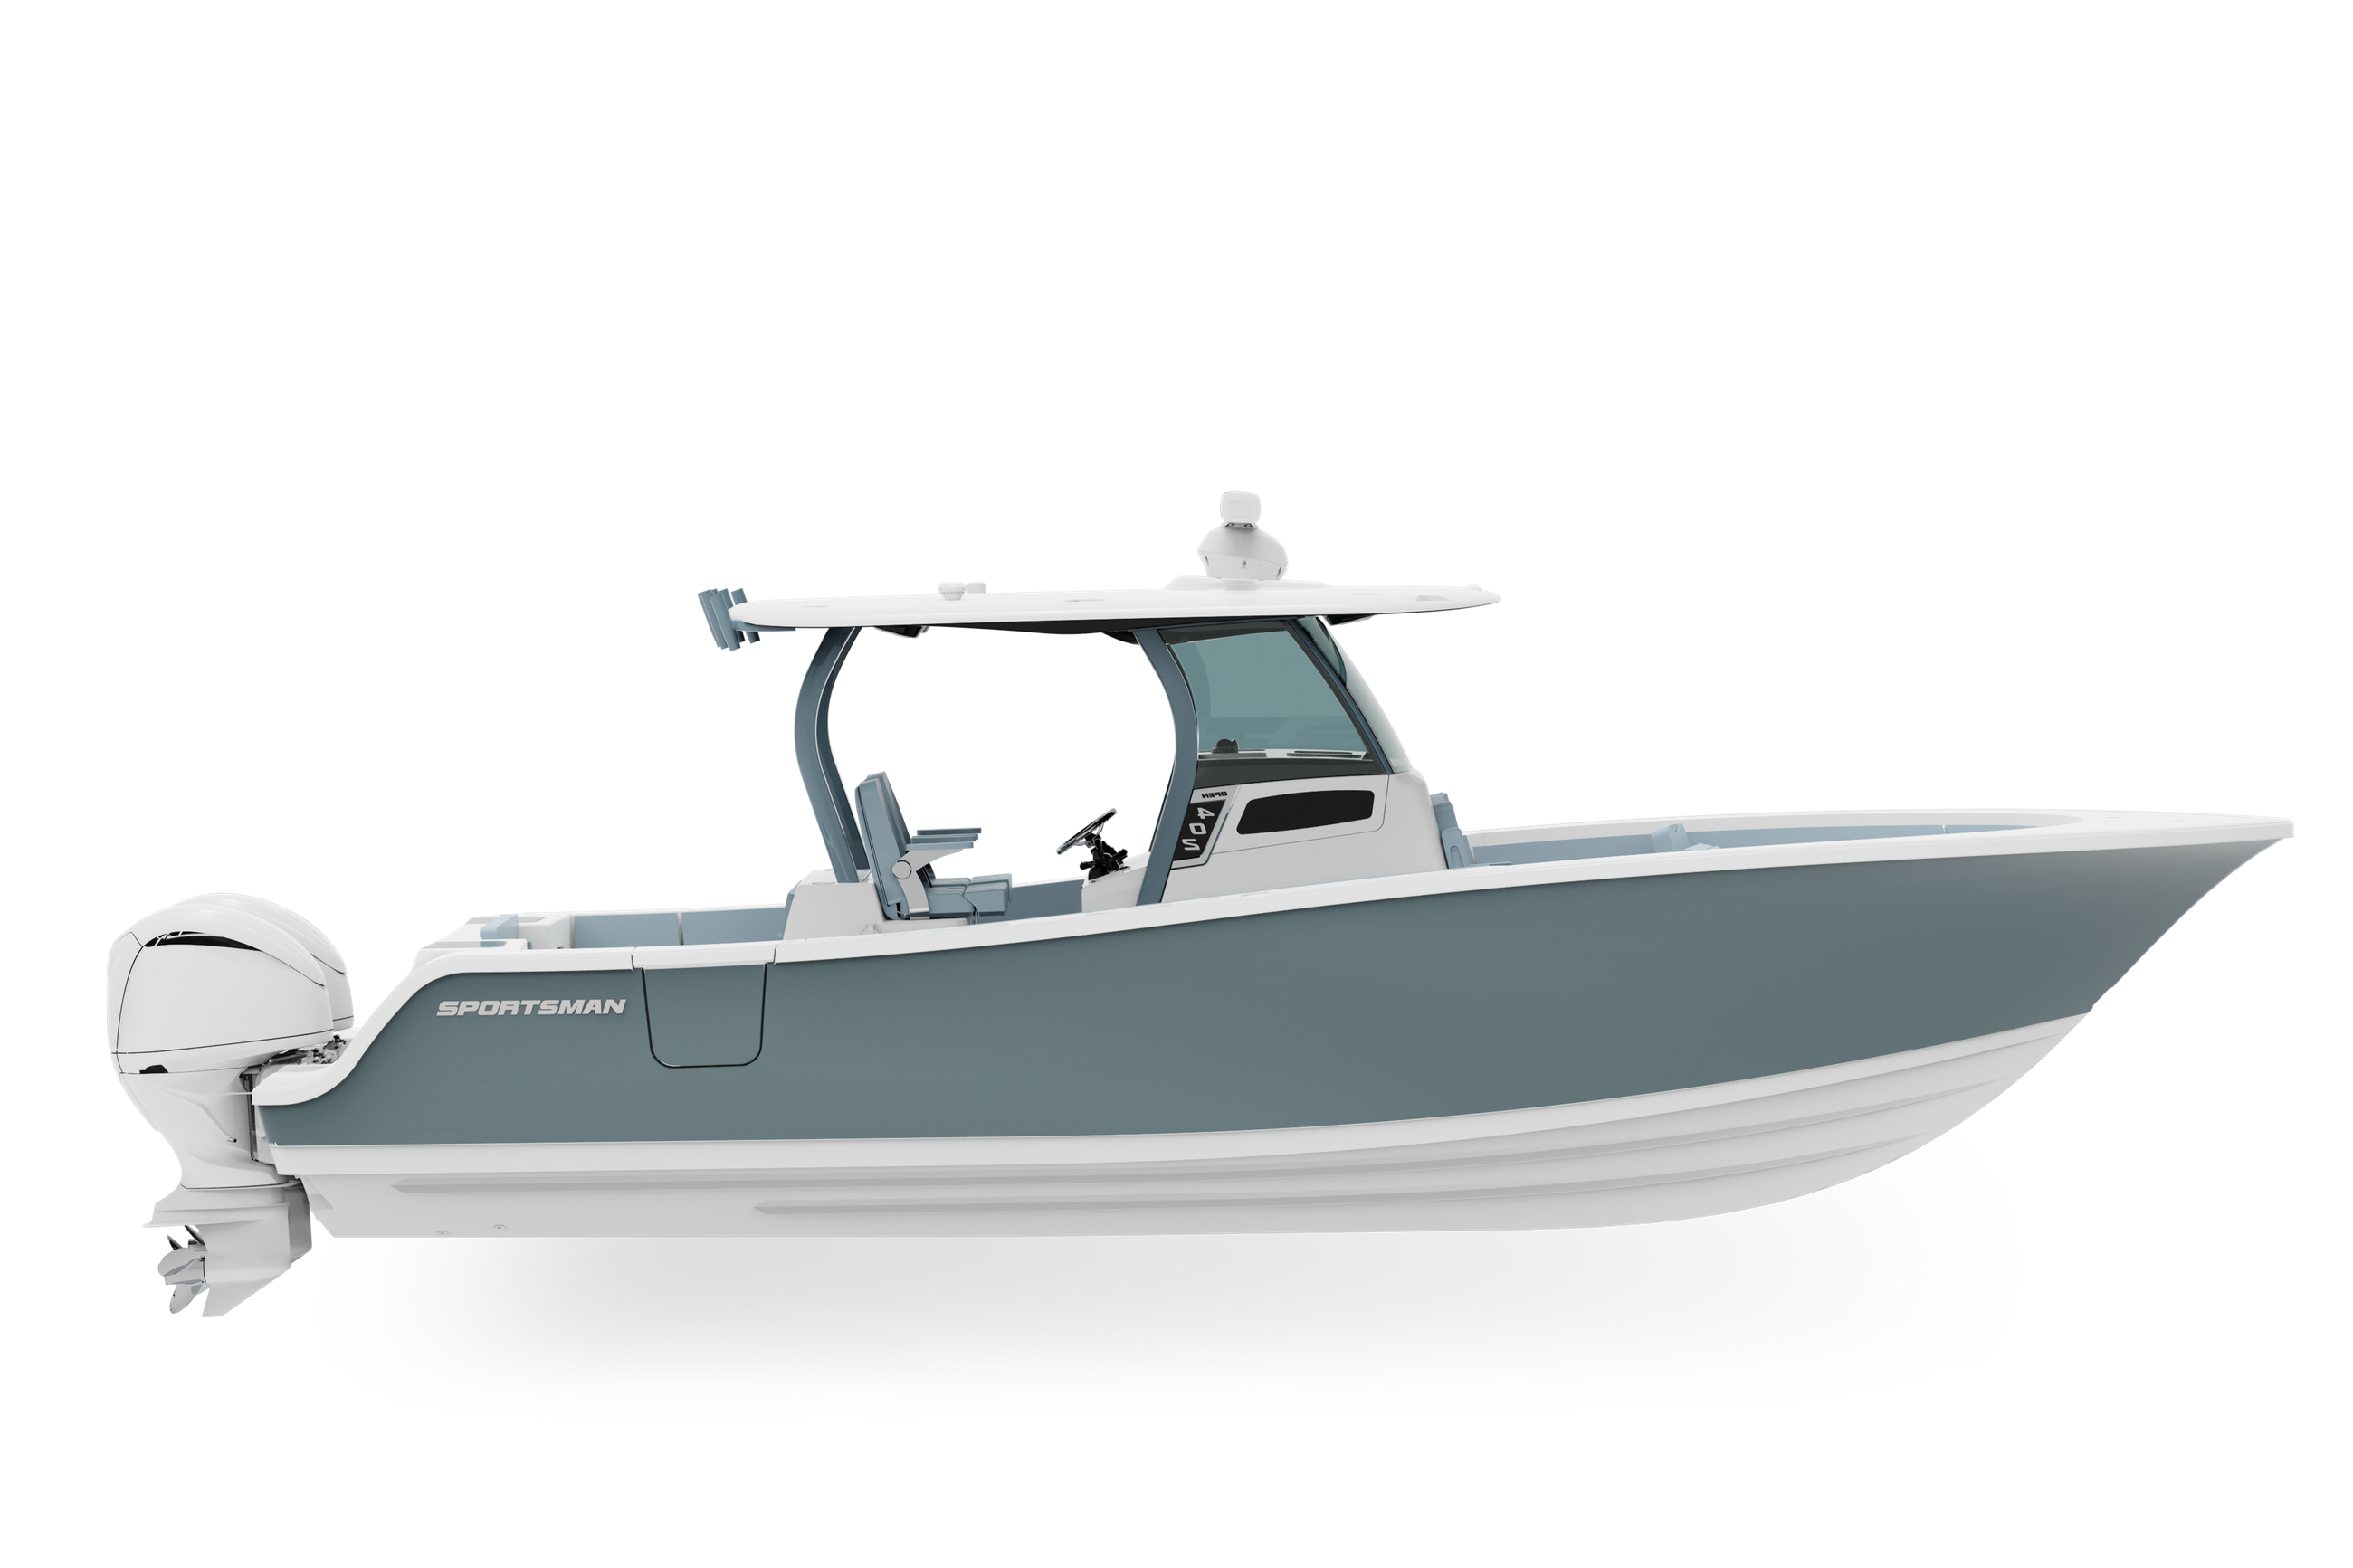
NEW Open 302
Open 282
Open 262
Open 252
Open 232
Open 212
Heritage
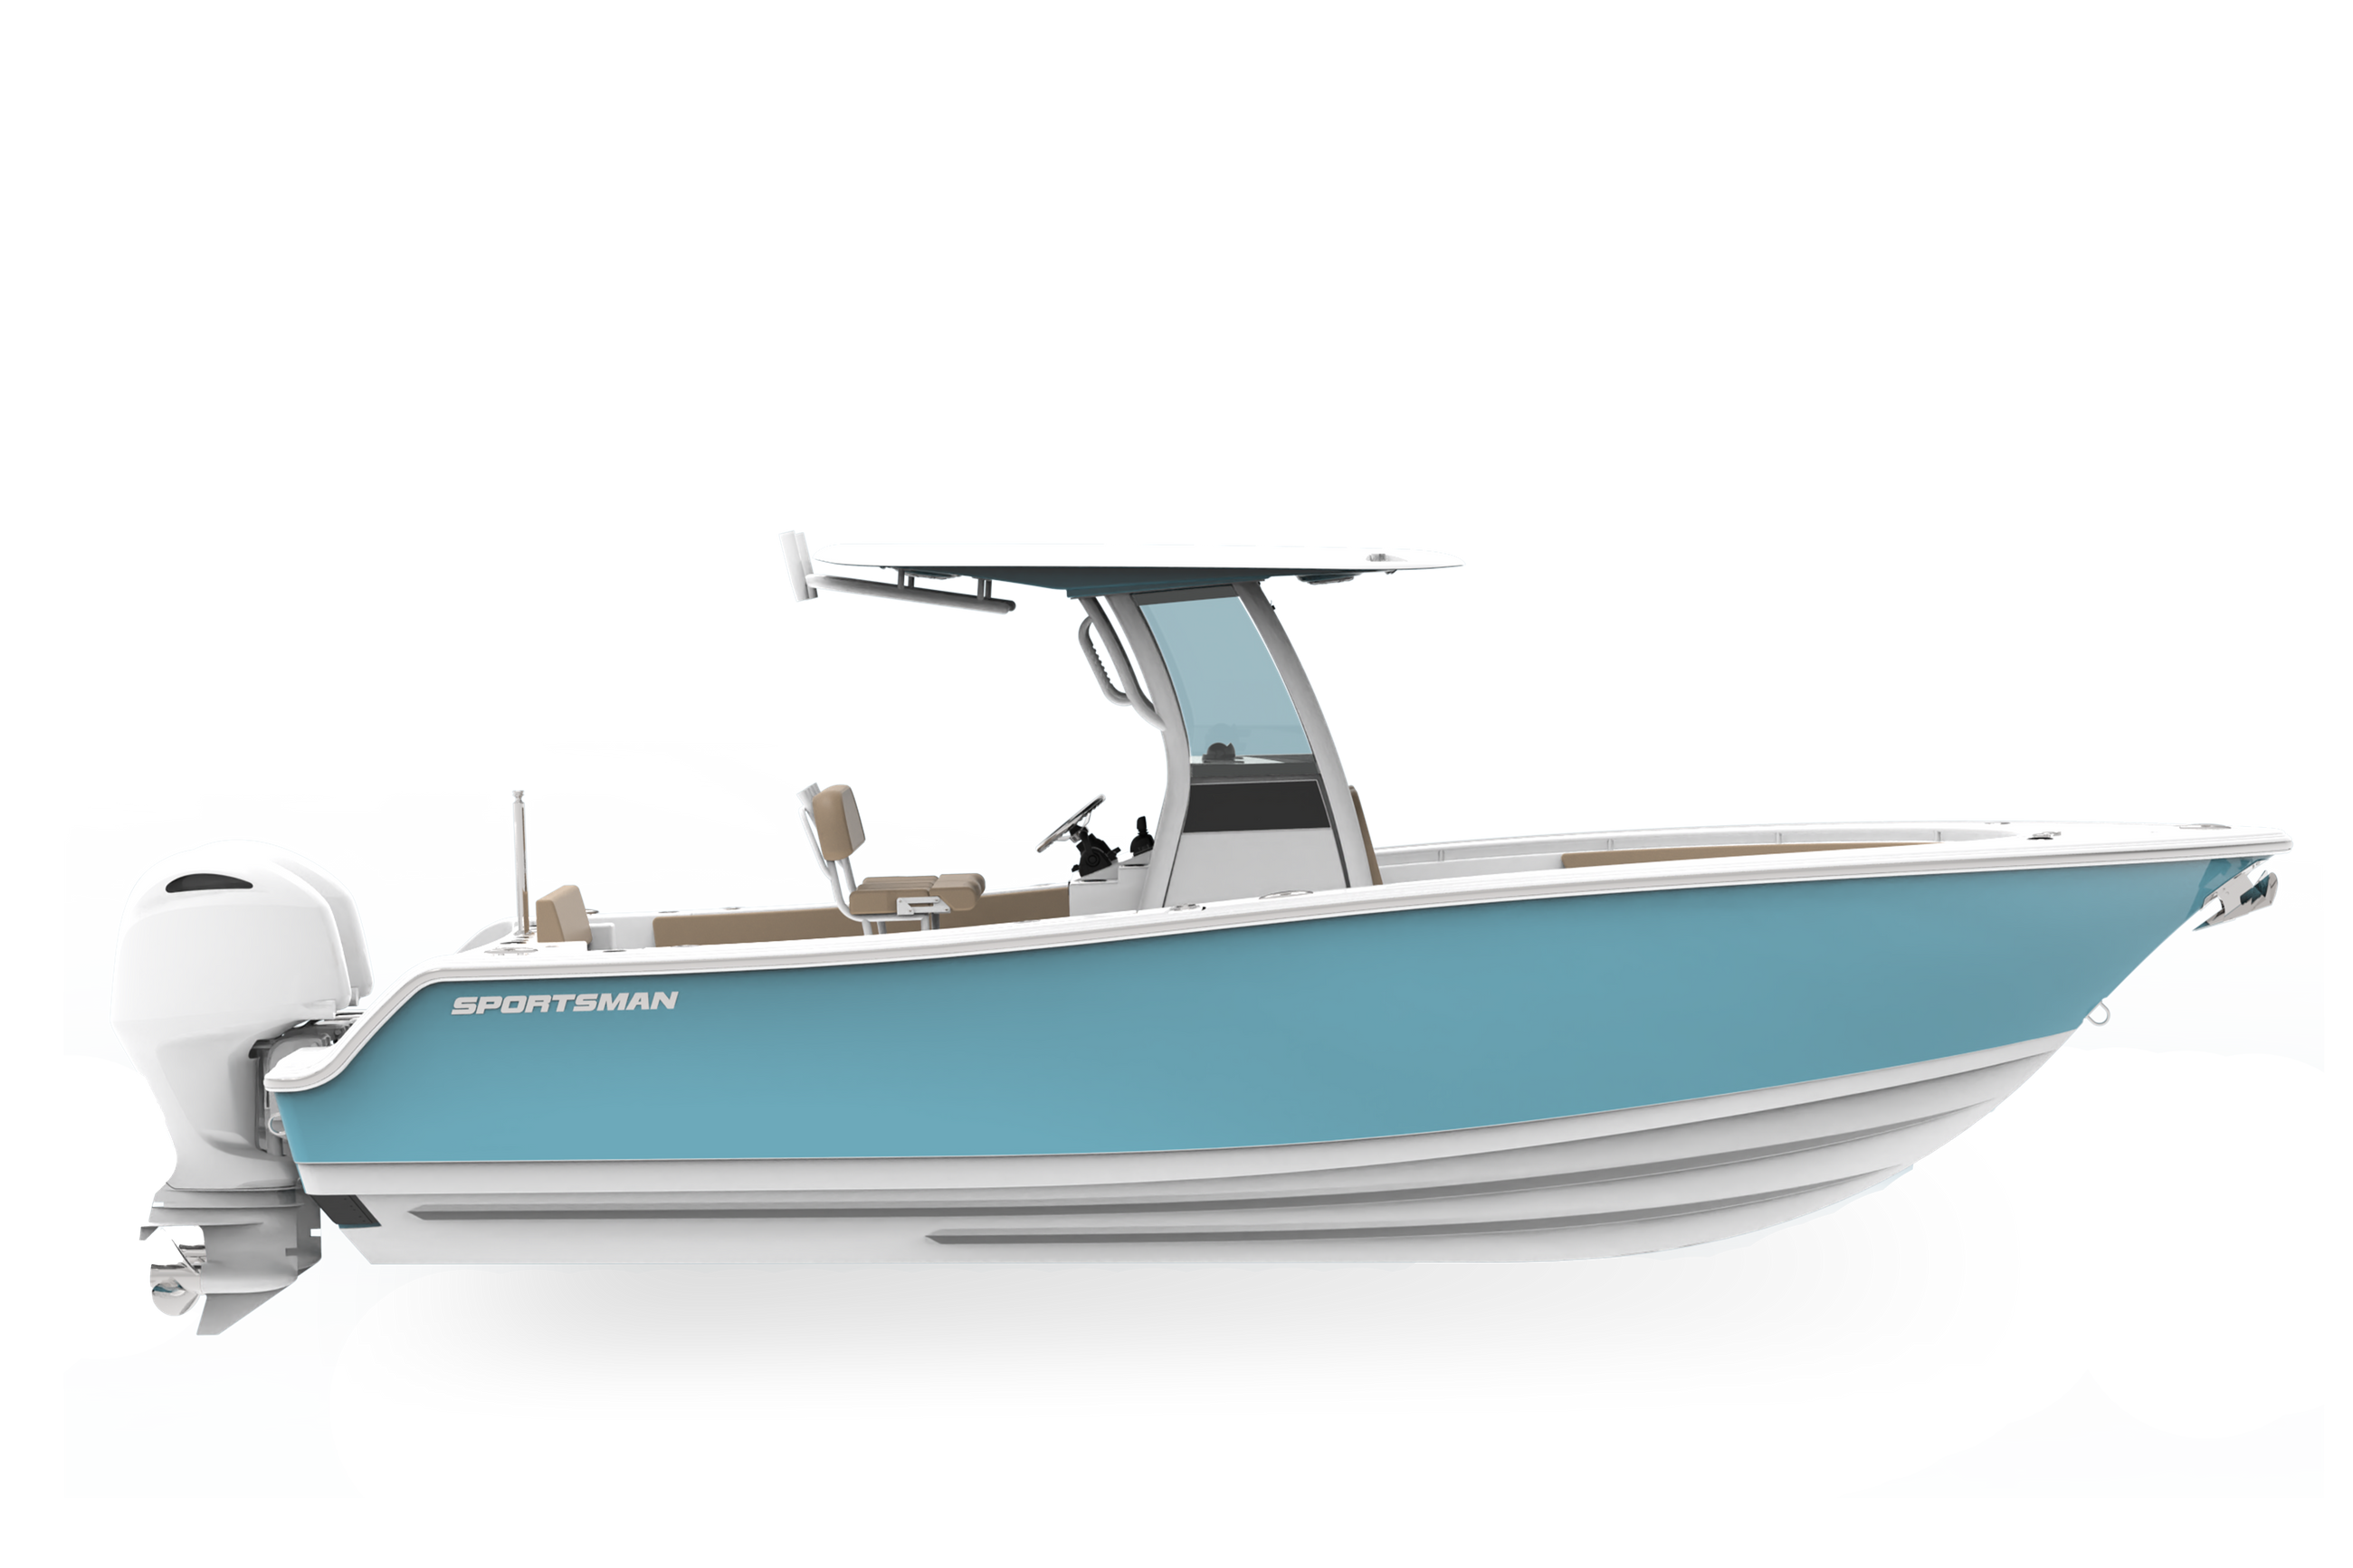
A refined crossover lineup designed for coastal cruising, ample seating,
family days and some fishing when the moment calls for it.
NEW Heritage 321
Heritage 261
NEW Heritage 251
Heritage 231
Masters
Shallow-water performance, fishing-focused layouts and
everyday comfort built for family life and fishing.
NEW Masters 287
Masters 267
Masters 267OE
Masters 247
Masters 247OE
Masters 227
In this episode we are taking a look at how we have introduced vacuum infusion into our build process. This method creates a much lighter and stronger part allowing us to bring better performance to our larger models. This week we are diving into each step of the process, explaining the materials we use and why we use them.

-
•Vacuum infusion increases the fiberglass to resin ratio to about 50/50, making large parts lighter and stronger than open molded parts.
-
•It provides a cleaner process with fewer styrene emissions and no rush during setup for large parts, but it also creates more waste and higher consumable costs and longer setup times.
-
•When used in targeted areas such as large stringers, hard tops and decks, infusion yields weight savings around 12 to 15 percent and improves performance.
Welcome to Behind the Glass Season 2. We continue our journey through the different departments here at Sportsman with our resin infusion department.
Up until now, just about every single fiberglass part that we've seen on the show has been manufactured using an open-molded technique. Resin infusion, also known as vacuum infusion, brings on an entirely new process and technique for manufacturing a fiberglass part. As with any technique, there are pros and cons to using infusion, so let's talk about those first.
Infusion is generally used for large parts like decks, stringers, hulls, and tops, as these larger parts yield a more significant advantage when manufactured using a resin infusion technique. At the top of the advantages of the list is that infused parts have a higher fiberglass-to-resin ratio closer to 50-50 from a typical 70/30 ratio on an open molded part. This makes the part lighter and stronger in comparison. The second advantage is unlimited setup time. The team is not racing against the clock to get everything rolled out before the part cures. Remember that this is only significant in larger parts like our Open 352. Smaller parts can be completed with plenty of time for curing. Infusion is overall a cleaner process than traditional open molding techniques. This minimizes styrene emissions as the parts cures under the bag and creates a better working environment.
While infusion does have its advantages on the larger parts, it also comes with some drawbacks. For one, infusion creates lots of waste as most of the setup material is sacrificial. This results in a more costly part with a higher consumable cost. Vacuum infusion also requires many hours of setup, as we'll see shortly, and significantly slower cycle times of a mold.
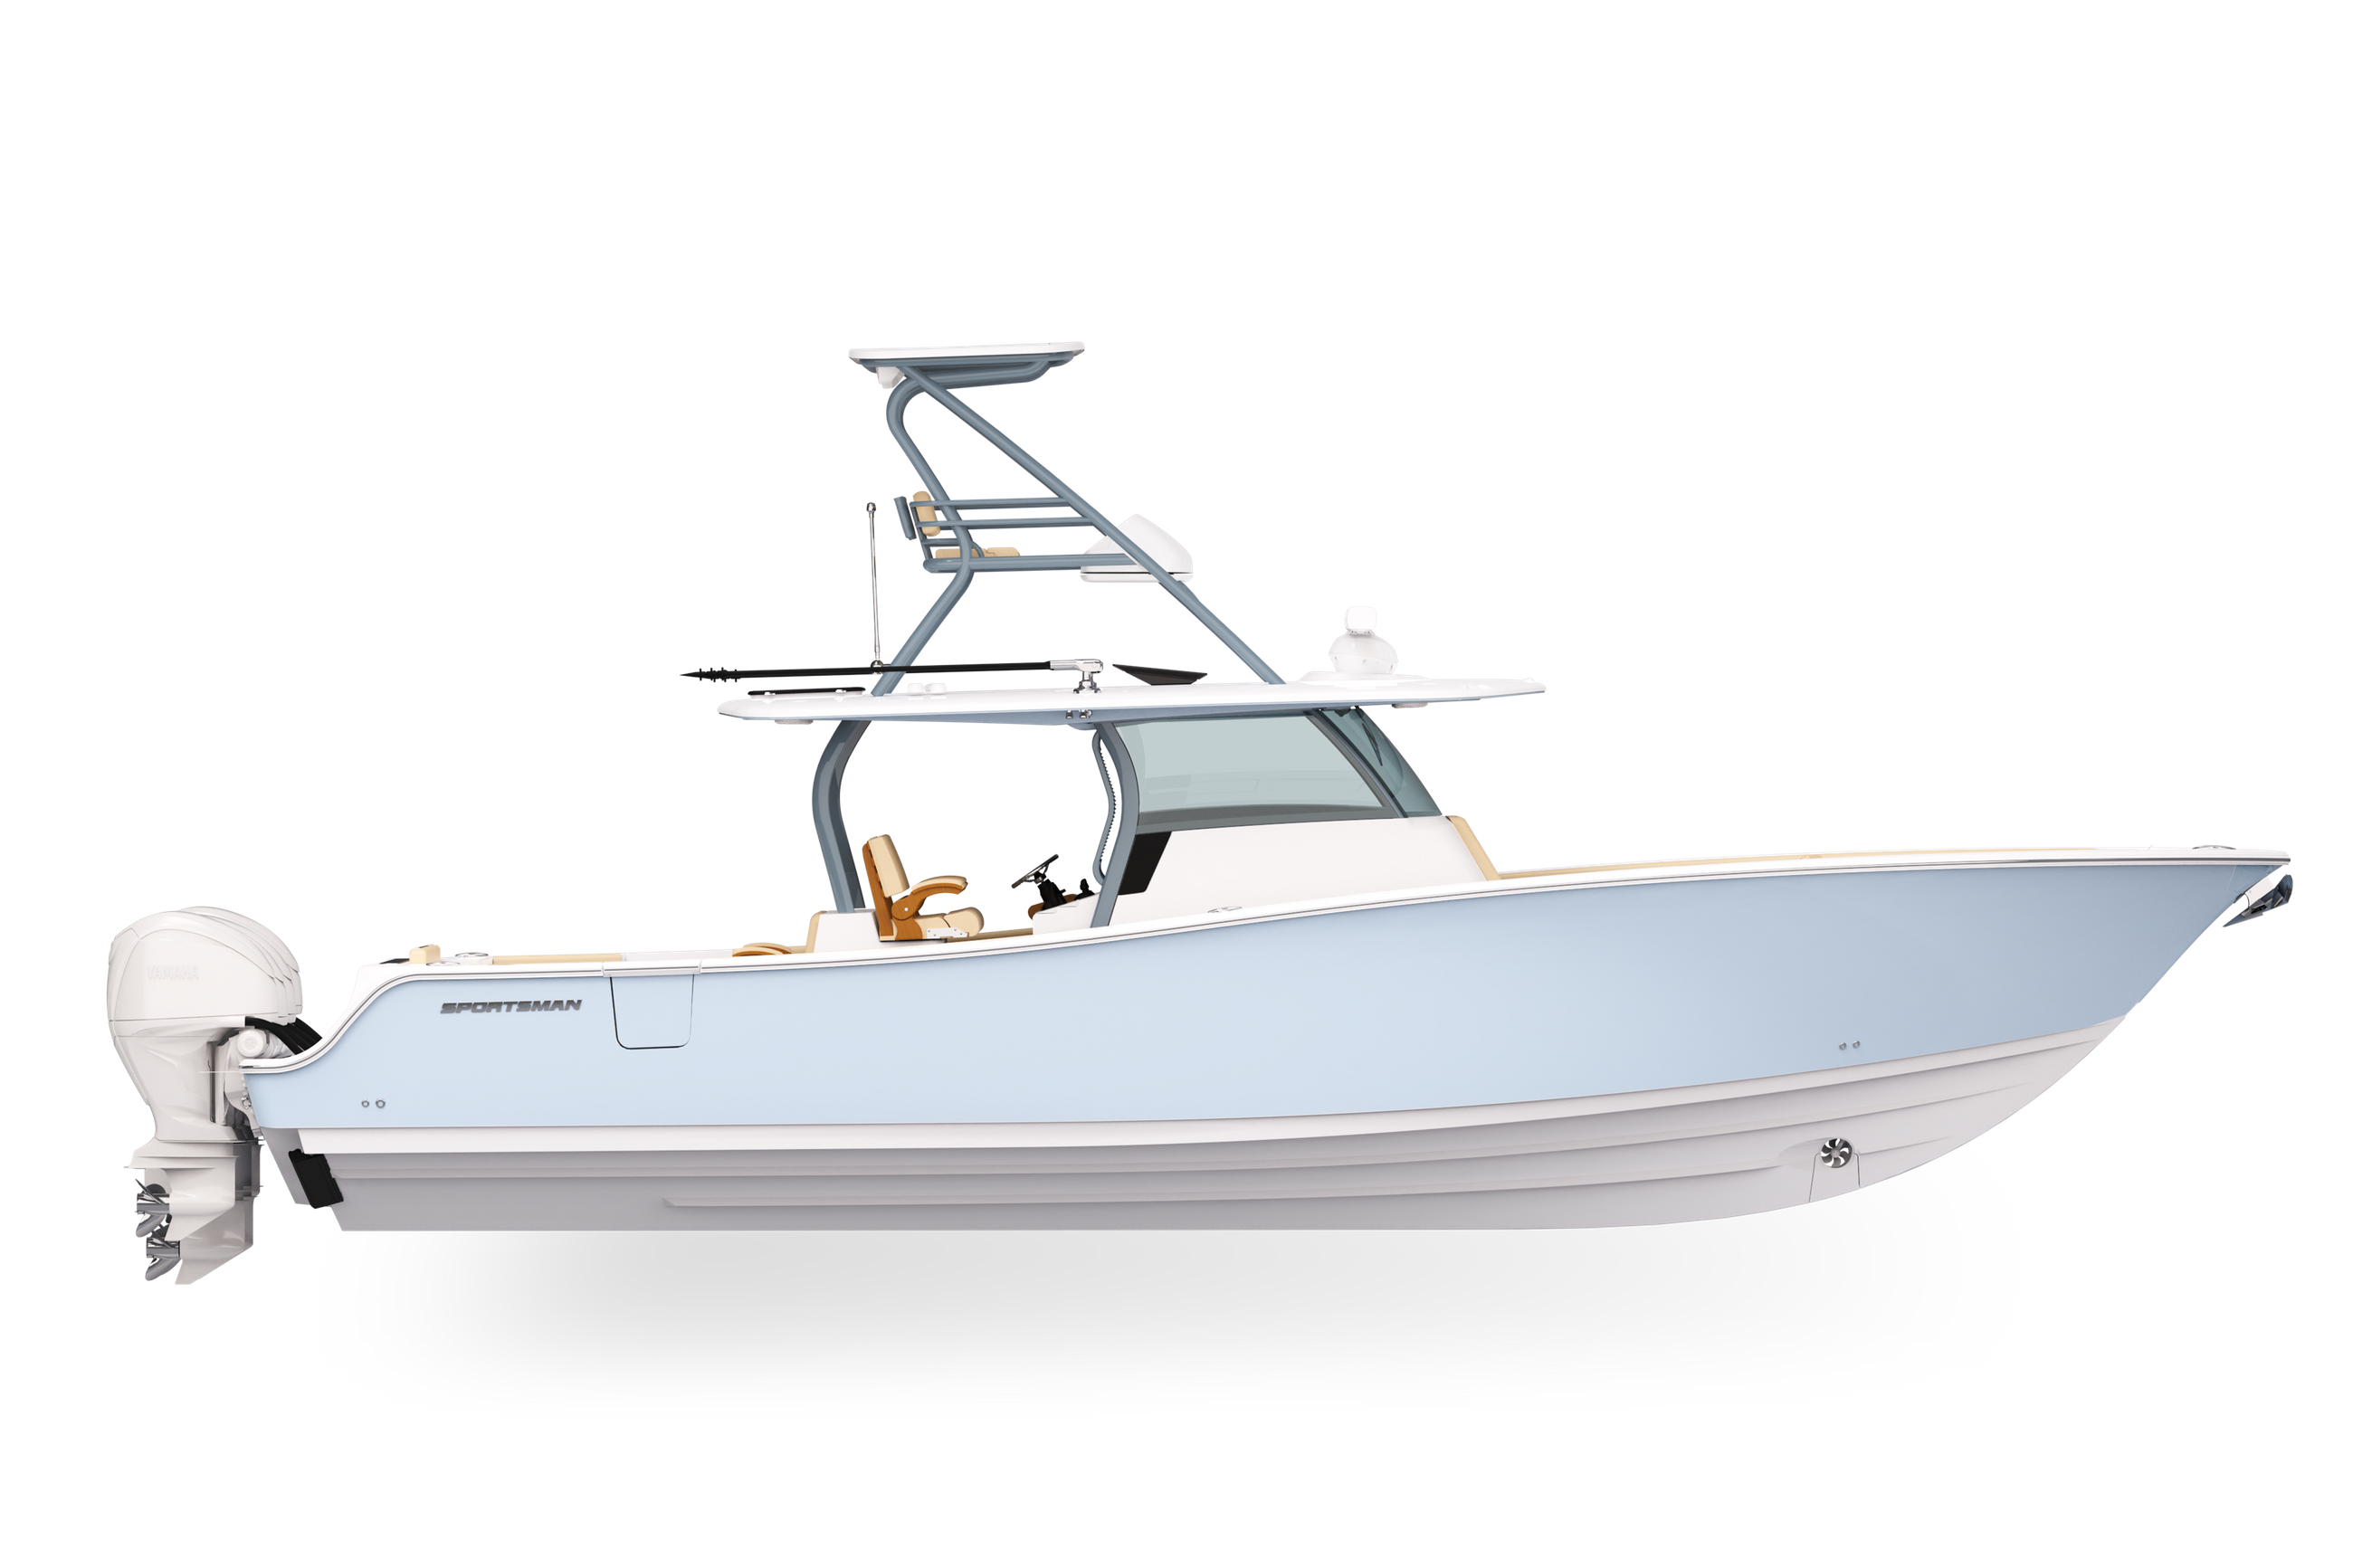
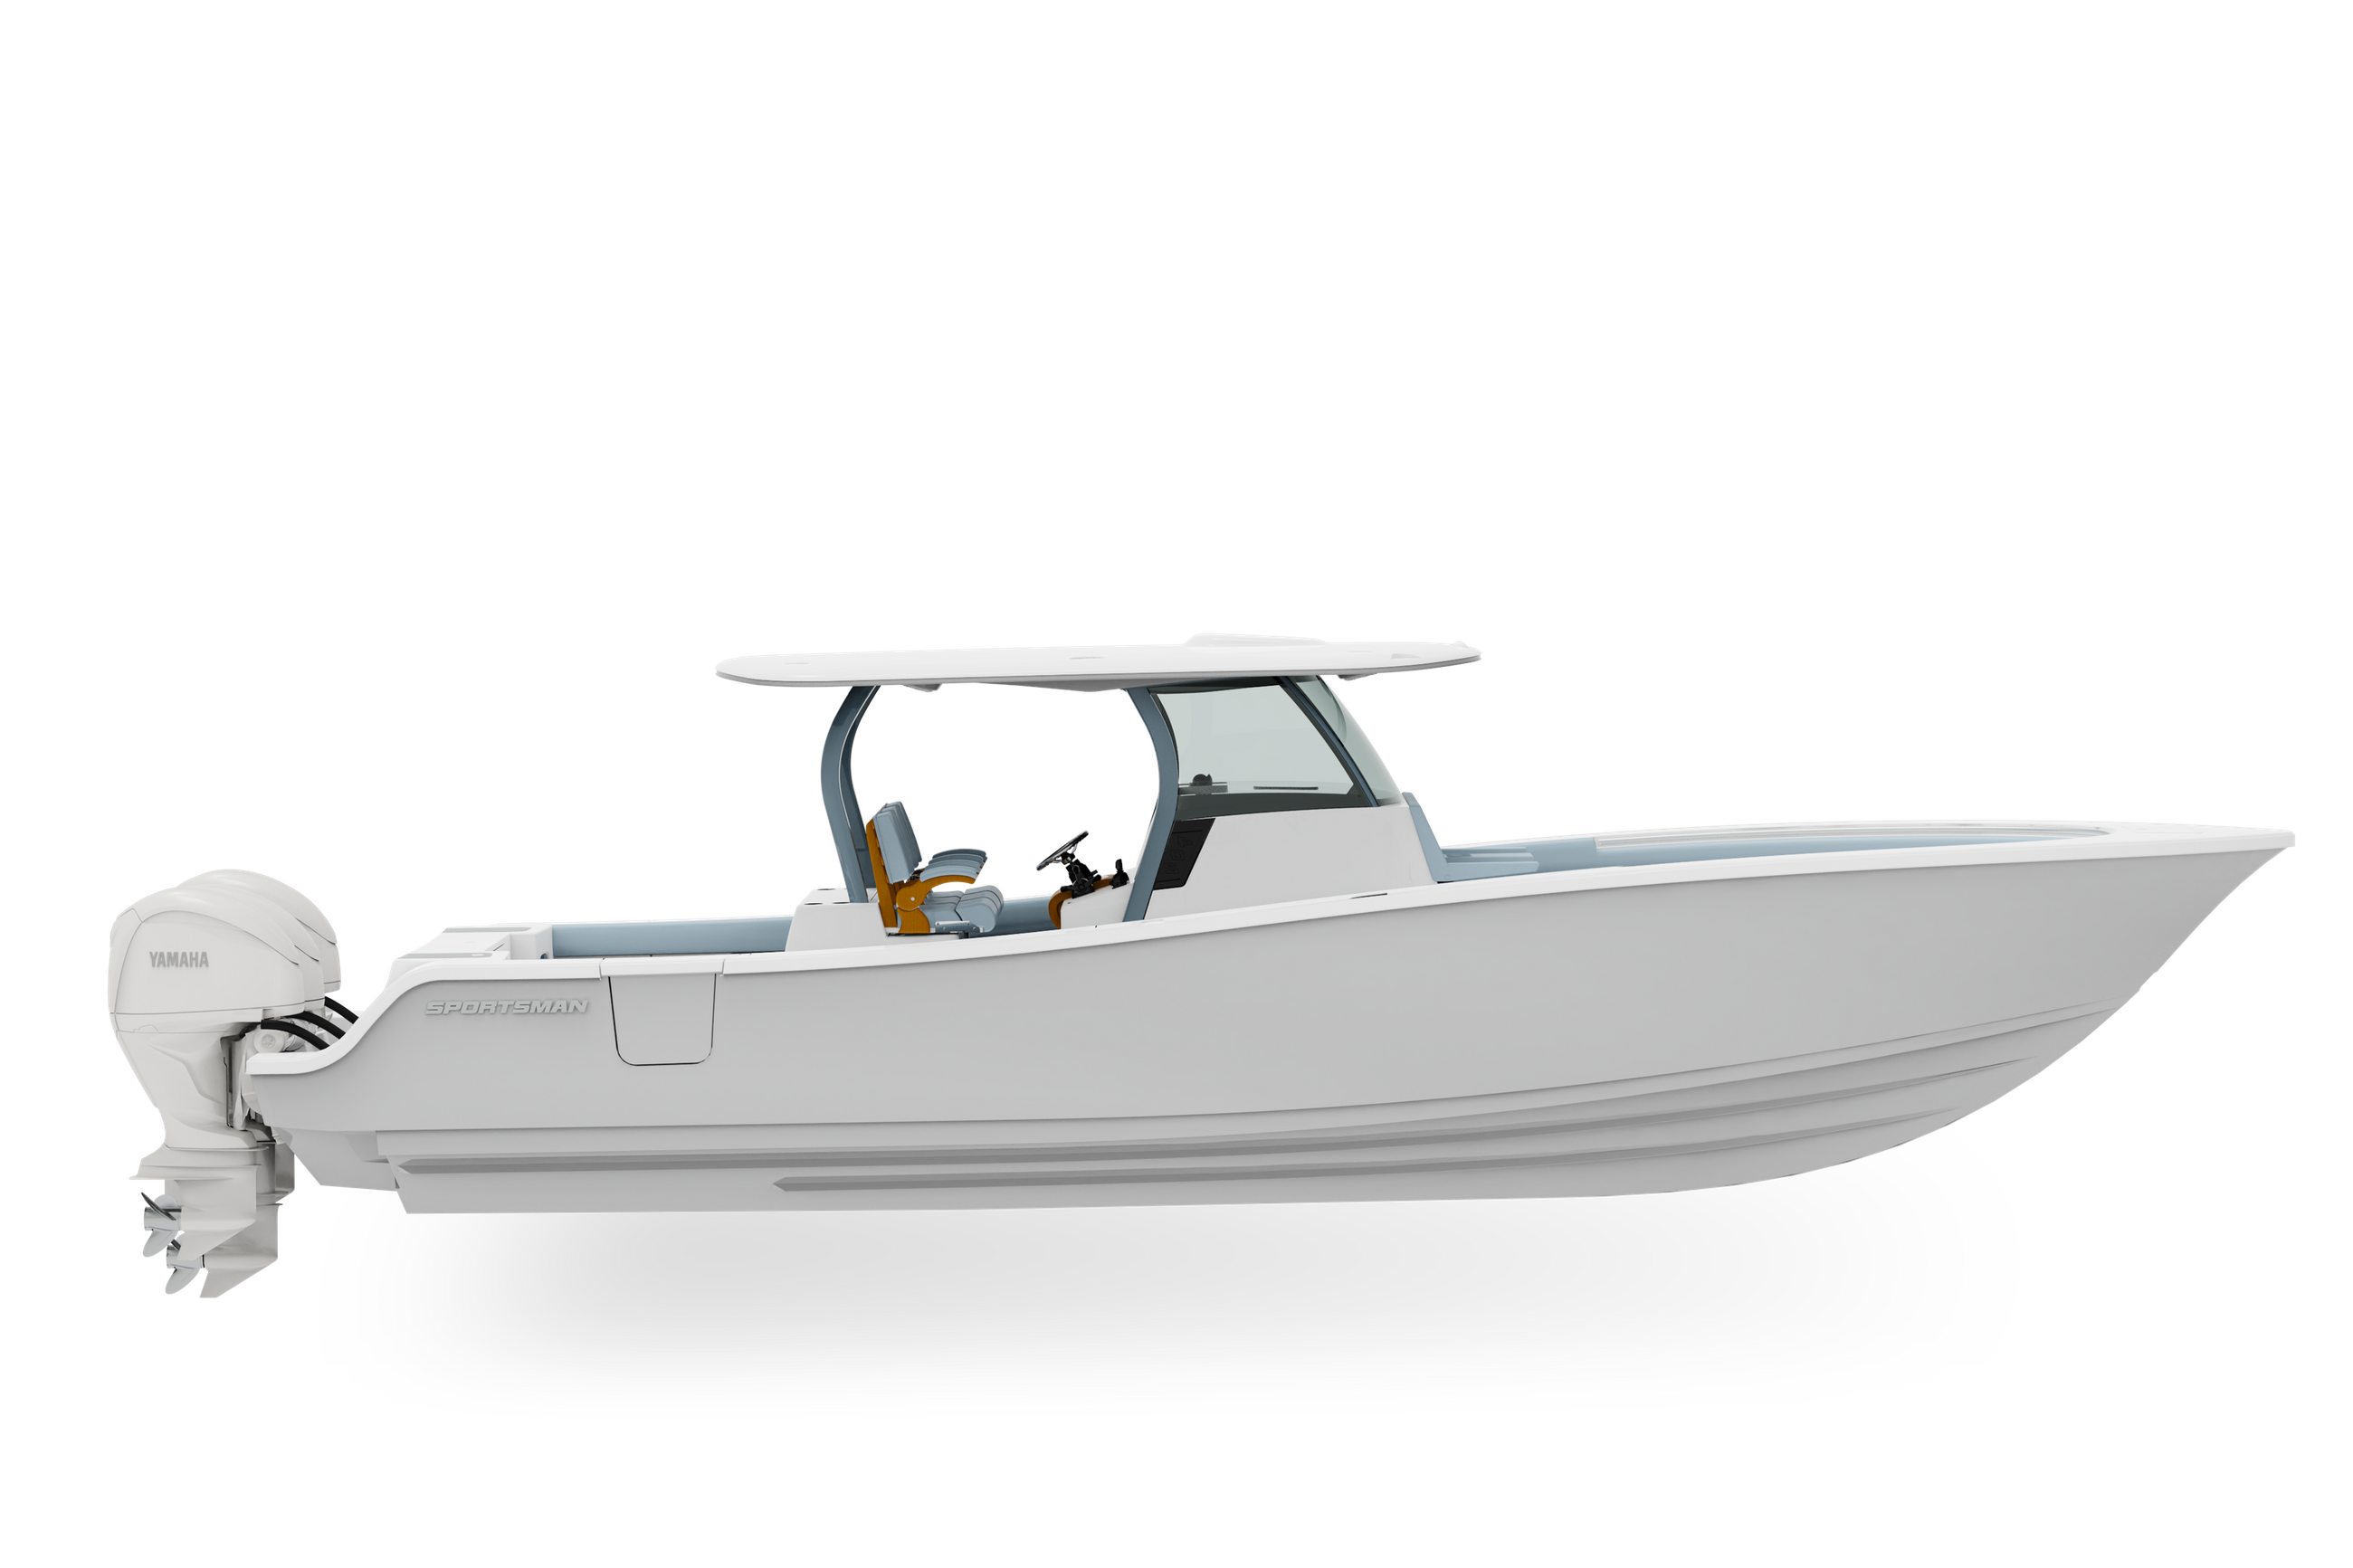
We believe that vacuum infusion, when applied in the right areas, can certainly yield a higher quality part. Through research and engineering, we found three major areas that take full advantage of the infusion. We narrowed it down to our larger stringers in our 30-foot-plus boats, our hard-tops, and the deck, stringer, and hull for the Open 352. The weight savings in our infused full-grid stringer systems allowed us to engineer a larger part with full hull contact and plenty of support for dual-side entry doors at an equivalent weight of a traditional stringer. The fully infused Open 352 is a very performant hull. We calculate weight savings between 12 to 15 percent in overall weight. This allowed us to design a 35-plus foot boat with an impressive 11-foot 20-inch beam that still runs over 68 miles an hour. Let's dive deep and look at what it takes to vacuum-infuse a part.
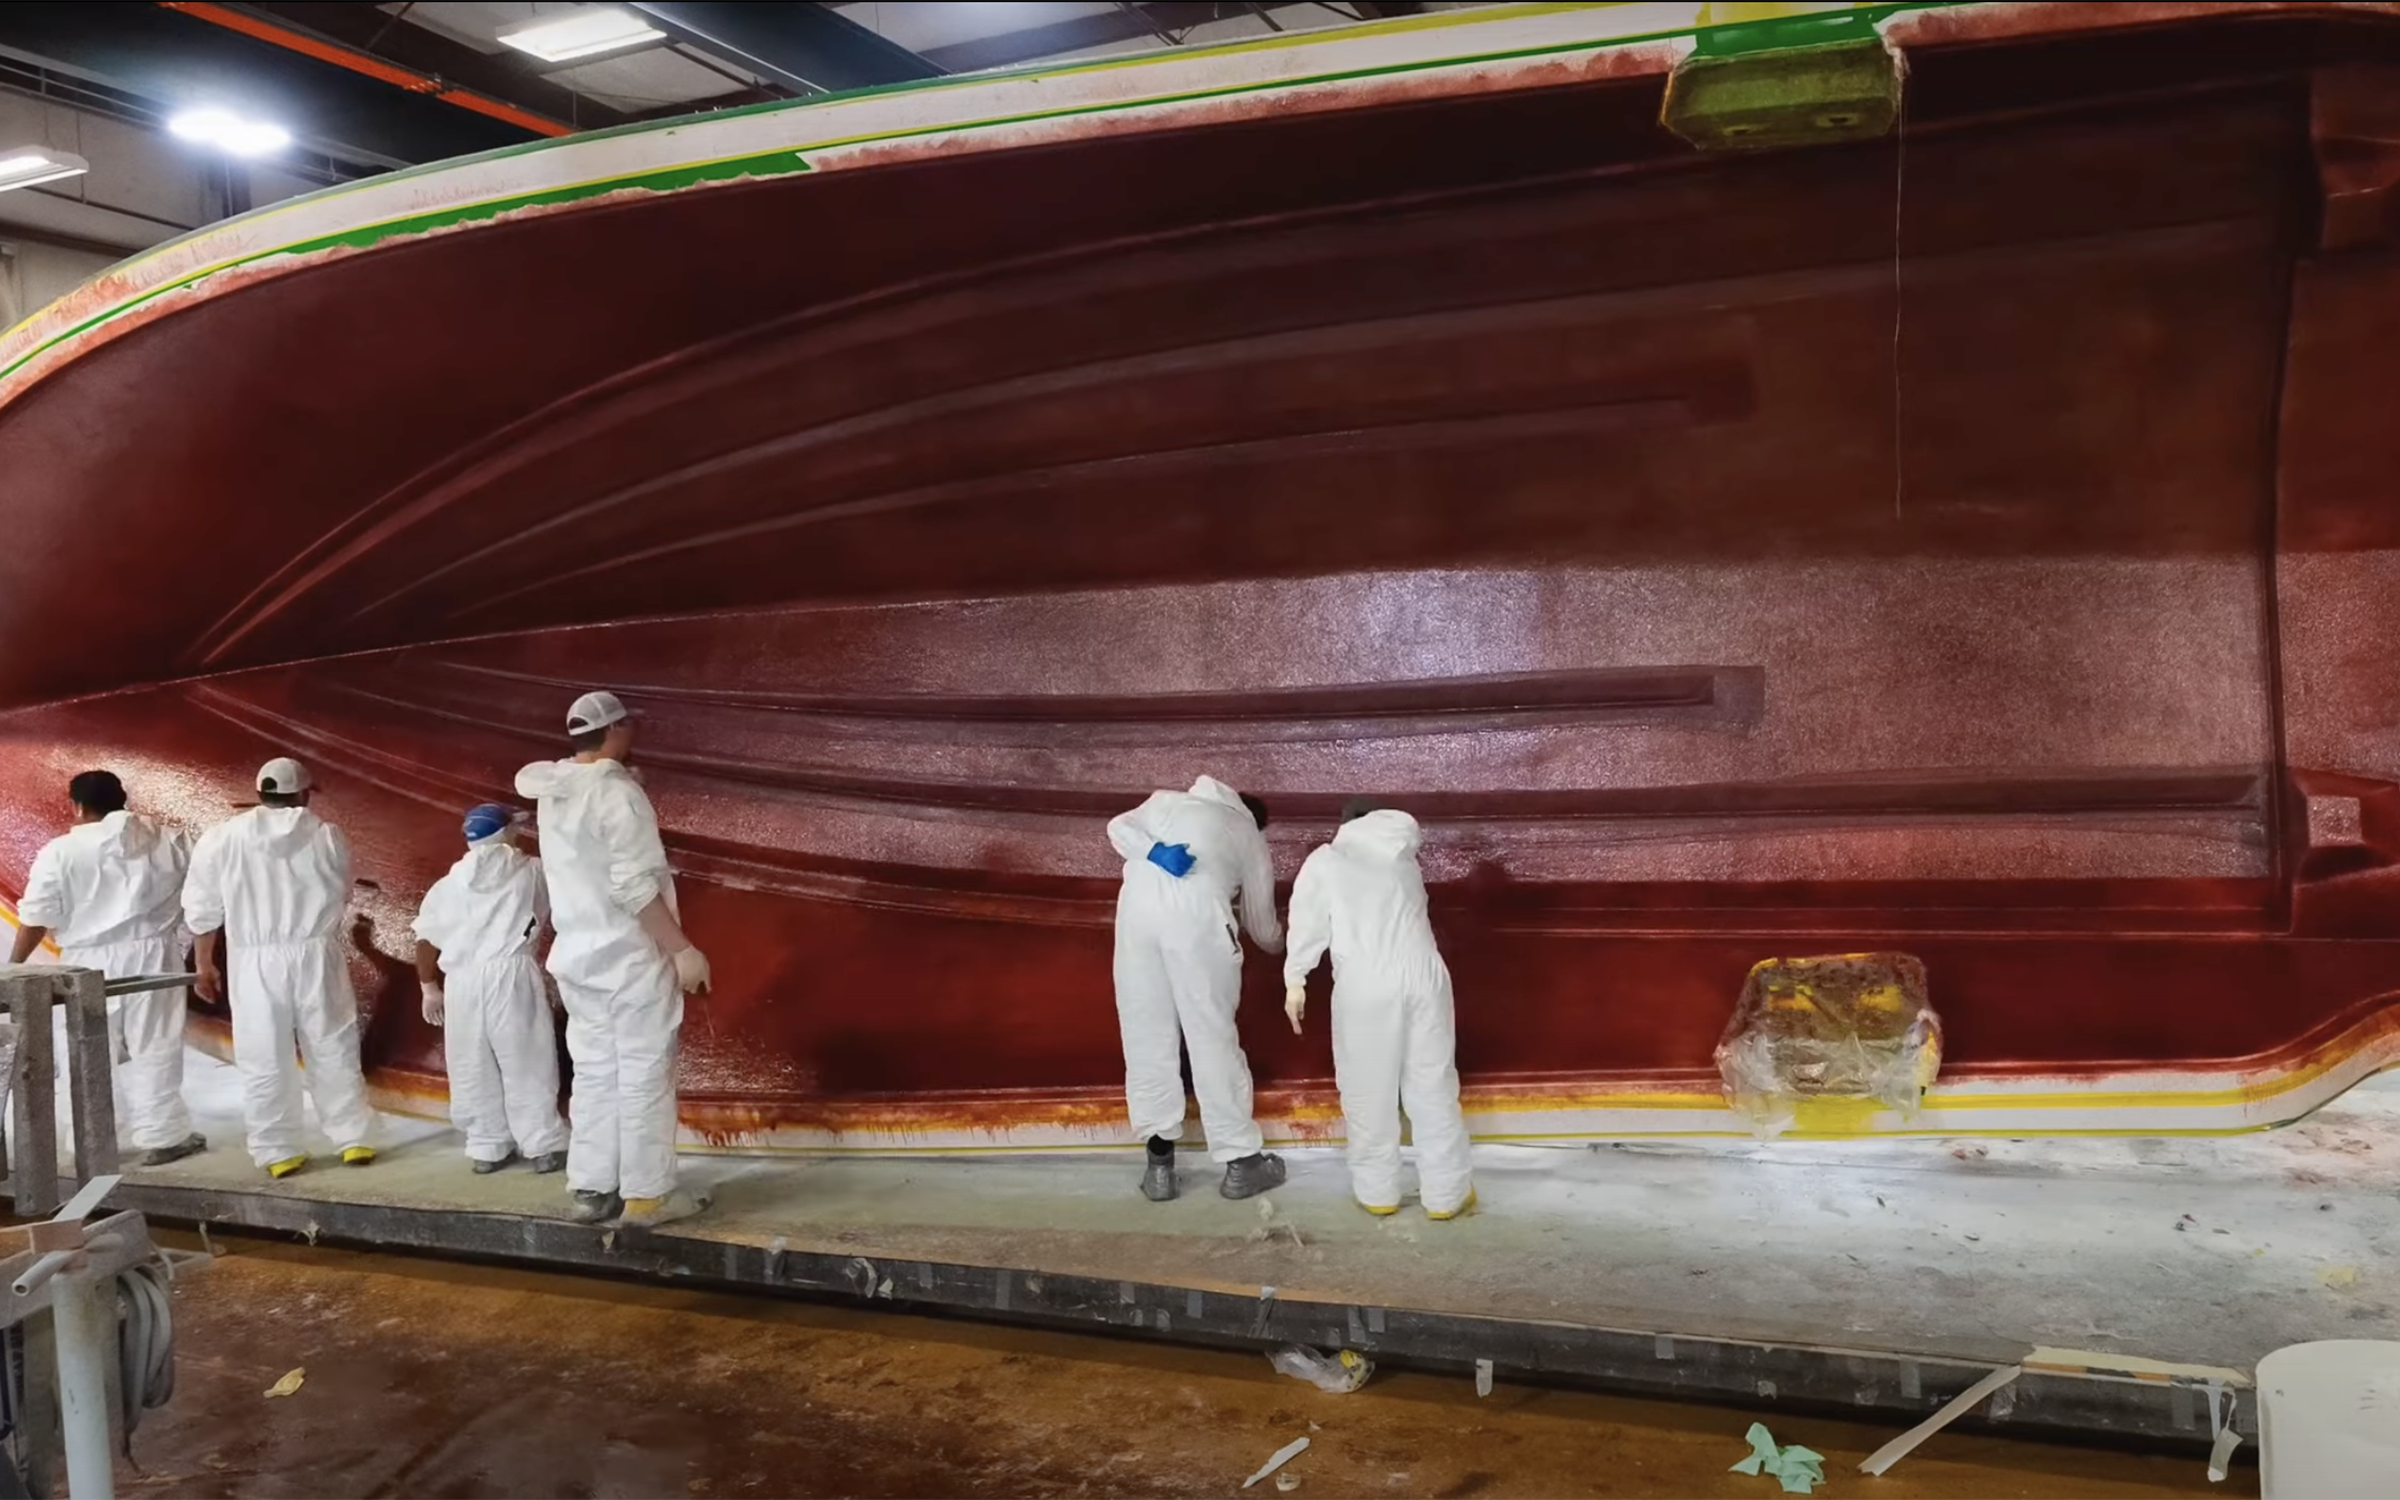
The beginning of the process is very similar to an open molded part the first layer to go on is the gel coat layer. This is applied in exactly the same way as before. The gelcoat layer is followed by a skin layer. This layer plays a crucial role in every fiberglass part as it is the first line of defense against water penetration. In infusion, the skin layer plays a key role in achieving a smooth finished surface. Skipping this step would result in what is commonly referred to as print. Printing is when the ghosted texture of the woven fiberglass appears in the final part. Once those two steps are completed, we can start the dry-loading process. The same materials' thicknesses and loading setup is a highly engineered process. The goal is to allow the resin to flow through the entire part in one single shot. Precisely cut dry fiberglass pieces are laid on the part and held in place using spray adhesive. Then comes the coring and stiffening layers of material; these are precision cut in our state-of-the-art CNC room.
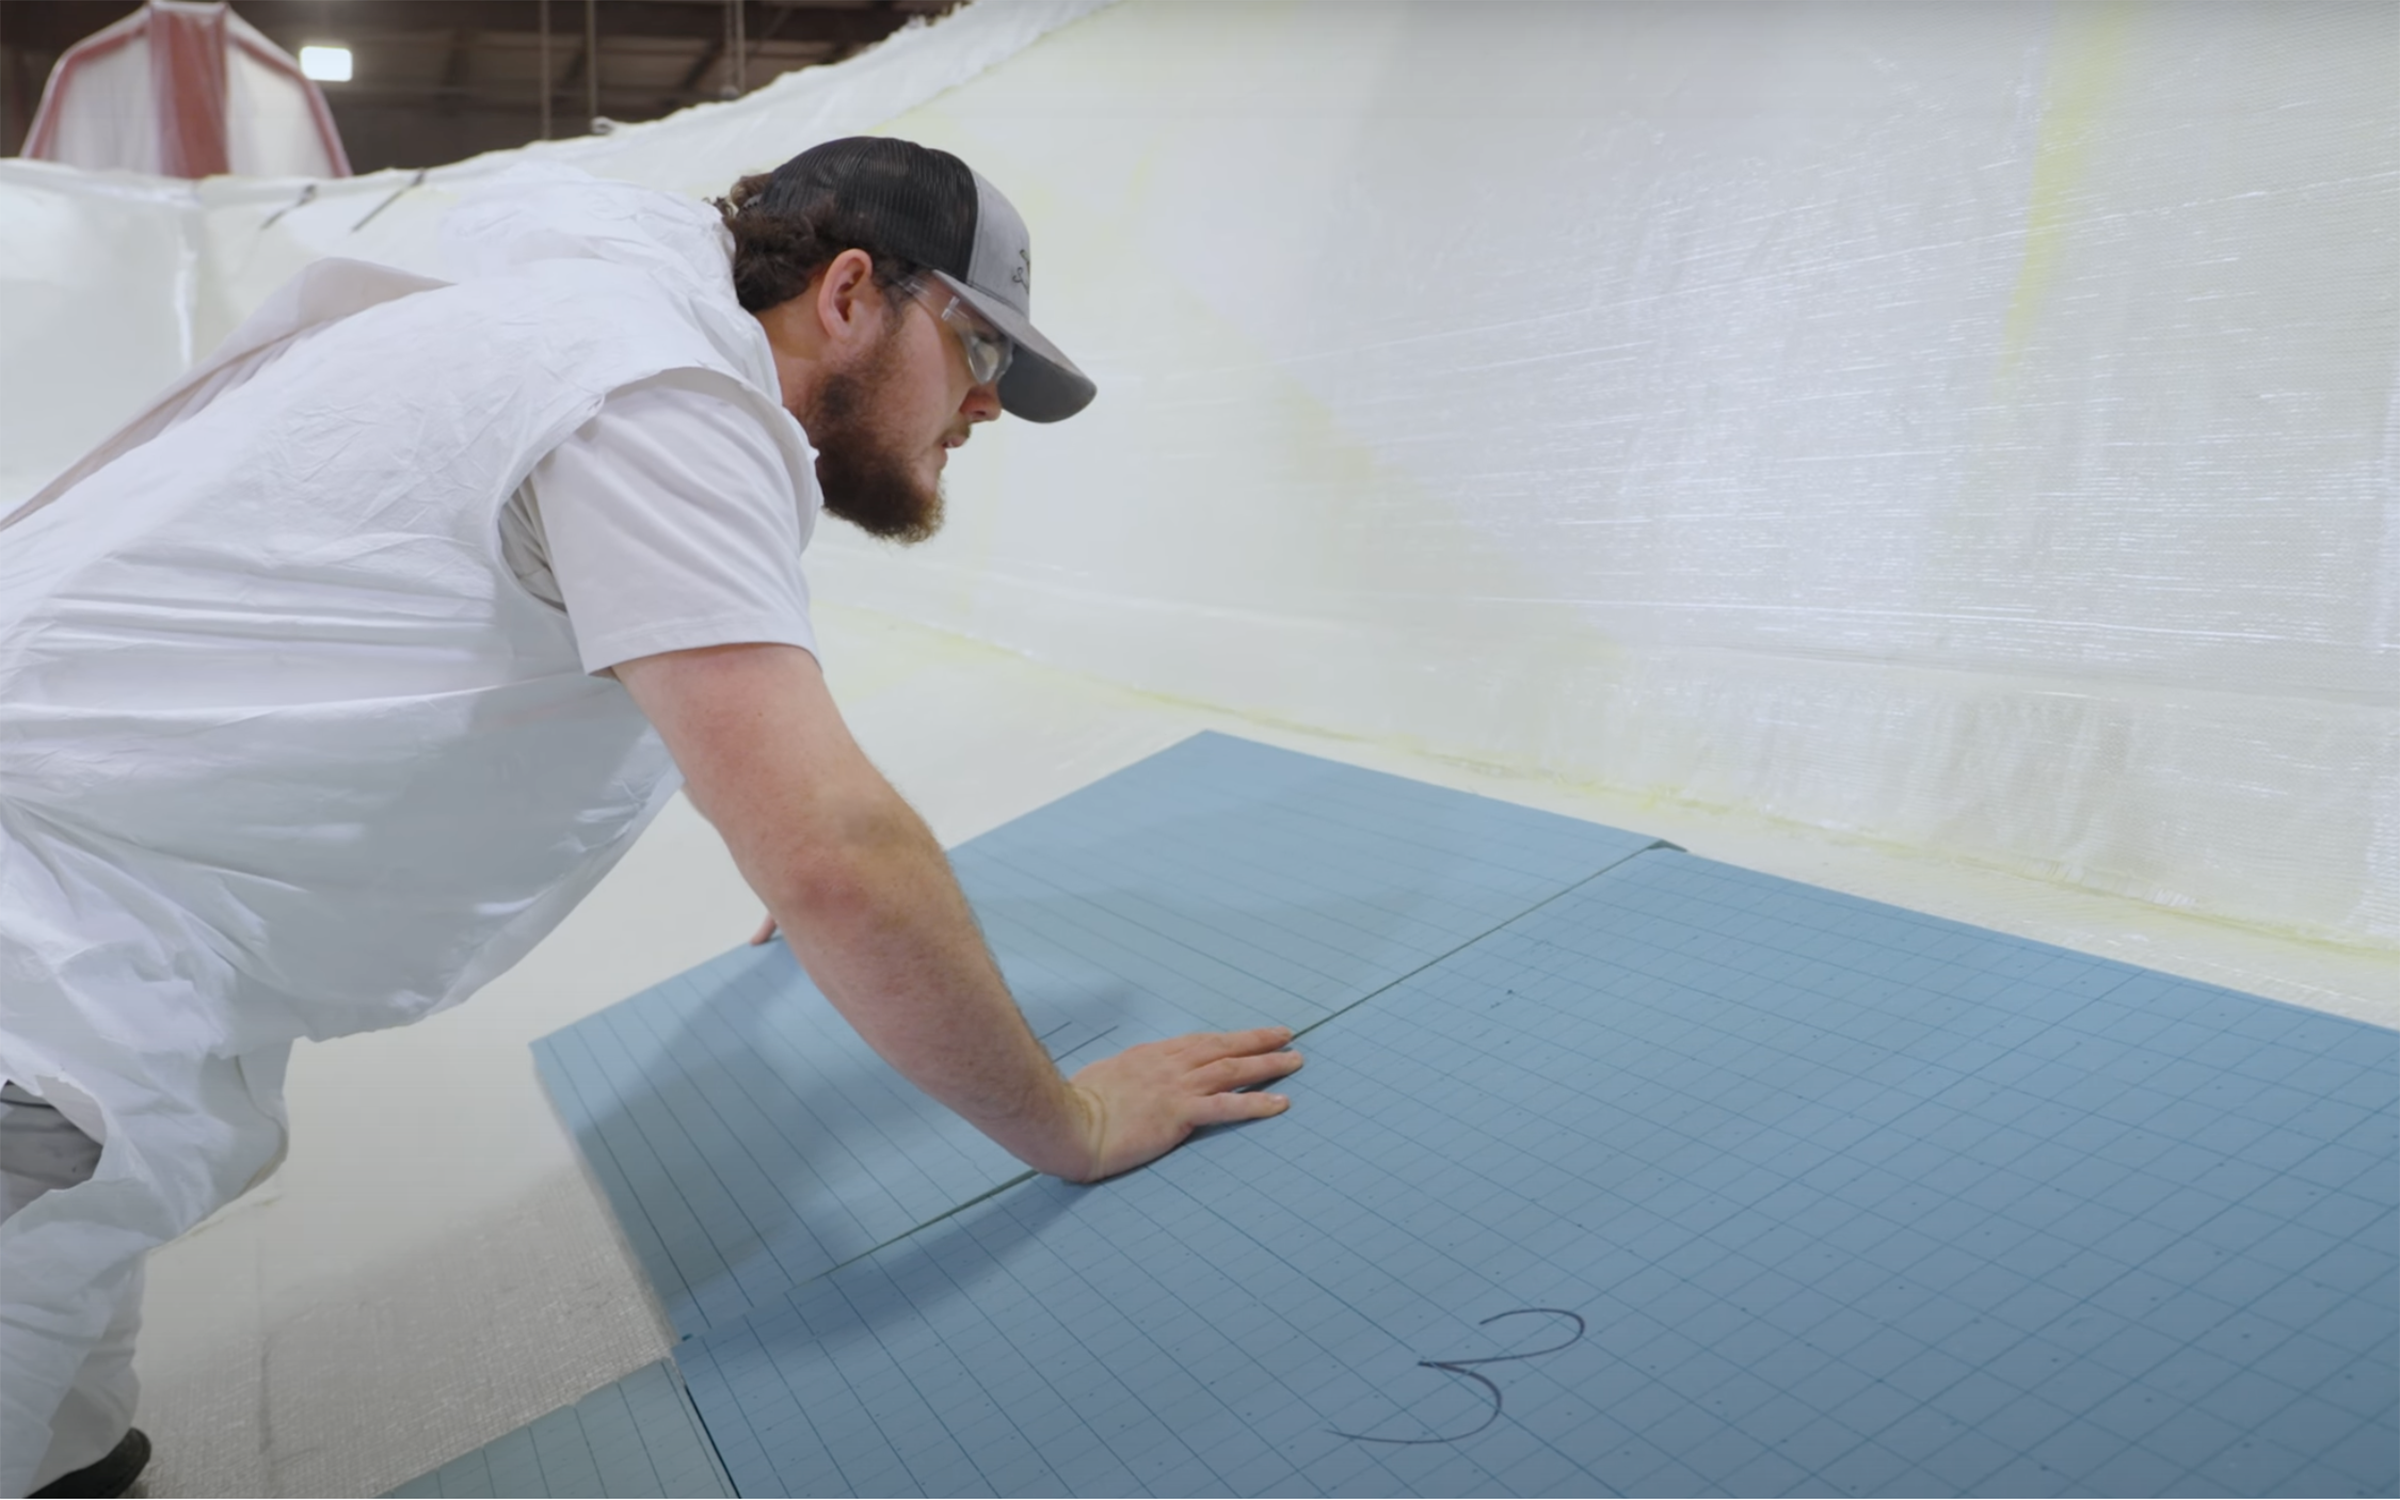
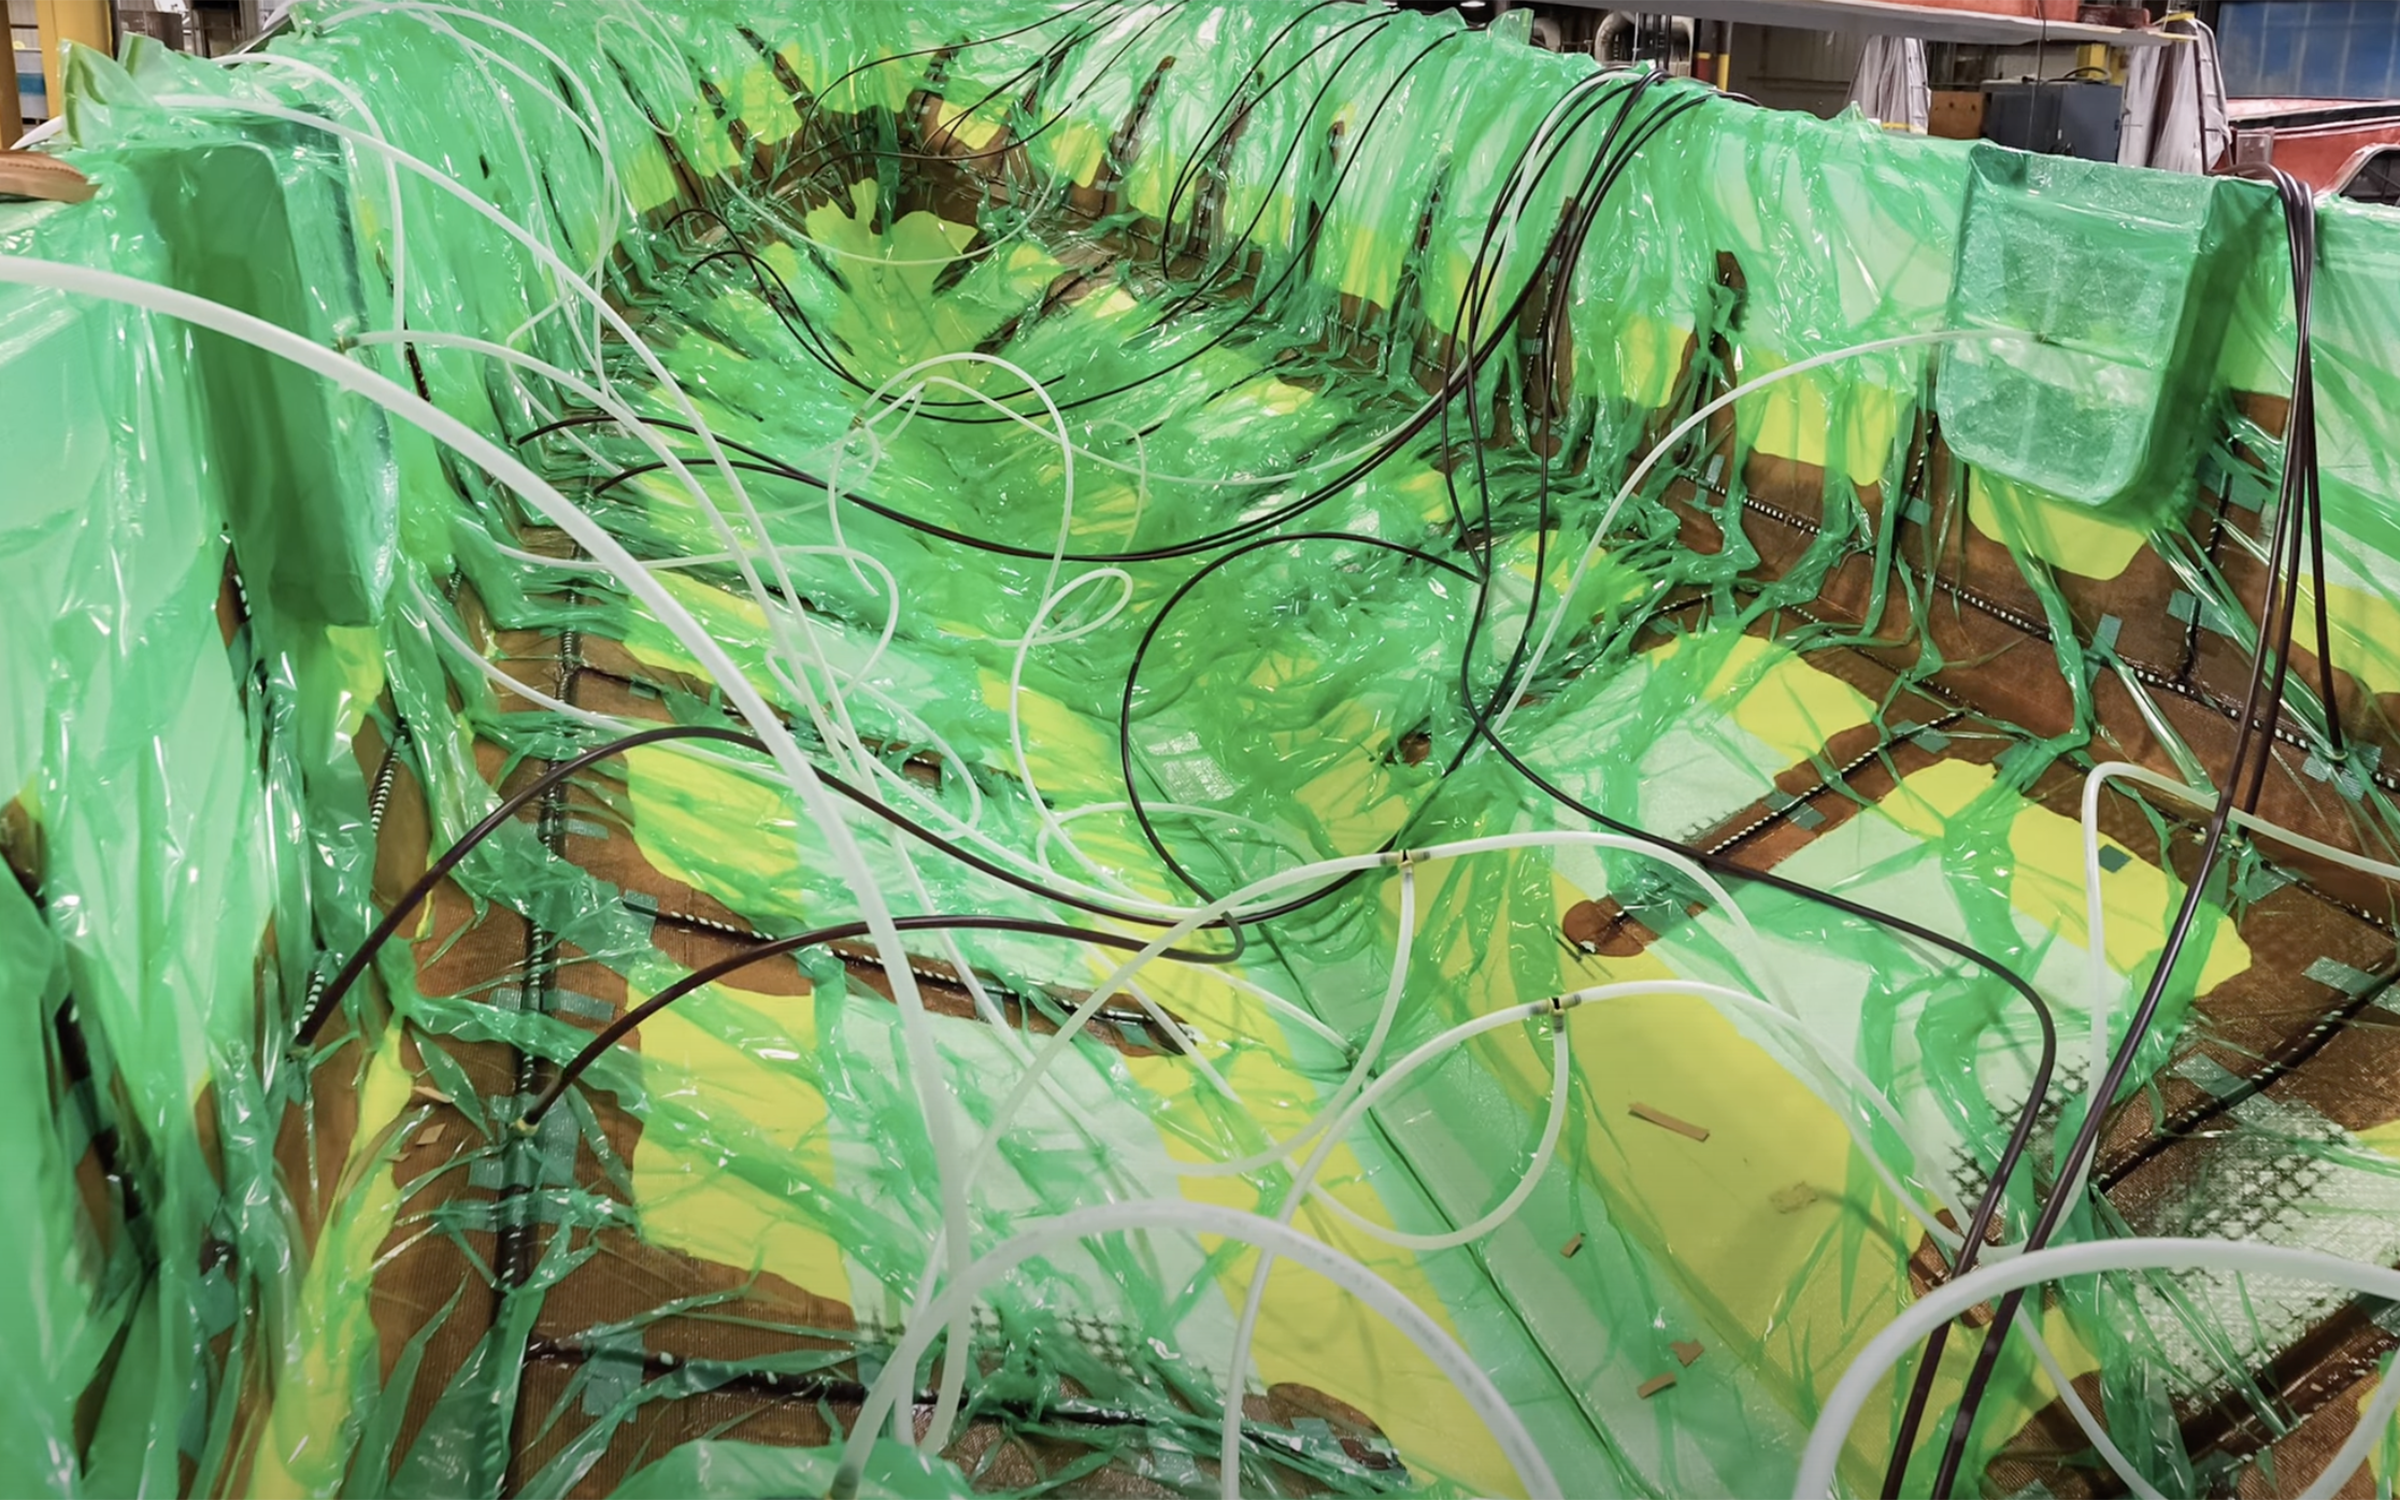
The coring is similar in its properties to others that we've seen in the series, but you'll notice score lines along the surface; this will allow the resin to flow between layers during infusion. Same as before, the coring is encapsulated with more fiberglass. At this point, the dry loading is complete, and the setup for infusion can begin. Each part is fitted with a specified number of paths to allow the resin to flow. Once the part is under vacuum, this is achieved with a combination of spiral wrap tubes and resin flow distribution media. The intricacies of the final part will dictate the complexity of the setup; the team must account for restrictions created by the hills and valleys of a part. At this point, a complex network of hoses, vacuum ports, and resin inlets is laid out. Each hose will be carefully labeled and routed to the resin tank. Additionally, a special material called peel ply is applied to ensure that the bag will not permanently adhere to the part.
Peel ply can also be seen applied in other areas where attachments will need to be removed later on. All of this prep work culminates in the bagging of the part. The team members apply vacuum bag sealant tape all the way around, taking advantage of the wide flange on the mold. This tape is what will allow the bag to be hermetically sealed to the mold and plays a vital role in attaining full vacuum pressure; the large bag is then laid over the entire part, and work begins securing it to the sealant tape applied before the bag isn't a perfect fit, so a special technique called pleating is used to neatly collect the excess bag material. Additional sealant tape is used to seal the bag in those areas. This technique is important to achieve consistent vacuum pressure throughout the entire part. The final host connections are made to the vacuum pump, and an initial vacuum pressure test is performed. The setup is complete, and we are ready to infuse the part.
The actual infusion process takes between 30 to 45 minutes, depending on the size of the part. The process begins with adding a measured amount of catalyst to the resin, which kickstarts the resin's gelling. Once combined, the clock is running, and the team jumps into action. A drum is filled with the activated resin, and the resin inlet hoses are unclamped to allow the resin to flow into the part. The exact time each hose will stay open has been calculated based on the specific part being infused. The team monitors the flow of the resin throughout the part as well as the temperature. The temperature indicates how much time they have left to complete the infusion. As the resin makes its way through the part, inevitably, some resin can reach the vacuum ports. If the vacuum pump sucks up resin, it will ruin the internals and cause damage. To avoid this, each vacuum hose is rigged through a resin trap bucket. This allows the vacuum force to flow through while collecting any wasted resin that can work its way into the ports.
Once the entire part is infused with resin, it will sit under a vacuum until it is cured. At this point, the part is completed and is ready to be demolded, but first, some cleanup. It starts with removing the bag and sealant tape left behind on the flange. Next, taking advantage of the peel ply, any hoses and flow material that were added are now removed and discarded. The team wraps up the cleanup by removing any extra resins that may have been trapped in the bag and deemed this part completed. From here on out, the part will undergo the same procedure as an open molded part. It will have all edges trimmed and holes cut in preparation for assembly and any other part-specific rigging.
As we come to a close on this episode, it's worth mentioning that vacuum infusion has its time and place when used appropriately; the advantages outweigh the disadvantages, but it's still a labor-intensive process, and it's not appropriate for every application. This is part of our SportTech® Advanced Fabrication Process. This process is part of our SportTech® Advanced Fabrication Process. This proprietary combination of processes and materials yields the best result each step of the way and has been thoroughly tested for durability, longevity, and finish. All Sportsman Boats features a 100% composite construction with zero wood, an NMMA certification, and a 10-year hull limited warranty.