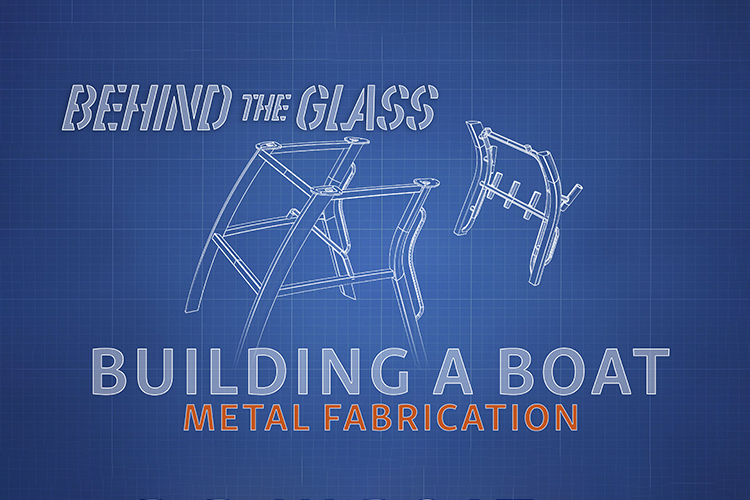
Welcome to Sportsman Boats, "Behind The Glass," a new series based around the construction process inside the Sportsman Plant. In this episode we are taking a look at the metal shop. We will dive into each step along the way, explaining the materials we use and why we use them.
-
•Aluminum offers corrosion resistance and lighter weight for strong durable boat components.
-
•In-house powder coating with zirconium pretreatment boosts adhesion, durability and salt spray performance.
-
•Final quality checks include visual inspection, cure test and coating thickness measurement.
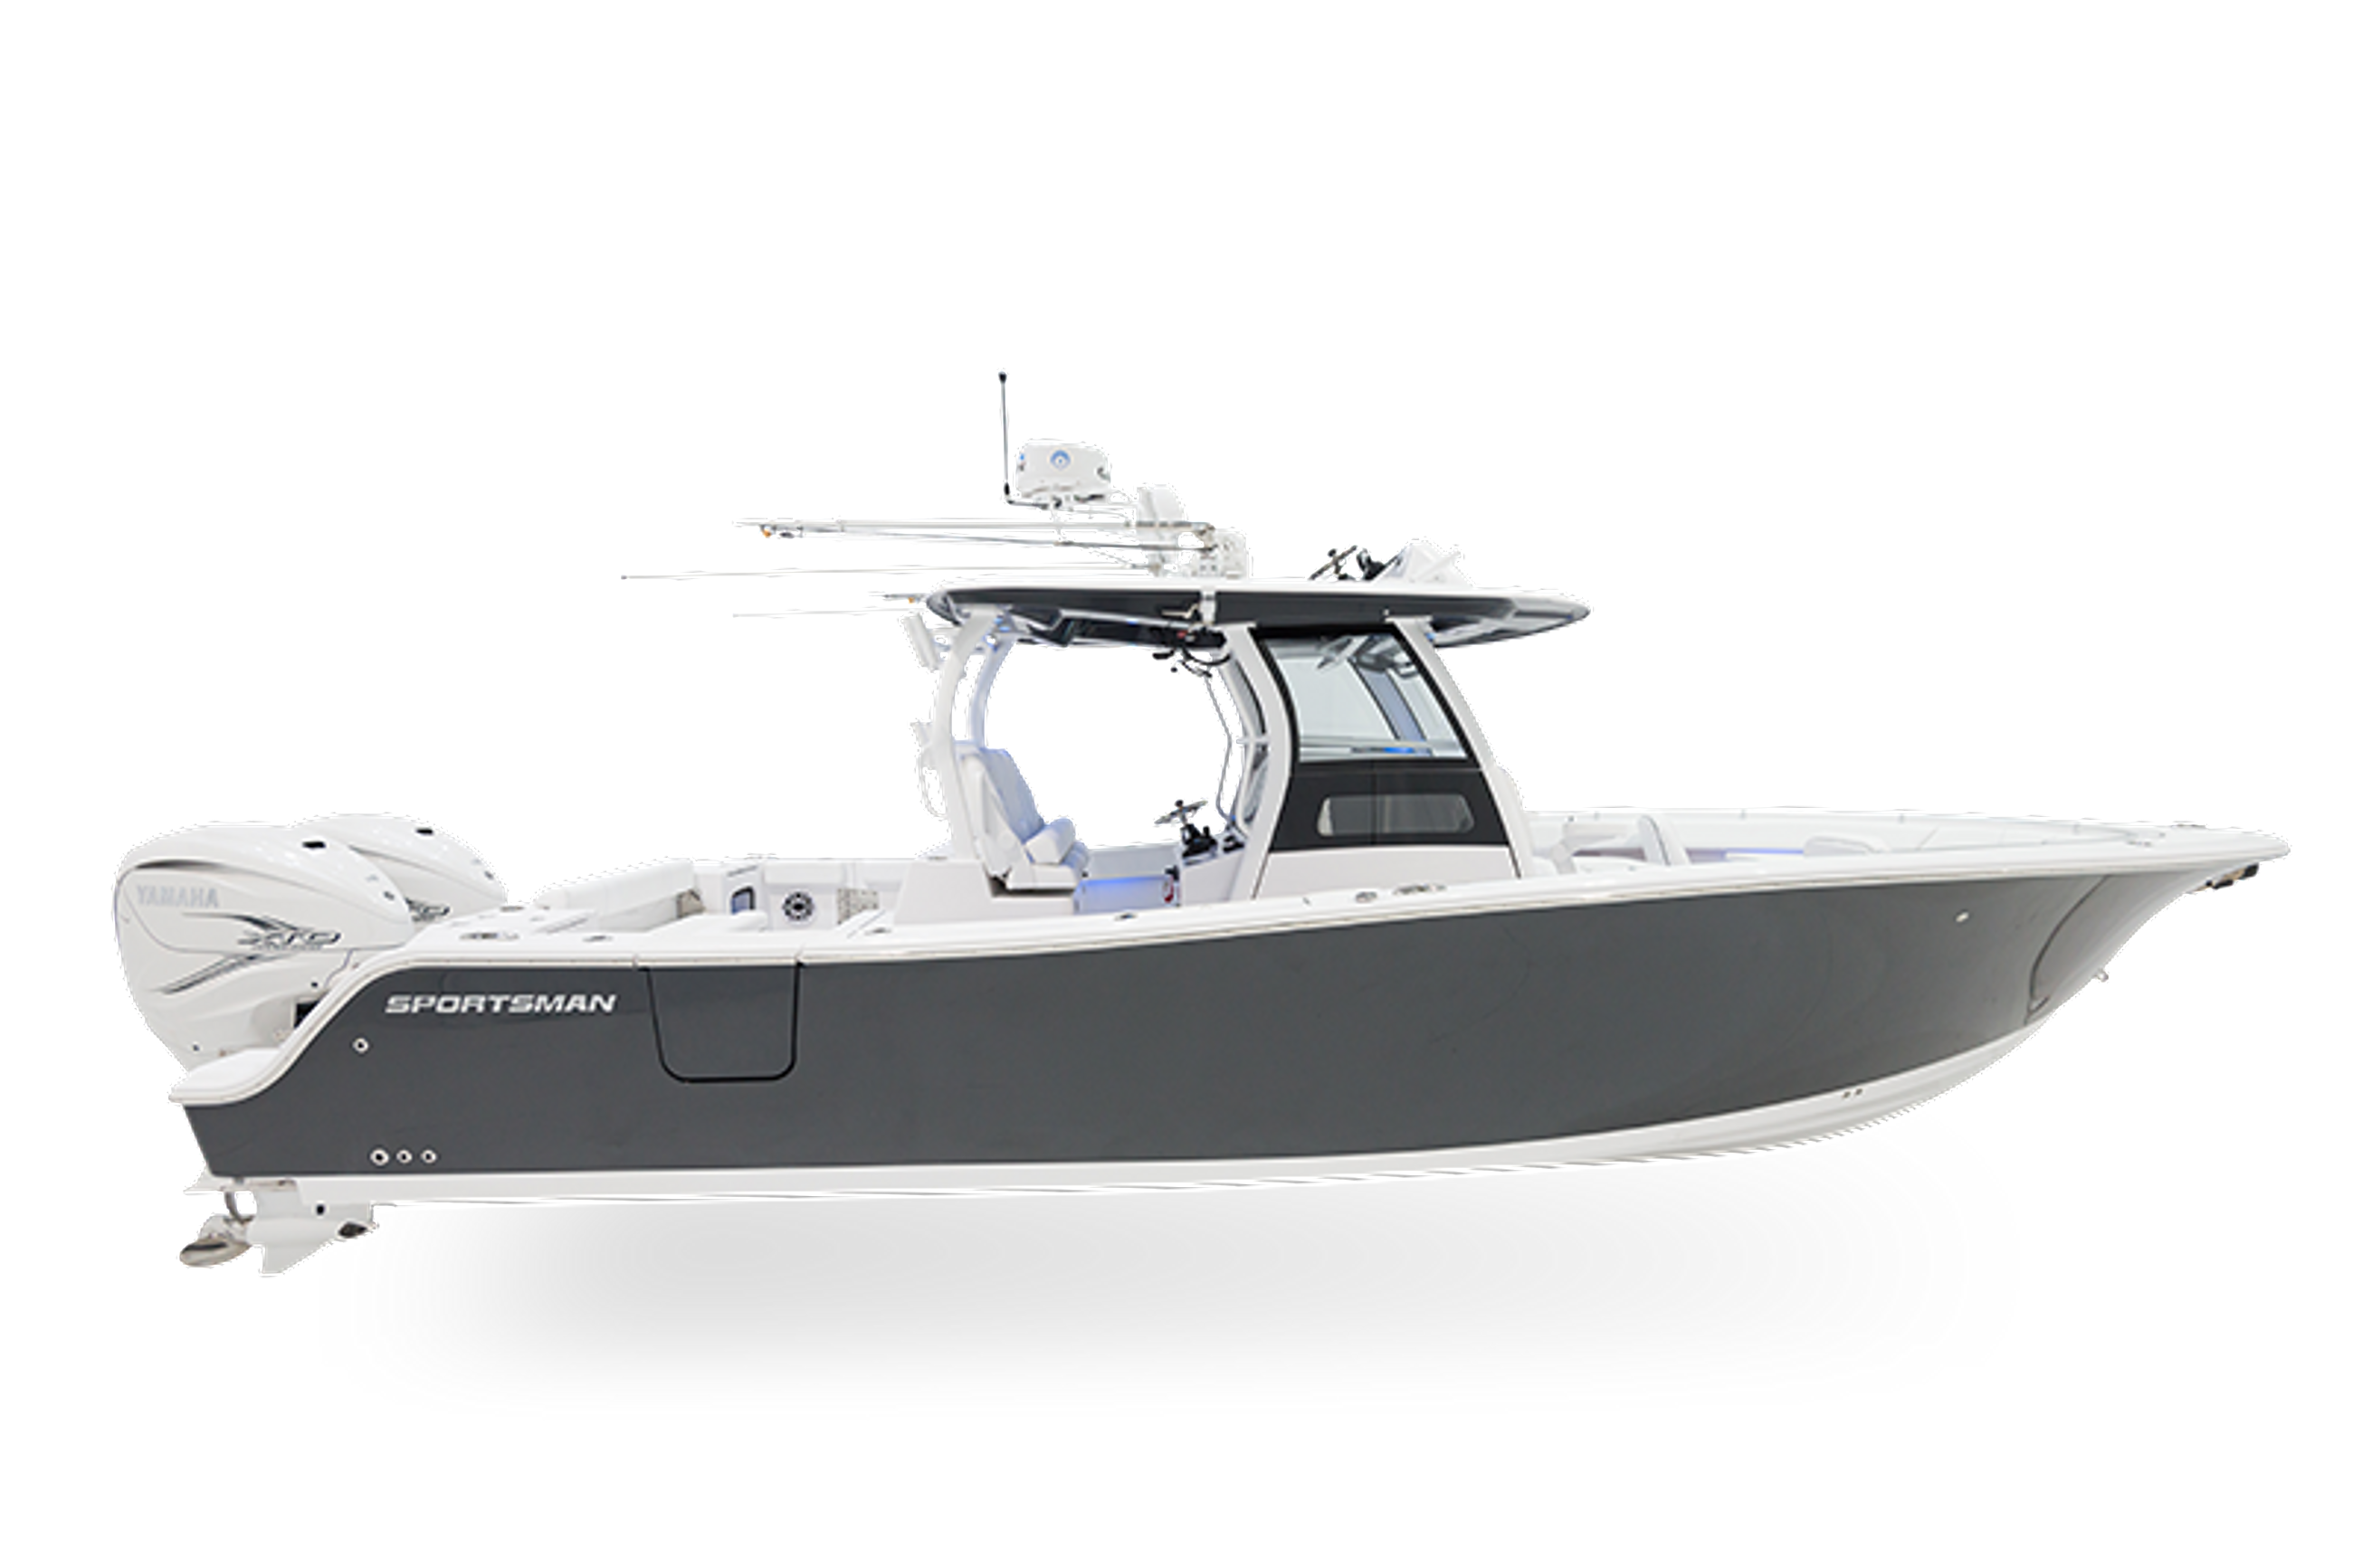
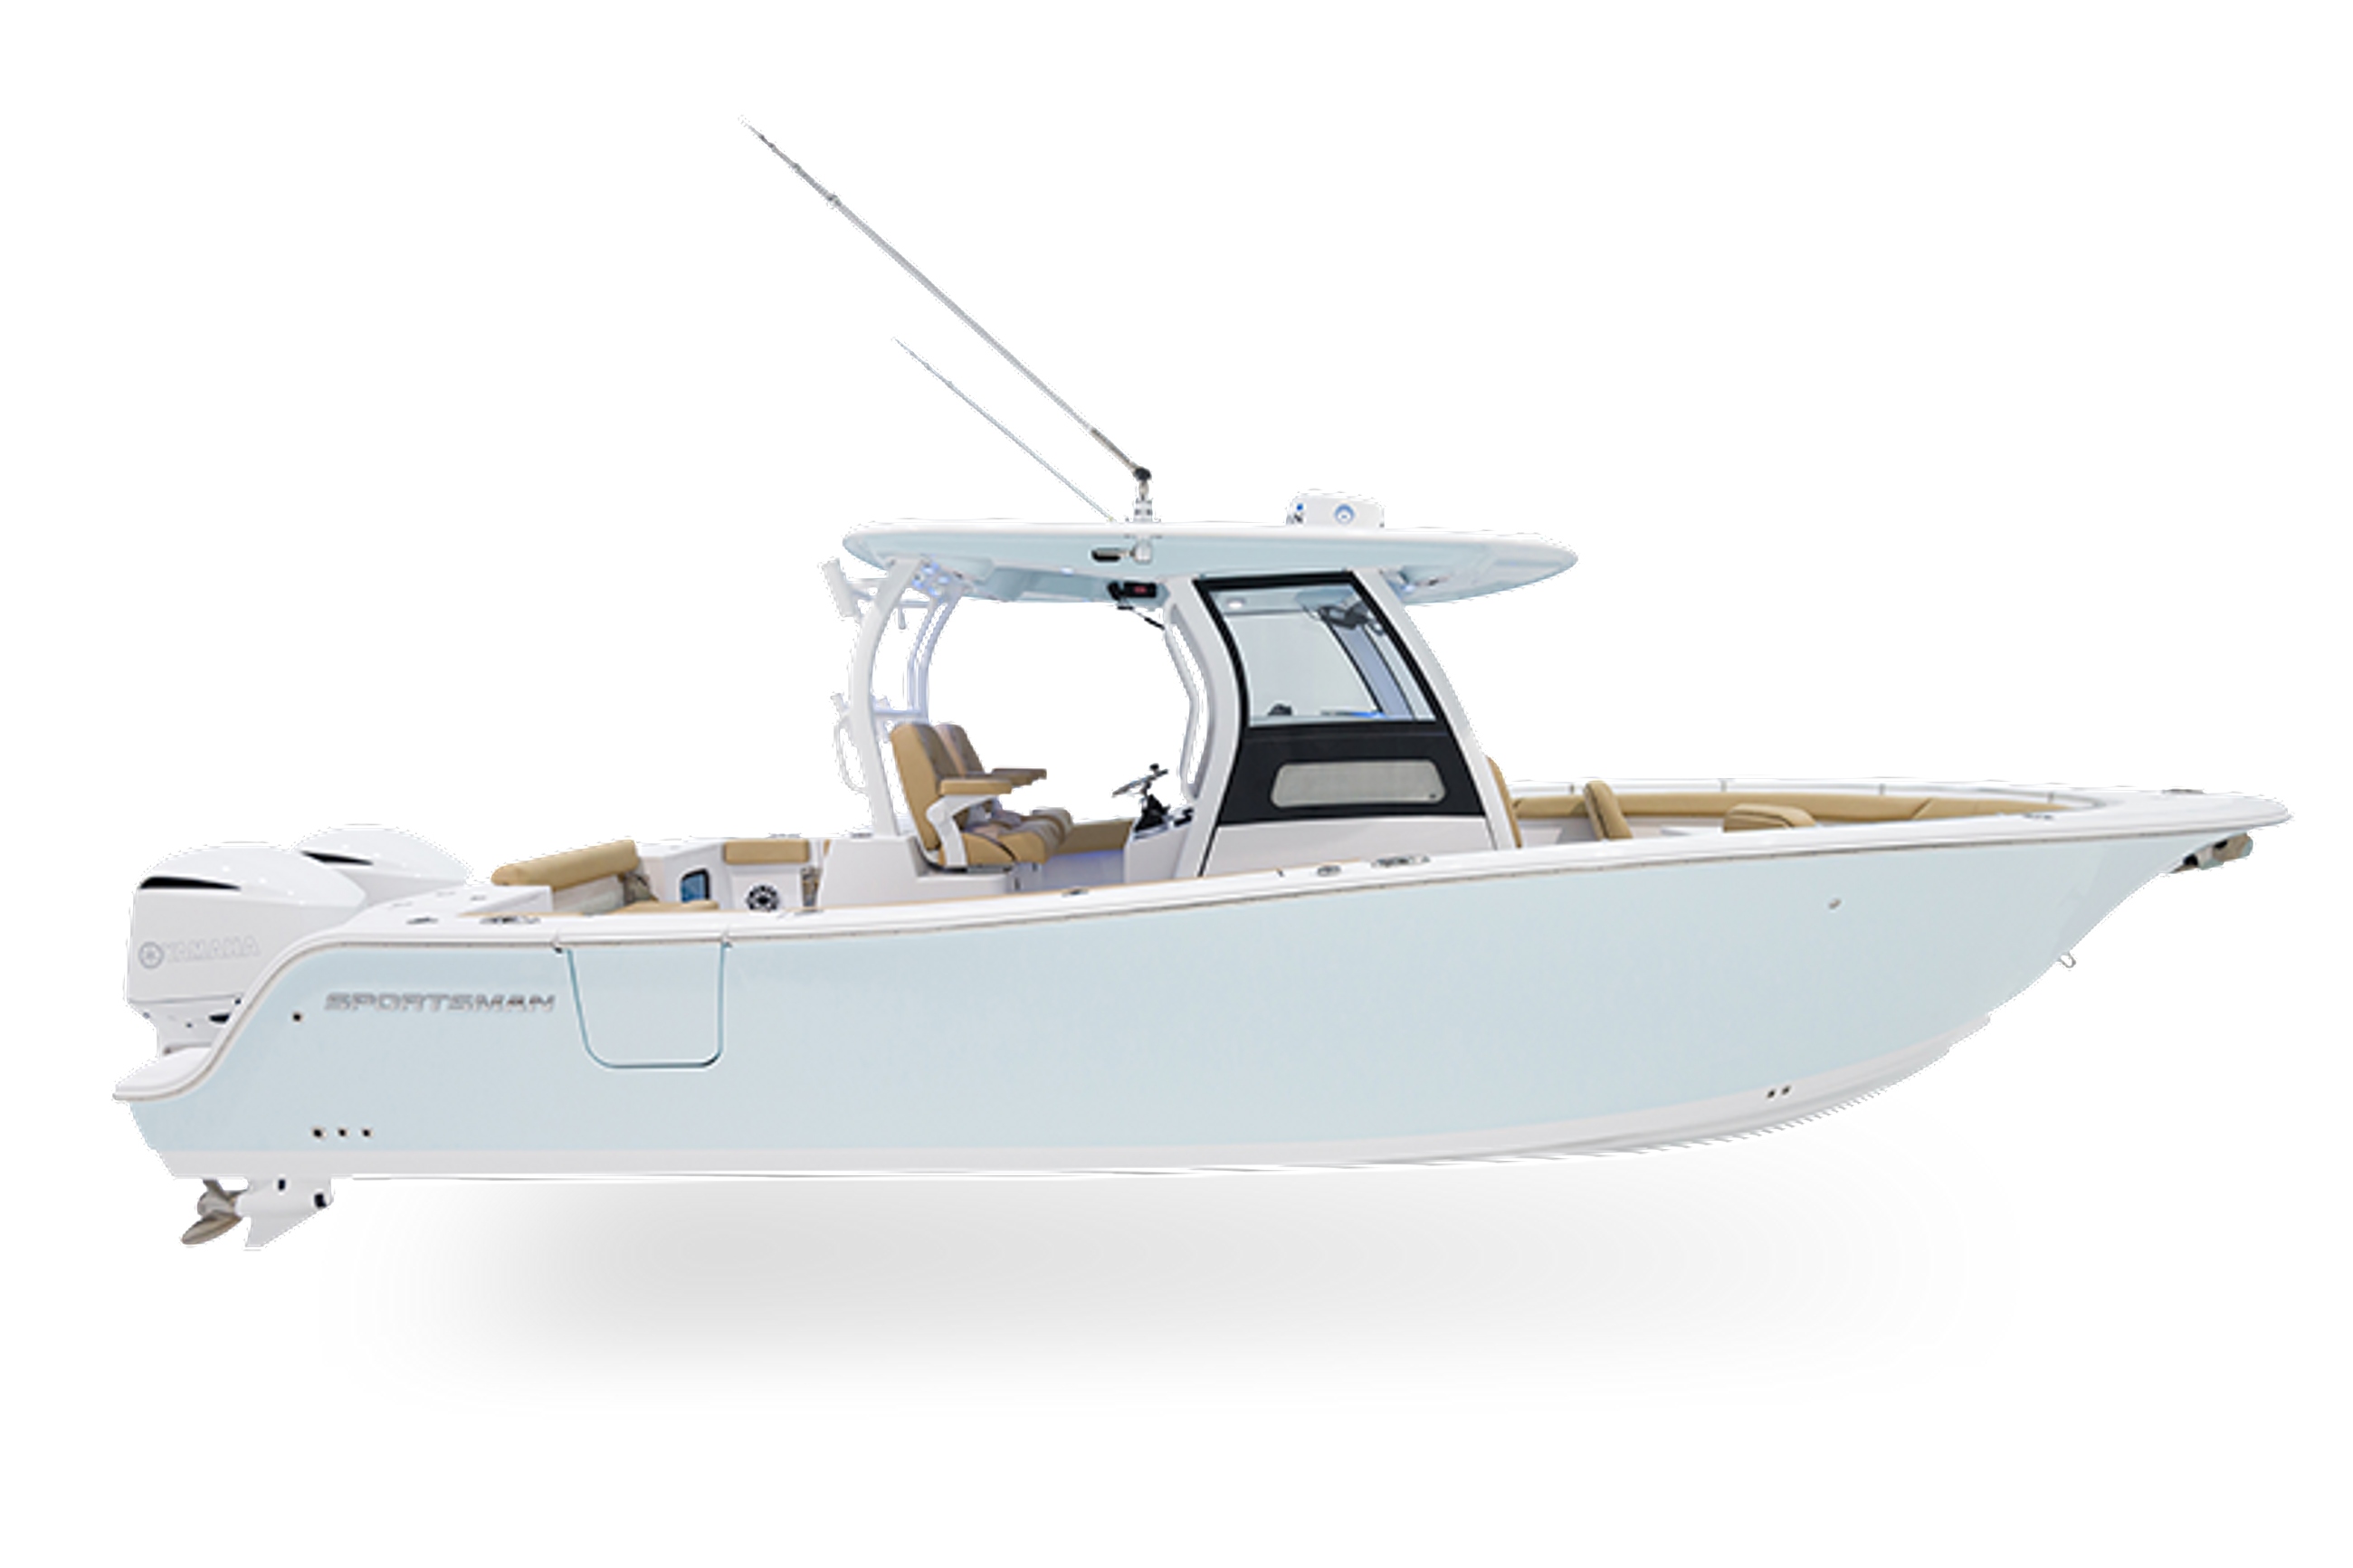
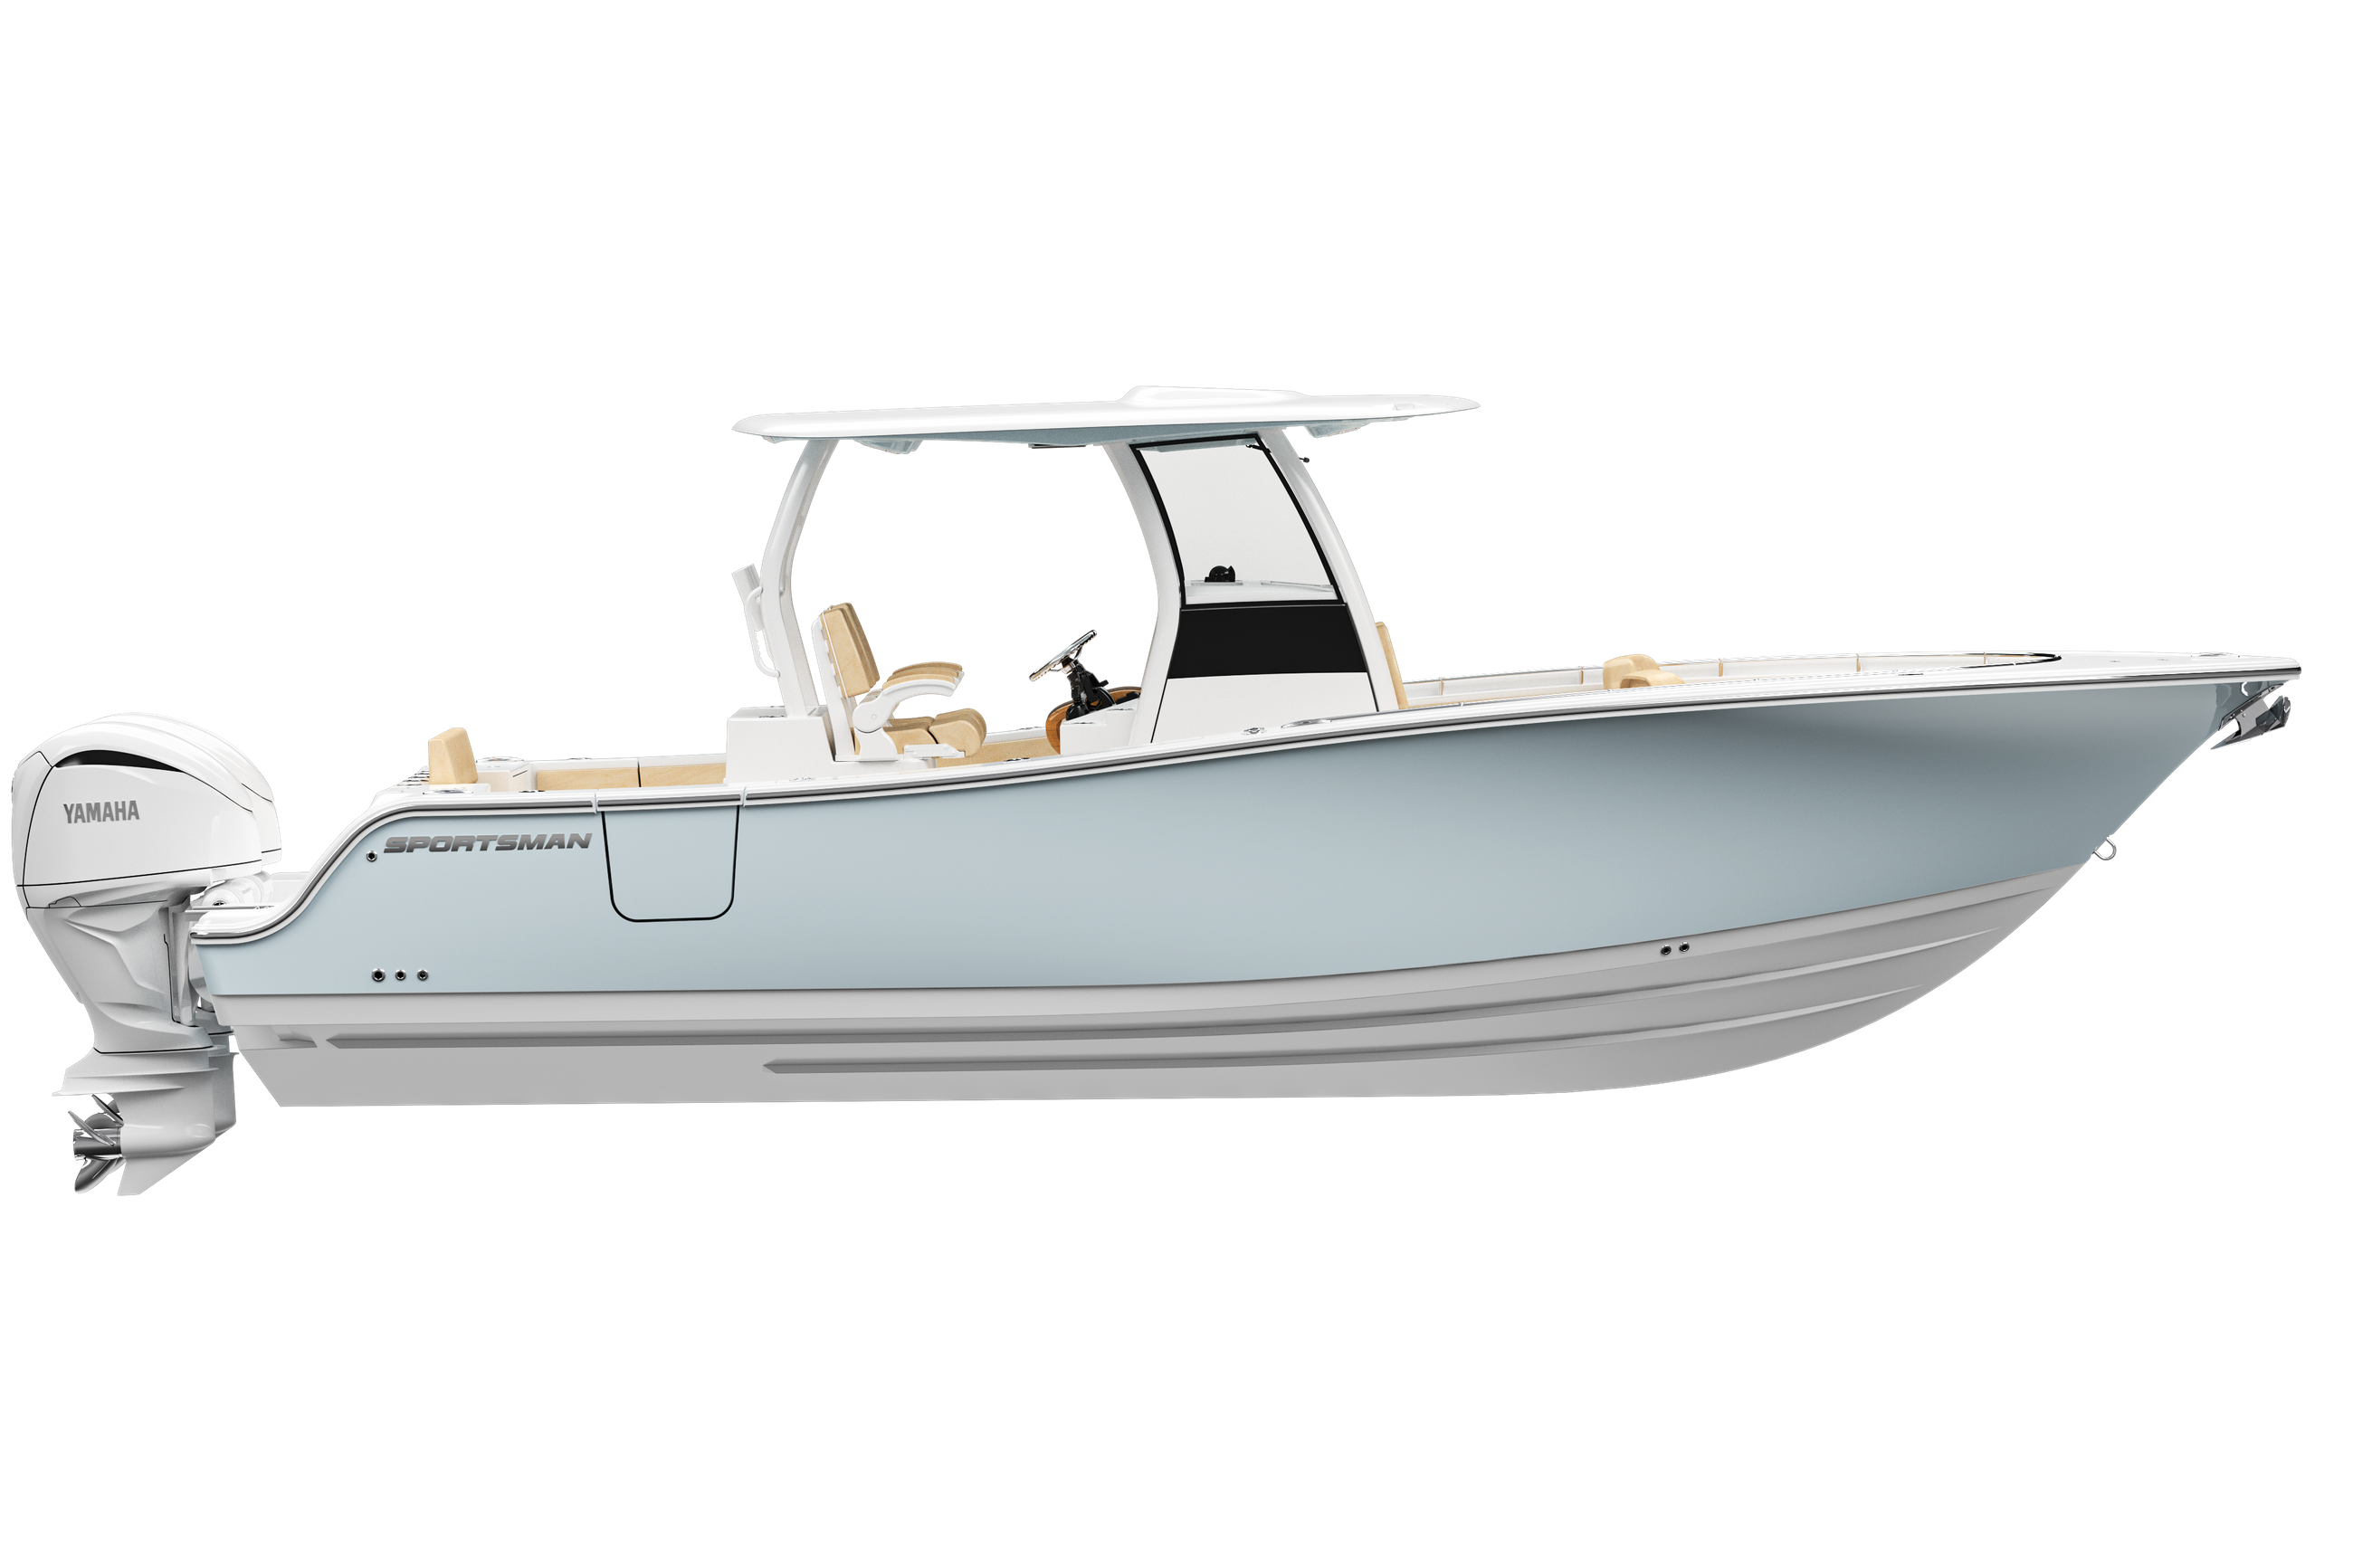
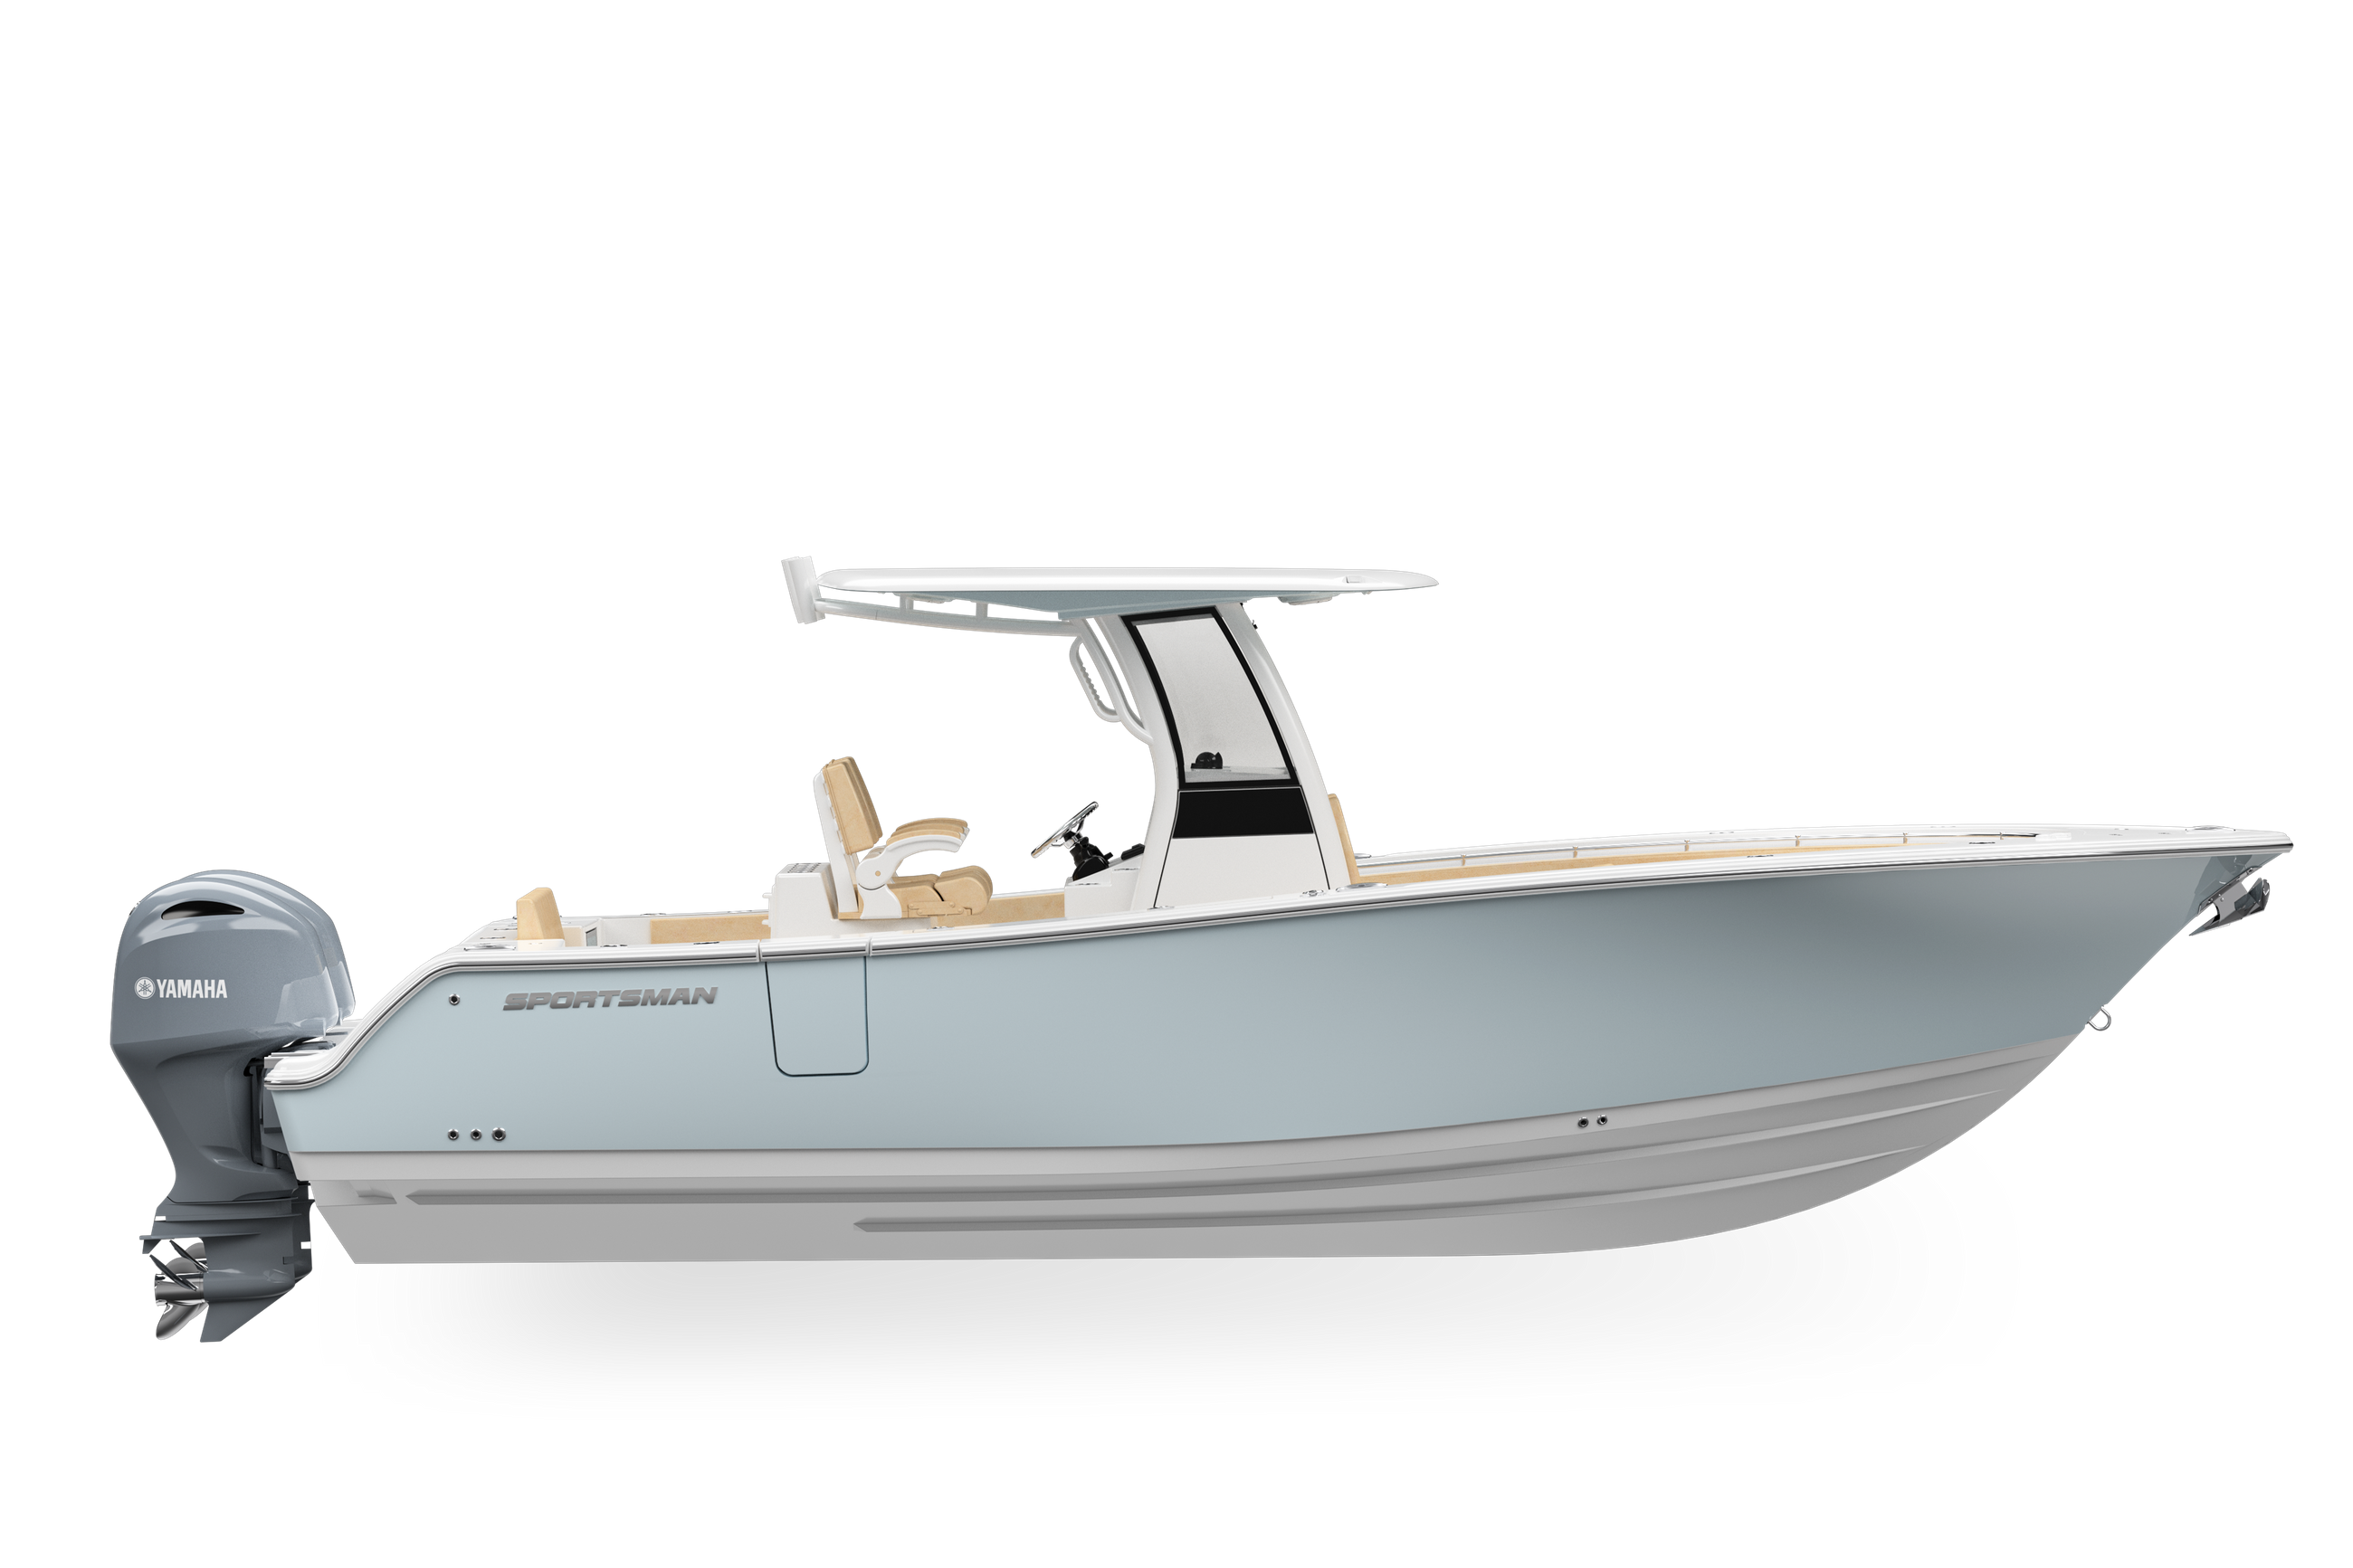
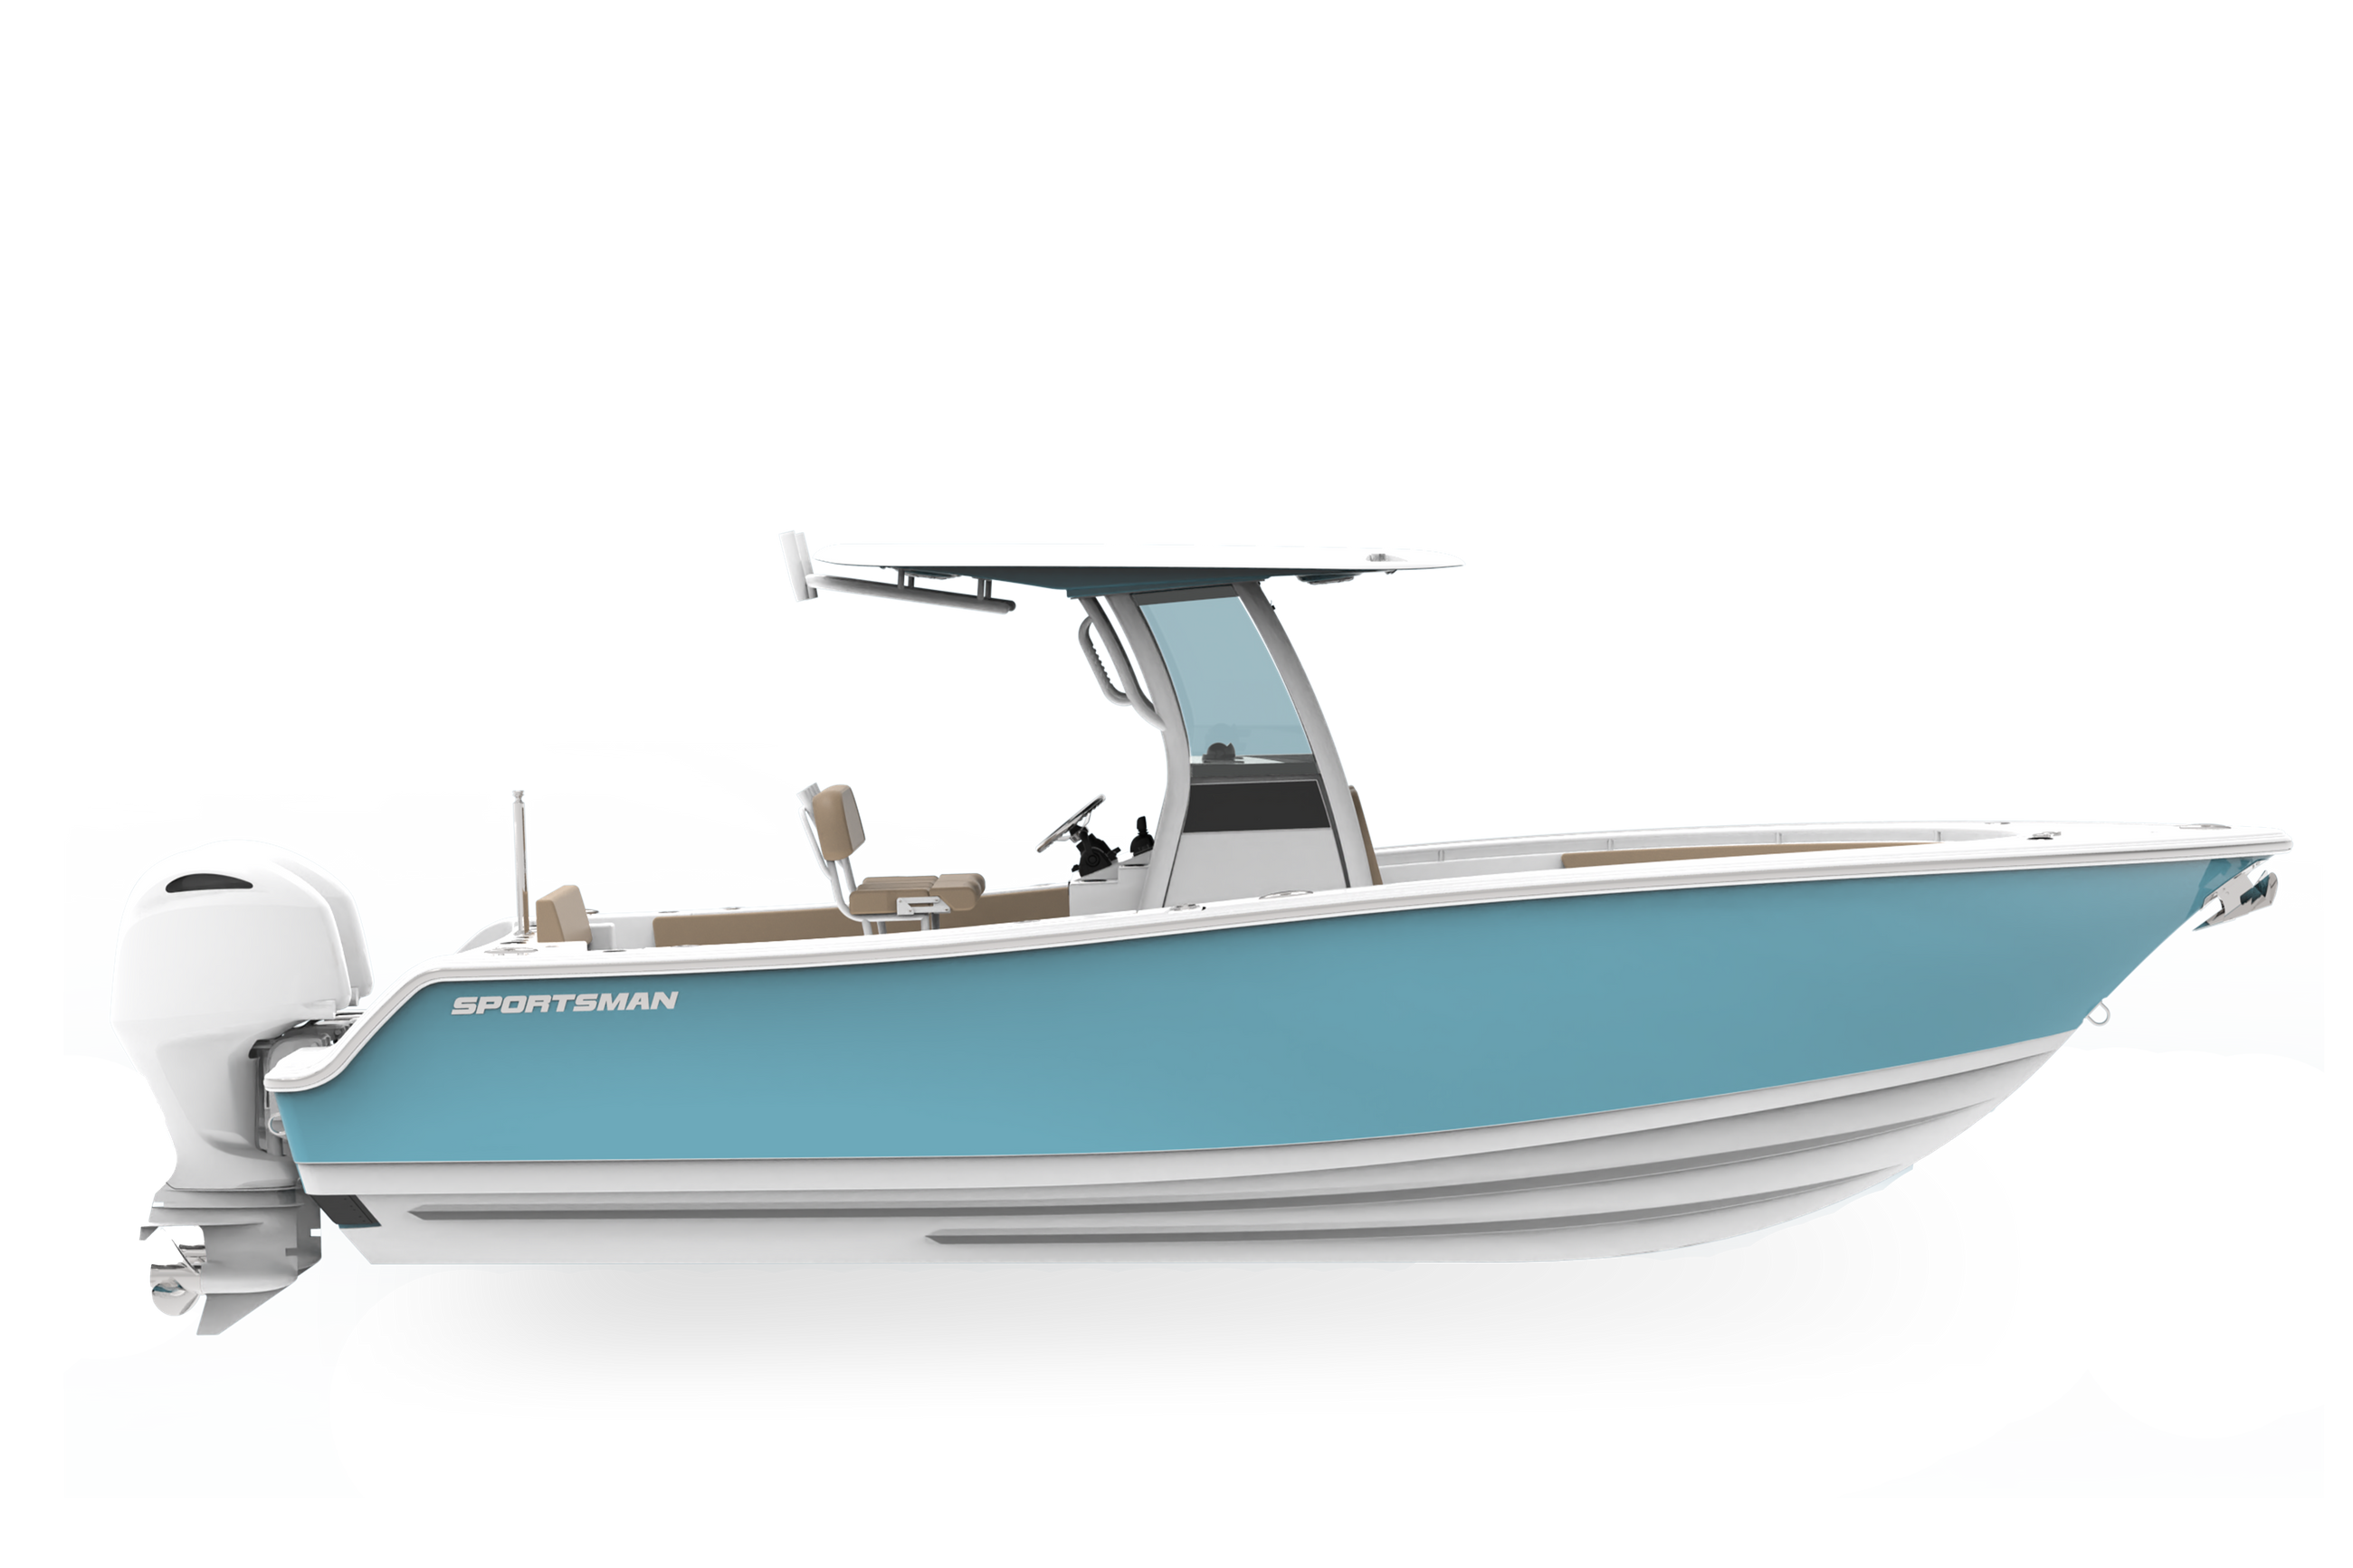
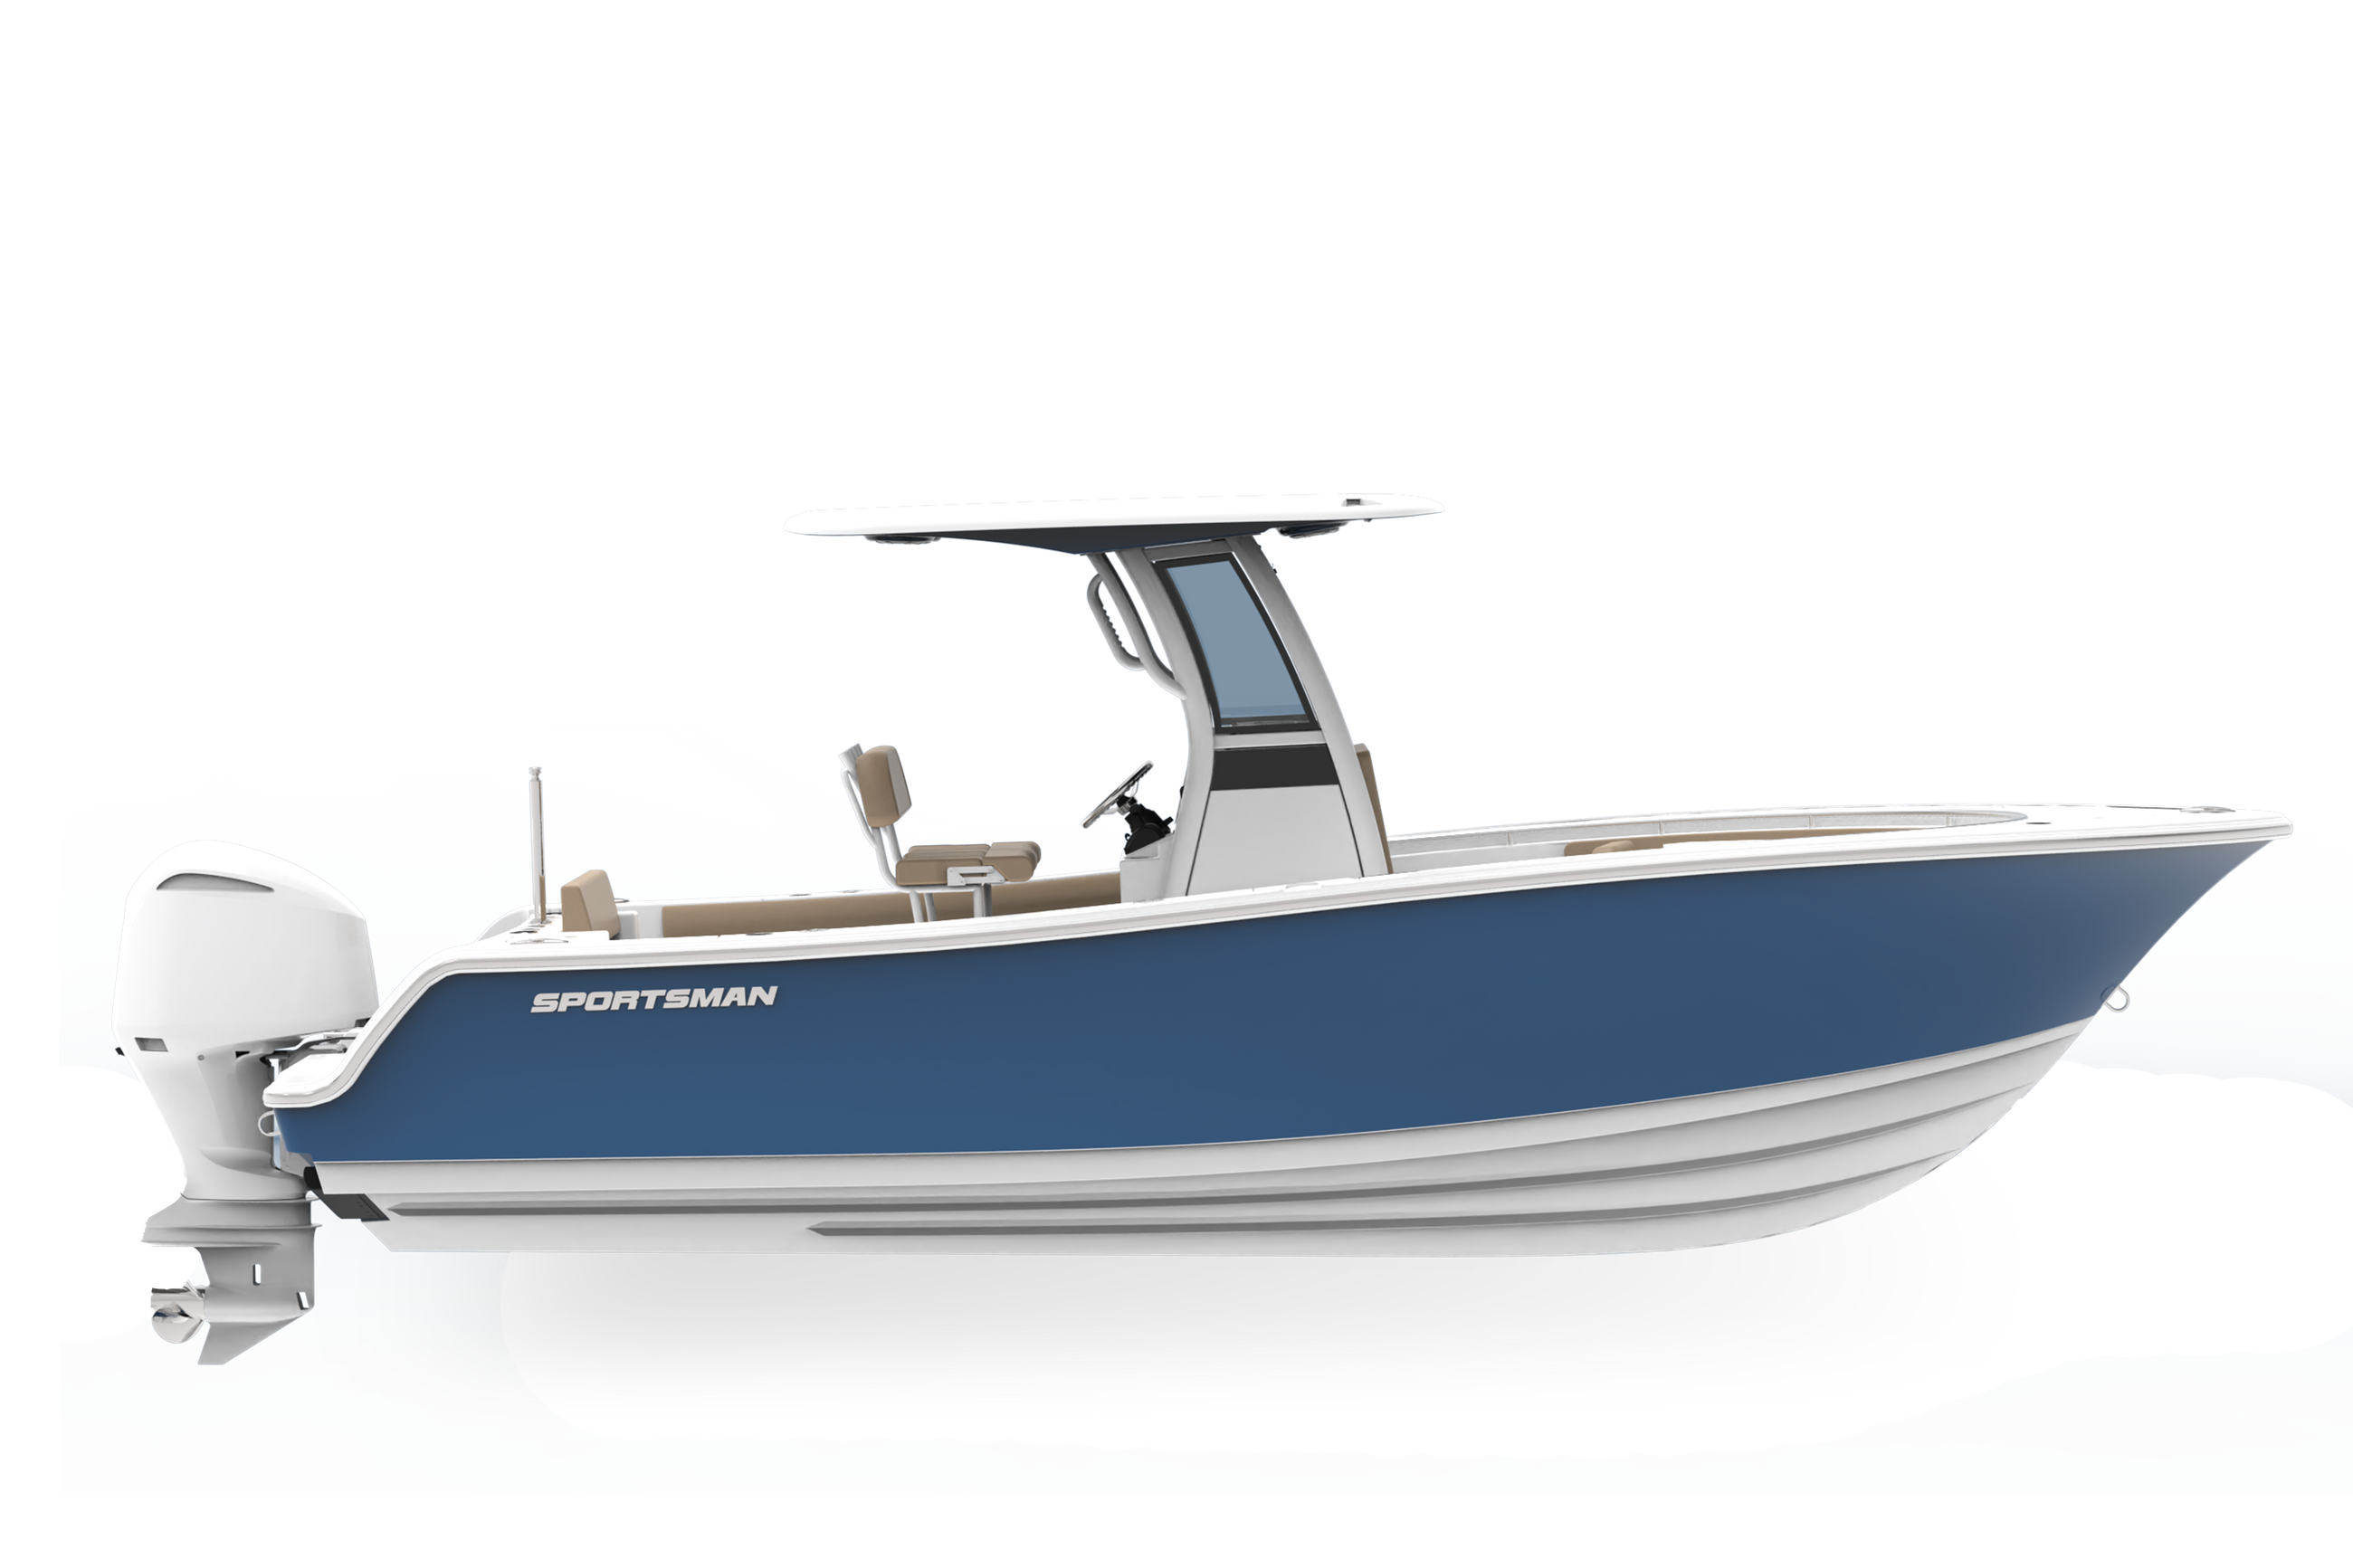
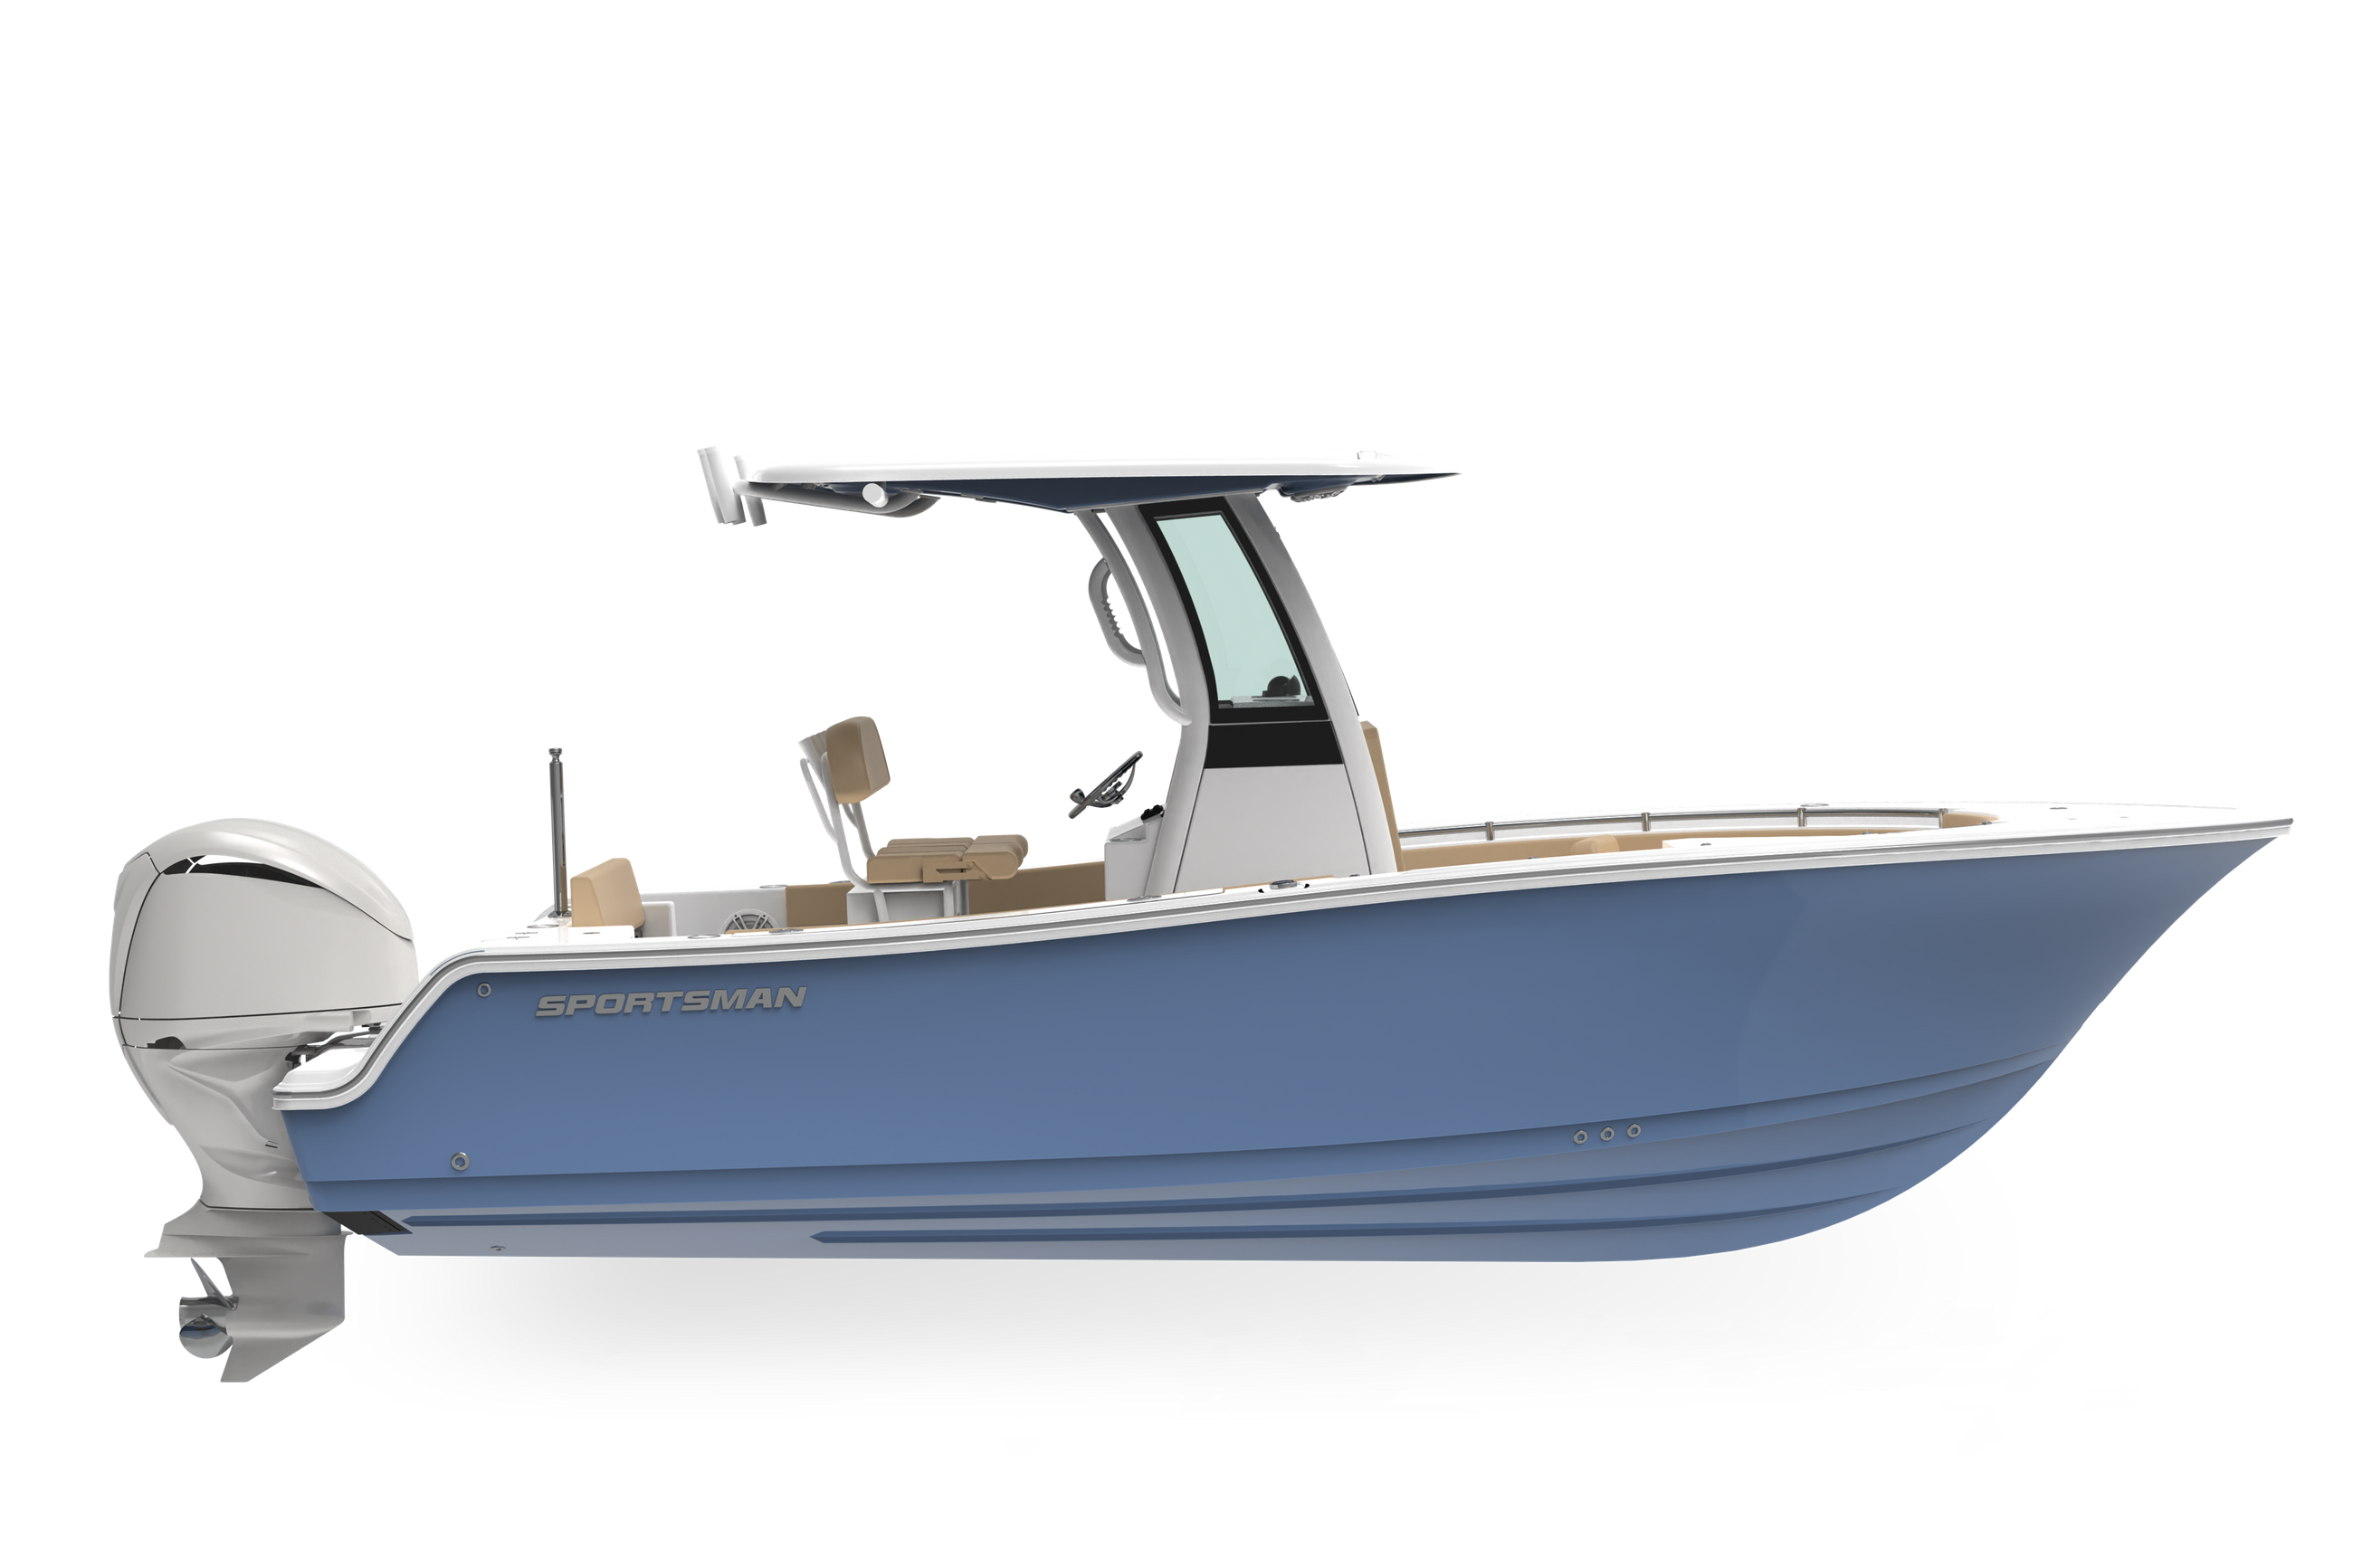
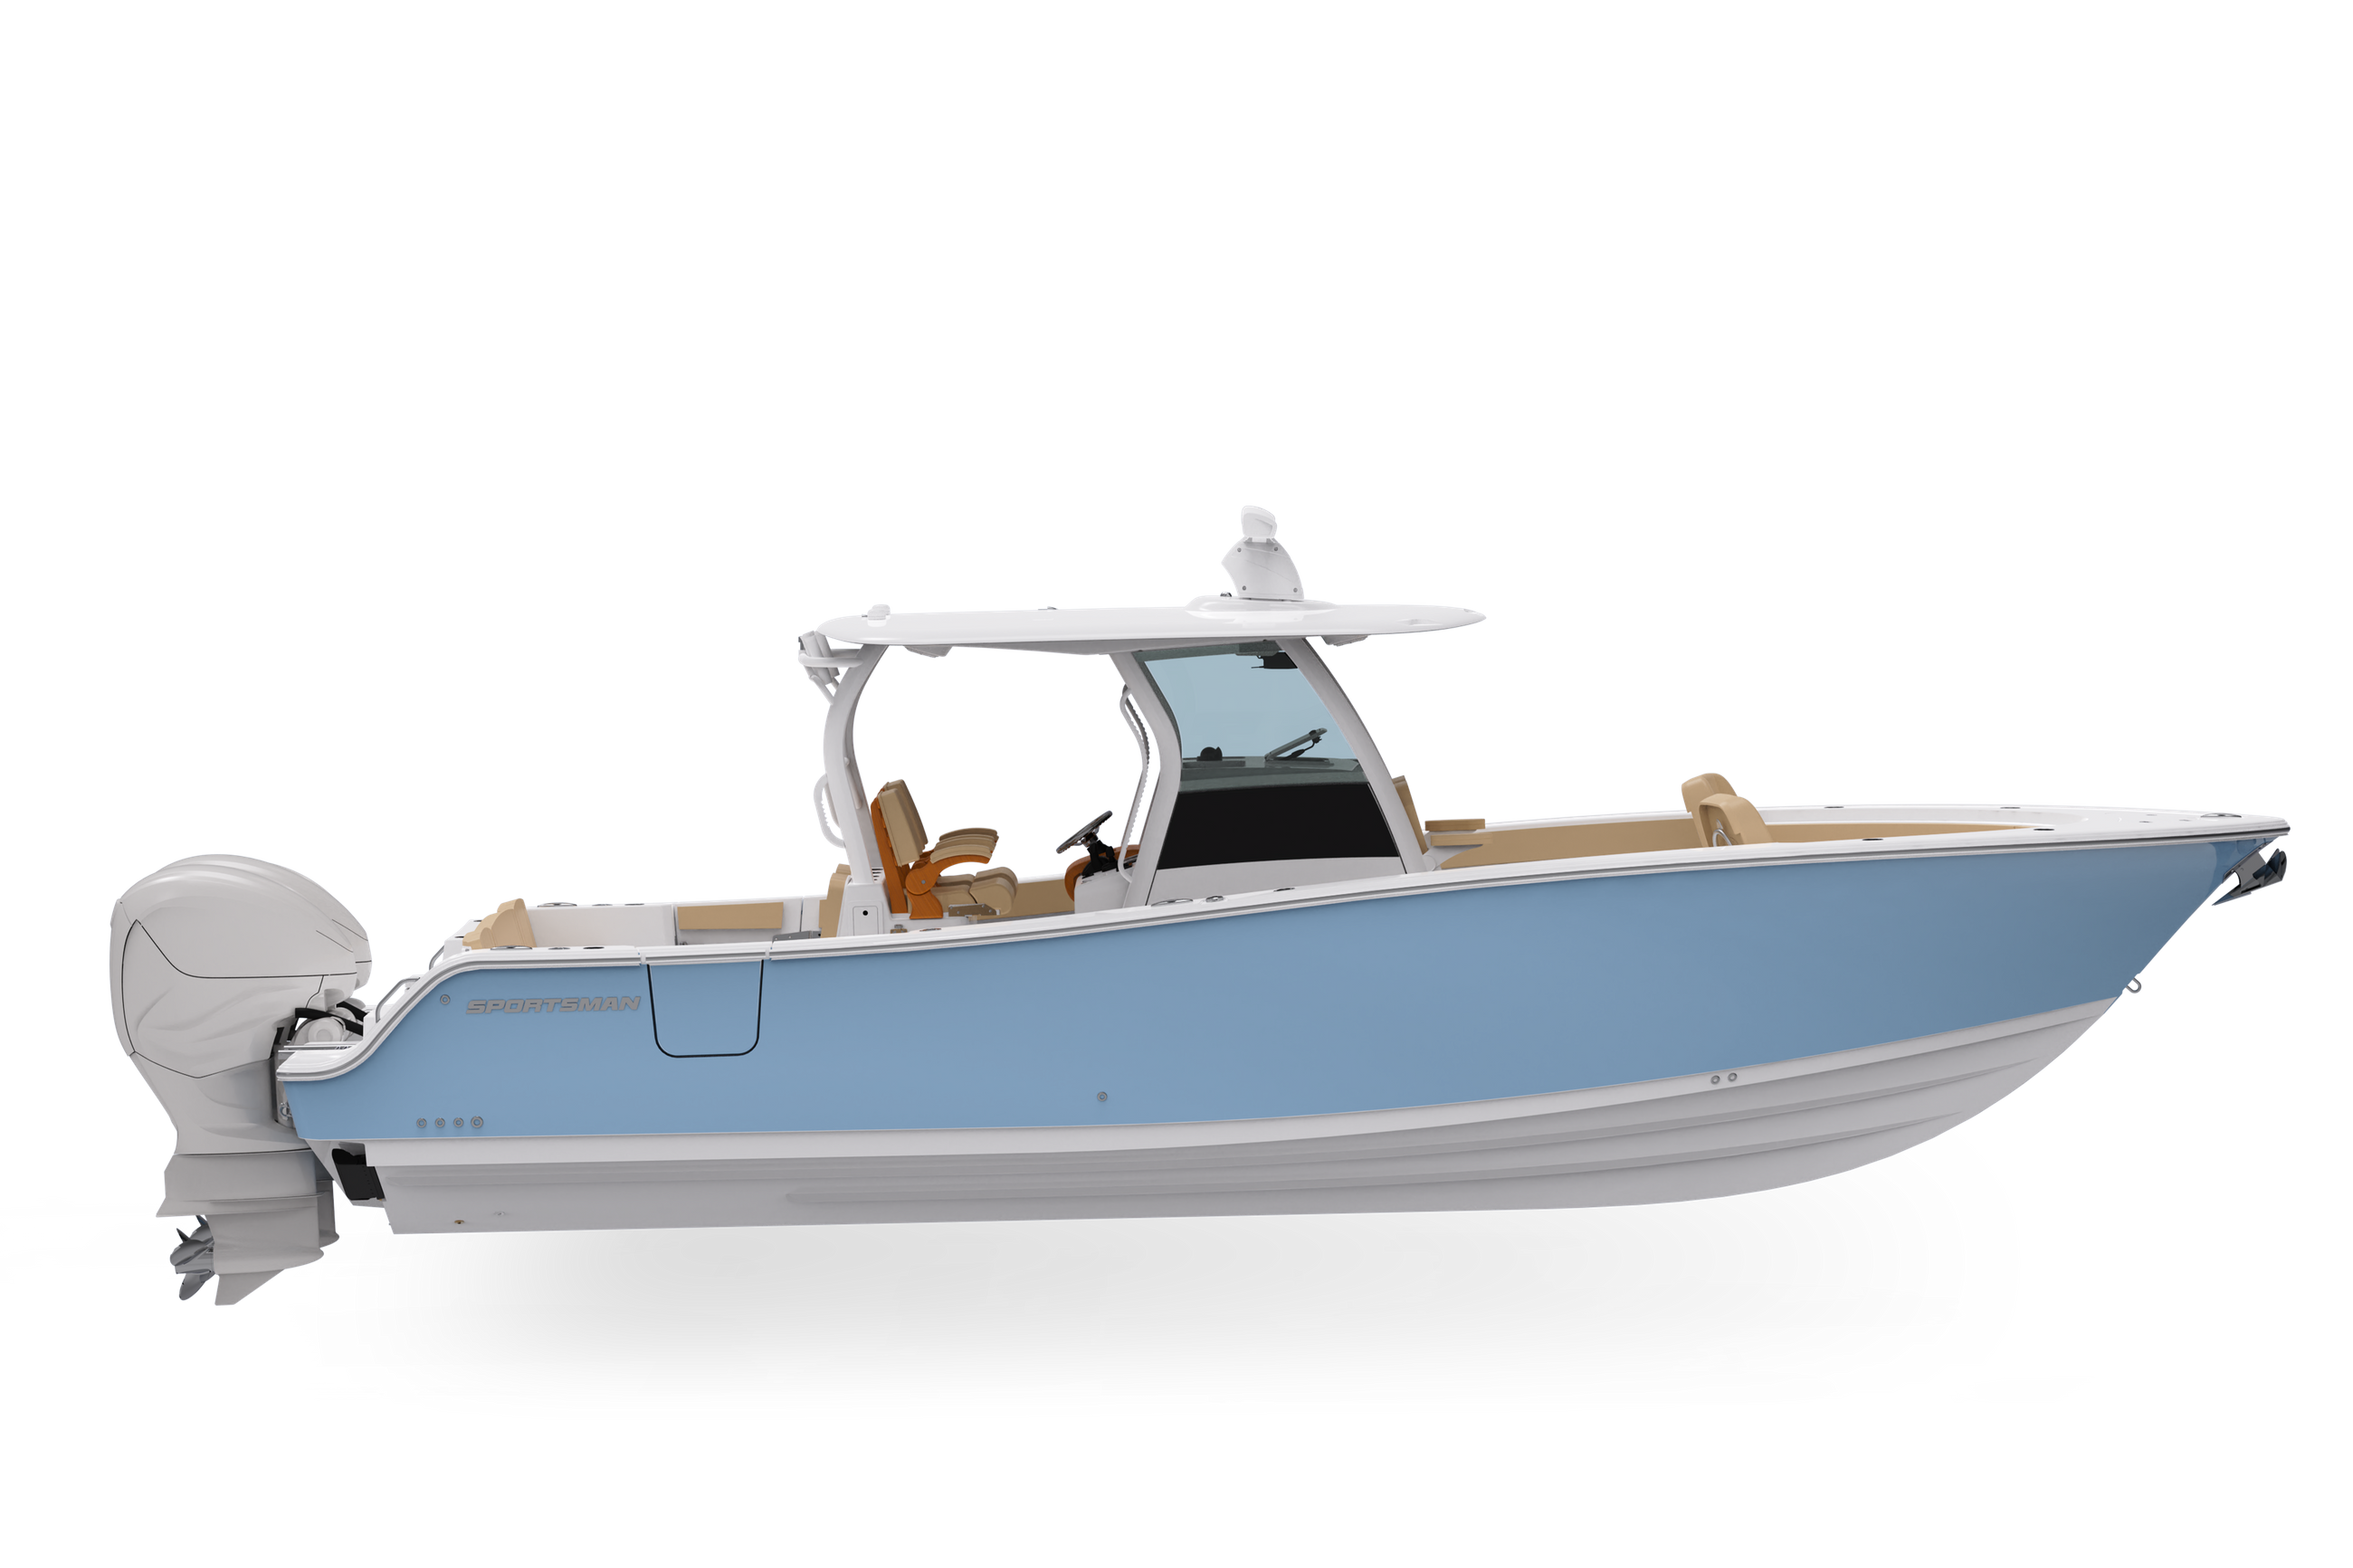
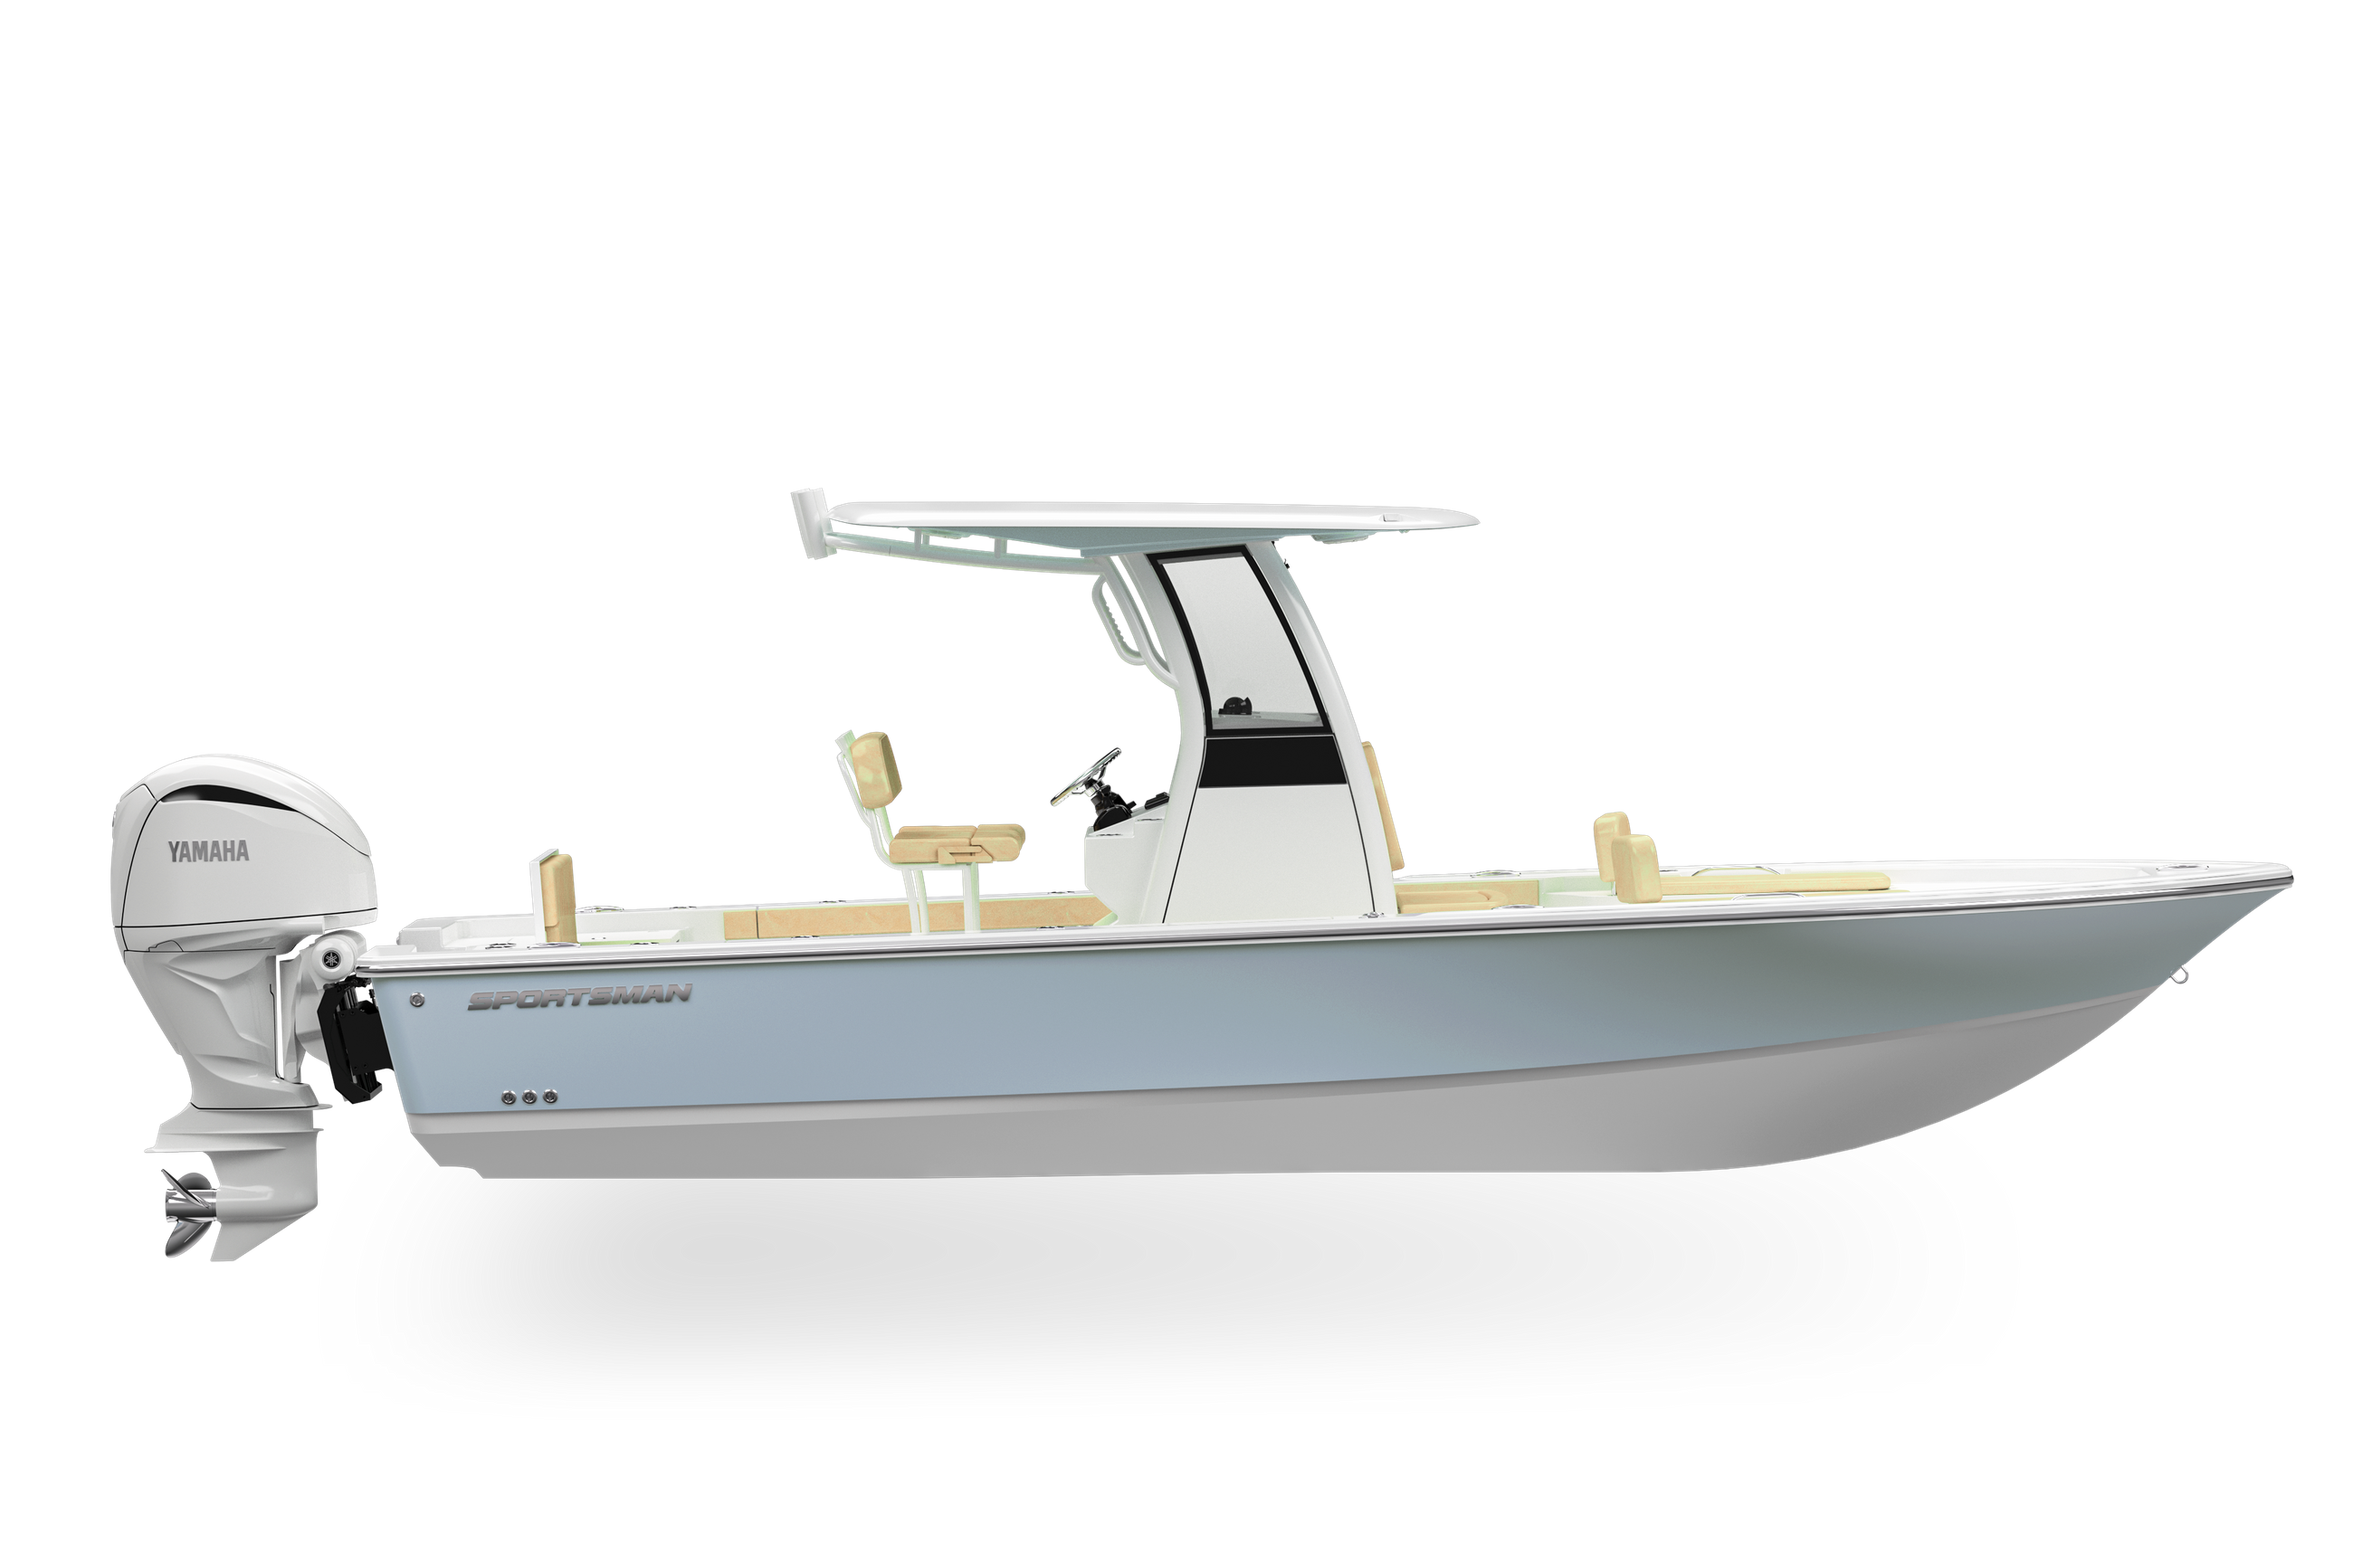
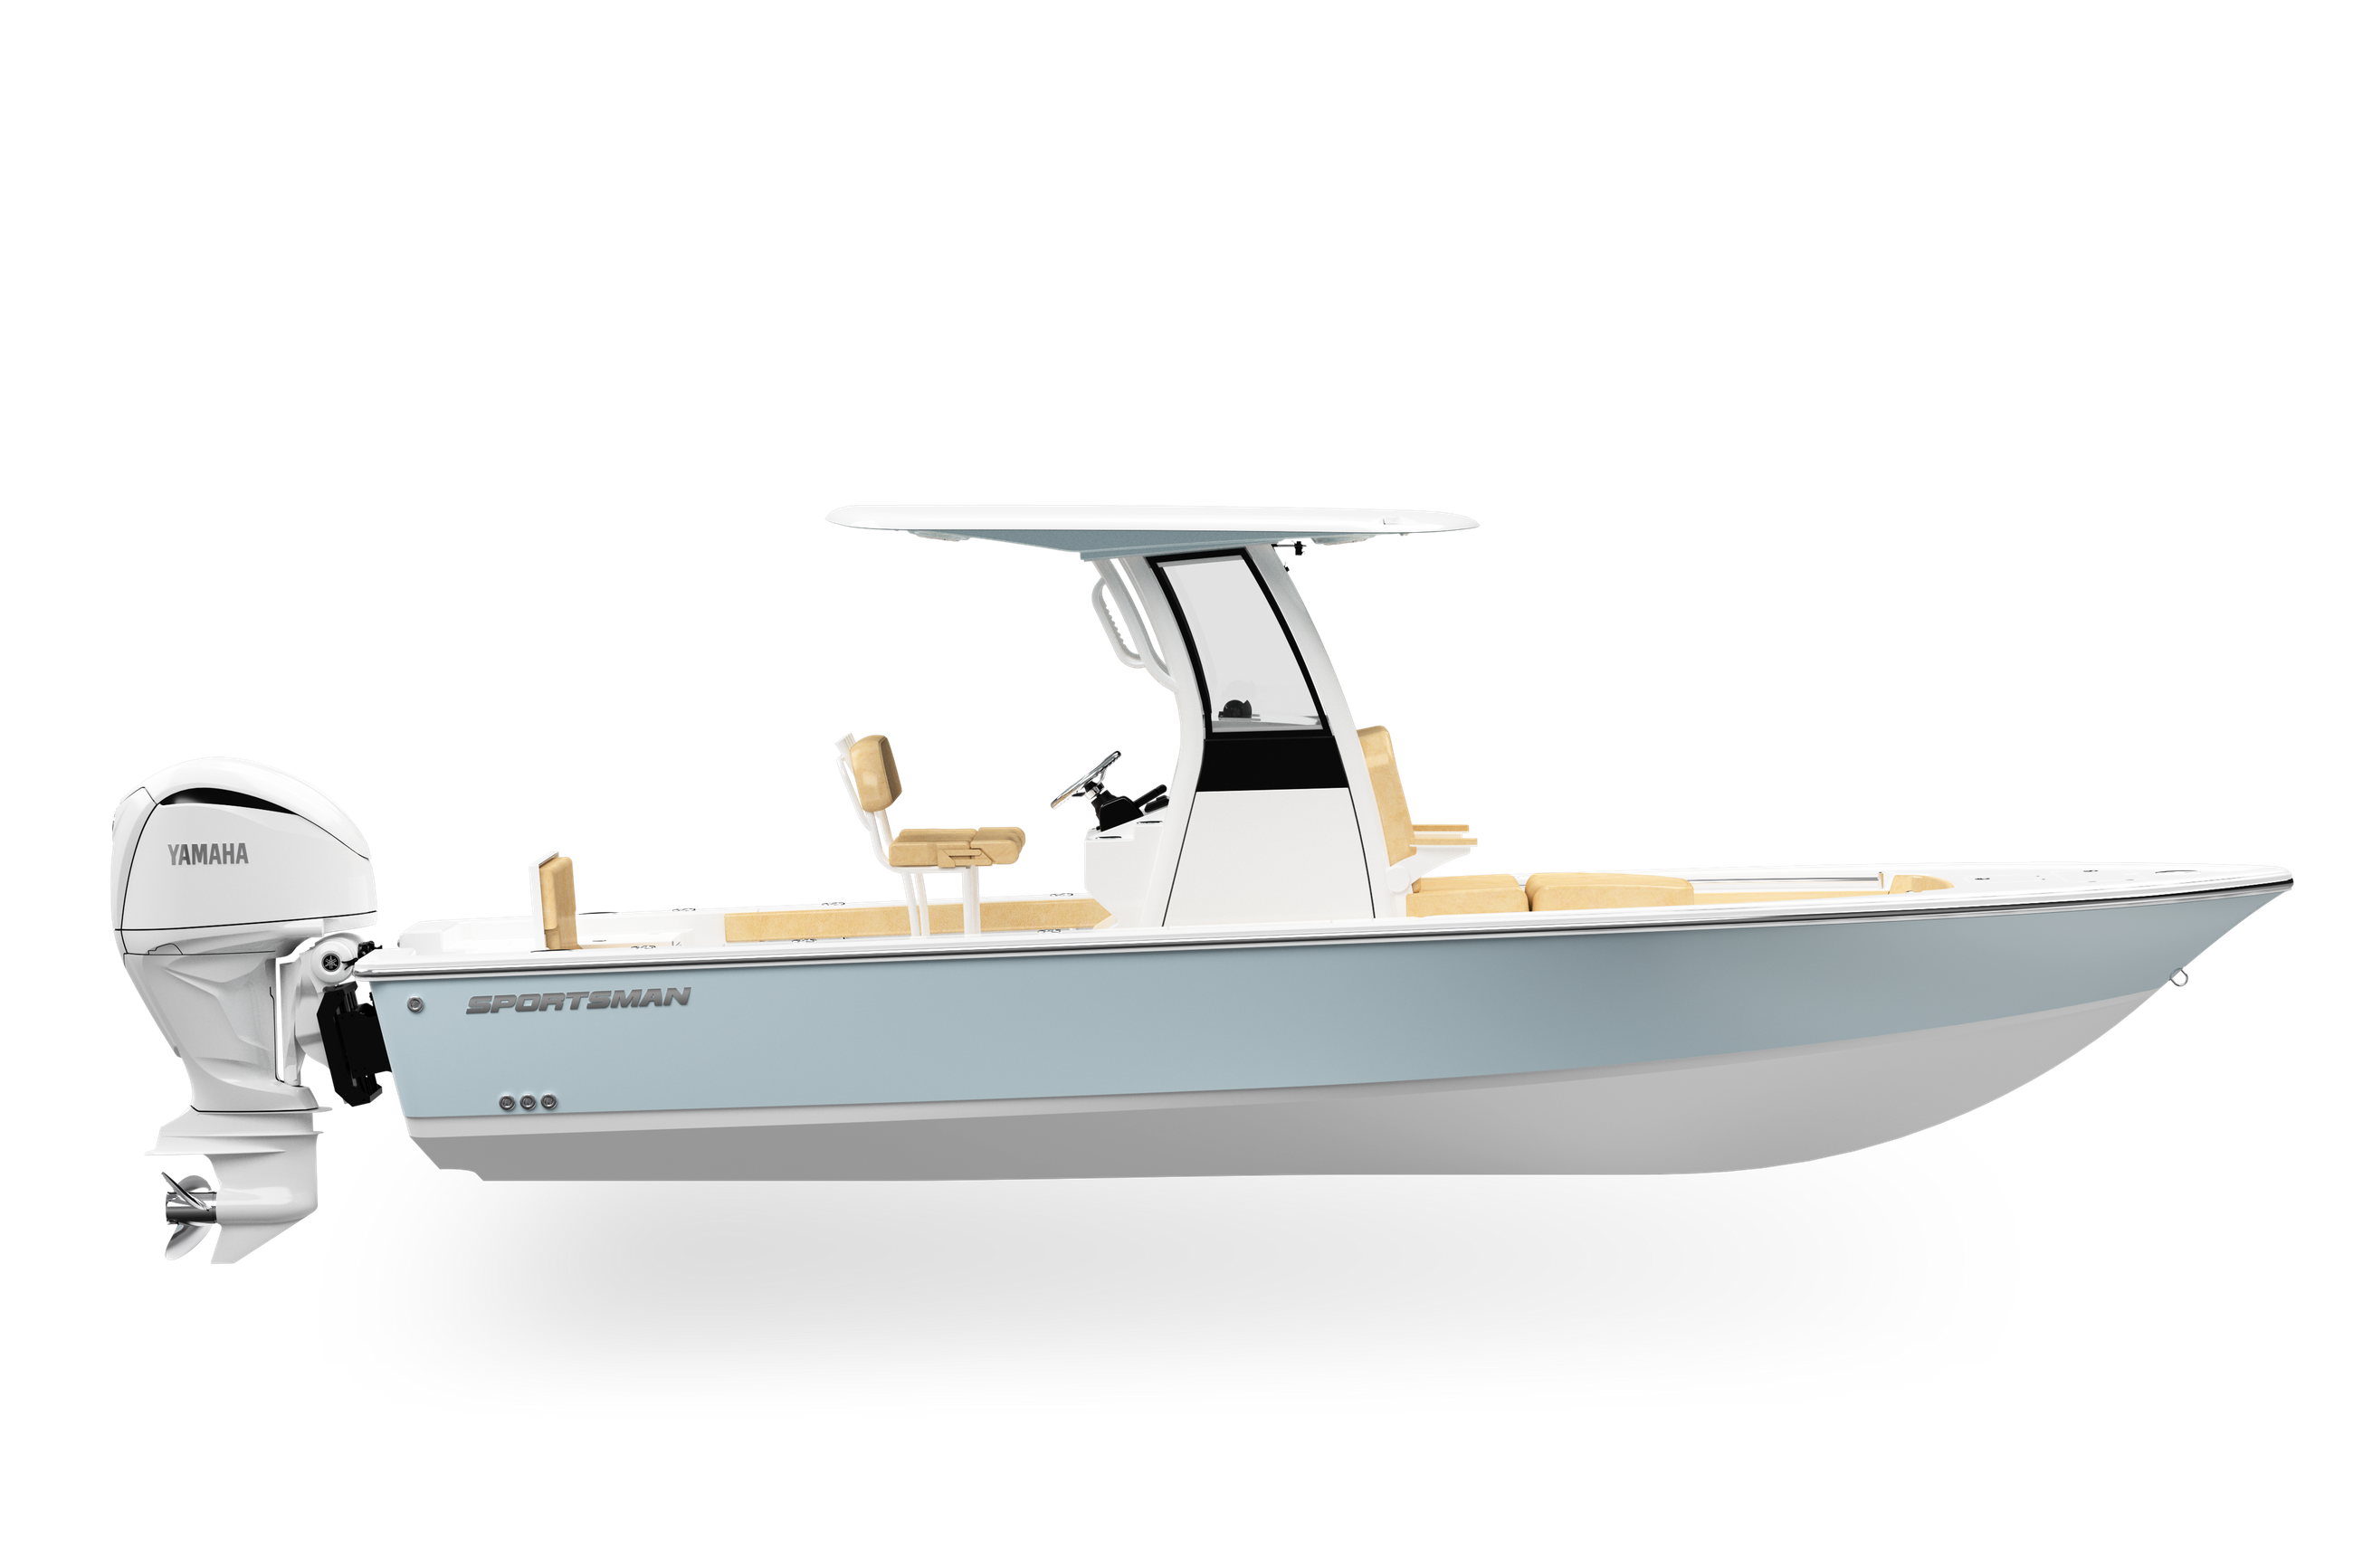
At the center of every center console is, well, the center console. It’s what gives the entire category its name and is the one defining aspect of every Sportsman Boat. Today, we dive deep into how we have revolutionized our segment in ergonomics, design, innovation and esthetics. Stick around as we go Behind the Glass.
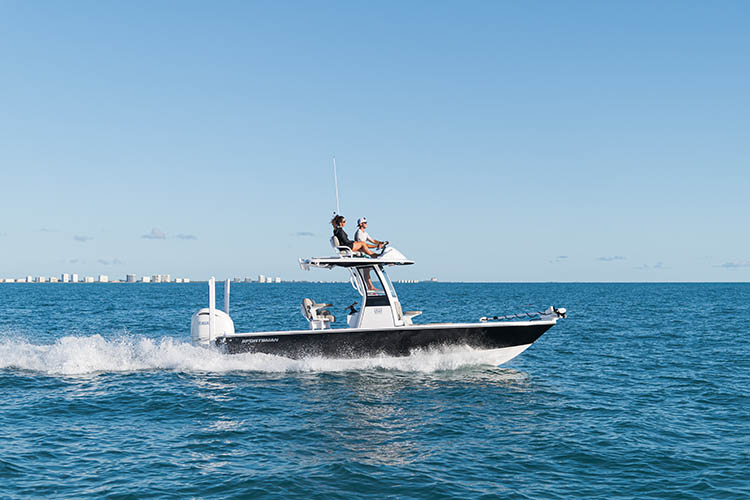
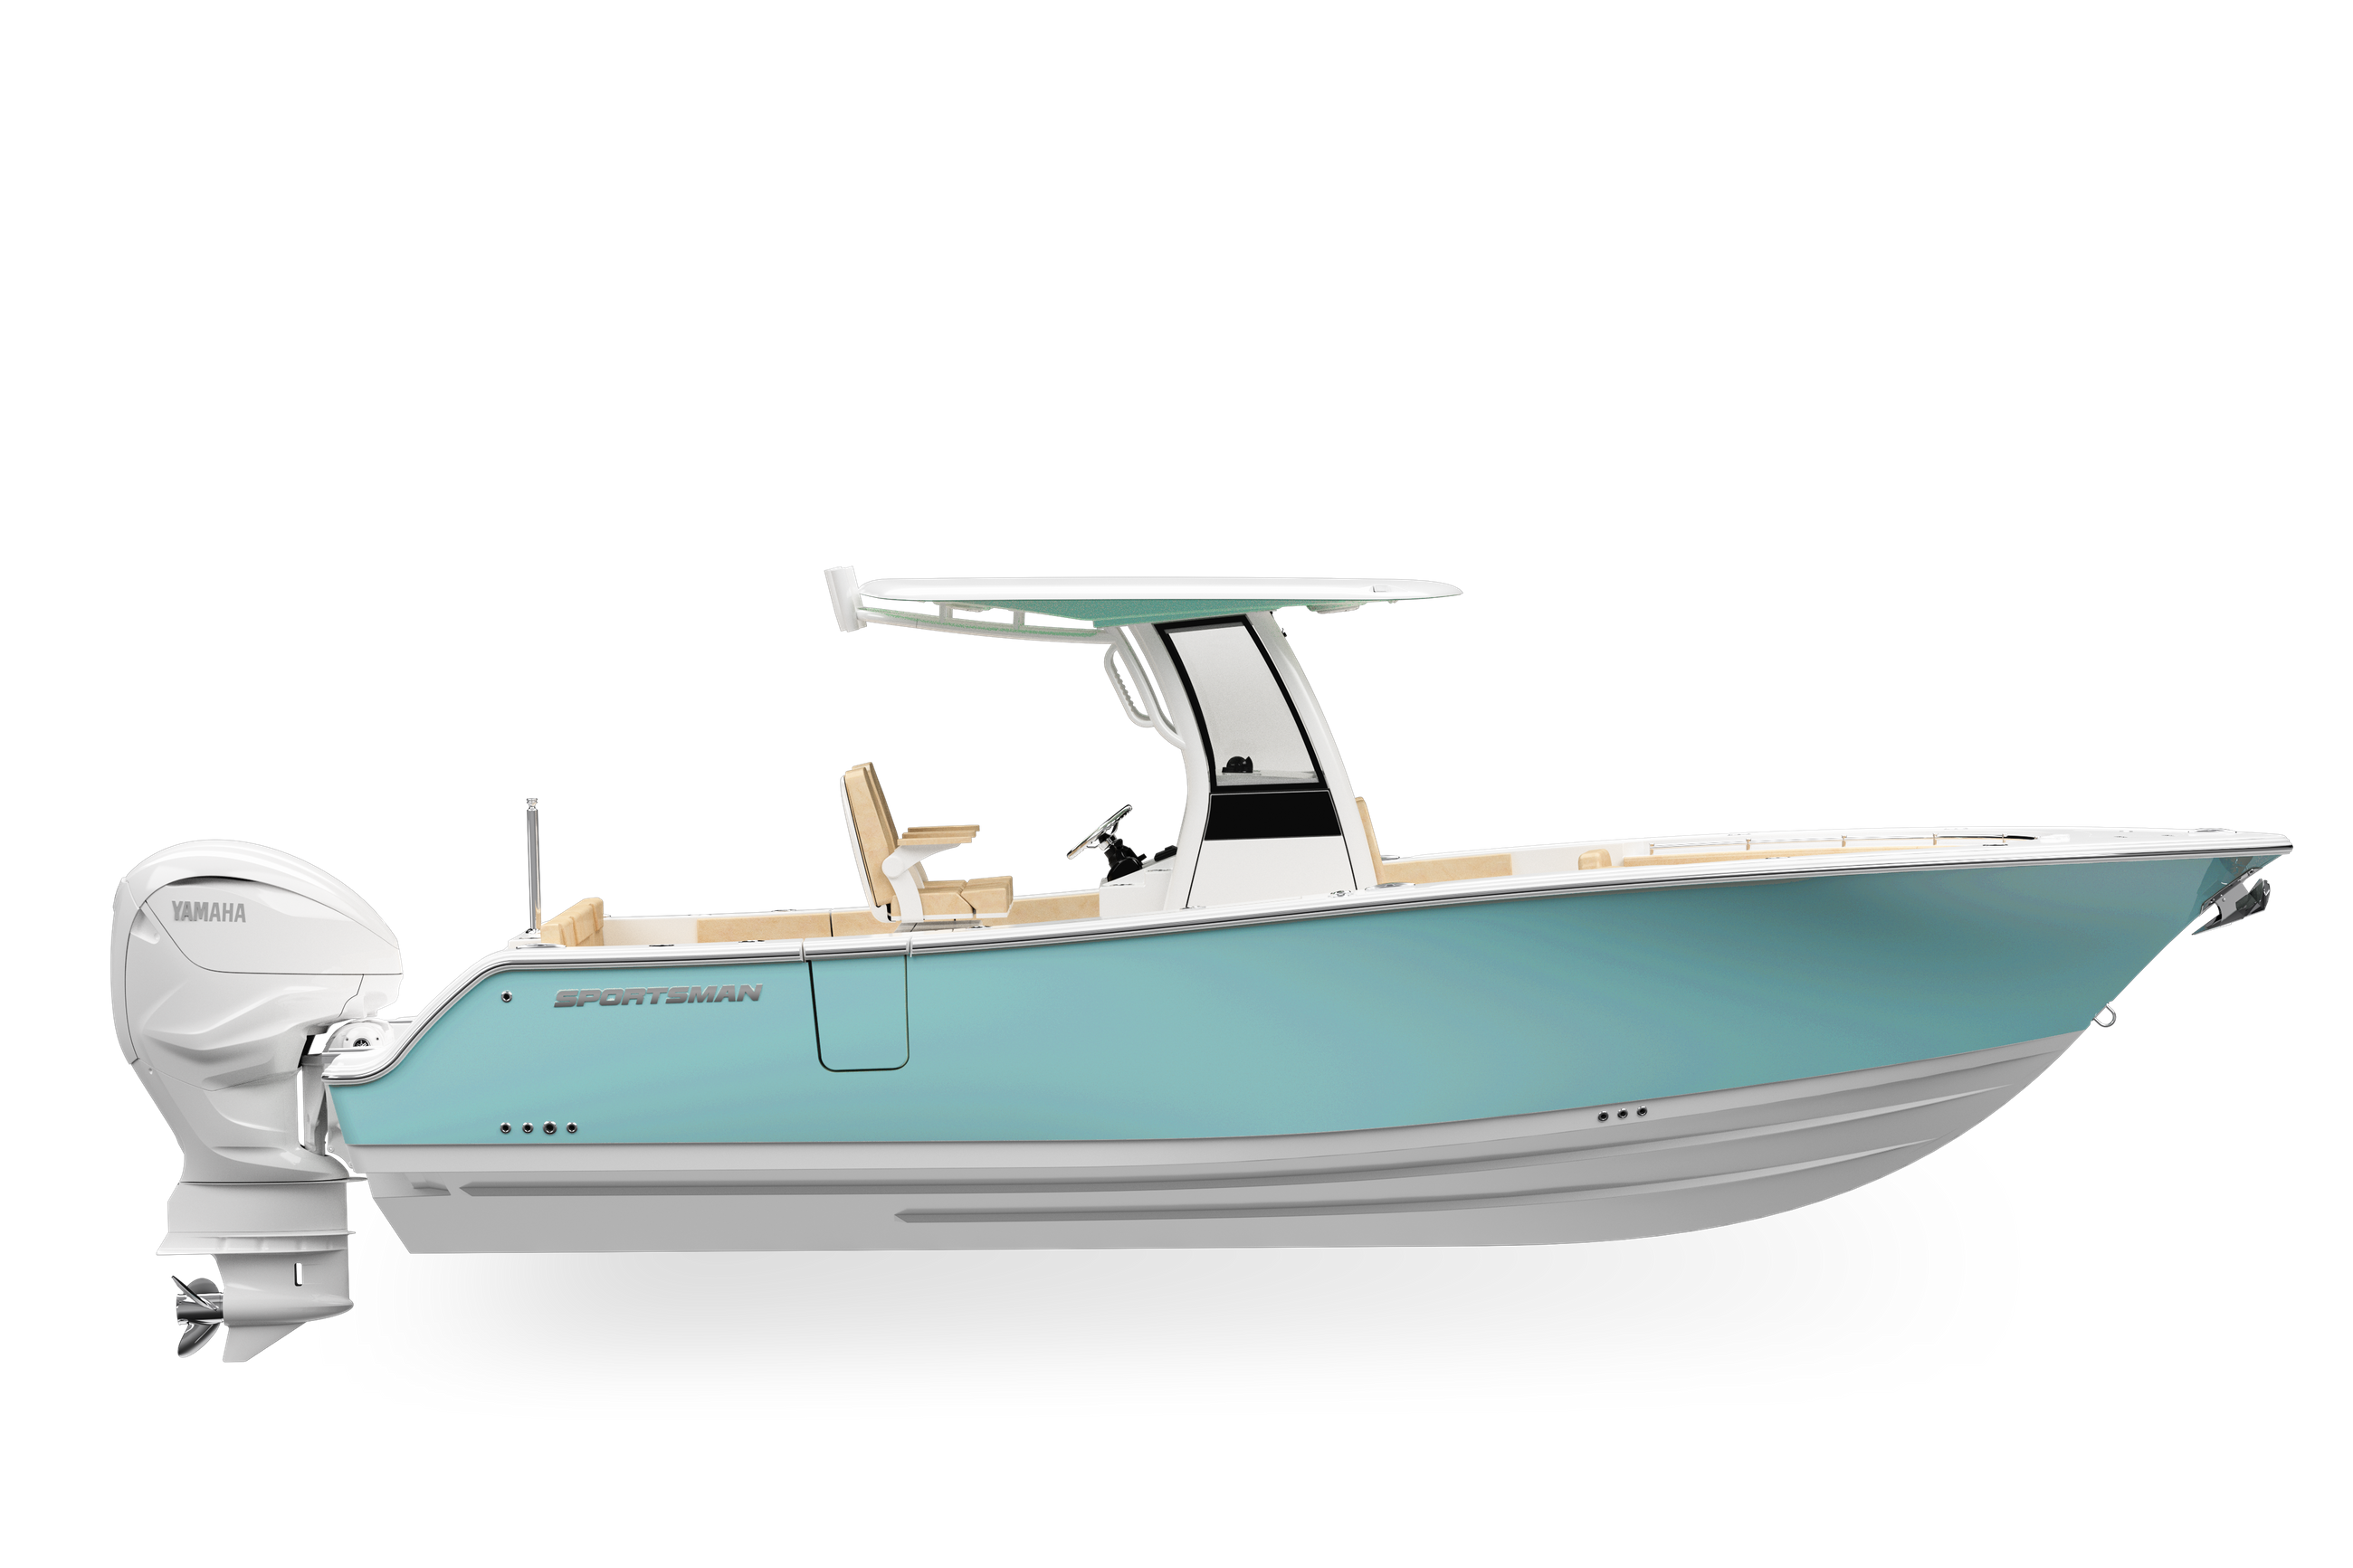
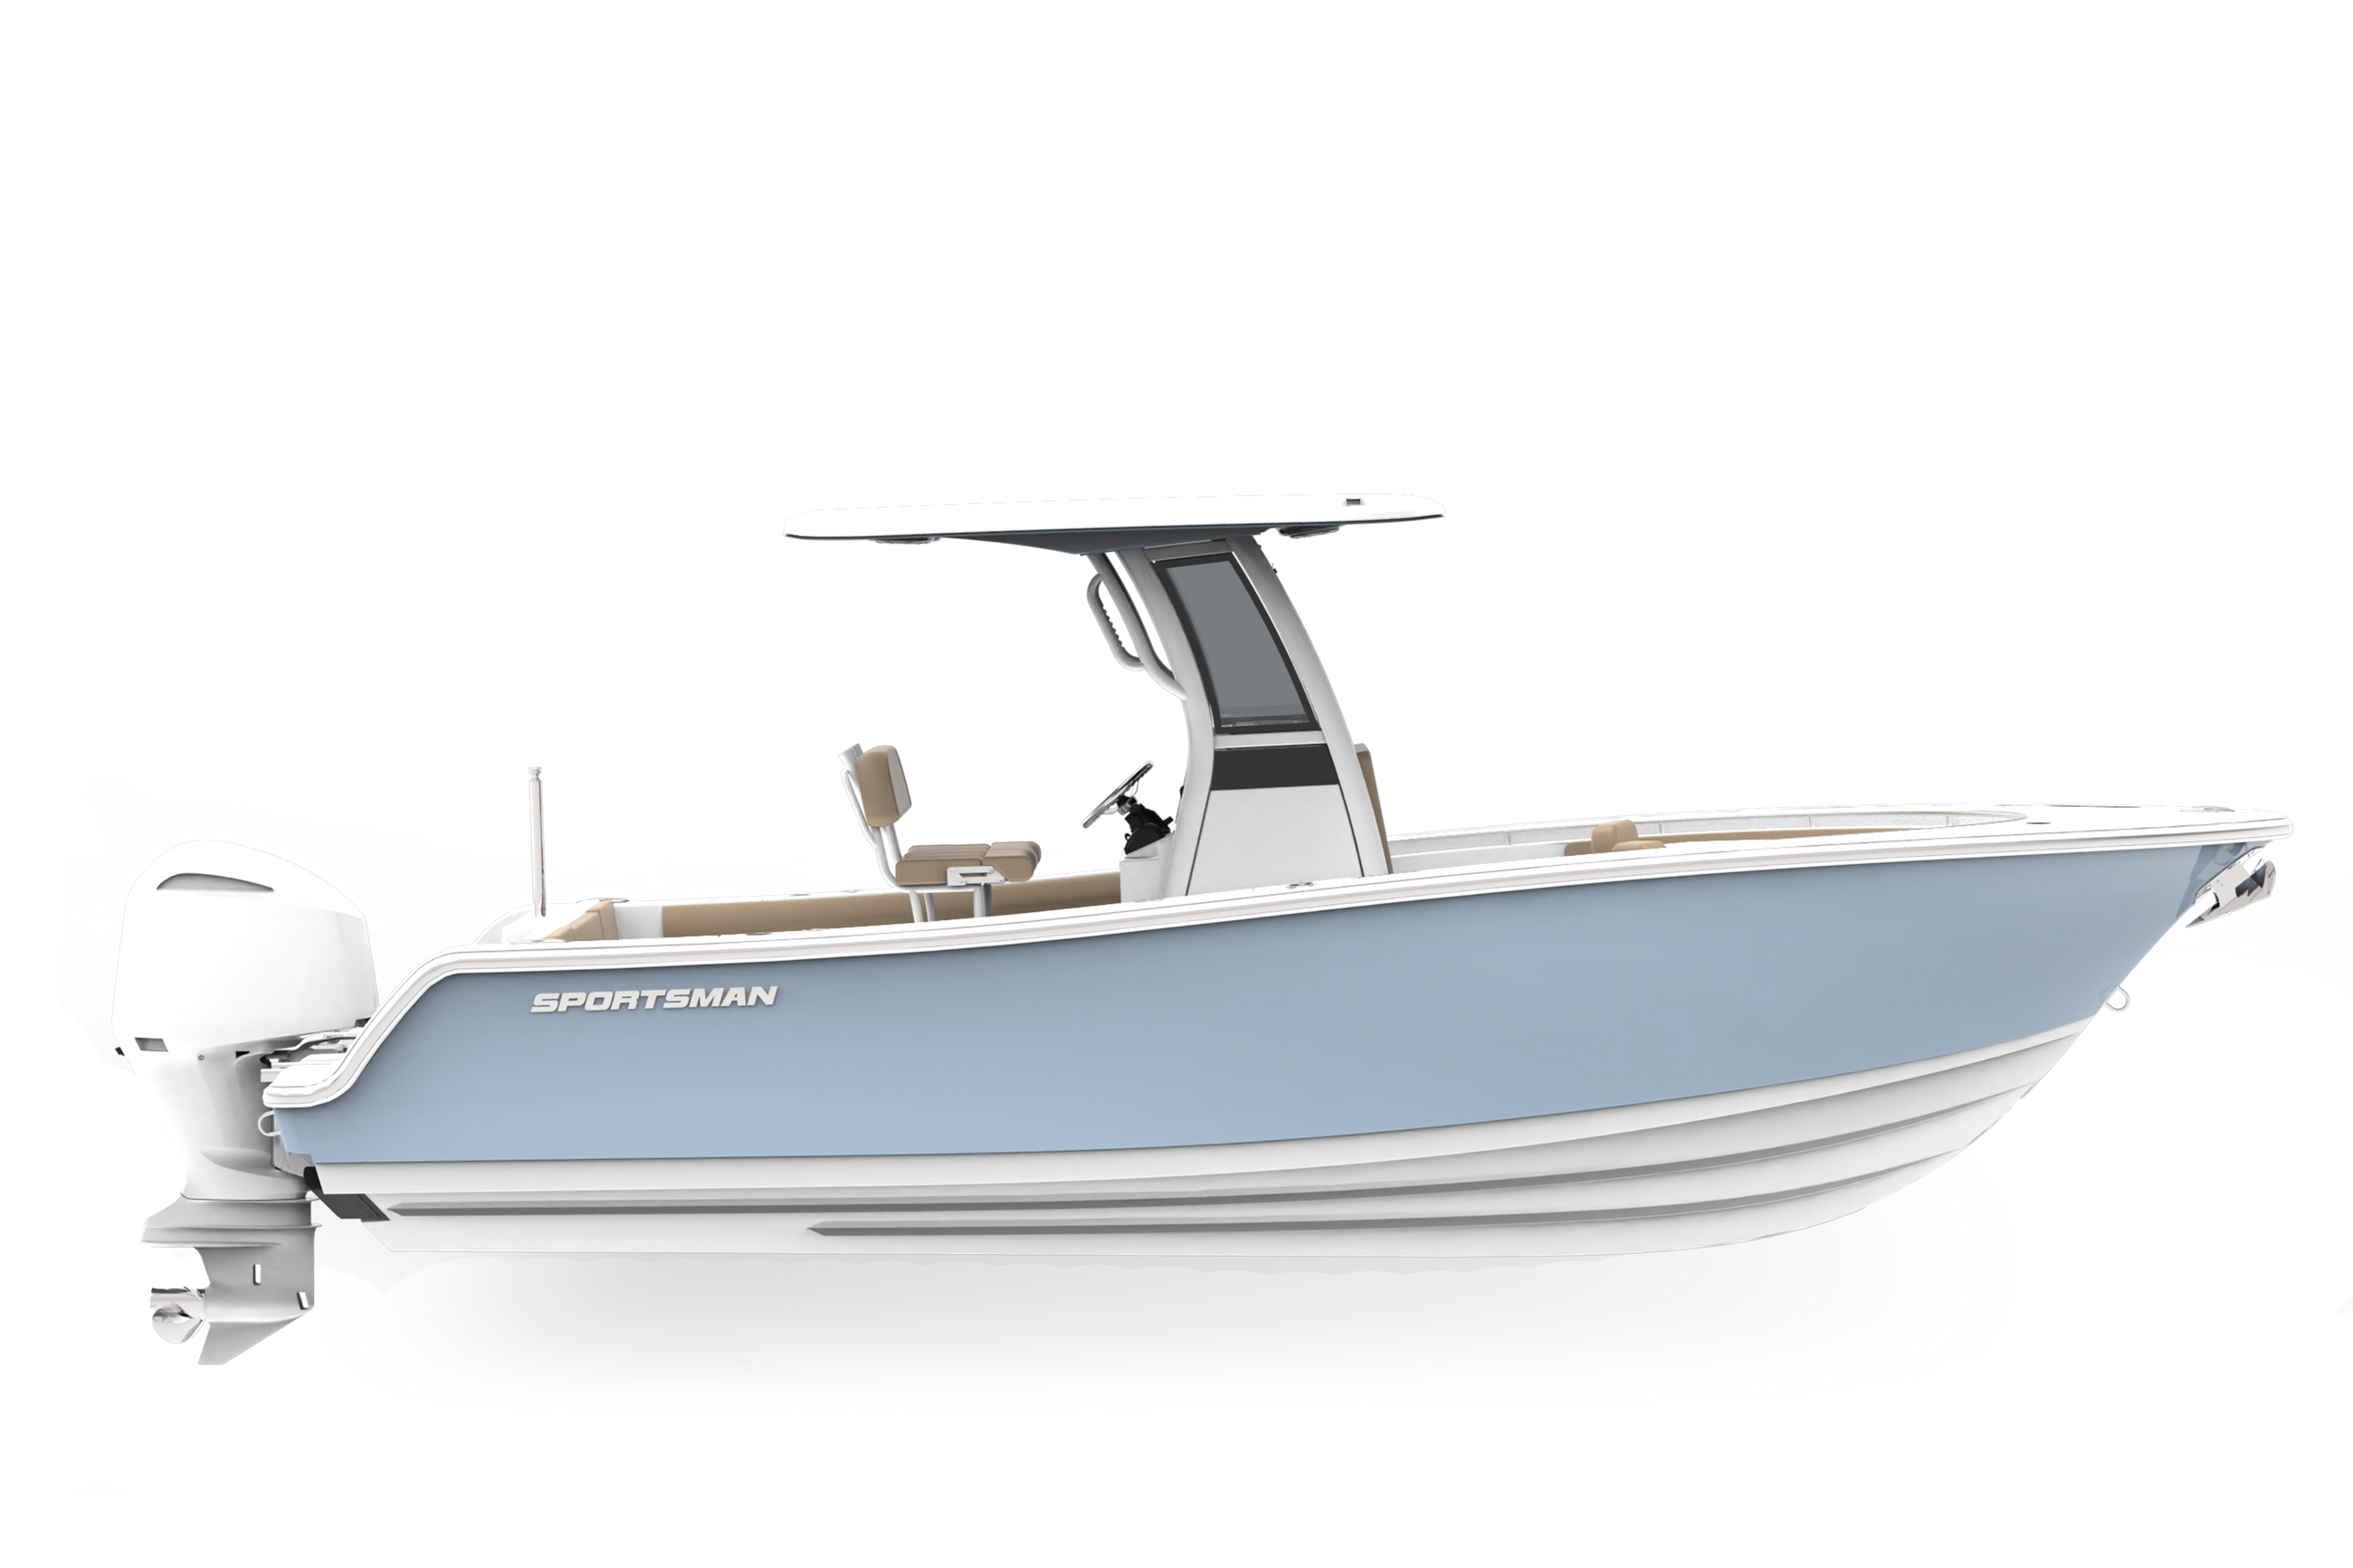
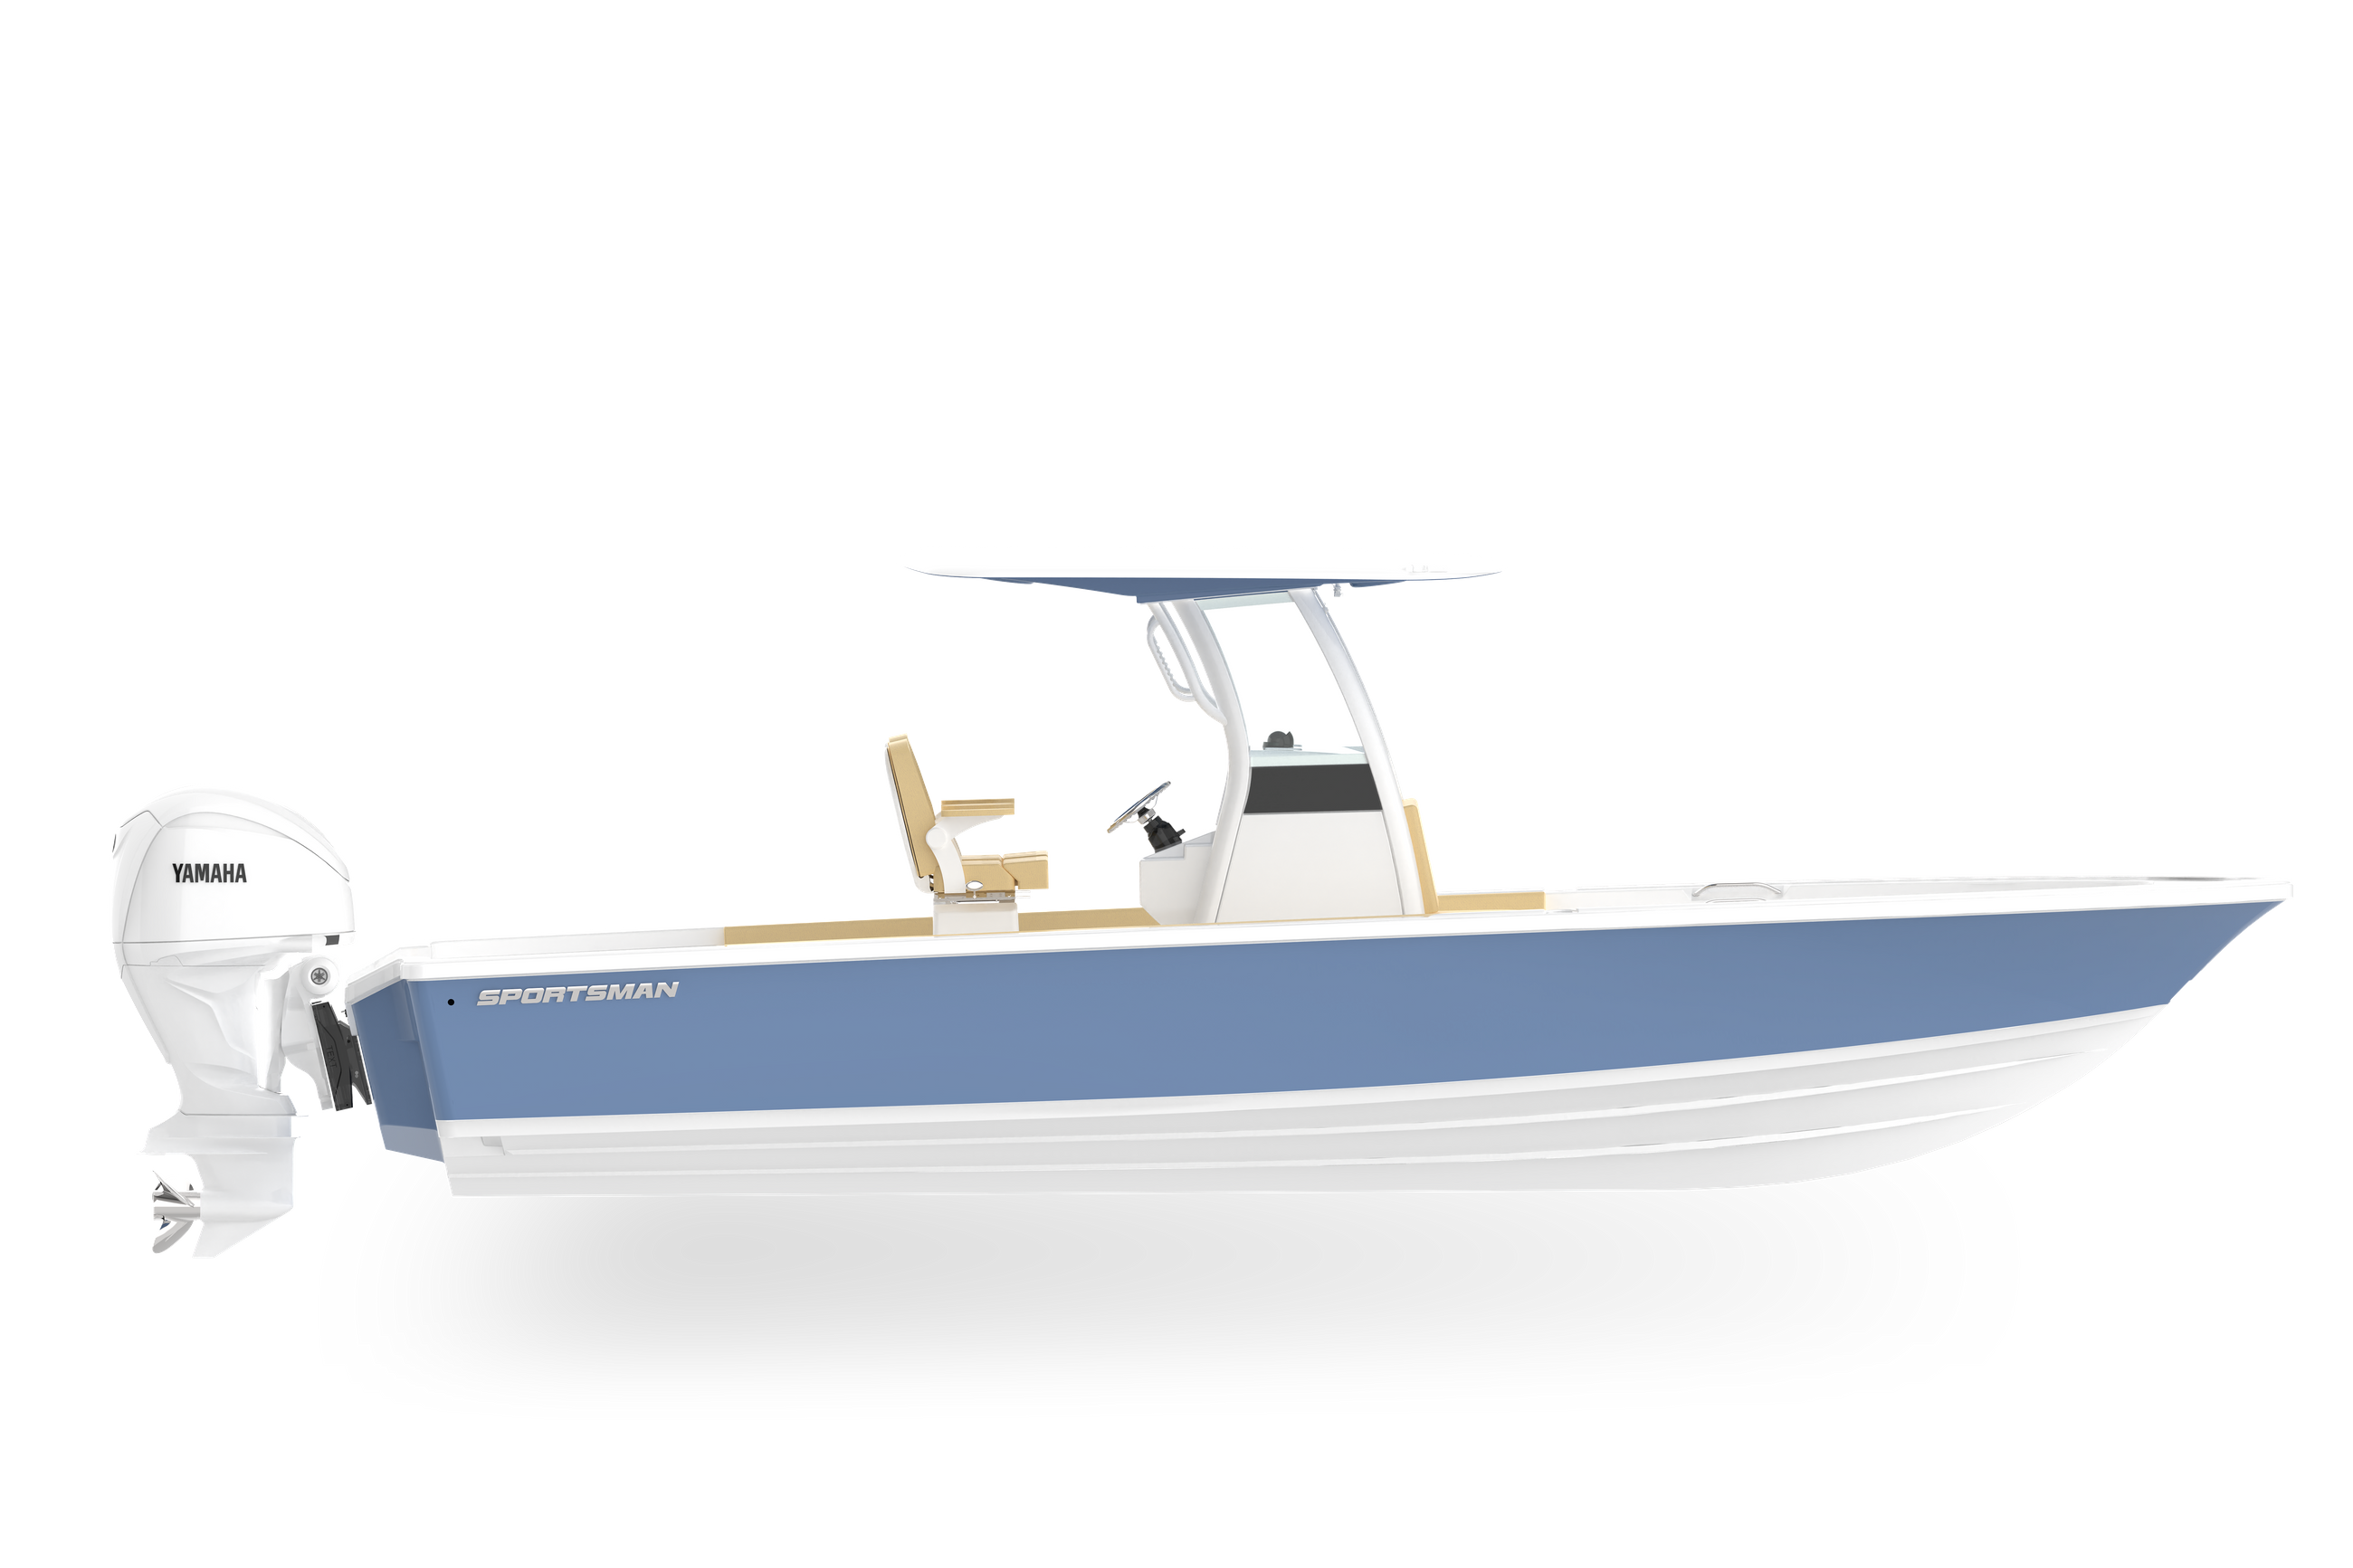
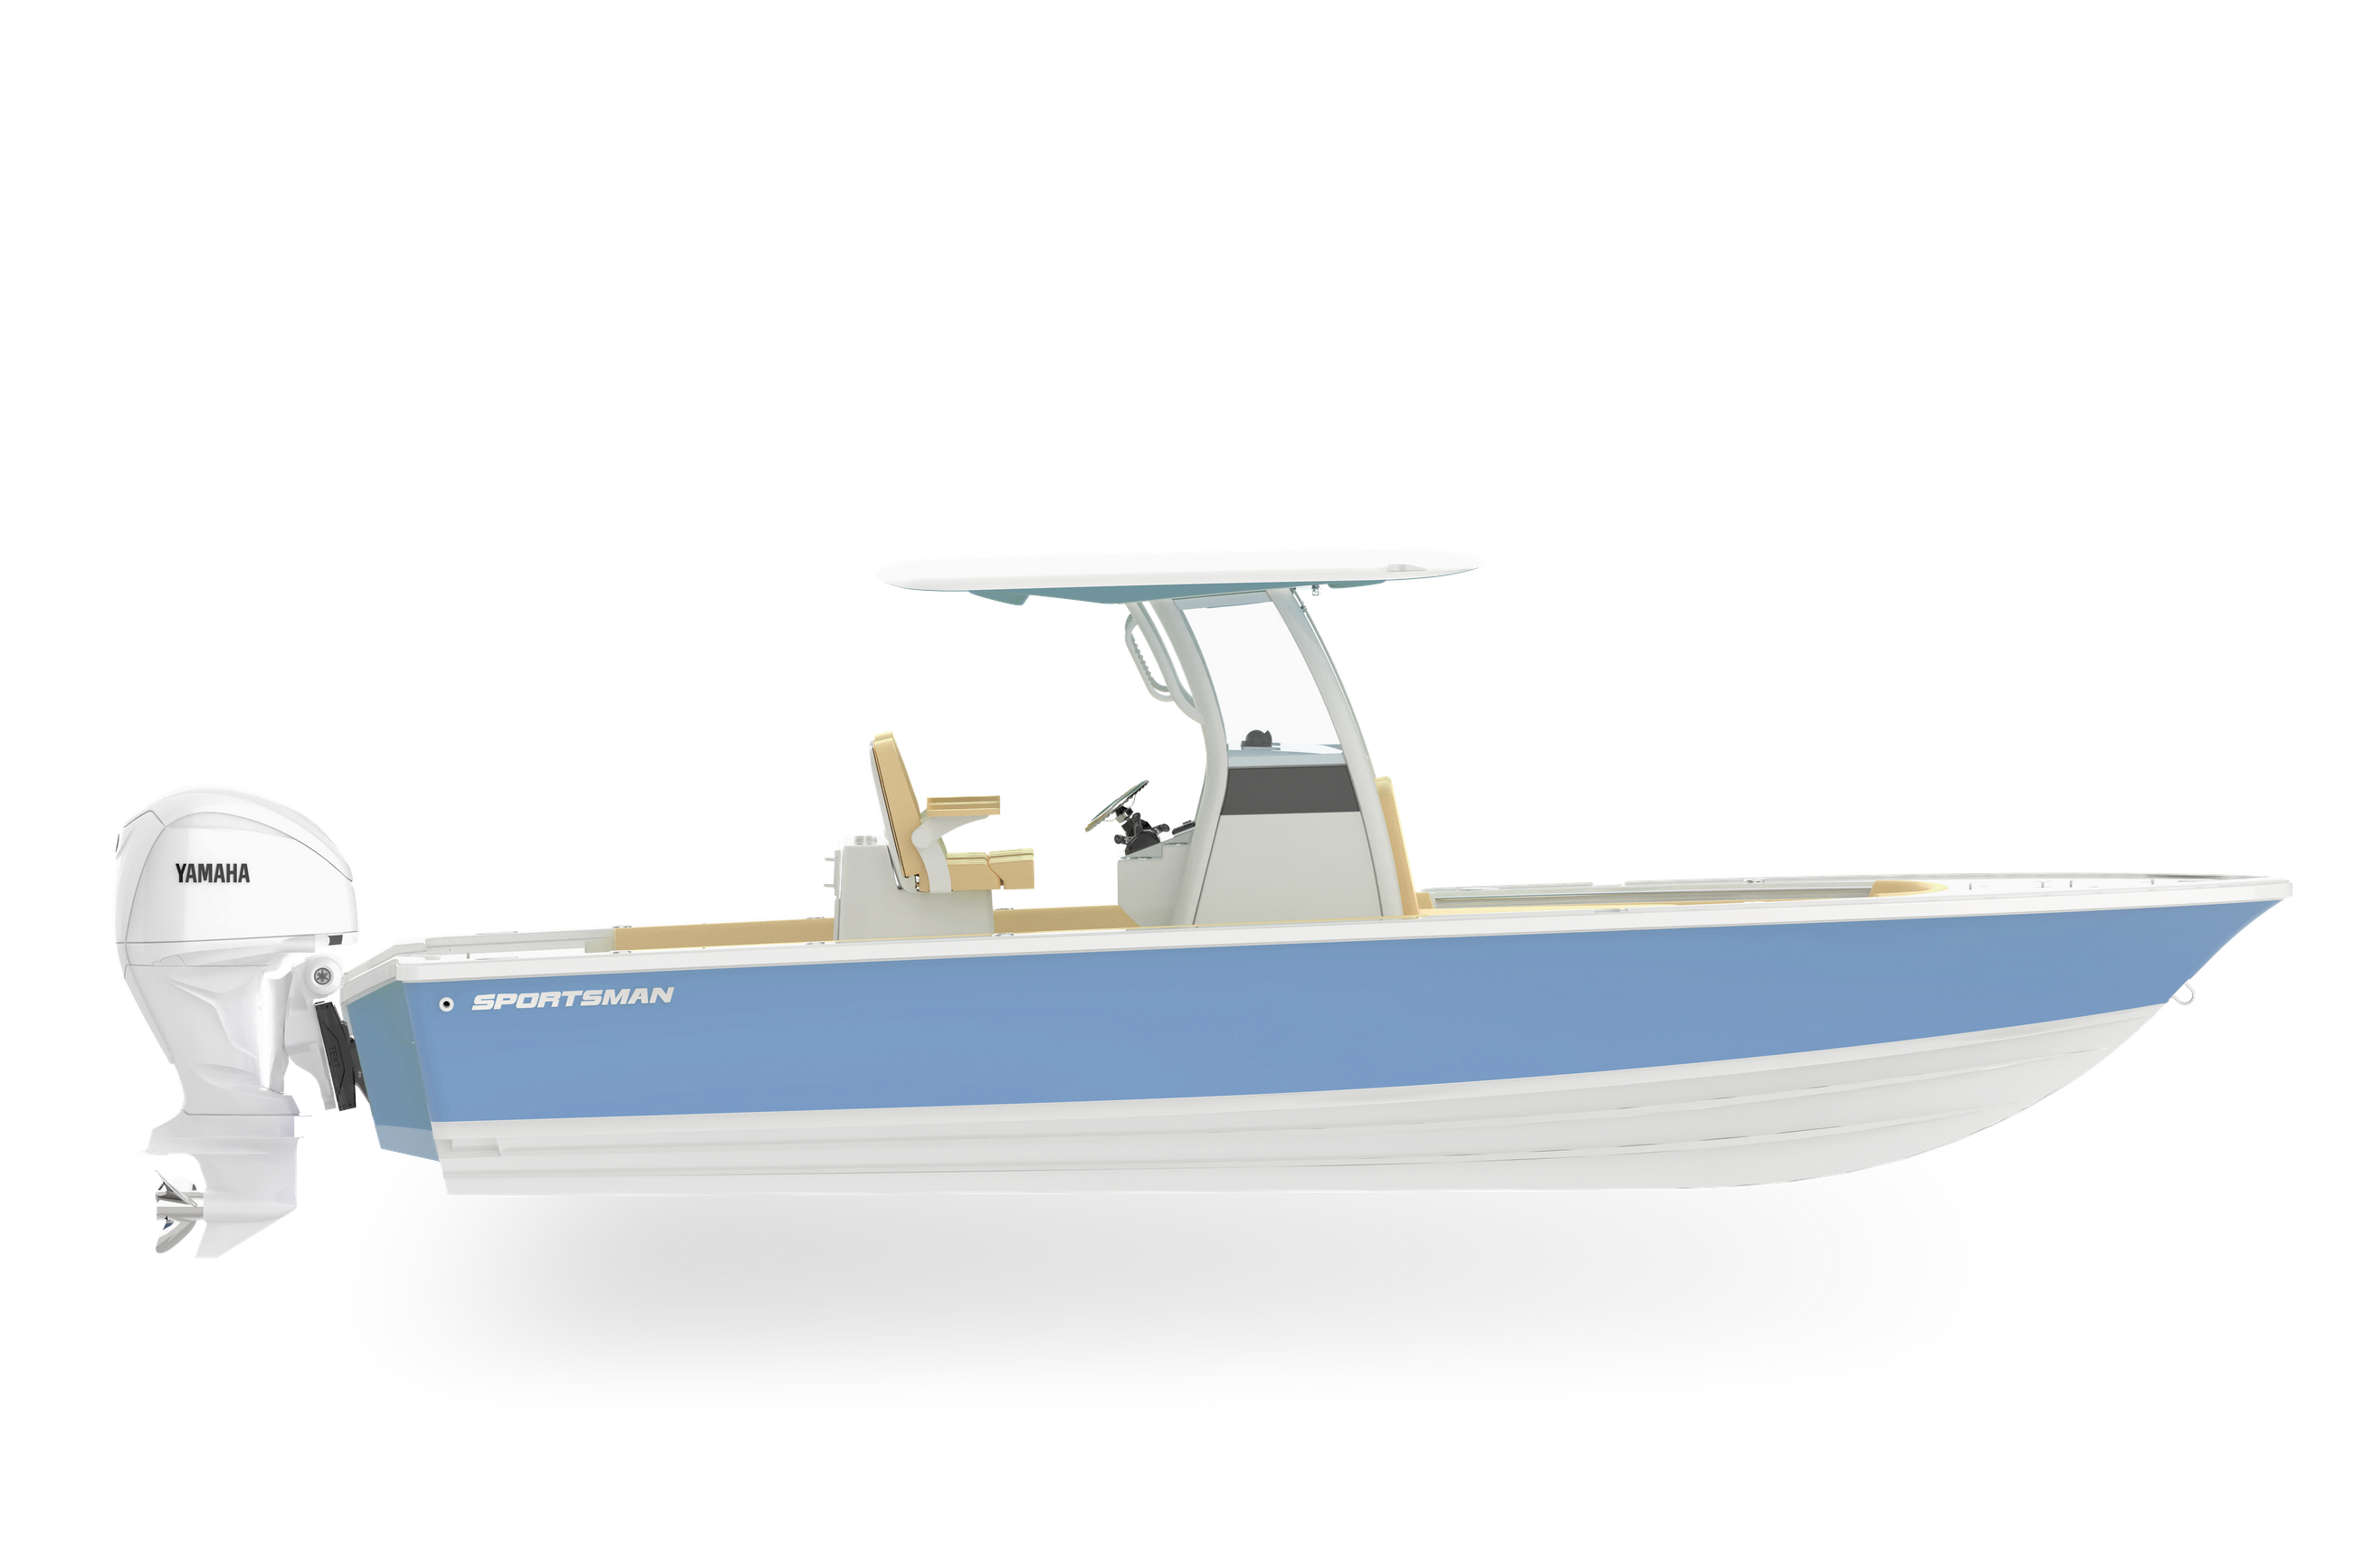
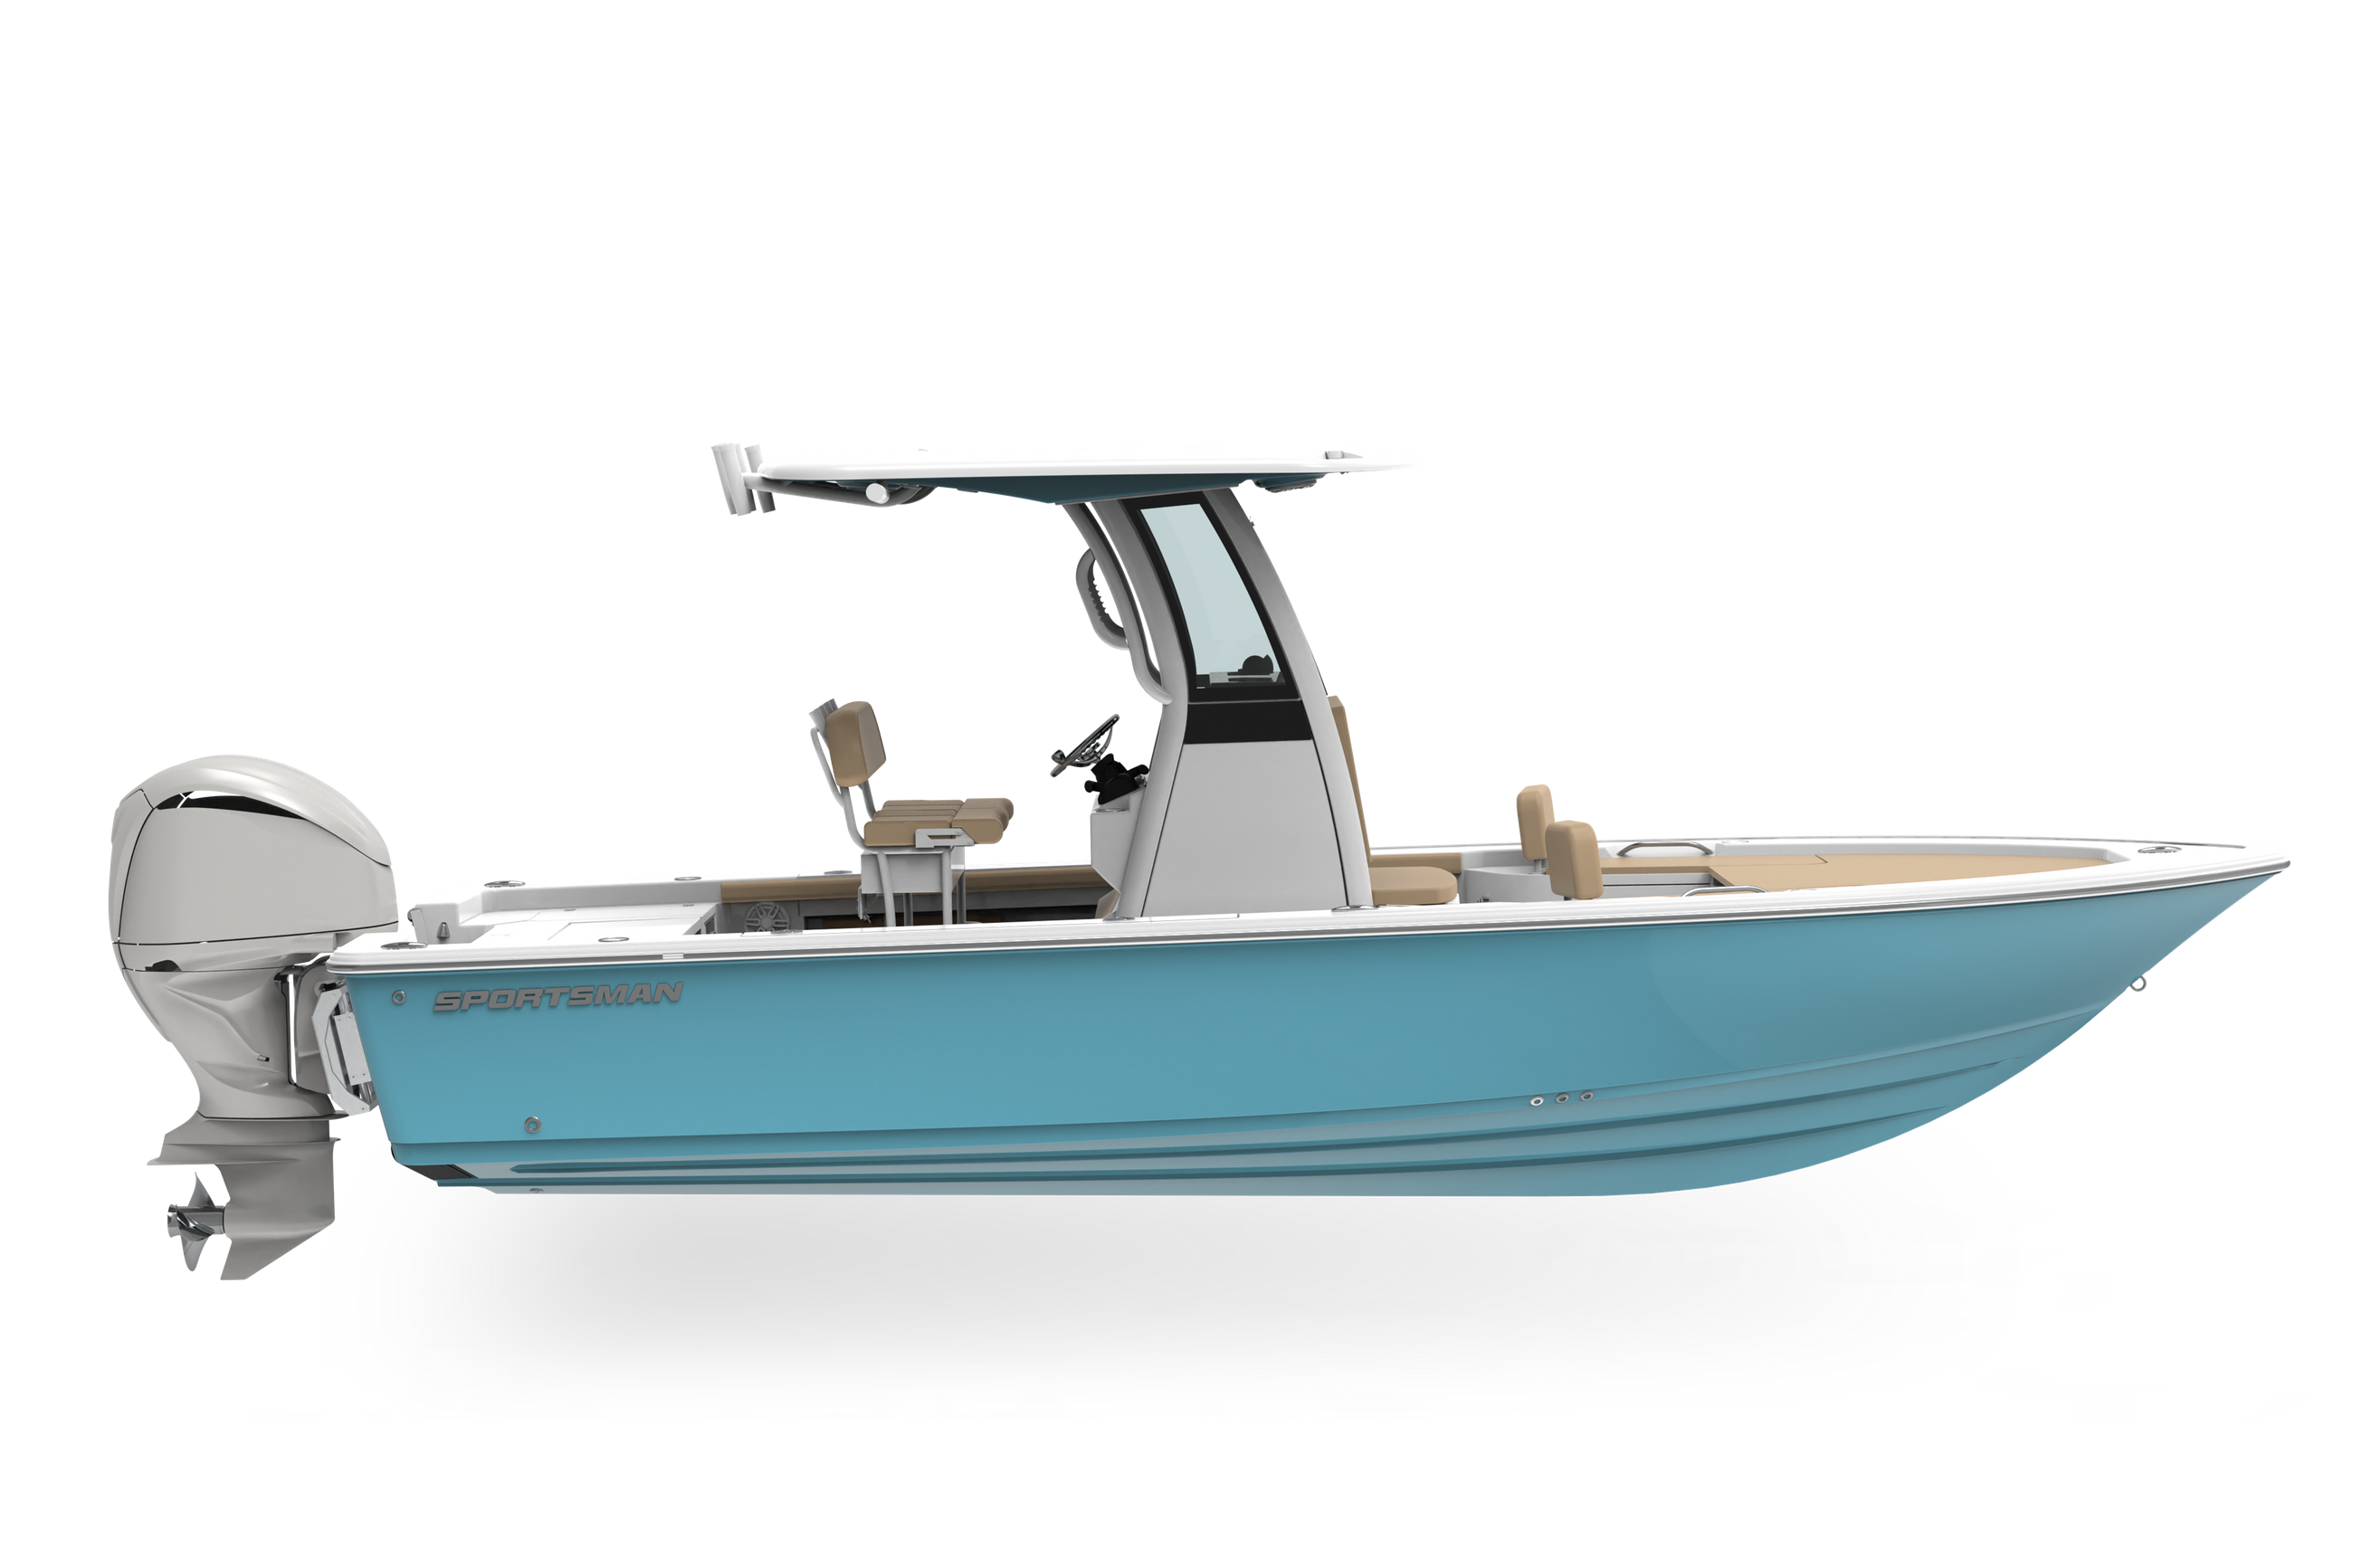
Welcome back, today we are in one of the more unique departments here at Sportsman. We are going to be visiting our metal and powder coating departments. In this building, we manufacture aluminum parts that will become t-top frames, backrests, ski tow bars, rod holders, leaning posts and even handrails. Stick around as we go Behind the Glass.
When it comes to the metal parts on a boat, aluminum is the preferred choice. There are two main reasons for that. The first is aluminum’s superior corrosion resistance. Unlike other metal choices, aluminum is naturally resistant to corrosion. Modern marine alloys take these natural properties to the next level. The second is aluminum’s weight. It’s considerably lighter than other metals allowing the frames to be strong but lightweight. The aluminum gets delivered to the floor in long pieces. These pieces come in various sizes and shapes.
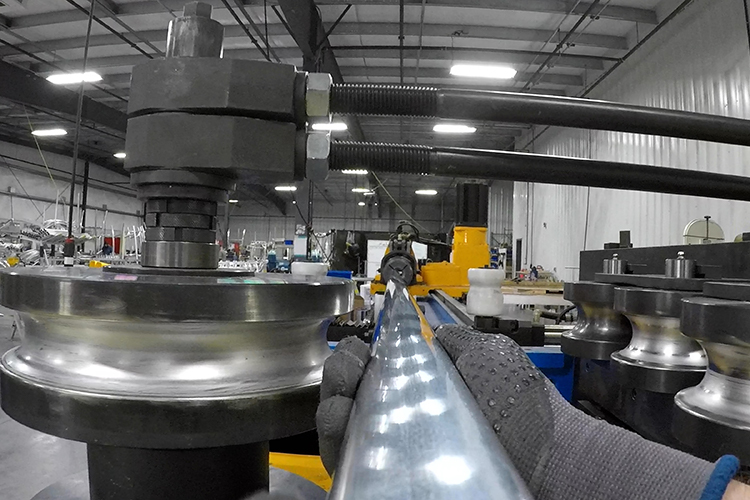
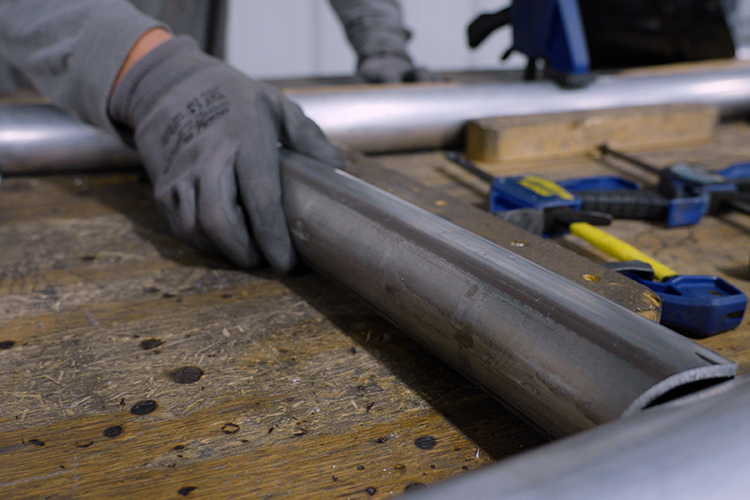
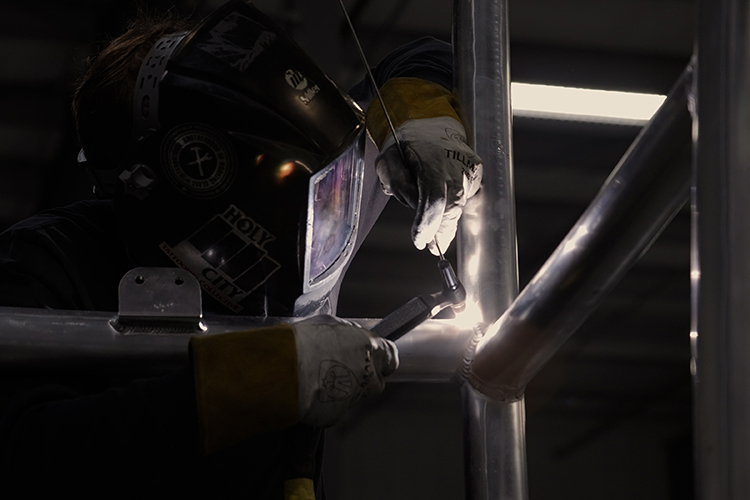
Once the aluminum has been delivered work can begin on the final parts. Let’s look at the manufacturing process of a hard-top frame. The team member starts by bending the pieces using our state-of-the-art CNC bender. This ensures accurate bends on every piece and makes quick work of intricate compound bends. They will batch process all the necessary pieces for multiple tops at once. The pre-bent pieces then get final trimmed to the appropriate size. Using templates and jigs, the team member starts assembling the required pieces together. This is a crucial step to have a high-quality finished part. Once satisfied with the fitment, they start tack welding the parts together. This will secure the pieces together and ensure it keeps the shape. Next, full penetration welds are completed on all the seams. This is where the artform of welding comes in. It takes years to master and it’s very visible in the finished product. It should look like stacked coins on every weld.
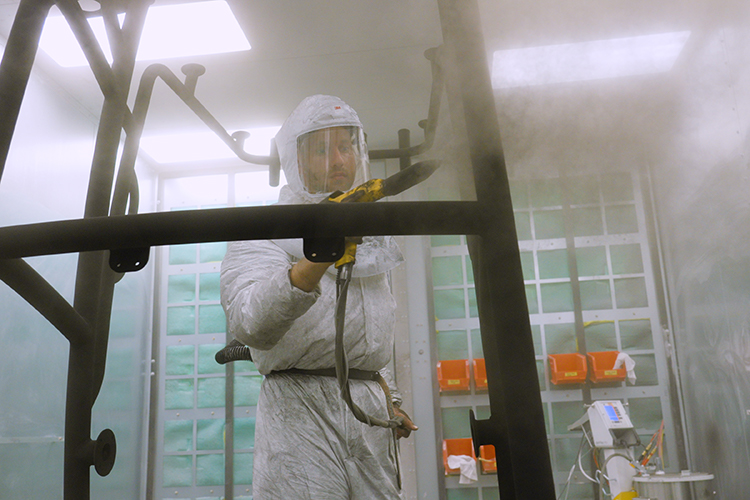
That hard-top frame is coming along nicely. We’ve seen it go from a stack of aluminum parts to a completed frame. This procedure is followed for any other metal part. Now, let’s focus on adding the durable powder coating finish. Here at Sportsman, our powder coating is done in-house. We utilize a multi-step process proven to be tough and durable. The completed parts are delivered to the powder coating room where a quality technician inspects the parts. The inspector is looking for defects in the welds and other signs of minor quality issues. Once satisfied with the part it moves on to the prepping station. From here on out, the parts are not touched to eliminate contamination of the surface. Proper pretreatment of a part before powder coating is the most important step in getting great performance & longevity out of the coating. The prep process begins with an alkaline cleaner that removes any dirt, cutting fluid, grease, rust, oils and any other contaminants. This is followed by a high-pressure wash to remove the chemicals.
The next prep step is what really sets our process apart from others. It’s how we have elevated our quality and durability on powder coating. Using a low-pressure sprayer, the technician applies a zirconium acid pretreatment that chemically reacts and converts the surface into a thin film of zirconium oxide. This chemical change dramatically increases adhesion of the powder coating. This step has been proven to increase durability, corrosion resistance and salt spray performance. After pretreatment, the part is dried in preparation for the next step.
At this stage, the prep work has been completed and it is now time to apply the powder coating. The part gets rolled into the spray booth along with other parts to be simultaneously sprayed. As the name suggests, powder coating is a pigmented powder that takes advantage of the physical attraction of opposing electrical charges. A charge is applied to the part being sprayed and the powder is negatively charged as it exits the gun. A 2-4 mil thick layer of powder effortlessly clings on the parts and is ready for the next step
At this stage, the powder is on the part but it’s not permanent just yet. This is done in an oven.
Before we go on any further we wanted to show you what a part actually looks like before it gets baked. So this part here the powder has been sprayed on the part but it is not permanent. Let me show you you can actually take this and take it right off so you see the aluminum is right behind it and that’s what it looks like right before it gets baked. In my hand here I have a part that has been baked and the finish on it is what you expect out of powder coating. It’s completely cured on and it is now permanently attached to this piece of aluminum. So with that let’s go ahead and jump back in and take a look at the steps required to actually bake an aluminum part.
We now see the technician wheel the parts into a large oven. This oven can bake multiple large parts and small parts at the same time. The oven will heat up to over 400 degrees Fahrenheit and permanently bake the coating on the part. This process of pre-treating and baking is what gives powder coating its durability. The parts will spend roughly 30 minutes in this oven.
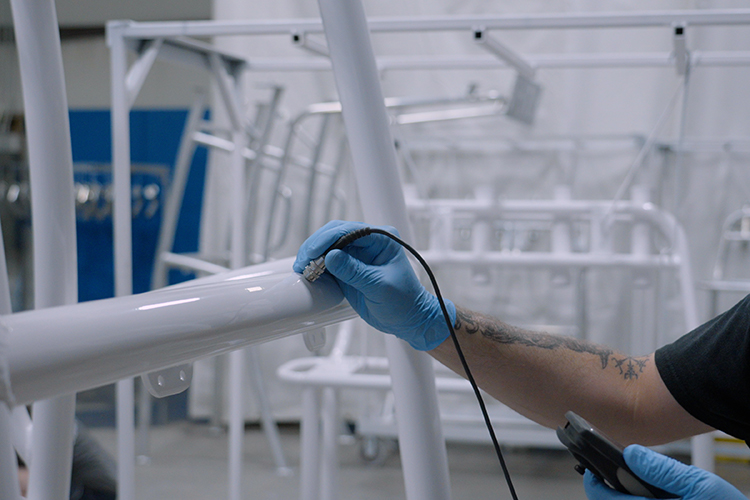
The parts are ready for final quality checks before they are delivered to the assembly floor. Quality checks here are broken down into 3 steps. The first step is a visual inspection. The quality technician is looking for any visible imperfections on the finish. This can include areas where the coating is thin or has any contaminants. The second quality check is a cure test. This makes certain that the powder coating has been fully baked and cured on the part. The final check is a coating thickness test. Similar to the mil gauge tests we saw during our gelcoat steps; the technicians use a digital mil gauge to measure the thickness of the coating at various spots. This step ensures the coating is within specification and ready to be installed on the boat.
Thank you for spending some time with us today taking a look at what it takes to build our consoles. This is part of our SportTech® Advanced Fabrication Process. This process is part of our SportTech® Advanced Fabrication Process. This proprietary combination of processes and materials yields the best result each step of the way and has been thoroughly tested for durability, longevity, and finish. All Sportsman Boats features a 100% composite construction with zero wood. Join us in our next episode for another installment of Behind The Glass . We will be talking all about our quality assurance and our test pools
Related Posts
In this episode we are hitting the road and heading to Mohnton, PA to visit our friends over at Seakeeper. We will give you a full tour of t...
Read More