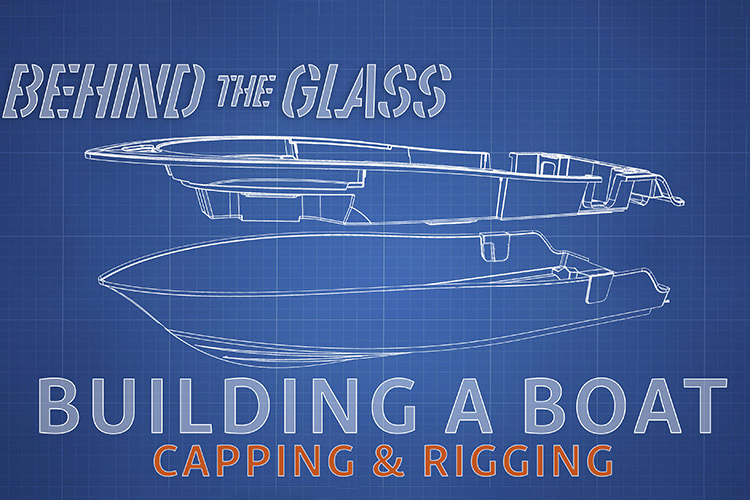
Welcome to Sportsman Boats, "Behind The Glass," a new series based around the construction process inside the Sportsman Plant. In this episode we are taking a look at the Deck Construction Process. We will dive into each step along the way, explaining the materials we use and why we use them.
-
•Tight hull and deck tolerances and the dry capping process create a shoebox-like fit that strengthens the boat and ensures precise alignment before final bonding.
-
•The fuel system is rigorously tested with four pressure checks and uses either HDPE roto-molded tanks or aluminum tanks designed to last 30+ years.
-
•The capping stage relies on clean mating surfaces, bonding putty and synchronized pinning with careful wire routing for a leak free durable bond.
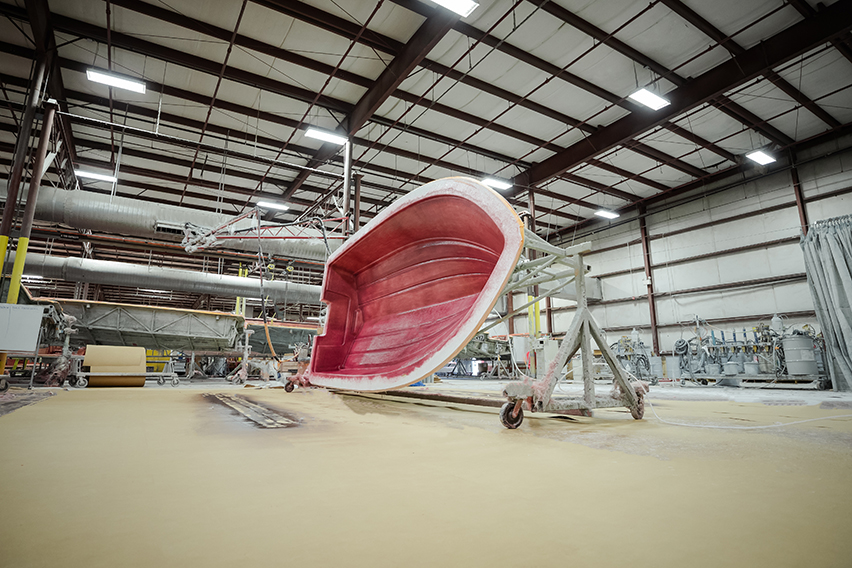
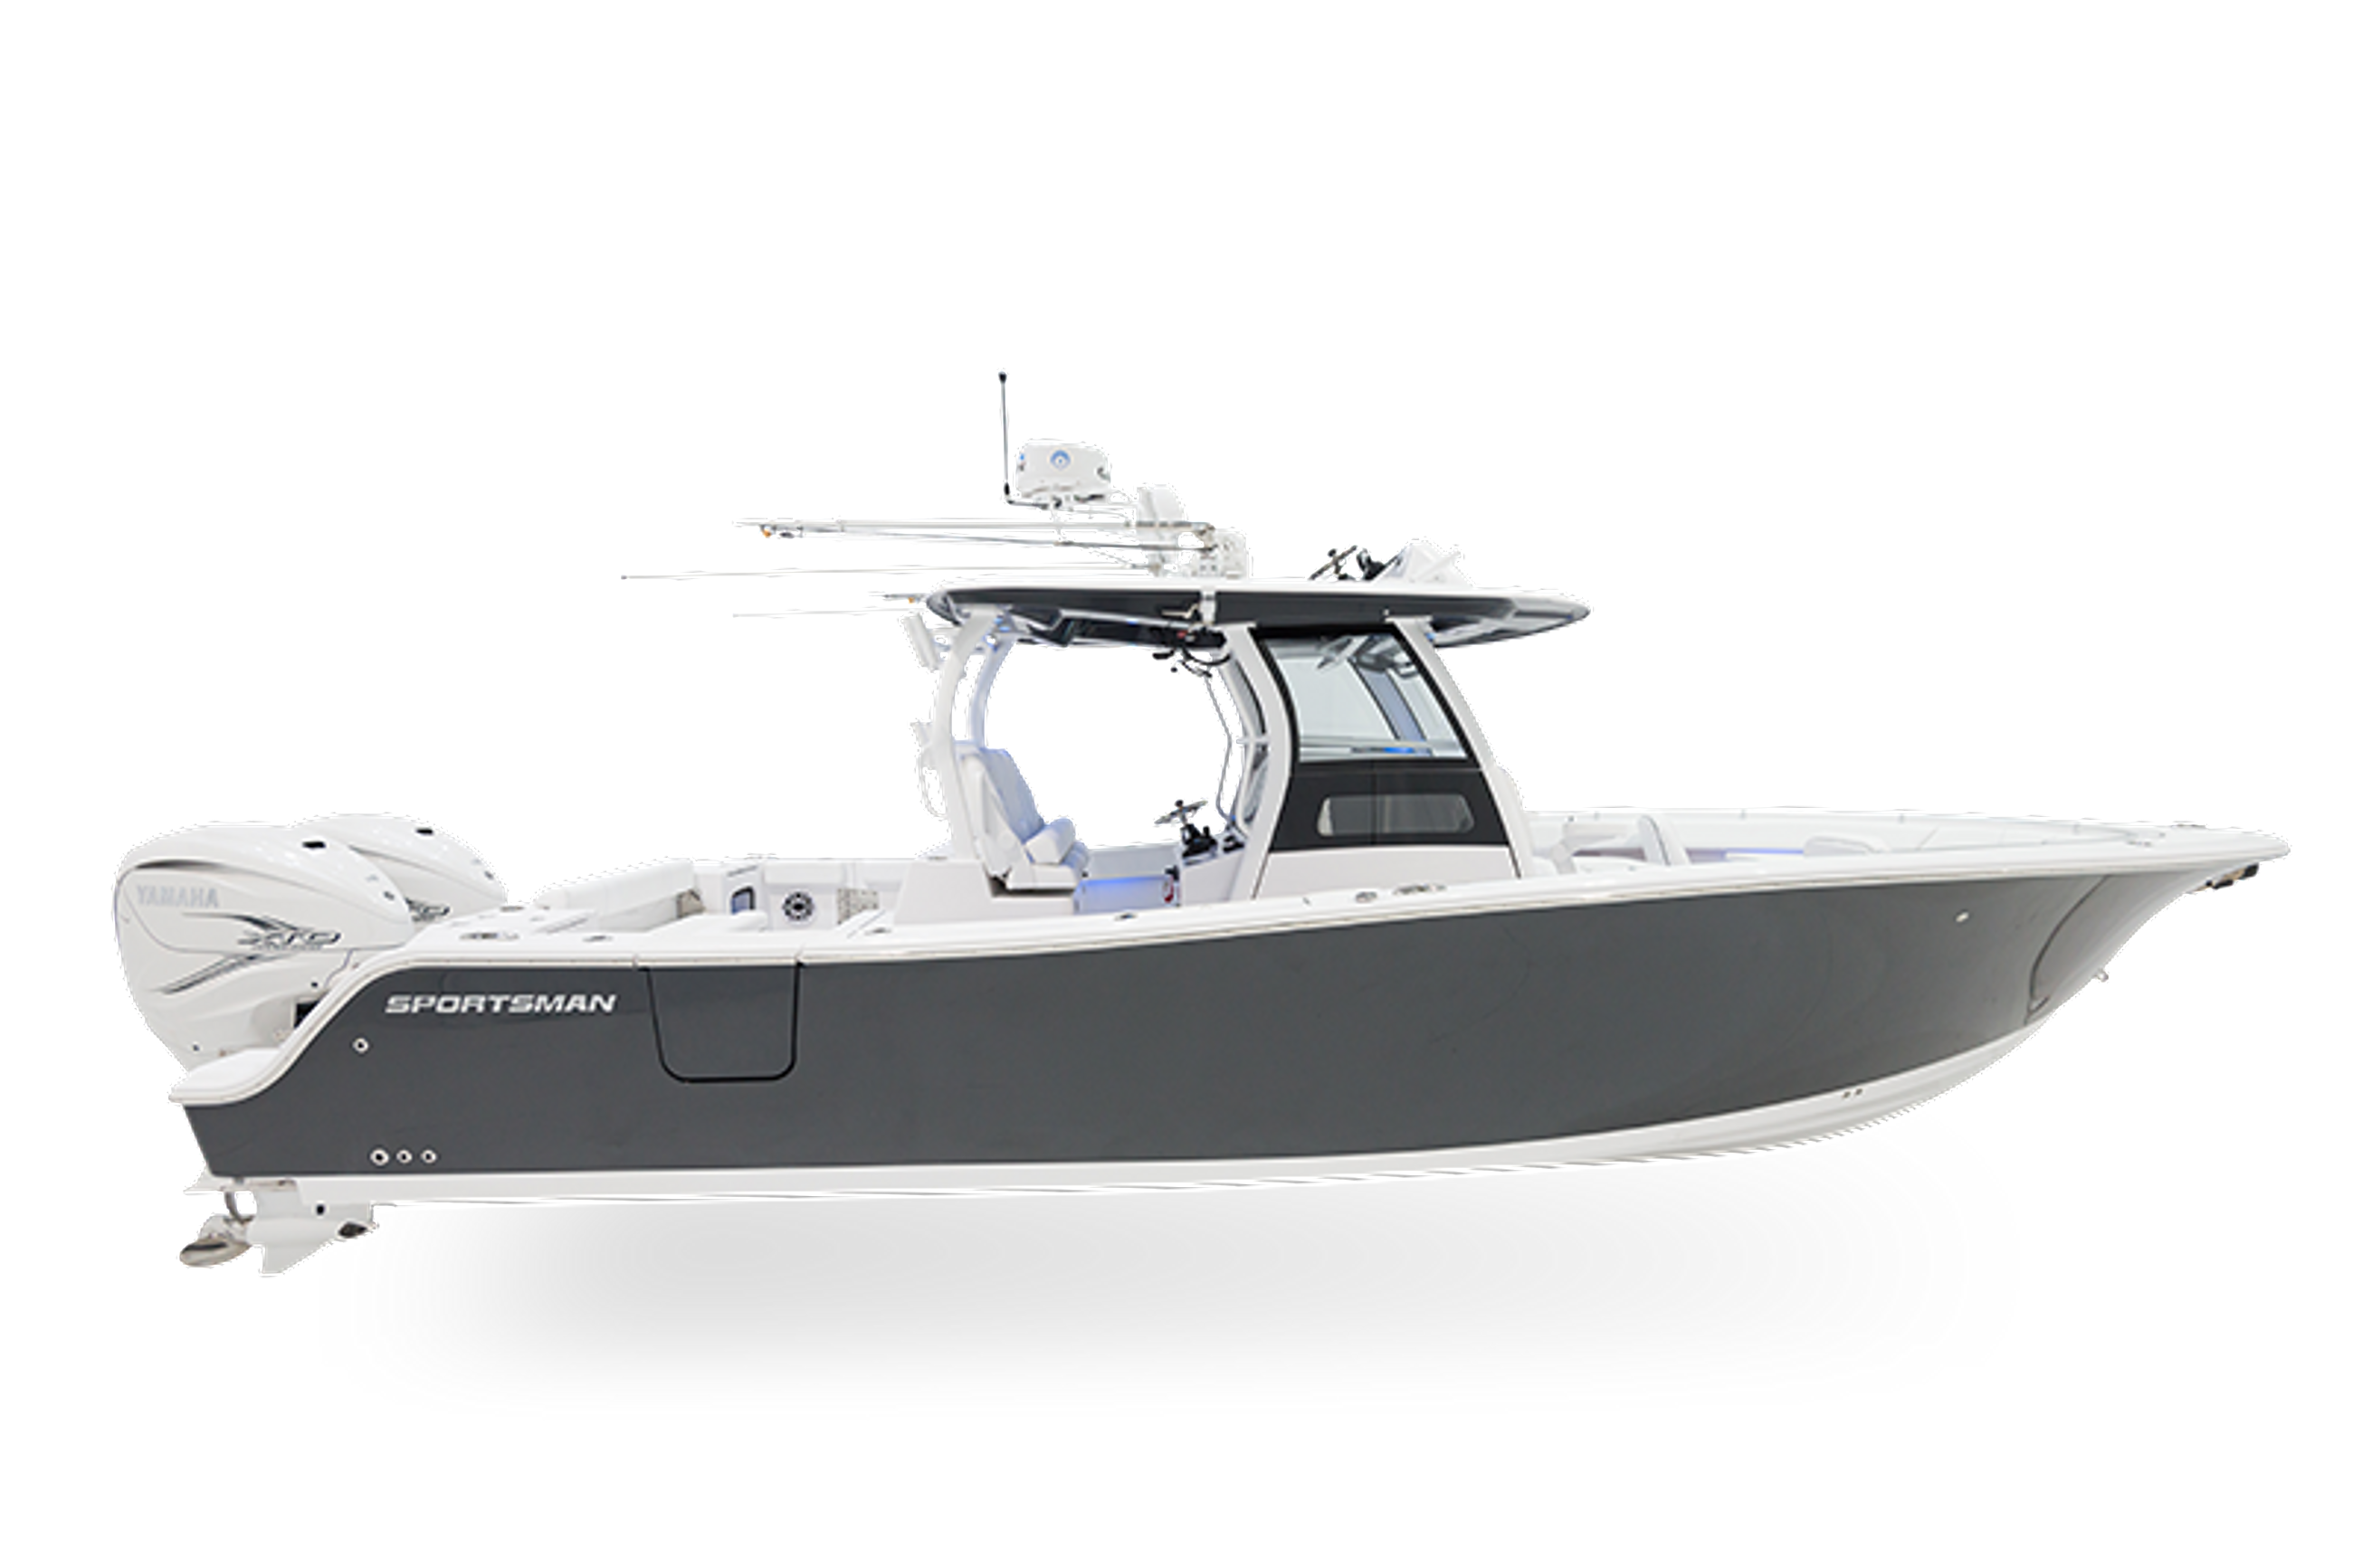
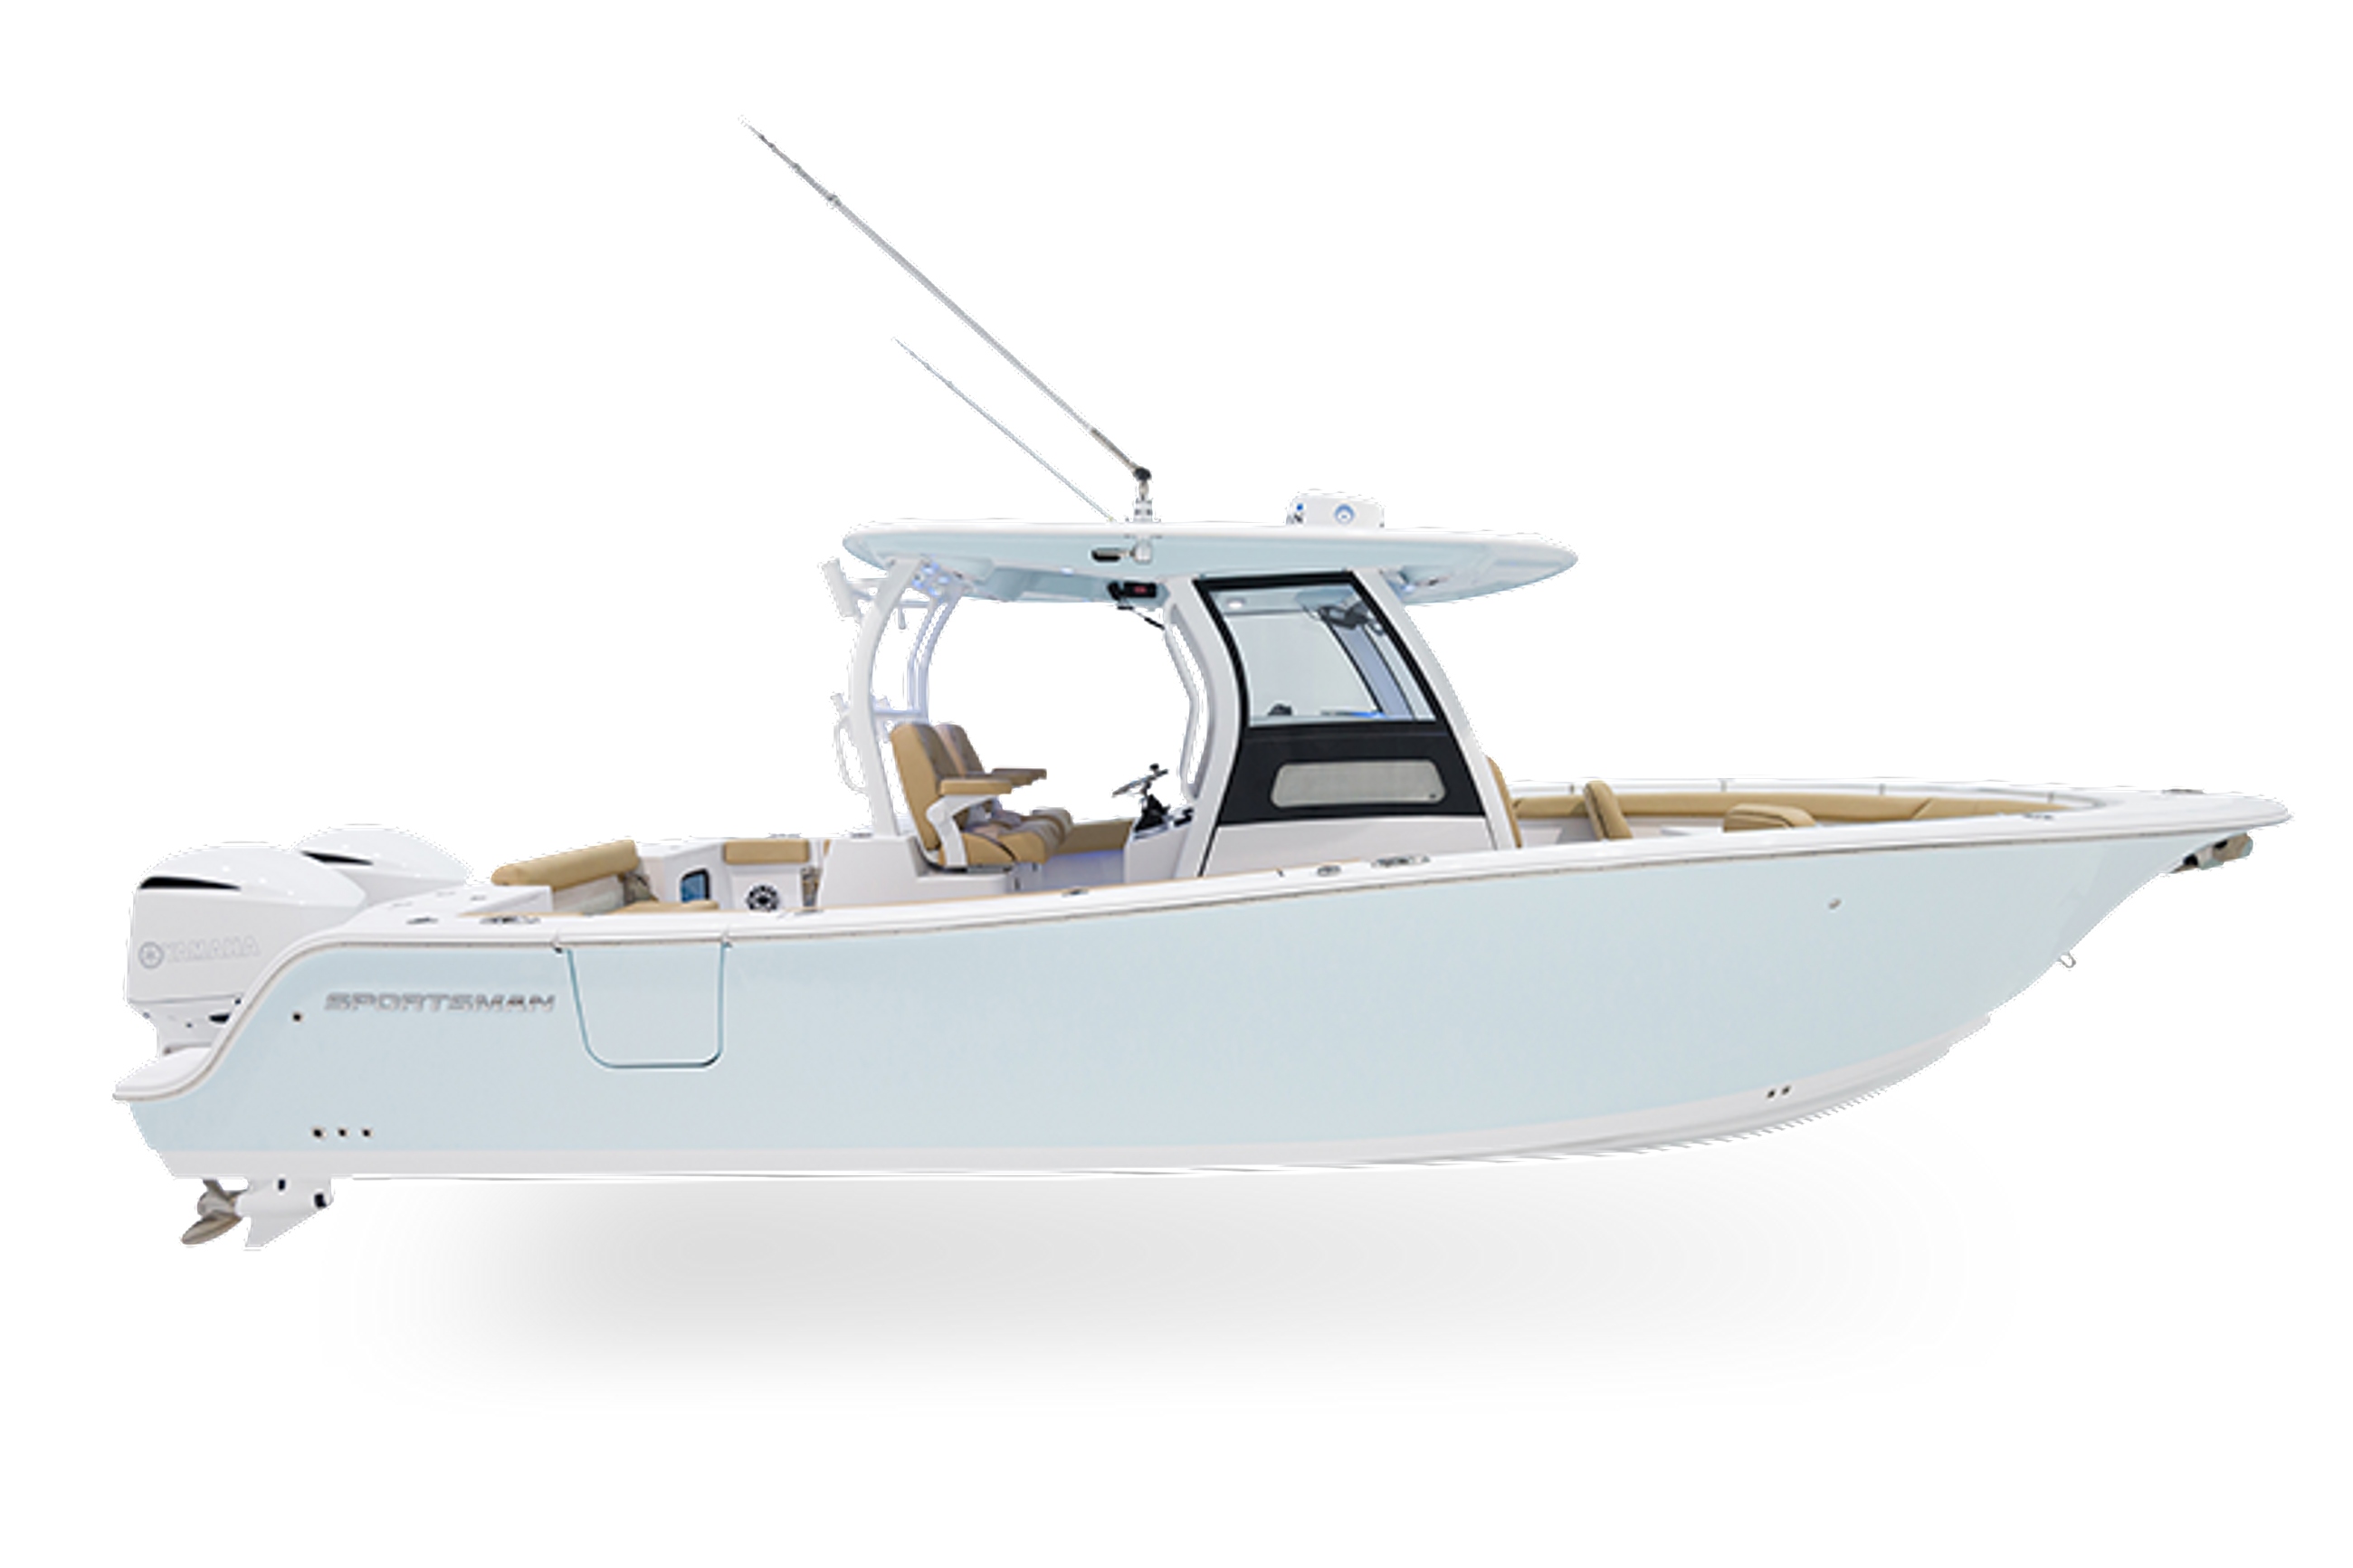
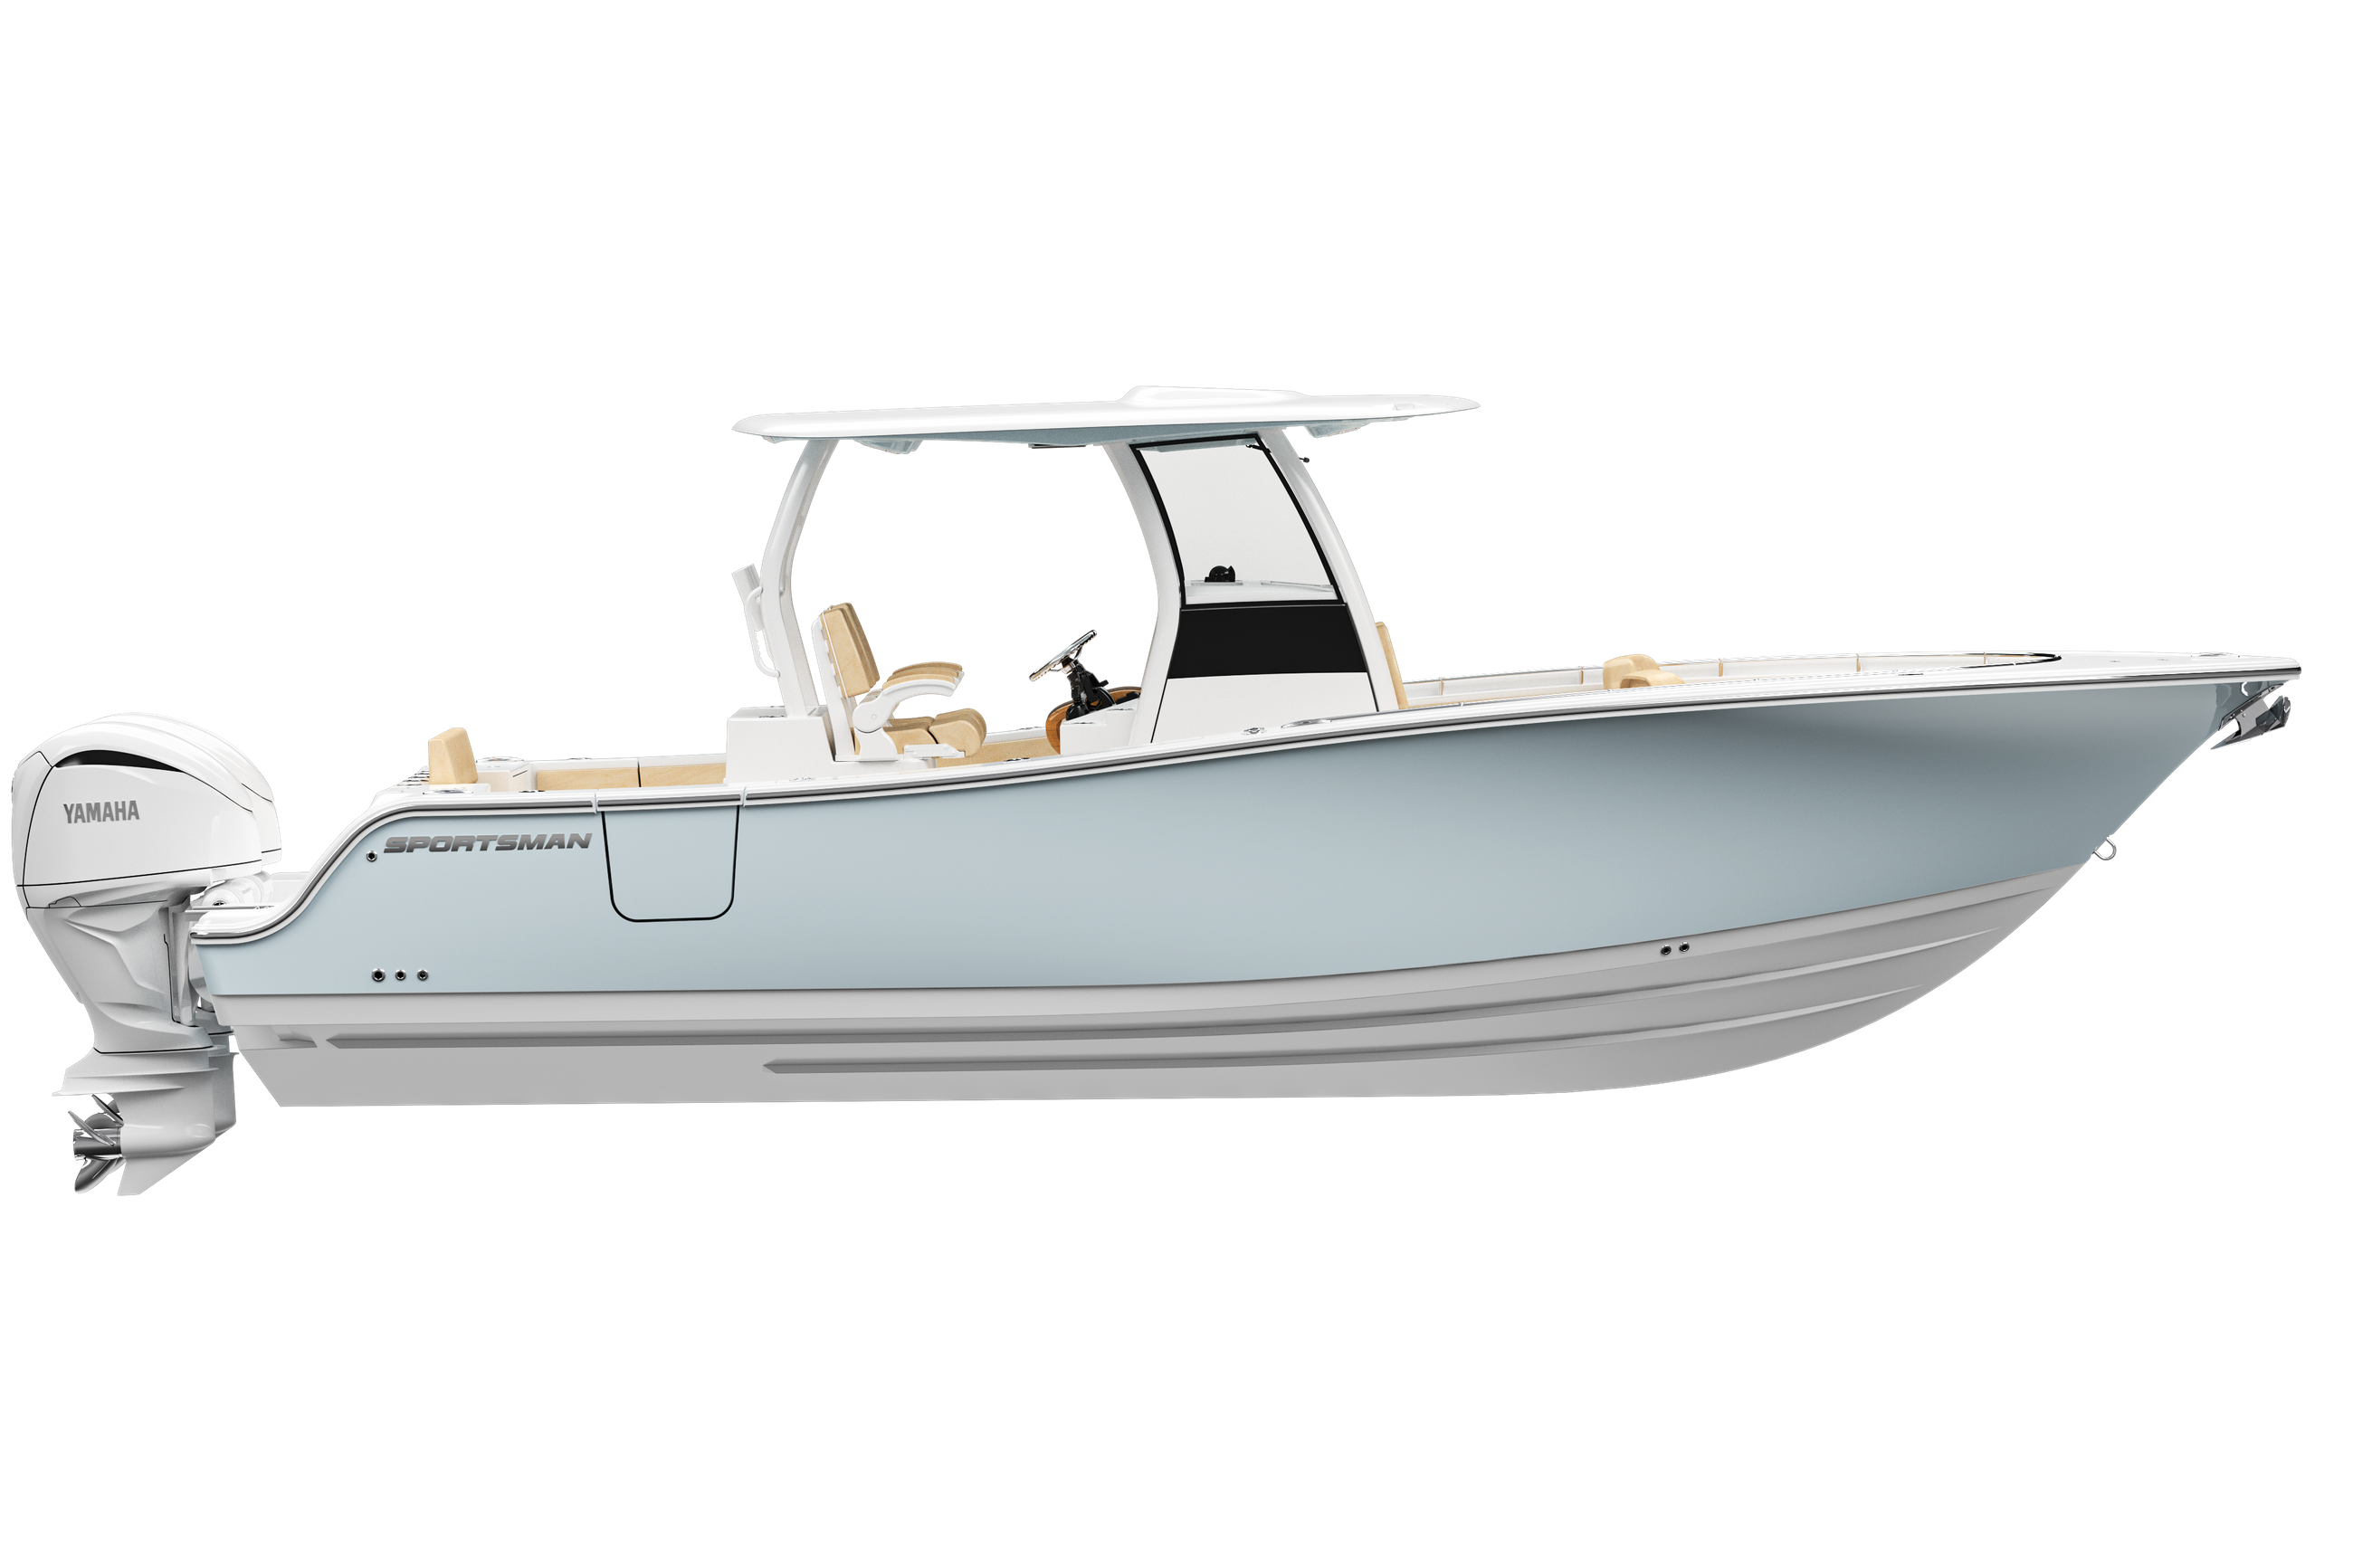
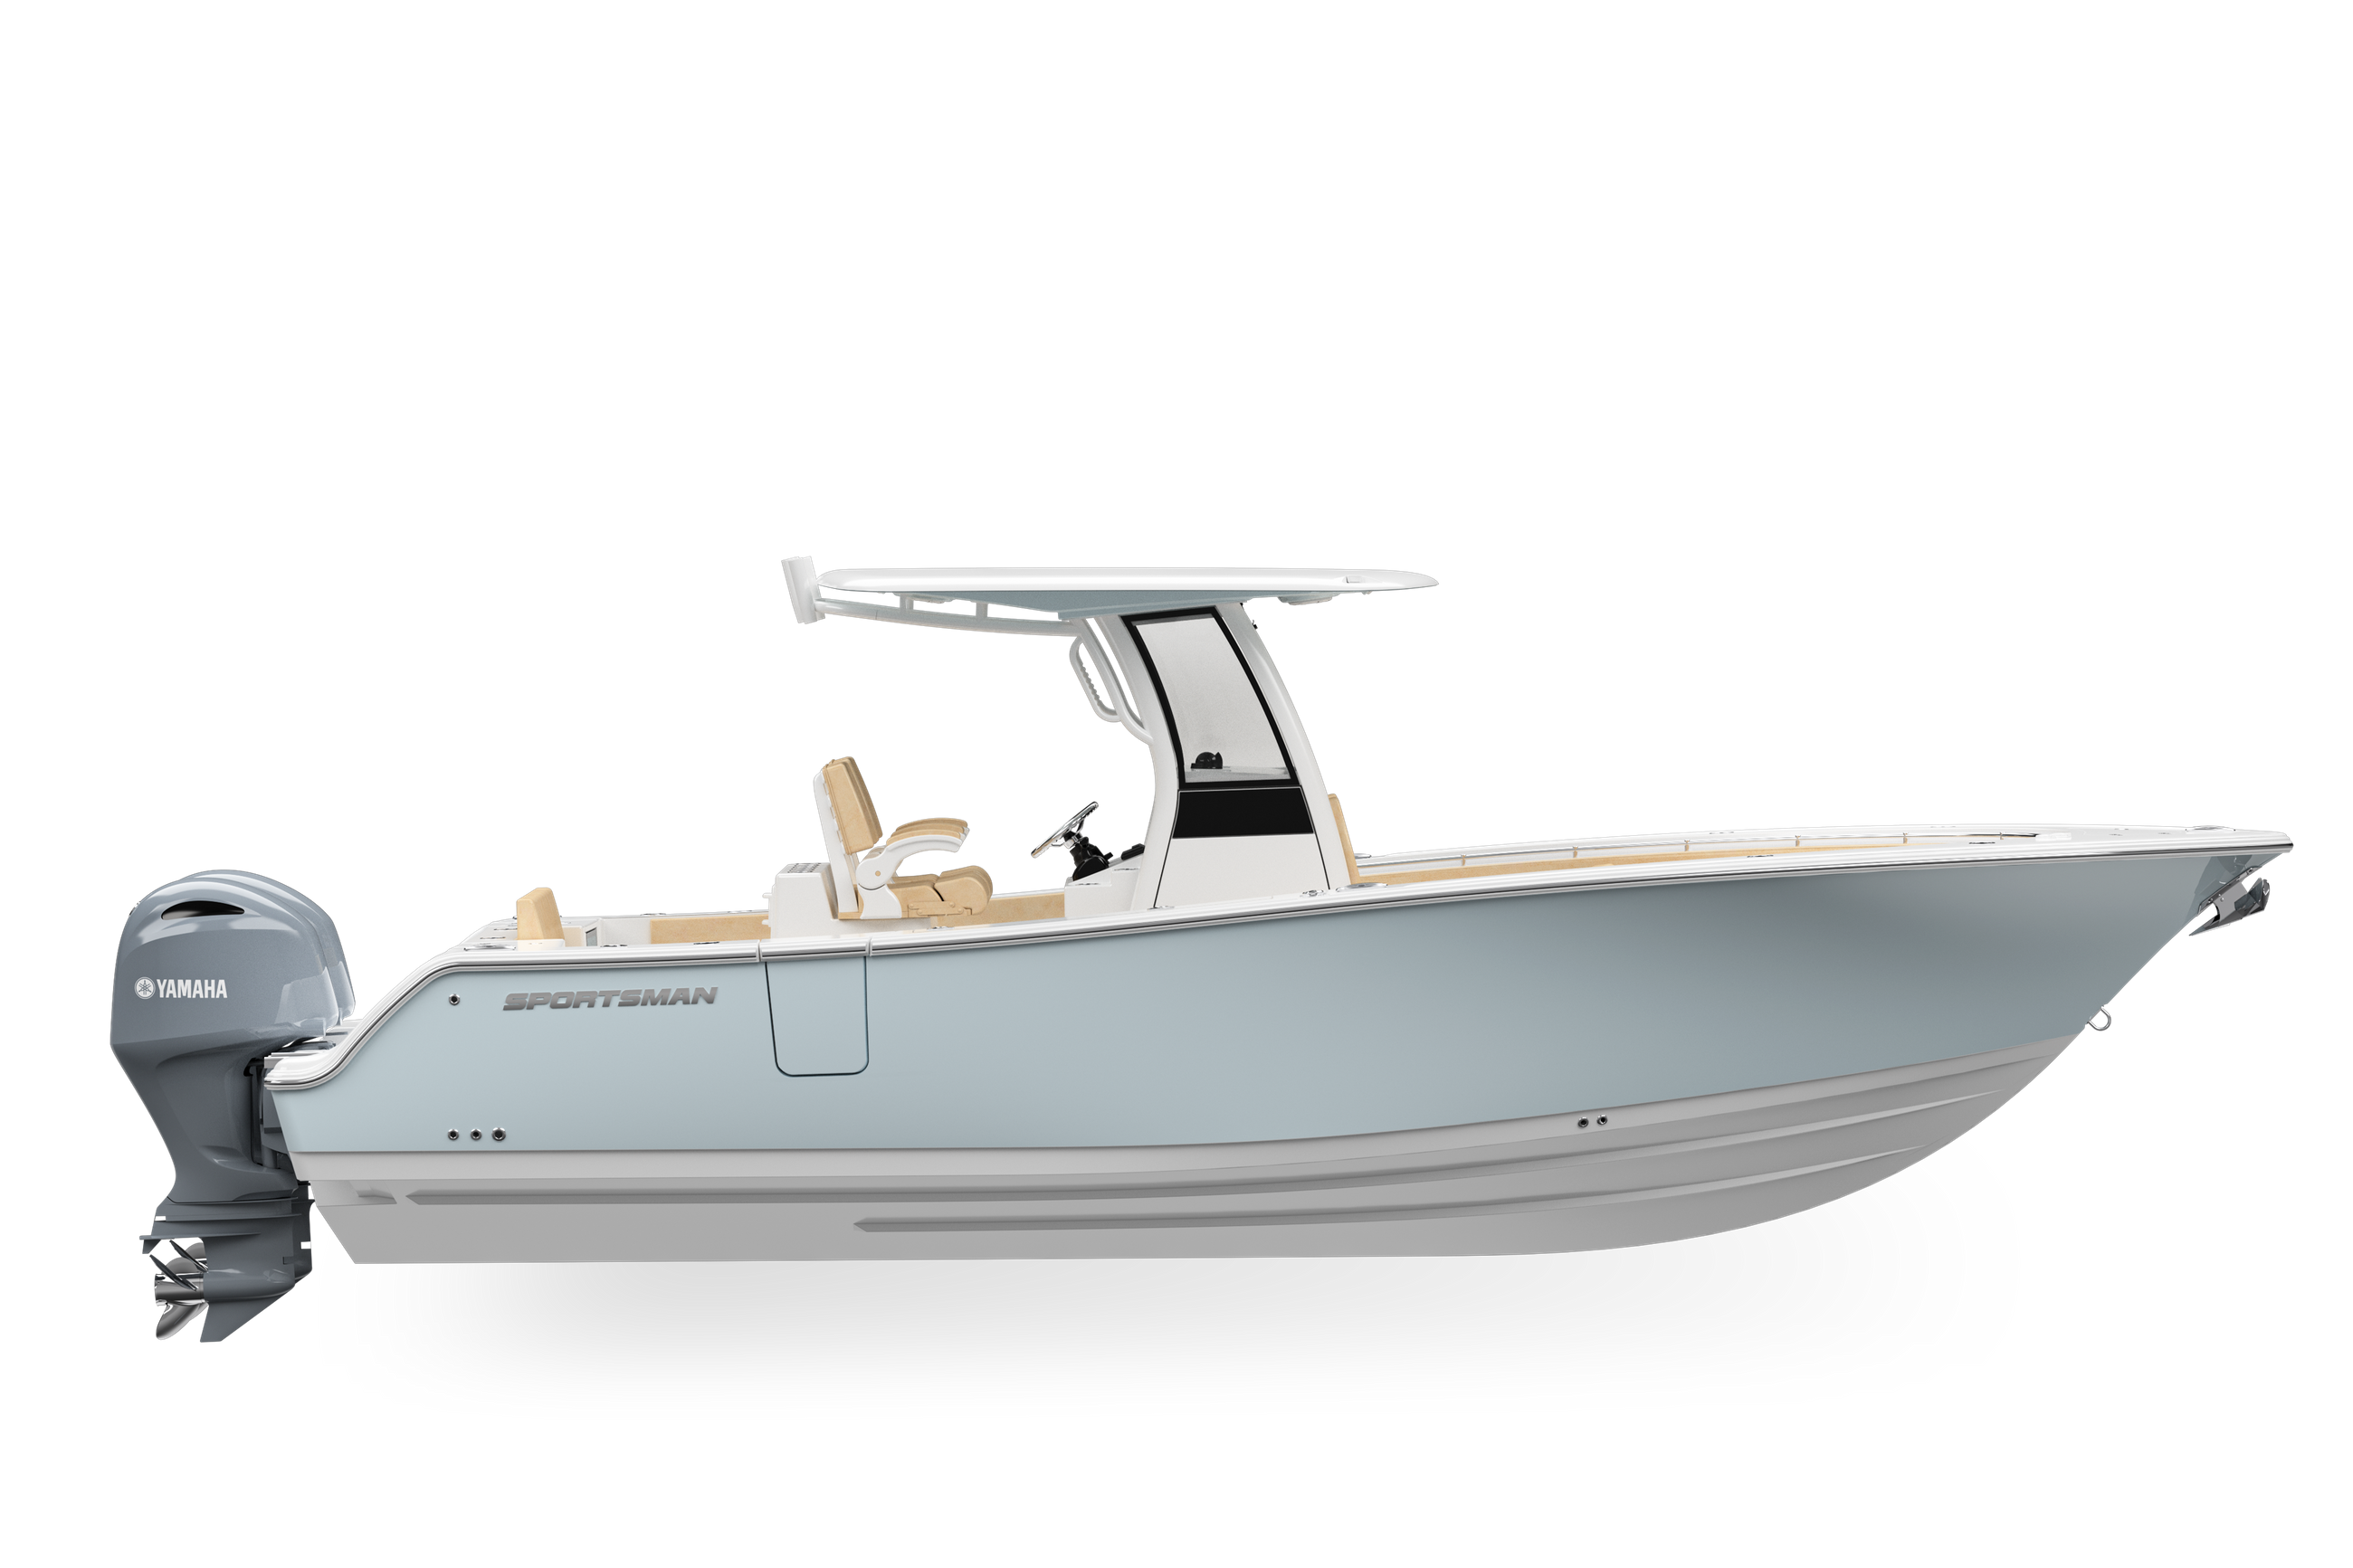
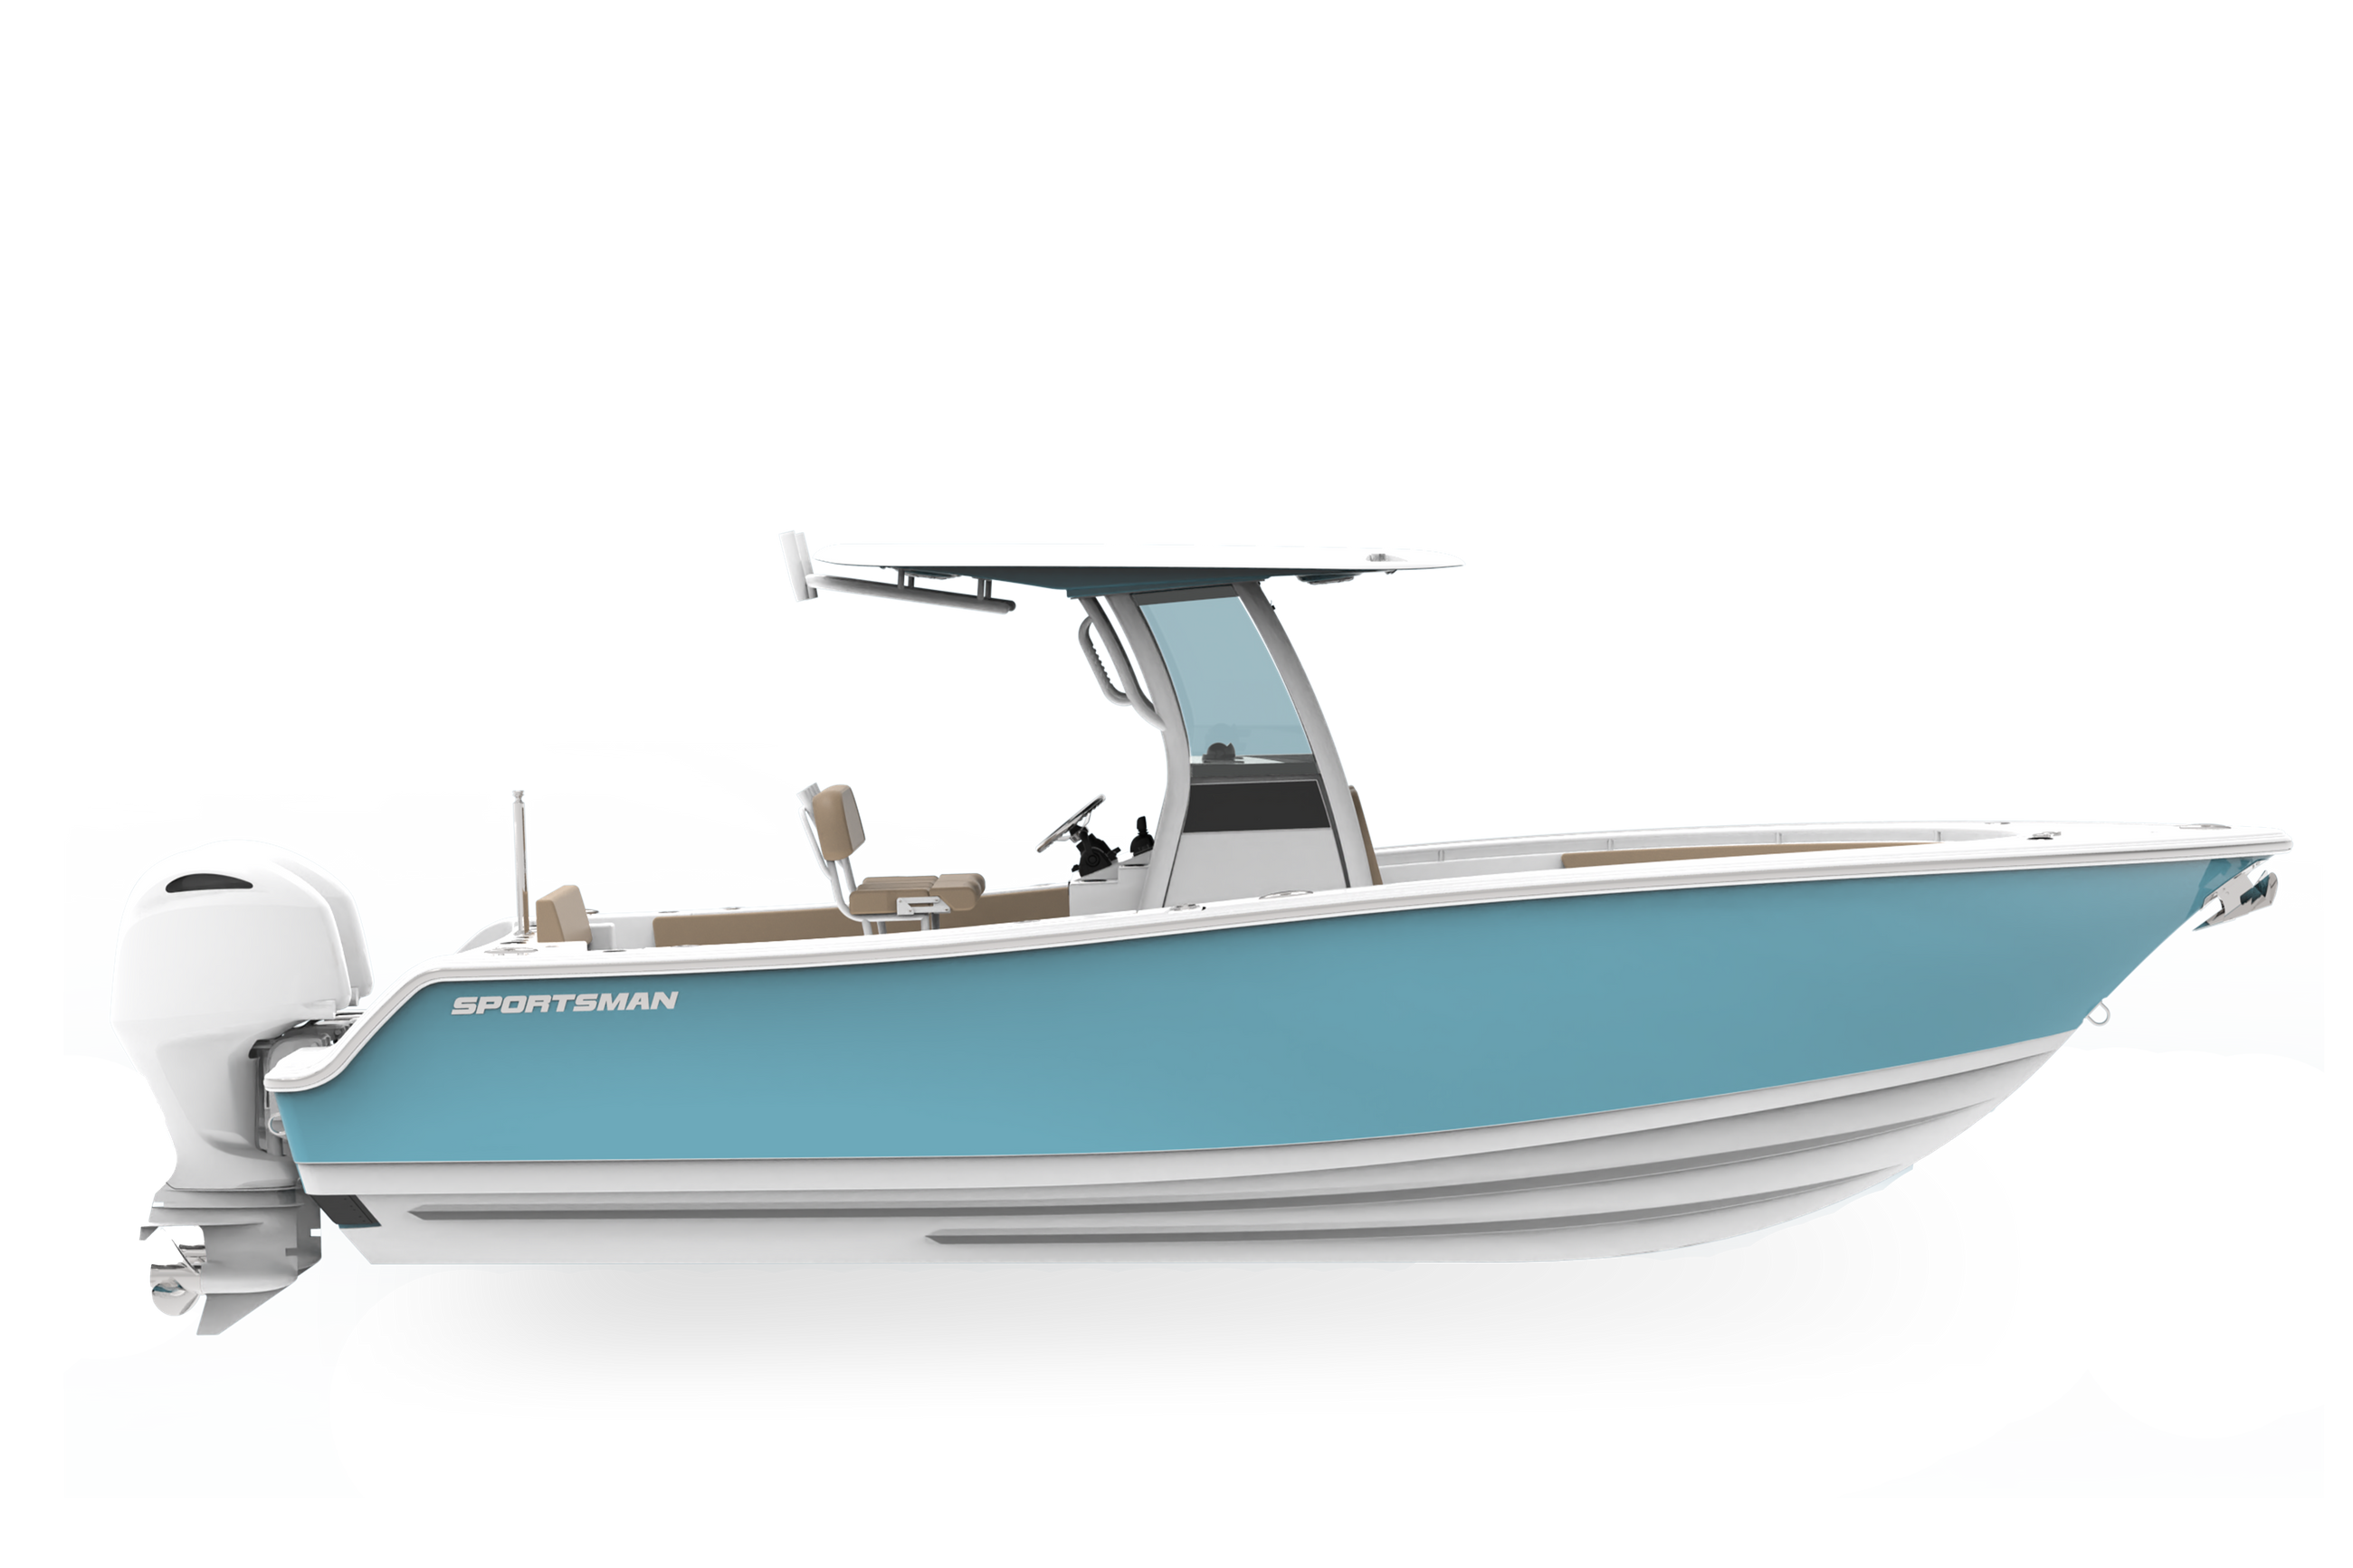
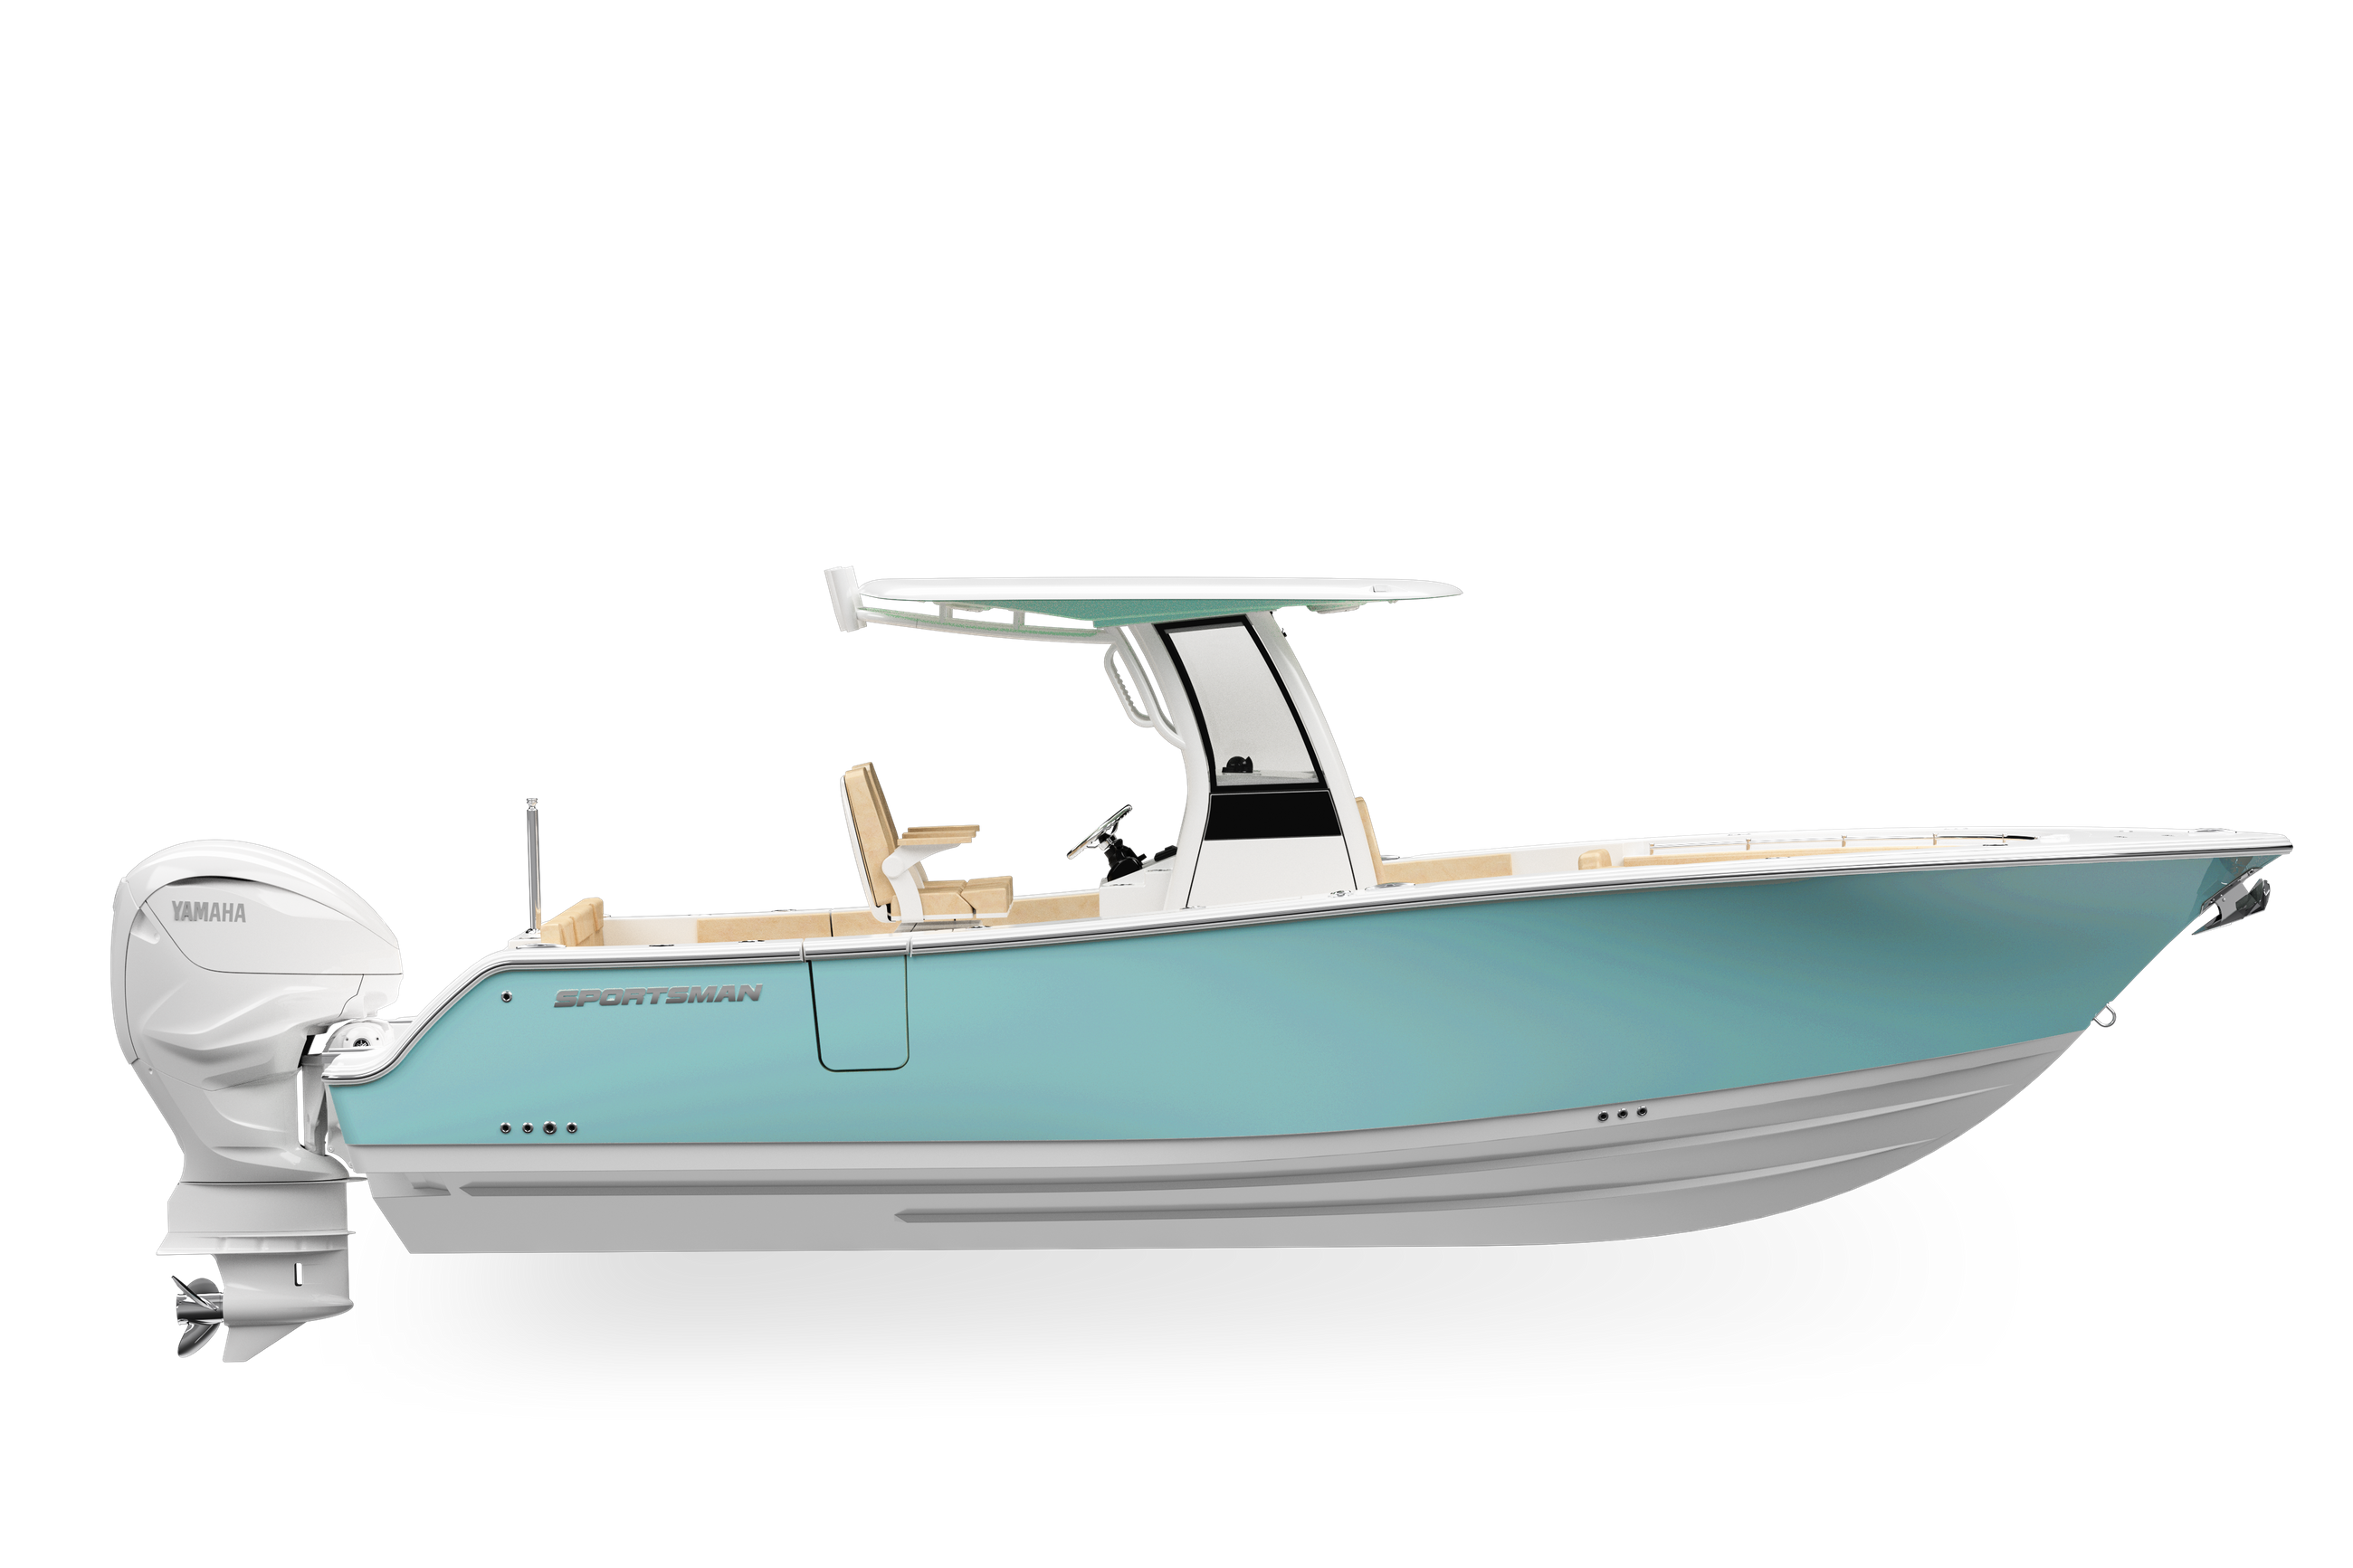
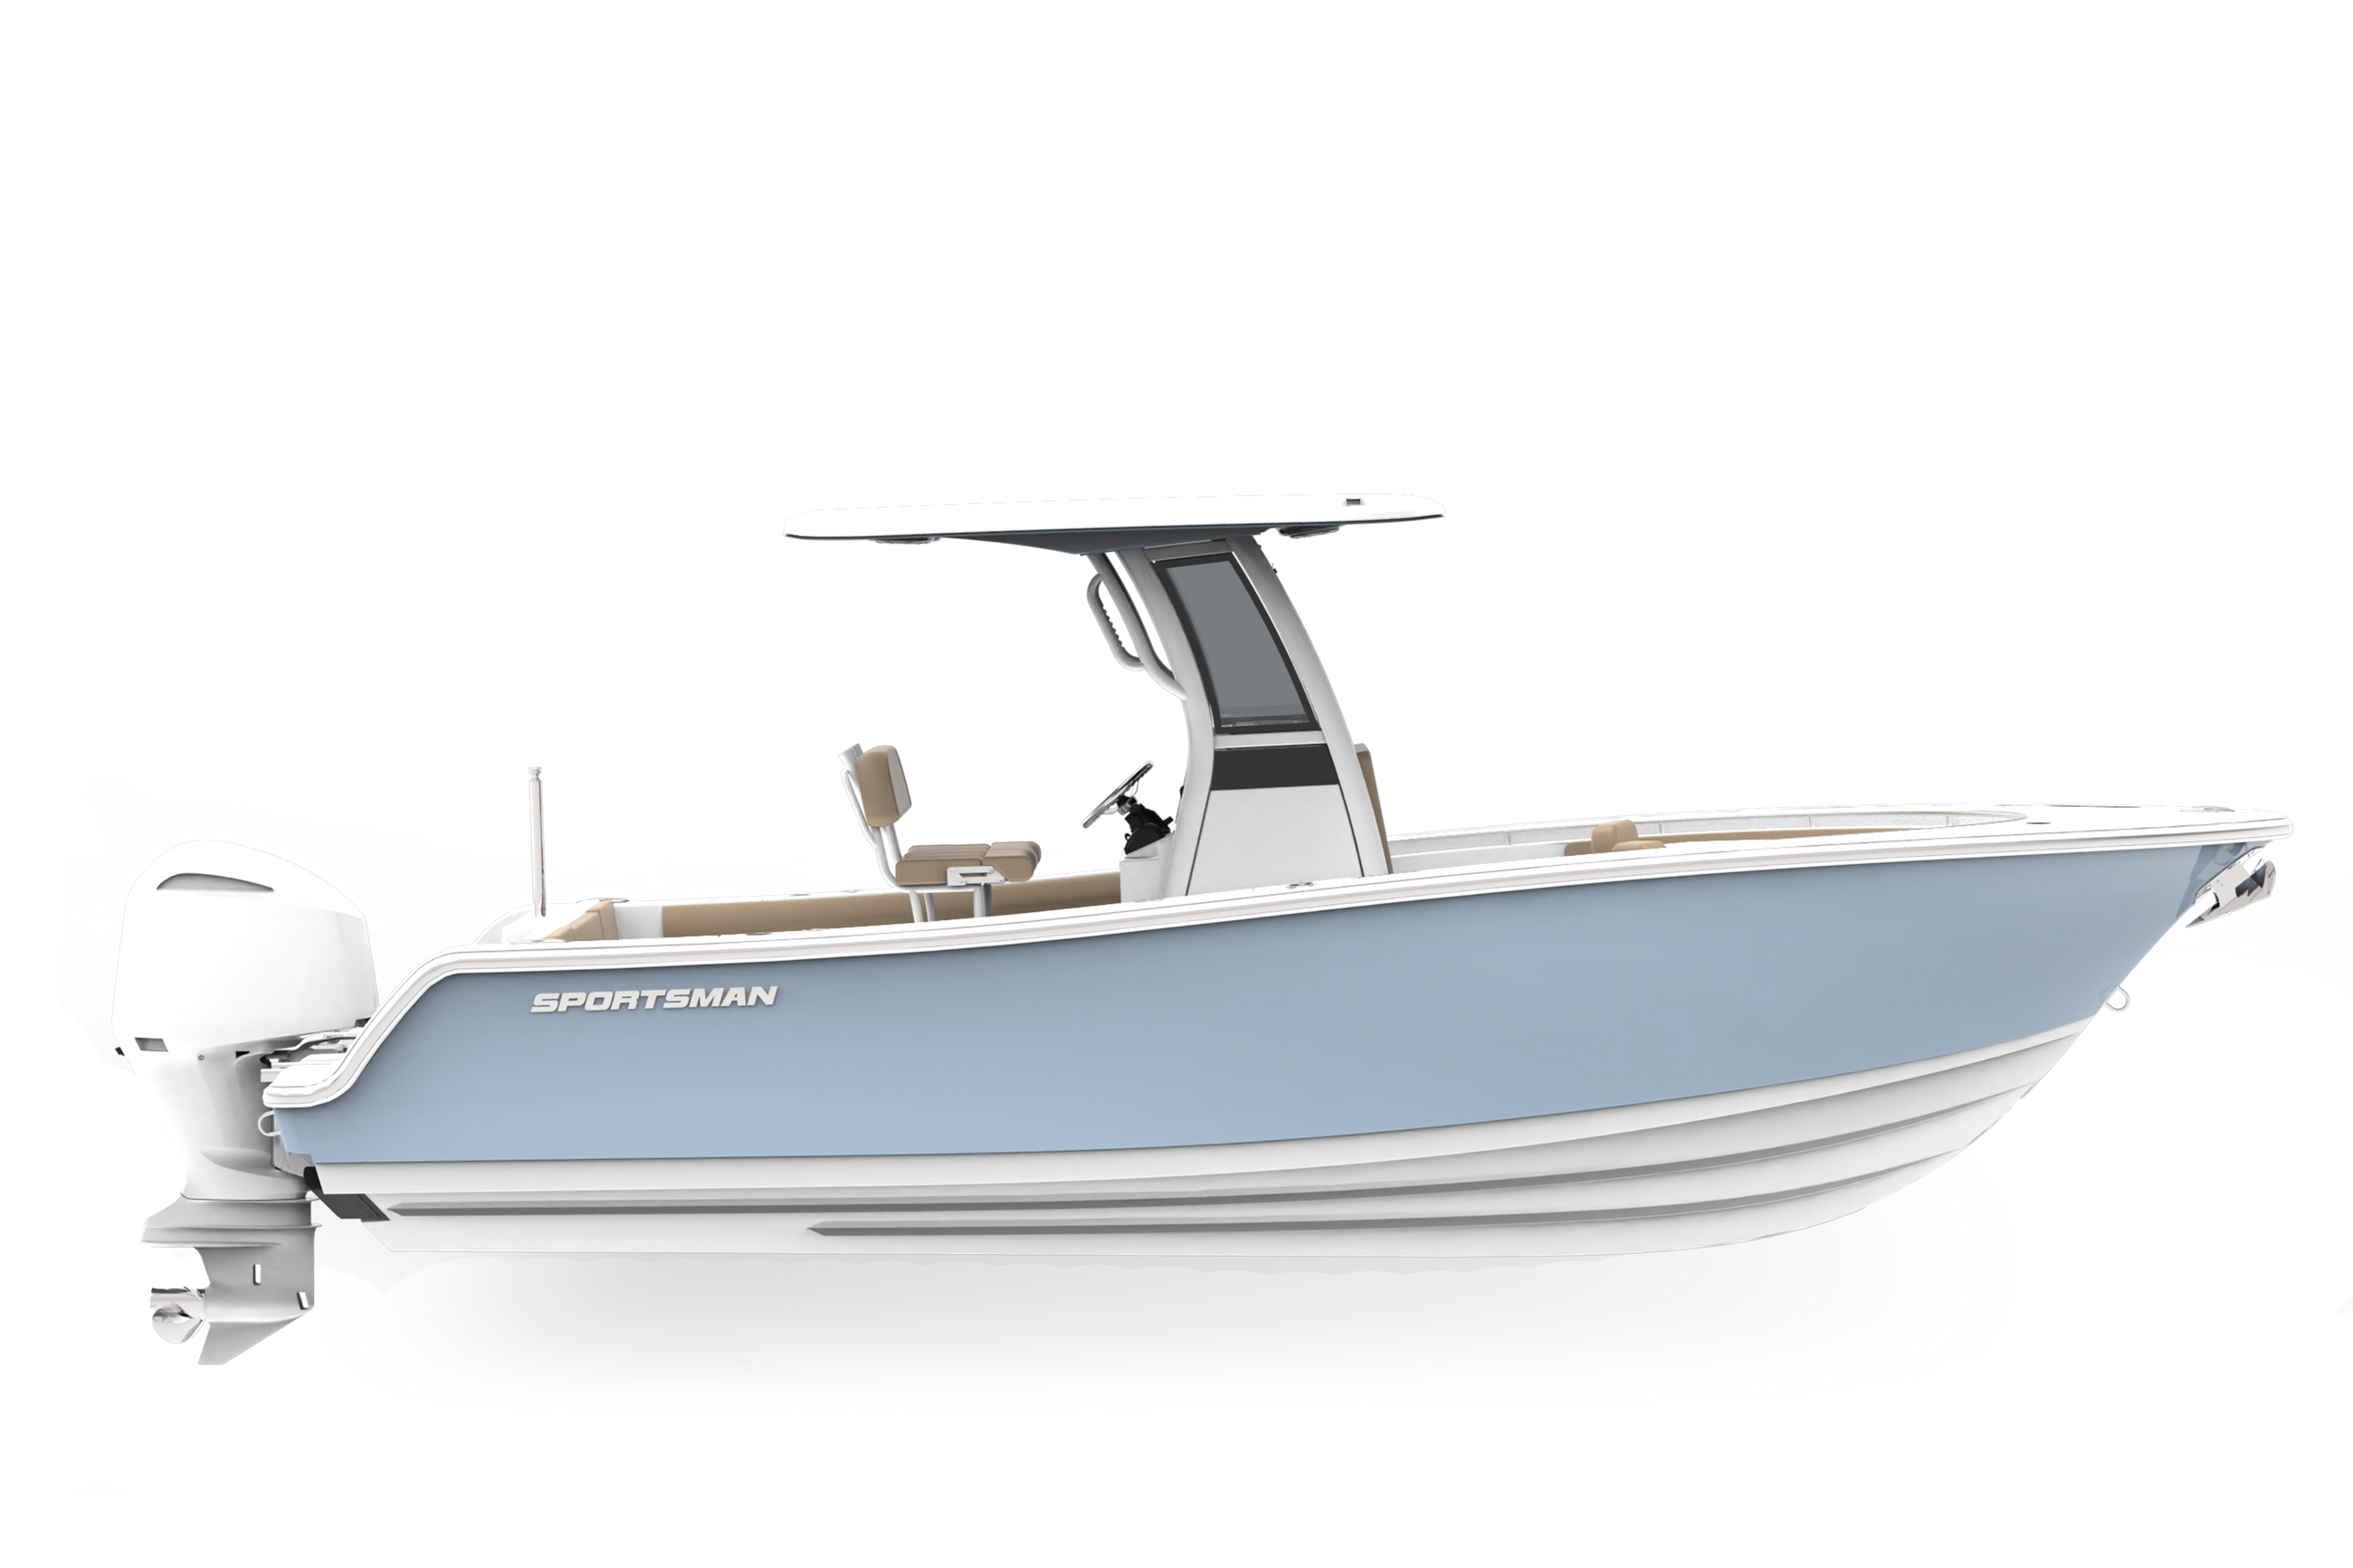
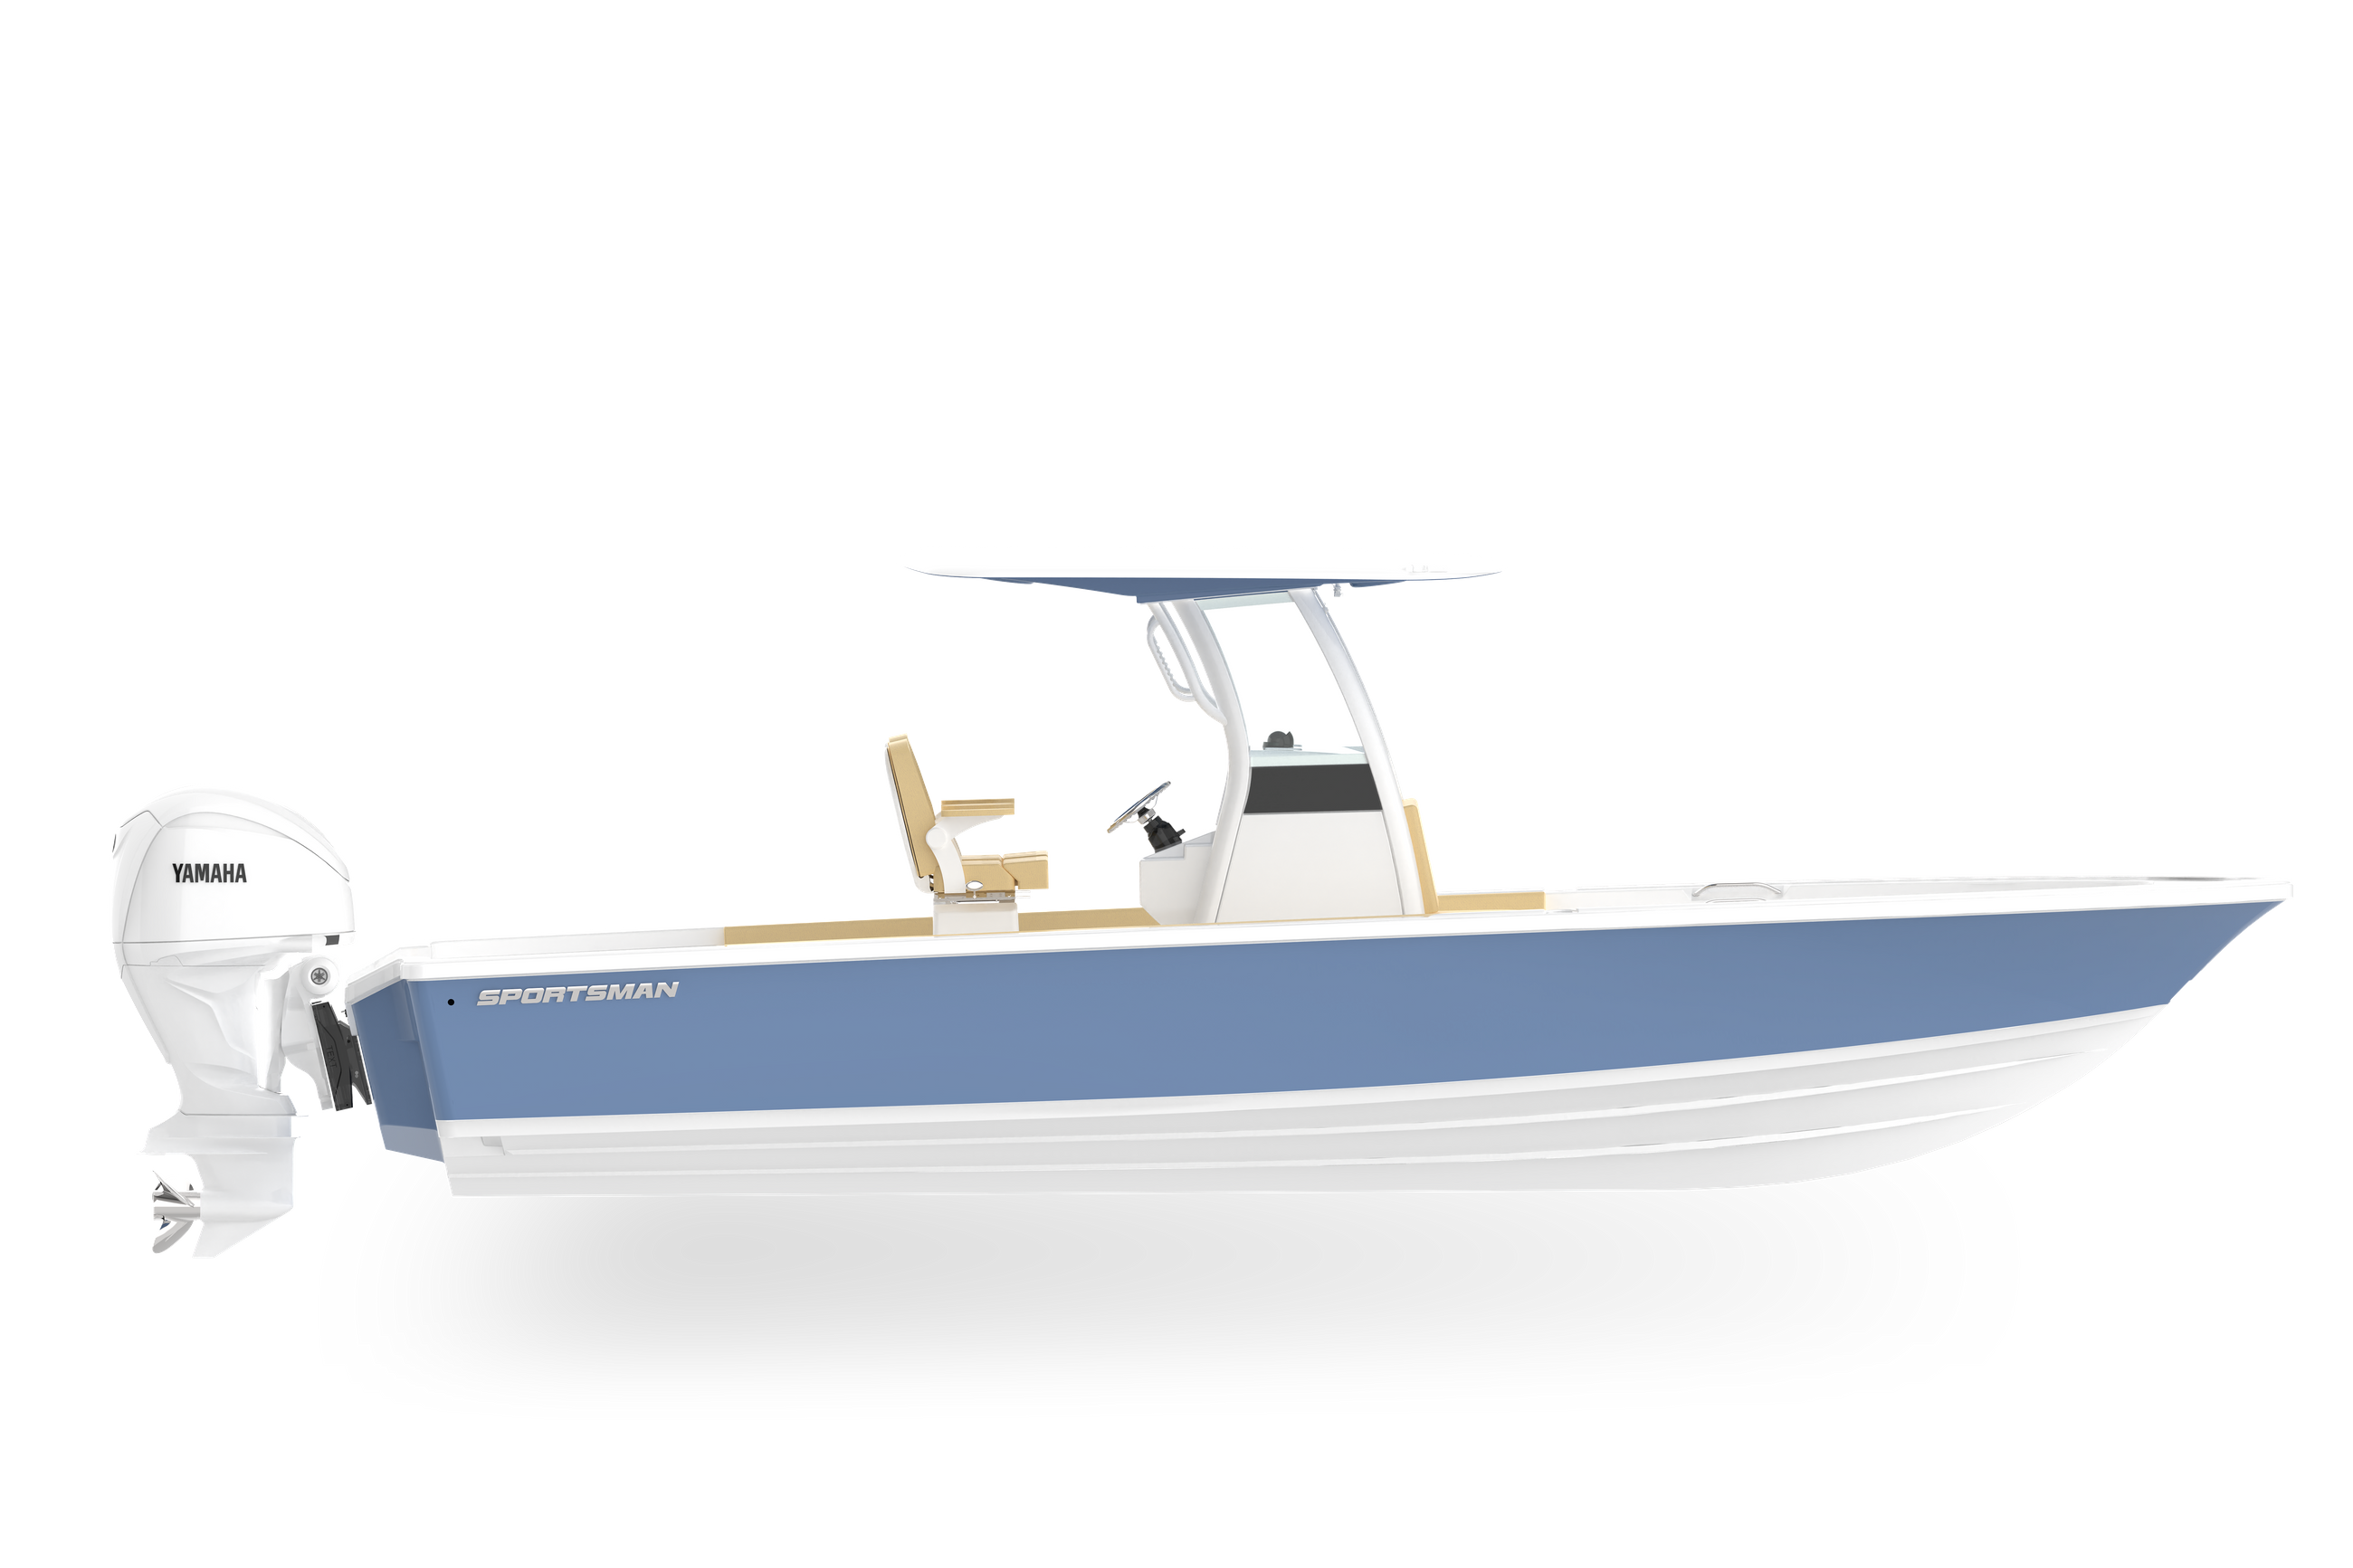
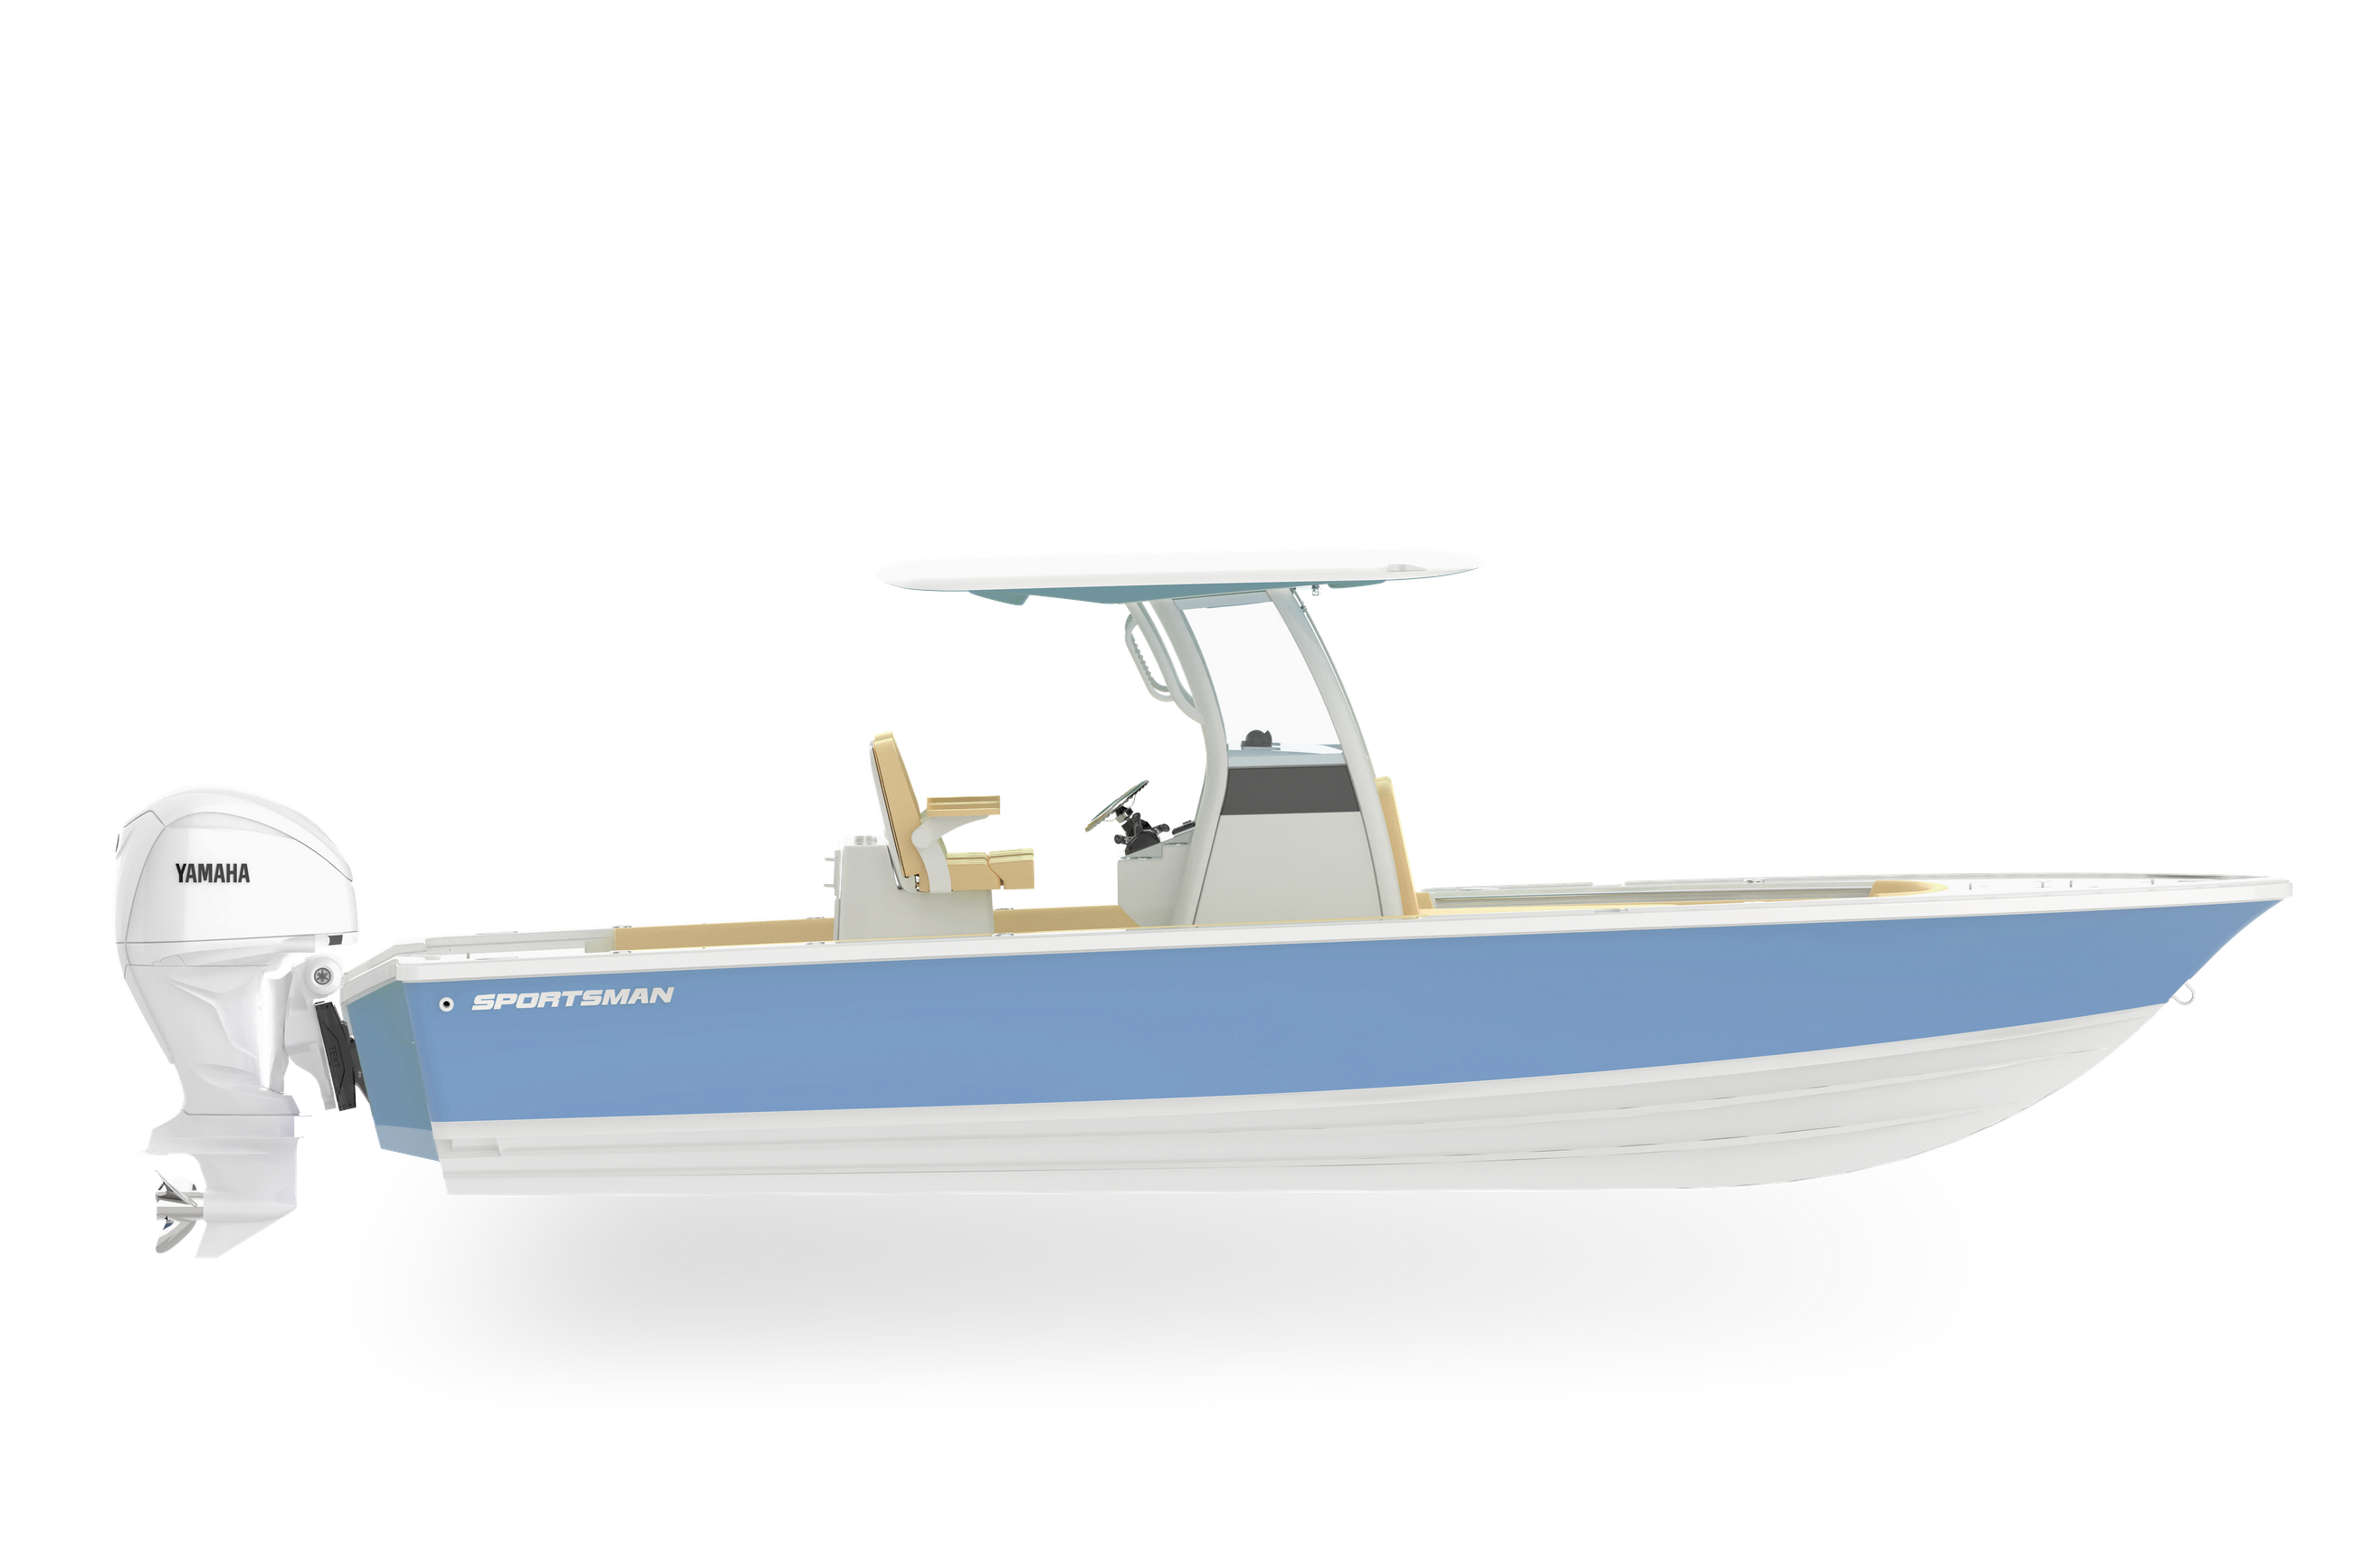
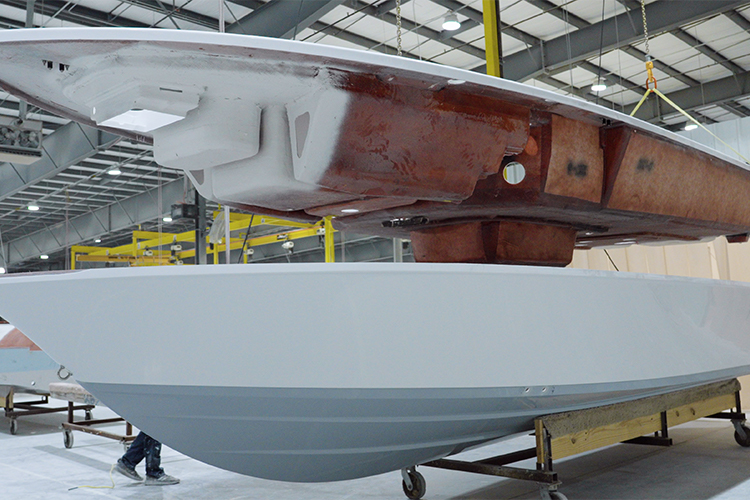
Behind the Glass Episode 5 – Rigging and Capping The assembly process is a coordinated effort. It requires all of the major components of the boat to be installed and is the culmination of extensive engineering and design. Every component has a designed-in spot and purpose. Before rigging begins, the deck and hull are test fitted together. A process commonly known as dry capping. Every Sportsman boat is designed to have a shoebox-like fit. This design ensures optimal strength but requires tight tolerances for a perfect fit. At this stage we make any necessary adjustments and push the parts to the next cell.
At the next station, the team takes advantage of the hull and deck being separated to perform the initial assembly. Let’s start with the hull. Work begins with the fuel tank. Each fuel tank is pressure tested prior to being hoisted into the hull. Throughout the build process, each tank will undergo 4 pressure tests at different stages and is a testament to our commitment to build quality. The tank gets lowered into the stringer grid and we see how it perfectly fits the stringer cavity. Most of our fuel tanks are made of high-density polyethylene plastic and are built using a roto-molding technique. On our larger models, we use aluminum tanks. These custom tanks take advantage of extra space and allow for more fuel capacity. Both materials are designed to last 30+ years.
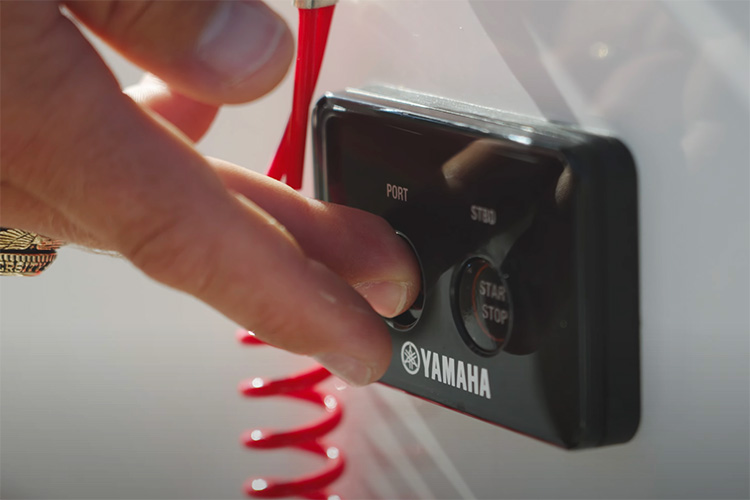
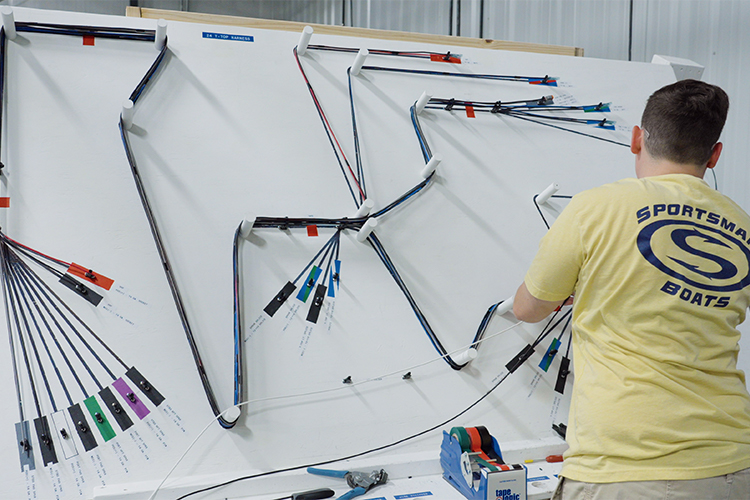
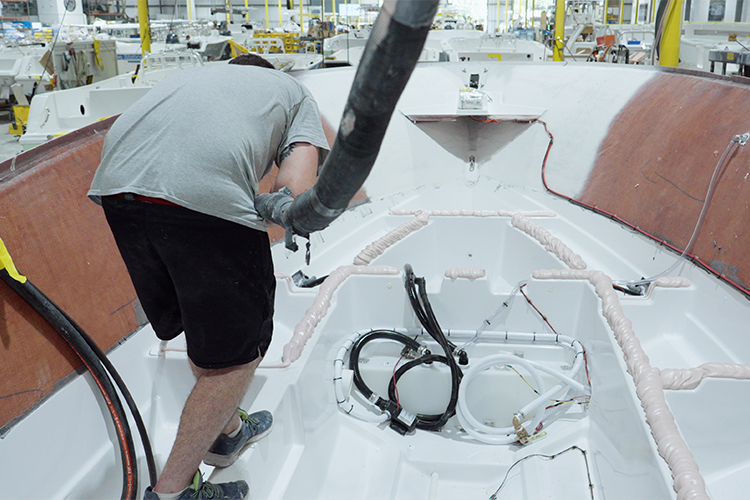
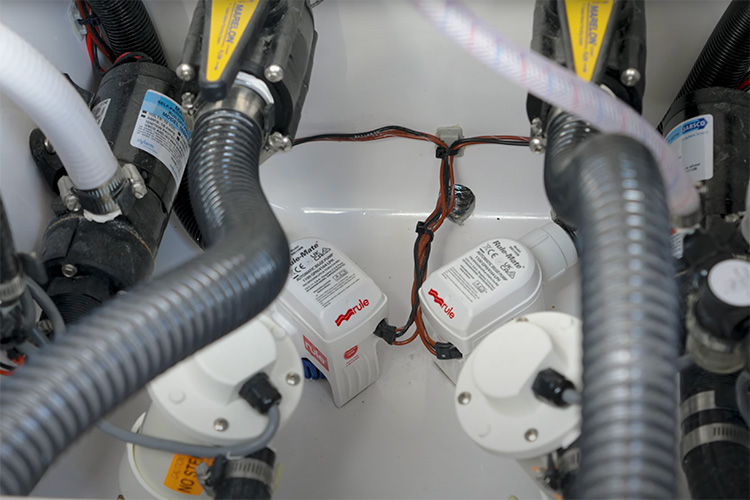
Next, let’s take a look at the wiring and other electrical components. Each Sportsman model has a wiring harness designed to accommodate all of the factory components available for that model. The harness has been designed to be routed to each section of the hull. During this step, the team will also install important components such as bilge pumps, transducer, underwater lights, trim tabs and any other build-specific components. Along the way, they will secure every wire and neatly route it through the stringer. This extra step will ensure years of failure-free use and avoid unnecessary internal “flapping” sounds.
Another major area of assembly is plumbing. Pre-cut hoses are installed on the fuel tank for filling and venting the tank. Later in the process, these hoses will need to be connected to the fill on the deck during the capping process. As part of plumbing, the team will also install all of the necessary thru-hulls that will be used for bailing the cockpit and boxes. We take an extra quality assurance step during this process by grinding, the backside of the fiberglass, flush. This will give the thru-hull fitting a perfect mating surface with zero leaks. Other components, such as freshwater tanks, are also fitted with hoses that will later be attached to the deck.
The hull is coming along nicely so let’s shift our attention to the deck. The deck will undergo a similar assembly process. Work begins with plumbing the self-bailing collector boxes on the deck. The other side will get attached to thru-hull fittings during the capping process.
At this stage, parts will get installed in precise spots that match the reinforced areas we saw during lamination. The perfect example of this are the pull-up cleats. The aqua steel will give the cleats the required support and load distribution. Many different components will be installed during this step. Including the boarding ladder, cockpit toe rails and even courtesy lights. Same as the hull, every wire will be neatly routed and secured.
The moment we’ve been waiting for has finally arrived. It’s time to cap the boat.
To start the capping process all debris is removed from the hull and deck. Paying close attention that all mating surfaces are clean and ready for a strong bond. The technician will apply a 2-3” bead of bonding putty very similar to the putty we saw in the hull lamination episode. They carefully trace every matting surface and work their way towards the transom. The team must work swiftly and accurately as many different tasks will need to be performed simultaneously during the final pinning process. The deck is lowered almost all the way leaving just enough room to complete any necessary connections of the hoses we saw earlier. Then, work begins pinning the deck and hull, starting at the bow and working towards the stern. If you recall, extra composite materials were applied in this area during lamination to ensure screw retention at the pinning flange. For the boats with side entry doors, special clamps are used to guarantee adhesion all the way around. They will be removed once it has cured.
With the capping complete, we are one step closer to the finish line and much needed on-water time. Thank you for spending some time with us today taking a look at our rigging & capping process. This process is part of our SportTech® Advanced Fabrication Process. This proprietary combination of processes and materials yields the best result each step of the way and has been thoroughly tested for durability, longevity, and finish. All Sportsman Boats features a 100% composite construction with zero wood.
Join us in our next episode for another installment of Behind The Glass, where you’ll get an inside look at the how we manufacture the beautiful upholstery that you see on all of our boats.
Related Posts
Just like anything else, boats require regular maintenance to perform the way they were designed. While most people focus on engine maintena...
Read More